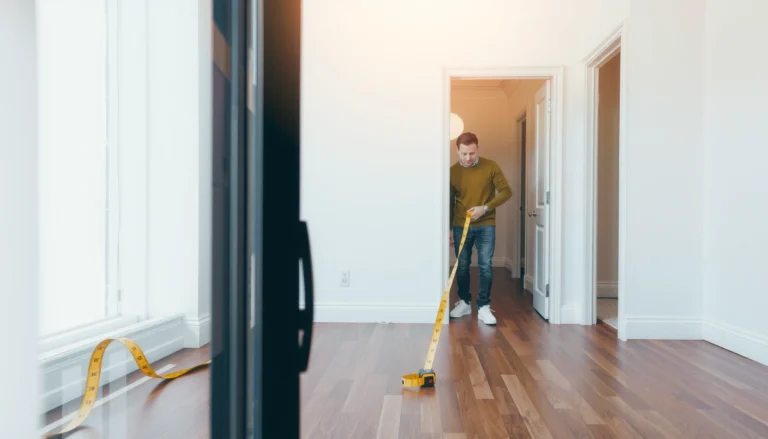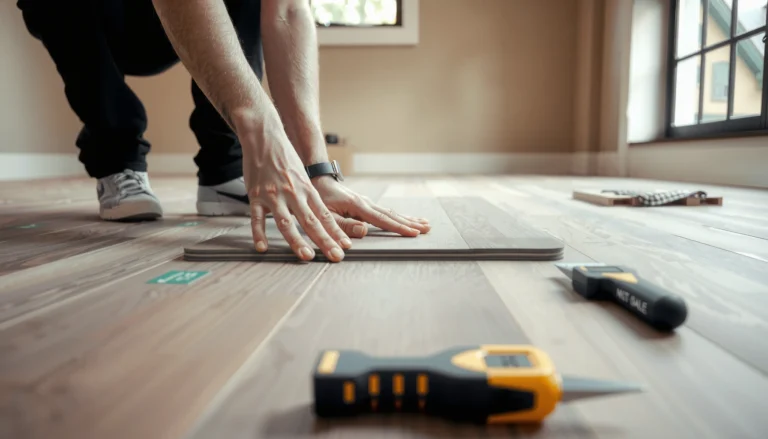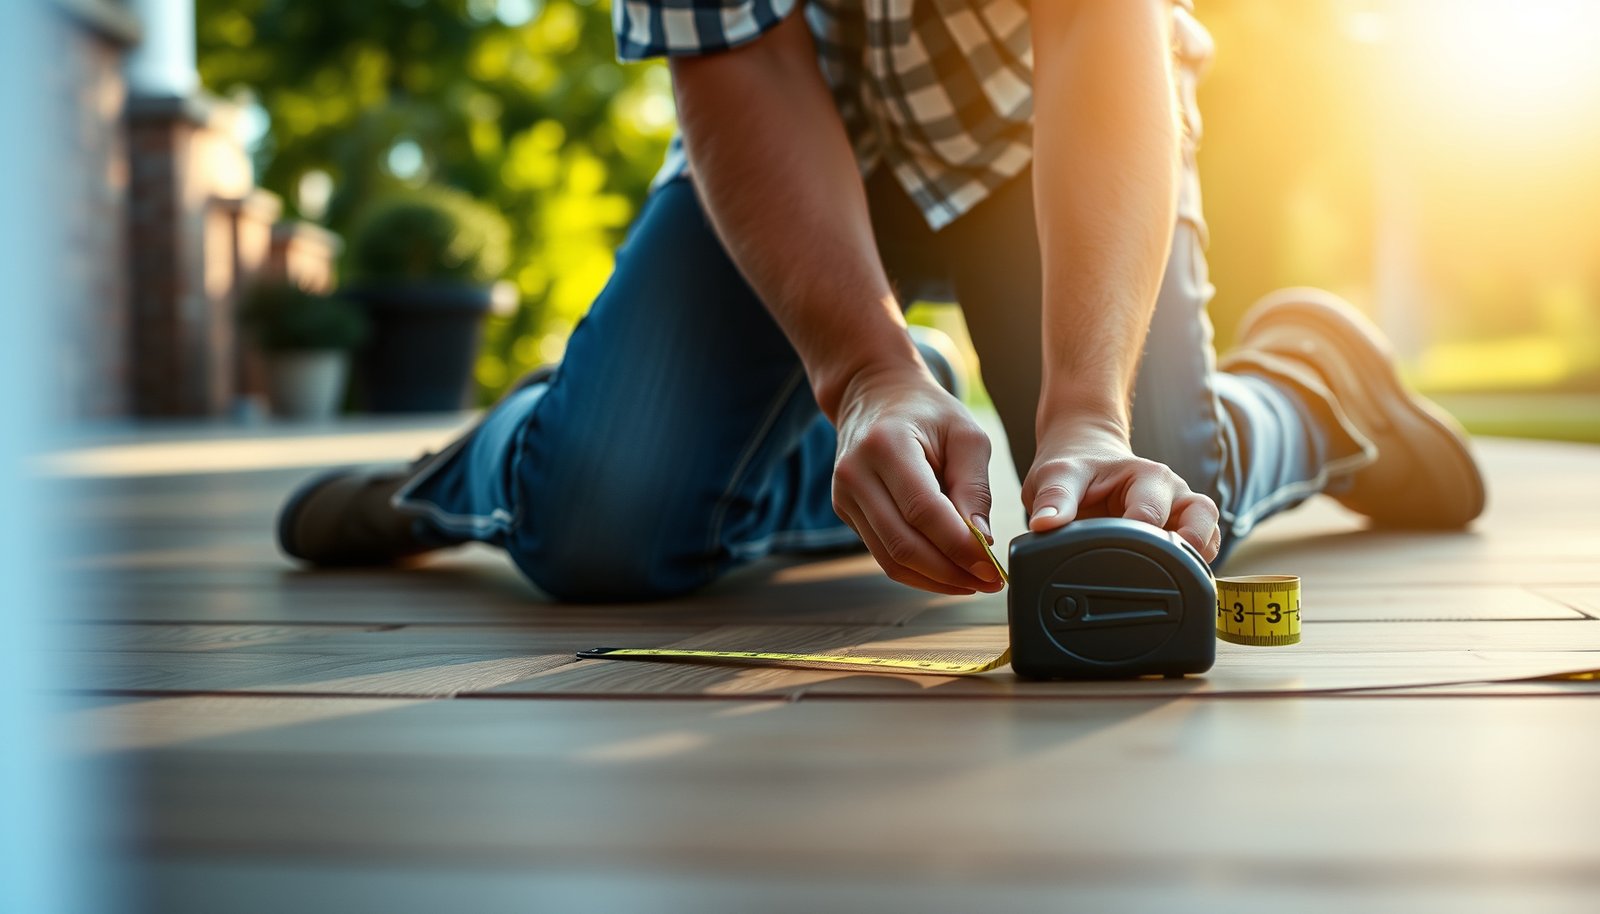

Measuring vinyl floors for an outdoor walkway starts with the correct way to measure length, width, and any curves so you buy the right amount the first time. This guide tells you exactly what to measure, where to measure it, and how to calculate square footage (with the right allowance) for outdoor installs. If you want a quick, accurate cut-list—so your vinyl walkway fits tight and looks clean—this is the method to use.



To measure vinyl floors for an outdoor walkway, measure the walkway’s usable area (including any odd cutouts) and then add an allowance for waste and trimming before converting to box or plank count. If your vinyl is not specifically rated for exterior use, your measuring plan won’t matter—outdoor-rated specs (including expansion requirements) should drive the final layout. In 2026, the most reliable way to plan is to treat the outdoor vinyl walkway like a “layout + perimeter movement” project first, then convert the final calculated coverage into box quantities from the manufacturer’s installation guide.
If you’re a homeowner or DIY installer planning how much exterior vinyl you need and how to stage cuts around an uneven, irregular, or sloped walkway, this walkthrough helps you measure accurately before ordering materials or cutting any planks.
Prep: confirm outdoor-rated vinyl and gather measurements tools
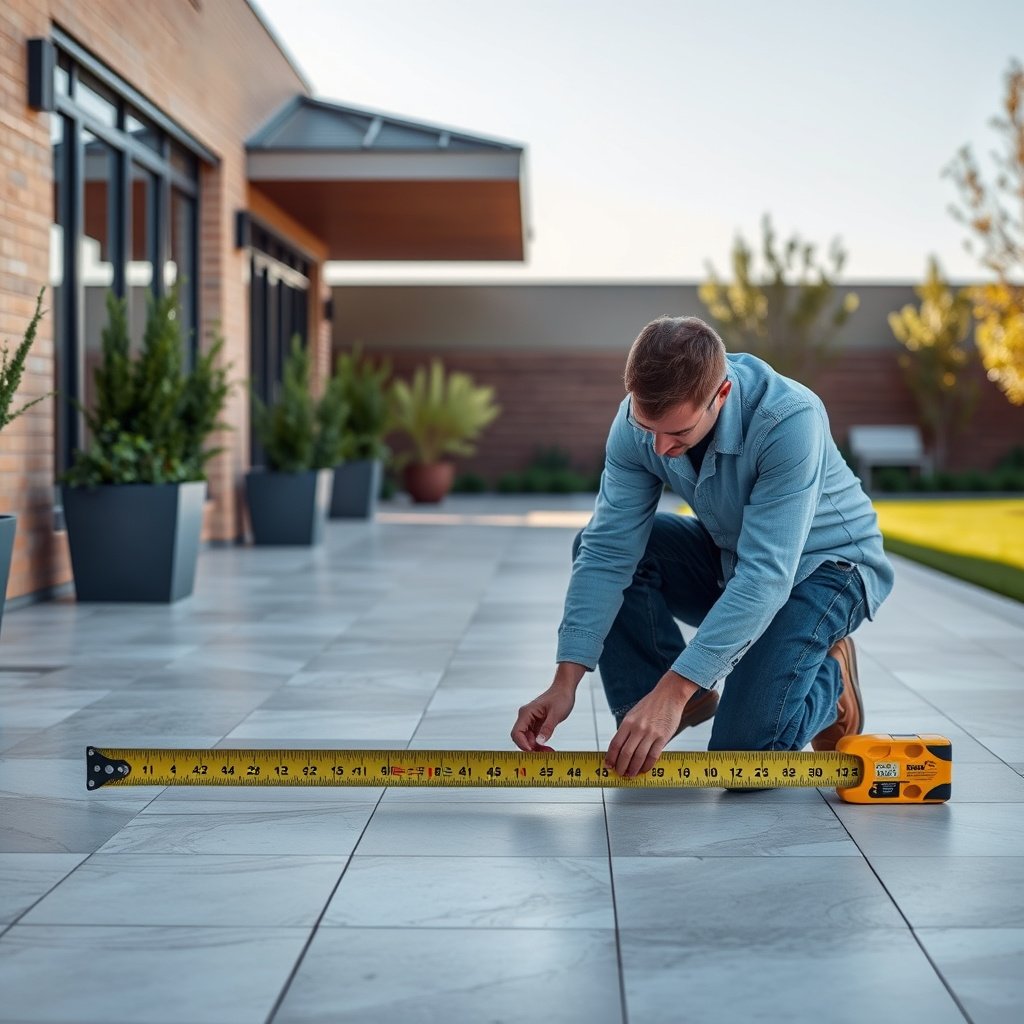
You’ll get the measurement right only after you confirm your specific vinyl flooring is approved for outdoor/exterior installation. Then you can measure for coverage and plan cuts in a way that still respects expansion gaps and perimeter rules.
Outdoor-rated resilient flooring must meet the manufacturer’s exterior criteria (including the allowed substrate and required perimeter movement details).
Because temperature changes cause dimensional movement, outdoor vinyl installation plans should include expansion/edge gap requirements before you finalize layout math.
Square-foot ordering should be calculated from the walkway’s usable area and the box coverage stated by the flooring manufacturer.
Check the manufacturer installation guide first
– Check the manufacturer installation guide to confirm the product is rated for outdoor/exterior use (and that the subfloor system is allowed). For many resilient vinyl products, “outdoor” approval is not implied by durability claims—only the installation guide is authoritative.
– Look specifically for:
– Exterior rating language (often “outdoor/exterior approved” or “suitable for exterior applications”)
– Substrate allowance (e.g., exterior-grade concrete, approved plywood systems, or properly prepared existing slabs)
– Perimeter treatment and expansion gap requirements (size, where it goes, and how it’s finished with trim)
According to the BIPM SI Brochure (2019), the exact definition of the meter and inch underpins precise unit conversions, so accurate length/area units matter when you convert to square feet.
In 2026, most outdoor vinyl planning still hinges on manufacturer-defined perimeter gaps and substrate flatness—measurement alone can’t compensate for an incorrect product selection.
Gather the right measuring and layout tools
Use tools that reduce “guesswork” on an outdoor vinyl walkway:
– Tape measure (25–35 ft is practical for exterior runs)
– Chalk/marker (for marking section boundaries and cutouts)
– Straightedge/level (to map slope direction and low spots)
– Paper/clipboard plus graph paper or a simple layout grid (helps prevent drift when your walkway curves)
– Optional but helpful: painter’s tape (to outline plank direction on-site)
Decide layout approach before you do the final math
Orientation affects waste. Pick your planned plank direction first:
– Planks running lengthwise: often highlights the walkway’s main axis.
– Planks running widthwise: sometimes reduces awkward wedge cuts if your walkway is naturally wider at one end.
– If the outdoor vinyl walkway is sloped, choose a direction that avoids creating “impossible” cut lines where the slope forces tight-fitting shapes.
Layout direction changes the pattern of joints and the number of small offcuts you need, which directly affects the outdoor vinyl walkway’s total waste percentage.
Step-by-step: measure the walkway area accurately
Measure the walkway in sections so irregularities (curves, angles, cutouts) don’t distort your total square footage. Then total your usable area and only after that apply the waste/trimming allowance from your outdoor-rated vinyl instructions.
The most reliable method for irregular outdoor vinyl walkway areas is breaking the footprint into rectangles (and controlled chord sections for curved edges) before totaling square footage.
Any outdoor obstacles that interrupt coverage—posts, drains, steps, and thresholds—must be treated as “not flooring” areas in the usable-area calculation.
Break the walkway into rectangles (then total sq ft)
1. Divide the walkway into manageable rectangles.
2. For each rectangle:
– Measure length × width (use the same unit consistently)
– Convert to square feet for that section
3. Add all sections to get total measured usable area (sq ft).
Quick example (method only):
If Section 1 is 5 ft × 8 ft and Section 2 is 3 ft × 6 ft, your measured usable area is (40 + 18) = 58 sq ft—before you subtract cutouts and before you add waste.
Square footage for a rectangle is calculated as length multiplied by width (area = L × W), and this is the standard base for resilient flooring ordering.
Handle curved or angled sections with “chord” segments
If part of the outdoor vinyl walkway curves:
– Use “chord” sections: treat the curve like a series of short, nearly straight cuts
– Keep the segments wide enough to measure comfortably without losing accuracy
– If you’re planning a staggered plank pattern, draw a rough layout for the curved segment so you can estimate how many small pieces are unavoidable
A chord-section approach limits layout drift because each segment is measured and planned as a straight run rather than relying on a single “radius guess” for an outdoor vinyl walkway.
Measure and note obstacles that affect usable coverage
Walkway elements that often require subtraction or careful perimeter detailing:
– Posts, mailbox bases, or support columns
– Steps or stair landings
– Door thresholds (and any “transition” strip zones)
– Existing curbs, planters, or drainage channels
– Areas you’re intentionally not flooring (utility access covers, expansion joints you can’t cover, etc.)
For each obstacle:
– Measure its footprint area in sq ft
– Subtract it from the usable total if the flooring won’t cover it
When ordering outdoor vinyl for a walkway, ignoring cutouts around posts or drains often results in insufficient coverage even when the overall footprint “looks” close.
Add key details that affect outdoor fit
Outdoor vinyl walkway performance isn’t just about coverage—it’s also about how the surface behaves:
– Slope/drain direction: water flow matters. Measure how the top surface changes so your layout doesn’t force tiny, stressed wedge pieces at one end.
– Perimeter edge trim/borders: if you’re using border trim or edge banding, measure the border thickness and include it correctly in the layout area plan. Otherwise, you may order enough for the field area but not enough for the perimeter treatment.
If the outdoor walkway is not level, measuring the edges and dips helps you avoid creating tight-fitting cut lines that can look wrong and complicate installation.
Plan for cuts, overlaps, and the amount to order
Once you have total usable sq ft, the next step is adding waste and trimming so you can order the correct number of boxes (based on stated box coverage). For exterior projects, your waste allowance also needs to account for more “perimeter attention” (trim, edges, and movement-required gaps).
Ordering resilient vinyl from box coverage is the correct approach because it matches the manufacturer’s installed area expectations and not just the nominal plank dimensions.
Outdoor-rated vinyl requires perimeter planning (movement gaps and trim detailing), so your waste should reflect real cutting around edges and obstacles.
Calculate a “waste + trimming” allowance, then compare to the guide
– Start from your product guide’s recommended overage (best case).
– If the guide doesn’t provide a specific number, use a conservative planning buffer—but only as a temporary planning assumption.
Important: Your outdoor vinyl walkway’s irregularities (curves, steps, drains) can increase waste beyond flat, rectangular indoor layouts. In 2026, the safest DIY approach is to treat the manufacturer’s overage as the “final rule,” not your own average guess.
Manufacturer installation guides are the authoritative source for how much overage to allow, because each system (glue-down, loose-lay, click-lock) behaves differently.
Convert to boxes using stated box coverage
To avoid math drift:
– Use the square footage coverage per box printed in the product specs
– Divide your estimated order area (usable + waste) by box coverage
– Round up to the next whole box
Example workflow (no product-specific claims):
– Measured usable area: 58 sq ft
– Add waste/trimming buffer: (from your guide)
– Order area: (usable + buffer)
– Boxes needed: ceil(order area ÷ box coverage)
Include border/trim area if you’re using it
If you plan borders or edge trim:
– Measure border width
– Include the border field in your layout coverage calculation (or follow the guide’s “border calculation” method)
– If the border is produced from the same plank material, treat it as additional required coverage. If it’s a separate trim kit, plan those items separately.
Border/trim planning prevents a common ordering error: buying enough “field” vinyl but not enough material to complete the perimeter design around an outdoor vinyl walkway.
Layout direction comparison: lengthwise vs widthwise
When your outdoor vinyl walkway is irregular or sloped, plank direction can change how many awkward pieces you generate. Below is a practical comparison for planning.
| Feature | Planks lengthwise | Planks widthwise |
|---|---|---|
| Visual alignment with walkway axis | Often strong | Often cross-accent |
| Waste around curved ends | May reduce wedge cuts | May increase short segments |
| Handling sloped edges | Cuts may stay more consistent | May create more varied widths |
| Staggered joints complexity | Usually straightforward | Can require extra planning |
| Obstacle integration (posts/drains) | May create longer bypass rows | May concentrate small cuts |
| Perimeter trim symmetry | Often easier to frame | Can look more irregular |
| Pattern repeat management | More predictable | May require more tests |
| On-site rework risk | Lower if measurements are clean | Higher for irregular slopes |
| Best for first-time DIYers | Often yes | Depends on geometry |
| Best For | Long, mostly parallel runs | Very asymmetrical widths |
What can go wrong (and how to avoid it)
Most ordering mistakes happen when measuring and layout planning get separated—especially on outdoor vinyl walkways where slope, cutouts, and movement requirements complicate the math.
Buying indoor-only vinyl is a planning dead end: no amount of precise measuring fixes improper exterior performance or locking-system behavior.
Outdoor vinyl flooring frequently needs perimeter movement allowances, and skipping that step can lead to buckling even when coverage is correct.
Buying indoor-only vinyl (the “it fits, so it’ll work” trap)
– Indoor-only vinyl can fail prematurely outdoors due to edge stress, moisture exposure, or expansion behavior not intended for exterior temperature swings.
– Verify the installation guide explicitly covers exterior use.
Forgetting expansion/edge requirements
– Many resilient flooring systems—especially floating/click-lock designs—require an expansion gap or specific perimeter treatment.
– If you ignore these requirements, your outdoor vinyl walkway can experience movement without a place to go.
Outdoor resilient flooring installations should be planned with expansion allowances as directed by the manufacturer, because temperature and moisture variation drive dimensional change.
Under-measuring irregular areas
Common slip-ups:
– Skipping cutouts (drains, posts, utility covers)
– “Eyeballing” angles on a curved edge
– Measuring only the outer perimeter and forgetting that the usable area is sometimes smaller after subtracting not-floor zones
Ignoring the final layout direction
Area measurement is not the same as cut planning:
– Changing plank direction can increase the number of short pieces you need
– Waste can spike when a new direction forces more end cuts near obstacles
The final box count depends on how many cut pieces the layout creates, not just the geometric footprint of the outdoor vinyl walkway.
Quick “most likely mistake” comparison (for AI-friendly parsing)
| Criteria | Common error | Fix |
|---|---|---|
| Uses indoor vinyl outdoors | High risk | Confirm exterior rating in guide |
| Ignores expansion gaps | High risk | Plan perimeter movement before cutting |
| Subtracts no cutouts | Often short | Measure and subtract not-floor areas |
| Rounds too early | Drift | Keep totals in sq ft until final box math |
| Forgets border/trim coverage | Often short | Include borders in order area |
| Assumes area = box count | Incorrect | Use box coverage stated on packaging/spec |
| Cuts without a test layout on curves | Waste spikes | Use chord segments or a paper mockup |
| Doesn’t check substrate flatness | Performance risk | Follow substrate/flatness requirements in guide |
| Plans a new direction late | Rework | Choose direction before ordering |
| Verdict | Most failures come from skipping the exterior spec step | Measure usable area, then let the outdoor guide drive everything else |
Verdict / tip: what we recommend for accurate outdoor measurements
For accurate outdoor vinyl walkway measurements, work from a “usable-area total + guide-based overage + box coverage” workflow, and only after that finalize your cut plan. Downsides do exist: sloped geometry, multiple obstacles, and strict perimeter spacing rules can complicate DIY ordering quickly—so if anything in the exterior guide is unclear, verify before you cut.
Measure in sections, total square footage, then order based on box coverage and the outdoor installation guide’s overage/expansion requirements.
Skipping outdoor specs makes measurement planning ineffective because exterior performance depends on product-rated installation conditions.
The practical workflow (what to do in order)
1. Confirm the outdoor-rated vinyl flooring model matches your subfloor/substrate and exterior use case (per the guide).
2. Measure the outdoor vinyl walkway in rectangles, subtract cutouts, and capture curves with chord segments.
3. Map slope direction and perimeter constraints so your plank direction doesn’t create unusable micro-cuts.
4. Add waste/trimming allowance using the product guide—then convert to boxes using stated box coverage.
Downsides and who should slow down or pause
Outdoor vinyl walkway projects can get complicated fast when:
– The walkway is significantly sloped or uneven (requires careful mapping)
– There are multiple obstacles (posts, drains, steps) with irregular cut zones
– Your vinyl system has strict expansion gap, perimeter trim, or substrate flatness requirements
If this describes your situation, consider:
– Reading the guide again with a “perimeter movement + cut plan” focus
– Doing a paper or tape-on-floor test layout for curved/angled areas
– Consulting a flooring pro if exterior guidance is ambiguous
In practical DIY planning, exterior installations tend to fail on perimeter details (gaps/trim/substrate readiness) rather than on raw square-foot math—so prioritize the manufacturer instructions early.
What to skip
Skip cutting or ordering on faith if you can’t verify:
– Outdoor/exterior rating for your exact product
– Expansion gap or perimeter requirements
– Substrate compatibility and flatness constraints
Quick checklist + scannable measurement table
Use this to keep your numbers organized before you convert to boxes.
Unit Conversions You’ll Use When Ordering Outdoor Vinyl (1 m² = 10.7639 ft²)
| # | Conversion type | Input unit | Exact factor to ft² | DIY usefulness |
|---|---|---|---|---|
| 1 | Square meters → square feet | m² | 10.7639 | ★★★★★ ★ |
| 2 | Square yards → square feet | yd² | 9 | ★★★★☆ ★ |
| 3 | Square feet → square feet | ft² | 1 | ★★★★★ ★ |
| 4 | Square inches → square feet | in² | 0.006944 | ★★☆☆☆ ★ |
| 5 | Square centimeters → square feet | cm² | 0.001076 | ★★☆☆☆ ★ |
| 6 | Square miles → square feet | mi² | 27,878,400 | ★☆☆☆☆ ★ |
| 7 | Acres → square feet | acre | 43,560 | ★★★★☆ ★ |
| Item to capture | Your numbers |
|---|---|
| Section 1 length × width (sq ft) | [Example: 5 × 8 = 40] |
| Section 2 length × width (sq ft) | [Example: 3 × 6 = 18] |
| Total measured area (sq ft) | [Example: 58] |
| Add trimming/waste allowance (per your product guide) | |
| Estimated order area (sq ft) | [Measured + allowance] |
| Box coverage (sq ft per box) | |
| Boxes needed (round up) | [ceil(order area ÷ box coverage)] |
| Expansion/edge gap or perimeter requirements |