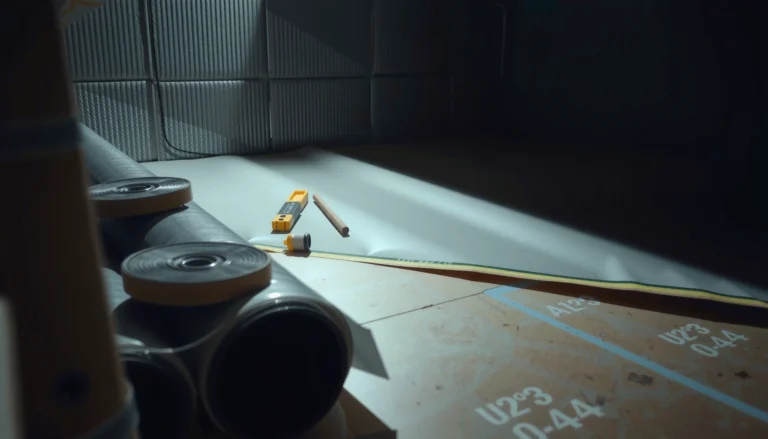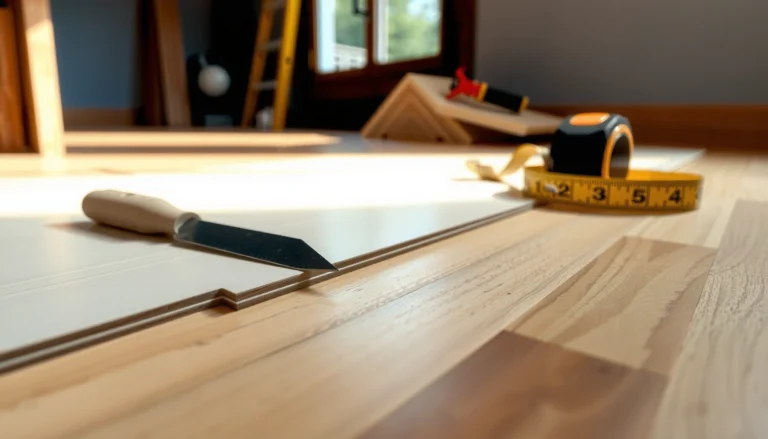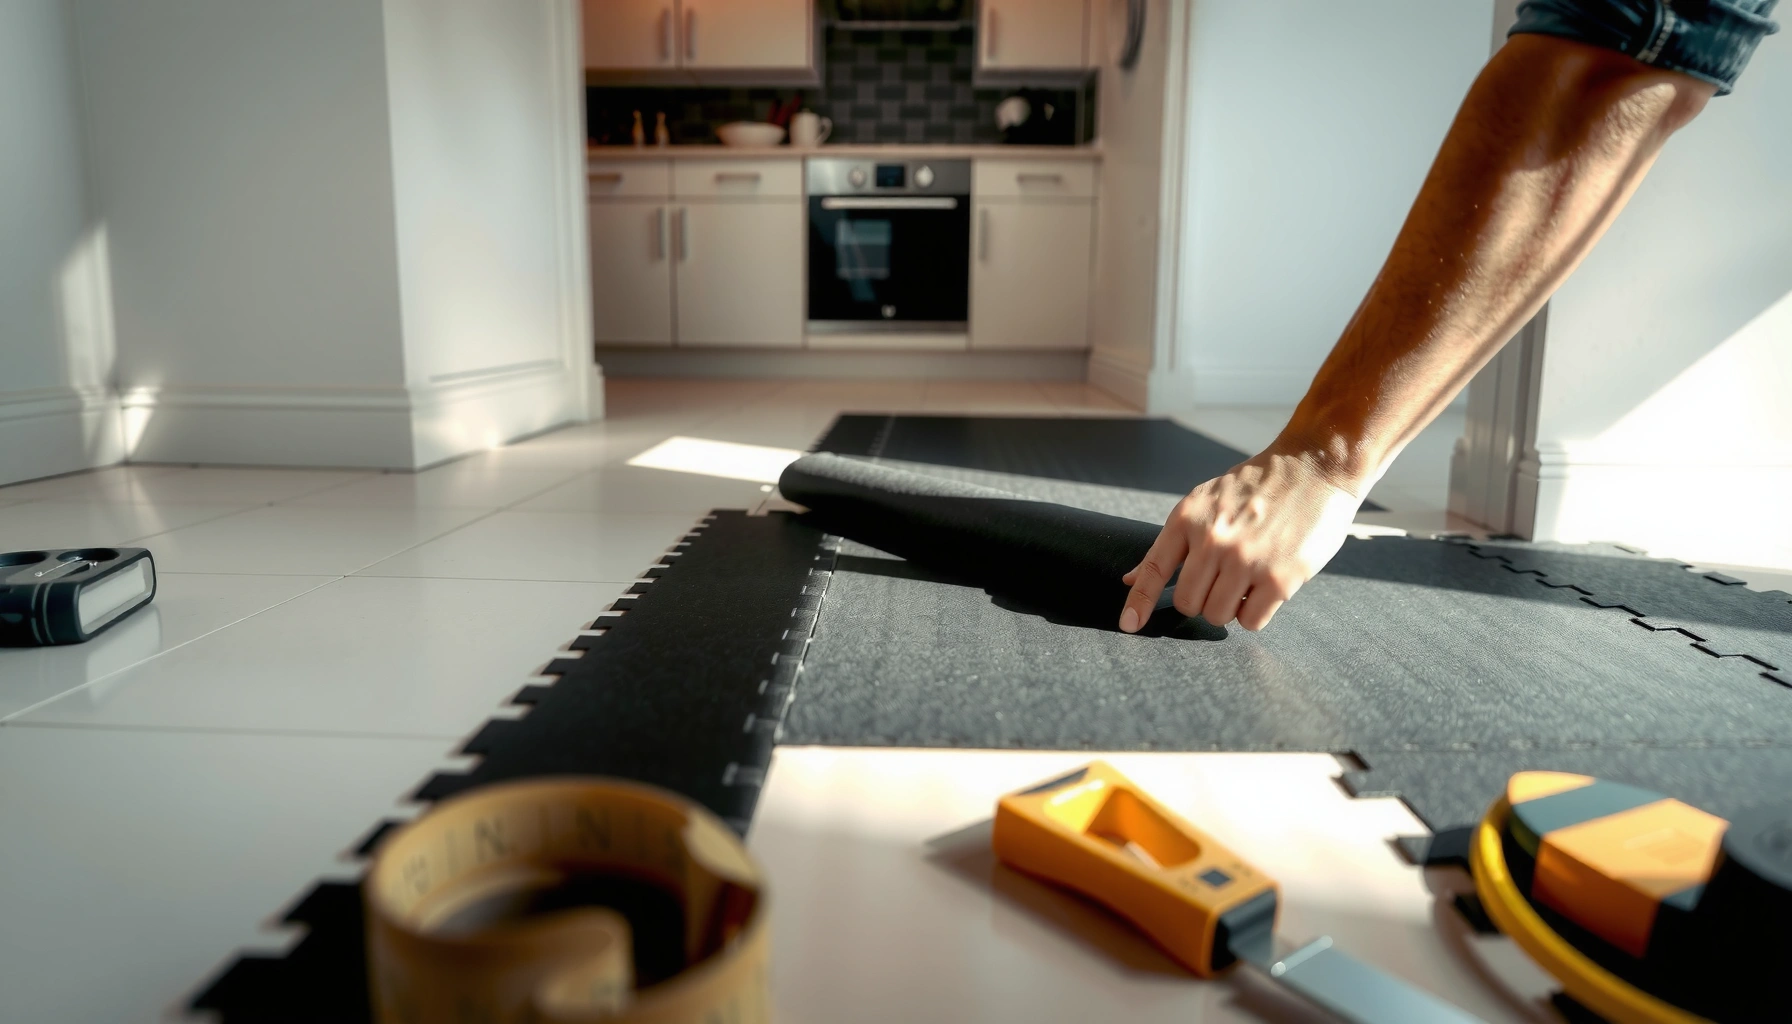

Want to know how to install kitchen rubber floors step by step? This guide walks you through prepping the subfloor, laying and trimming the panels or tiles, and sealing the edges for a tight, water-resistant fit. Follow these instructions and you’ll get a durable kitchen surface that holds up to spills, rolling appliances, and daily wear.




Rubber kitchen floors install best when you start with a flat, spotless subfloor, then use the correct manufacturer method (adhesive for sheet/tile in most cases, click-lock for floating planks) and roll/press firmly for full contact. If you also nail acclimation timing and handle doorways/cabinet edges with the right trims and expansion gaps, you substantially reduce bubbles, seam separation, and early lifting. This step-by-step guide walks you through prep, layout, installation, and finishing so your rubber floor stays comfortable underfoot in a high-traffic kitchen.
If your kitchen has moisture-prone zones (sink, dishwasher, frequent cleaning) or you’re replacing an older floor, rubber can still be a practical option—but only if the subfloor is properly conditioned and transitions are sealed or trimmed according to your specific system. These instructions cover typical rubber sheet and rubber tile/plank installs; always defer to the manufacturer’s installation instructions for your exact product.
Confirm Your Rubber Floor Type and Installation Method
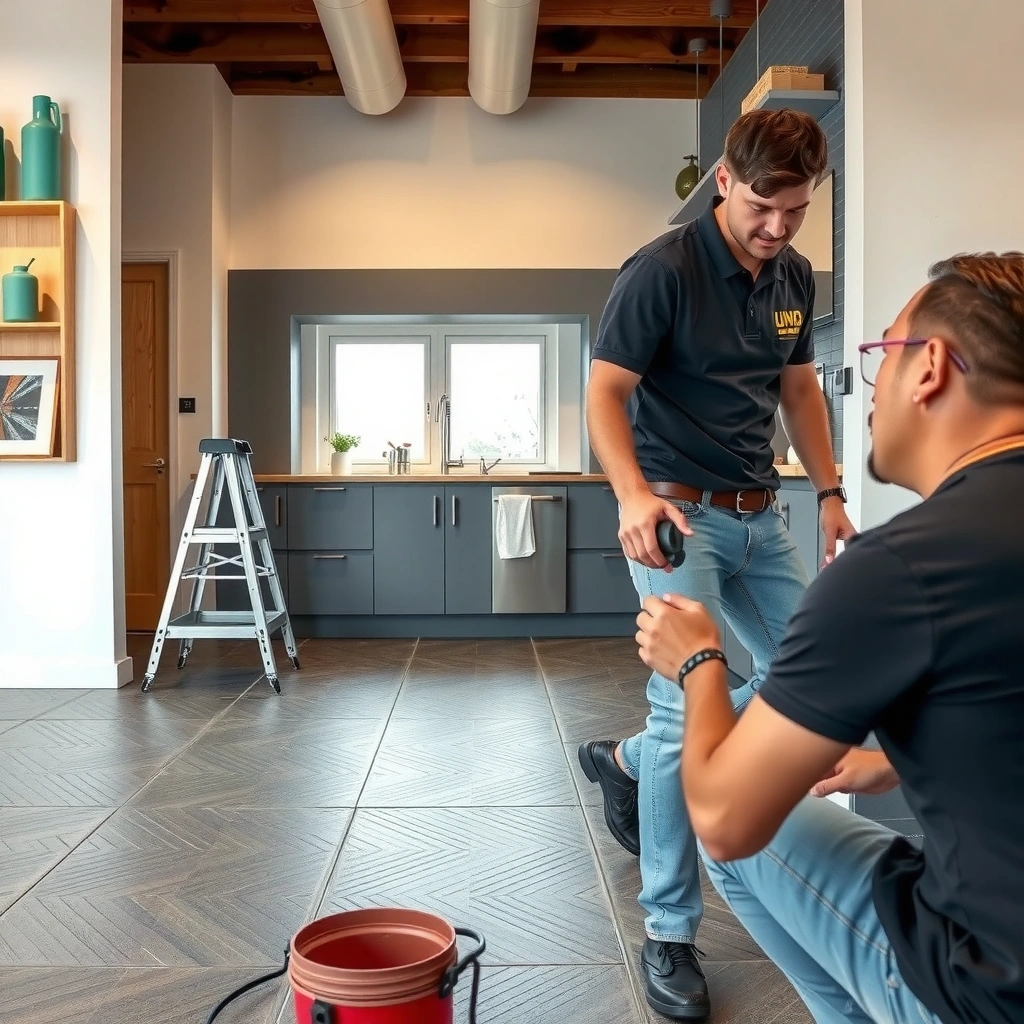
Your first job is to identify whether you’re installing rubber sheet, rubber tile/plank with adhesive, or click-lock/floating planks, because the workflow and failure points are different. Once you know the type, you can pick the right tools, adhesive (if allowed), seam approach, and expansion-gap strategy.
Rubber flooring installation method (sheet vs. adhered tile/plank vs. click-lock) determines whether you must glue seams and whether the floor needs an underlayment.
Click-lock rubber floors rely on fully engaged joints and correct expansion space, while adhesive systems depend on correct adhesive type and trowel notch coverage.
Most rubber flooring problems like edge lifting track back to incorrect system selection—especially mixing an adhesive workflow with a floating/click-lock product.
Identify the product format (sheet, tile/plank, or click-lock)
Look at the packaging/spec sheet and confirm:
– Sheet rubber (rolled membrane, typically adhered or sometimes “loose laid” only if explicitly rated—most kitchens require adherence).
– Rubber tile or planks installed with adhesive (often perimeter or full-spread, depending on product).
– Click-lock rubber planks that float on an approved underlayment (if required/allowed).
Match the underlayment and substrate rules
Some rubber systems are designed direct-to-subfloor, while others specify an underlayment to control sound, comfort, or vapor. If your instructions don’t allow underlayment, don’t “improve comfort” by adding foam—thickness and compression can interfere with locking joints or adhesive contact.
Key standards/terminology to understand early:
– Subfloor flatness: how level and even the surface is.
– Expansion gap: the perimeter spacing left to allow movement.
– Seam/contact: whether seams must be rolled/weighted for adhesion or joint integrity.
Prep the Subfloor for a Flat, Clean Base
Your subfloor prep is the single biggest determinant of whether rubber seams stay tight and corners don’t tent up. Clean, scrape, and flatten before you open a single roll or carton.
Resilient flooring failures commonly come from insufficient subfloor flatness or contamination that prevents full adhesive contact.
Manufacturer installation guides nearly always require removal of old adhesive residue and thorough cleaning before applying new adhesive or engaging a floating system.
A flat substrate reduces visible seam lines and helps prevent bubbles or lifted edges in rubber flooring.
Remove old flooring and residue completely
Start by:
1. Remove the existing floor covering (and underlayment/pad, tack strips, and any over-thickness).
2. Scrape old adhesive ridges, mastic, paint overspray, and high spots.
3. Vacuum thoroughly, then wipe/mop using the method recommended for your subfloor and adhesive system.
Practical detail that matters: don’t assume vacuuming alone is enough. Fine dust can act like a release layer for adhesives, and rubber sheet seams can telegraph contamination.
Fix high/low spots and verify flatness
Flattening is where you earn long-term performance. Many resilient flooring standards and industry guidance target around 3/16 in over 10 ft (≈ 5 mm over 3 m) as a workable tolerance; confirm your product’s exact number in the manual.
According to Resilient Floor Covering industry flatness guidance (FFI), subfloor flatness is a critical requirement for resilient flooring performance, and excessive deviations can lead to seam stress and visible telegraphing (industry practice referenced across many installation specs).
– If you see hollows, use a compatible feather-finish patch/leveler designed for floor underlayment.
– If you see high ridges, mechanically remove them (grind/sand as needed).
– Re-check after patching and let compounds cure fully per manufacturer directions.
> If your kitchen subfloor is uneven because of tile “lippage,” underlayment transitions, or previous patches, fix it now—rubber can feel forgiving underfoot, but it can’t “bridge” major subfloor defects without consequences.
Acclimate and Plan Your Layout Before You Install
Rubber needs acclimation so it doesn’t expand/contract after installation and pull at seams or lock joints. Then you plan the layout so cuts around cabinets, the sink area, and traffic paths don’t create weak micro-seams.
Acclimation aligns the rubber material to the room temperature and humidity so movement after installation is minimized.
Dry-laying tiles/planks helps avoid tiny slivers next to cabinets and improves seam staggering for click-lock systems.
Planning around doorways and fixed cabinets prevents rework and supports correct expansion gaps at the perimeter.
Acclimate the right way (and document conditions)
Follow your manufacturer’s acclimation time and conditions. As a general category, acclimation often ranges from 24–48 hours for many resilient products at stable indoor temperatures, but your manual is the authority.
According to ASTM F710 (Standard Practice for Installation of Resilient Flooring), proper acclimation and installation practices support resilient flooring performance by accounting for jobsite conditions.
What to do:
– Keep the room at normal working temperature.
– Leave boxes/rolls flat as instructed.
– Don’t install if the floor is visibly cold or warm relative to the room—temperature shock can create edge issues.
Plan layout for real kitchen constraints
Kitchens are layout puzzles. Before fastening anything:
– Dry-lay or mark the pattern lines.
– Plan seam lines to avoid landing directly in the “path of rolling traffic” (like from fridge to sink).
– Mark around fixed cabinets and toe-kicks. Many installations require leaving expansion space—especially around fixed boundaries.
Cabinet and doorway strategy:
If the product requires an expansion gap, treat doorways and transitions with approved reducers or trims so the gap isn’t crushed or blocked.
Rubber Kitchen Flooring Systems: Typical Installer Tooling & Complexity (US DIY/Pro Workflow)
| # | Rubber system | Core materials used | Key “can fail” risk | Installer effort |
|---|---|---|---|---|
| 1 | Sheet rubber (full-adhered) | Approved adhesive + seam treatment (if specified) | Adhesive coverage near seams/edges | ★★★★☆ |
| 2 | Sheet rubber (mechanically rolled/marinated joints) | Approved seam roller + adhesive/seam method per manual | Poor seam contact from debris or misalignment | ★★★☆☆ |
| 3 | Rubber tiles (full adhesive set) | Notched trowel + tile adhesive + seam roller | Trowel size mismatch causing hollow spots | ★★★★☆ |
| 4 | Rubber tiles (partial/controlled adhesive—if approved) | Approved adhesive system per guide | Skipping required adhesive zones | ★★☆☆☆ |
| 5 | Click-lock rubber planks (floating) | Approved underlayment (if allowed) + tapping block | Underlayment mismatch + insufficient expansion gap | ★★★☆☆ |
| 6 | Click-lock rubber planks (difficult layout—many cuts) | Same as above + more jigsaw/benchwork | Uneven edges prevent joint engagement | ★★☆☆☆ |
| 7 | Rubber sheet (trim-and-fit, seam-forward pattern) | Adhesive + trimming tools + seam roller | Mis-trimming causes visible seam/edge exposure | ★★★☆☆ |
Install Rubber Flooring (Adhesive or Interlocking) With Proper Seams
Install rubber by following the system-specific method precisely: adhesive requires correct coverage and roll/press contact, while click-lock requires fully engaged joints and correct seam staggering. When you treat seams and edges as “structural,” not cosmetic, you avoid most early failures.
Adhesive installations depend on correct trowel notch size to achieve the coverage and transfer needed for resilient flooring contact.
Click-lock rubber planks require fully engaged joints; partially engaged joints can open after normal kitchen traffic loads.
Rolling or pressing resilient flooring after placement improves contact and reduces the risk of lifted edges.
Adhesive systems: coverage, open time, and seam discipline
If your product uses adhesive:
– Use the exact approved adhesive for your rubber type.
– Use the exact trowel notch size stated in the manual. Even a “close enough” notch can cause voids.
– Apply evenly. Don’t leave dry pockets near seams and edges.
– Respect the adhesive open time (how long it can sit before bonding)—this is product-specific.
Then:
– Align pieces carefully.
– Roll the surface using the manufacturer’s recommended roller/press method. Don’t rush the roll pass.
Click-lock/interlocking systems: engage, stagger, and keep tension consistent
For click-lock planks/tiles:
– Start with a straight baseline row (a chalk line or guide).
– Engage joints fully—use the tapping block technique specified by the manufacturer (don’t hammer directly).
– Stagger seams per the product rules (many require a minimum offset).
– Keep the floor allowed to “float” by maintaining expansion gaps.
From an installation-practice standpoint, joint integrity is sensitive to both subfloor flatness and underlayment thickness/rigidity—so this step loops back to your prep.
Seam handling: treat seams like the weak points they are
Whether glued or floating:
– Keep seams clean—no dust, adhesive strings, or shaving debris.
– Don’t over-trim to “make it look perfect” if the product needs specific clearance at edges.
Finish Edges, Transitions, and Wet-Area Details
Finish edges and transitions in a way that protects movement and blocks moisture—this is where many kitchens either succeed or fail long-term. Treat doorways, cabinet boundaries, and sink/dishwasher splash zones as separate detailing problems, not as “just trimming.”
Most resilient flooring warranties assume proper perimeter spacing and approved transition trims/reducers at doorways and adjoining rooms.
Wet-area protection depends on following the manufacturer’s sealing instructions, including whether perimeter caulking is allowed or prohibited.
Fixed cabinets and toe-kicks often require an expansion-gap approach that keeps the floor from being locked in place.
Trim neatly and use the right transition profiles
Common finishing elements:
– Wall/perimeter trim or baseboard (after installation, not before).
– Doorway transitions using the recommended reducer or threshold.
– Matching reducers where rubber meets tile/wood/vinyl.
If your product specifies “no caulk” at the perimeter, follow it. If it allows perimeter sealing in some form, use only what the manual approves.
Wet areas (sink/dishwasher): plan for splash, not soaking
Rubber can handle day-to-day kitchen mess better than some hard surfaces, but it still must stay within the system’s limits:
– Follow the product guidance for sealing seams (if it’s an adhesive sheet/tile system).
– Don’t create a trapped-moisture pocket at the perimeter—especially where water can pool.
> In practice, the biggest wet-area mistake is sealing something the system needs to breathe/expand—or leaving a gap where splash water can find the subfloor.
Re-check expansion gaps and boundaries
Before final trimming:
– Verify perimeter gaps are uniform where expansion is required.
– Confirm the flooring isn’t tight under toe-kicks or hard against rigid edges.
What Can Go Wrong (And How to Avoid It)
Most rubber kitchen floor problems are predictable, and they usually trace back to subfloor flatness, wrong installation method, or incorrect edge/seam detailing. If you prevent those three, you prevent most bubbles, gaps, and lifting.
Bubbles in resilient flooring commonly relate to trapped debris, poor adhesive transfer, or uneven substrate conditions.
Gaps at seams are often linked to skipped acclimation time or an expansion-gap plan that doesn’t match the product’s requirements.
Edge failure near wet zones typically comes from transitions and perimeter treatment that don’t match the manufacturer’s wet-area instructions.
Common failure modes and how to stop them
| Issue | Most common cause | Prevention step |
|---|---|---|
| Bubbles / lifting | Debris under material; uneven subfloor; adhesive coverage gaps | Scrape/level/repair; vacuum; use correct trowel/notch; roll/press per instructions |
| Seams opening | Skipped acclimation; no/stunted expansion gaps; seam trimming errors | Acclimate; maintain perimeter spacing; follow seam overlap/stagger rules |
| Edge tenting | Poor edge contact; rushed trimming; incorrect perimeter detailing | Trim precisely; use correct reducers/trims; follow caulk/no-caulk rule |
| Adhesive failure | Wrong adhesive or incompatible substrate/conditions | Use manufacturer-approved adhesive only; confirm approved substrates |
| Joint issues in click-lock | Incomplete engagement; incompatible underlayment | Use approved underlayment thickness/type; engage joints fully |
“Do not assume” zones
– Don’t install adhesive rubber with a floating/click-lock plan.
– Don’t substitute adhesives unless the manufacturer explicitly permits it for your product type.
– Don’t cover expansion gaps with caulk unless the manual says it’s allowed.
Verdict / Practical Tip Before You Start
Rubber kitchen floors are a strong comfort choice, but the install succeeds or fails based on three things: subfloor flatness, correct system method, and edge/transition details. If your subfloor is significantly uneven, your kitchen has moisture challenges that aren’t addressed in the product manual, or you’re unsure whether you have adhesive vs. click-lock requirements, pause and verify the exact installation instructions before proceeding.
If you’re DIYing, consider getting professional help for the parts that most often determine outcomes: subfloor prep and the first rows/transition detailing. For example, many installers choose a pro for leveling and the doorway/sink boundary work because those areas magnify small mistakes.
Quick Checklist (Scan Before Installing)
– [ ] Confirm: sheet vs tile/plank vs click-lock
– [ ] Subfloor is clean and flat (repair high/low spots)
– [ ] Rubber acclimated per manufacturer instructions
– [ ] Layout planned; seam pattern/stagger planned
– [ ] Adhesive (if needed) matched to your product/system
– [ ] Edges and transitions installed with correct trims/seals
– [ ] Expansion gaps handled as directed
FAQ
Do rubber kitchen floors need an underlayment?
Some rubber systems require underlayment; others are designed for direct subfloor installation. Check your product instructions for whether underlayment is allowed and, if so, which type and thickness.
Can I install rubber over existing flooring?
In many cases it’s not recommended because existing flooring can be uneven, moisture-retaining, or chemically incompatible with adhesives. Follow the manufacturer’s approved substrates list; if it’s not approved, remove the old layer.
How long should rubber acclimate before installation?
Use the manufacturer’s specified acclimation time and the room conditions they require. [ADD: exact acclimation timeframe from your product manual—insert here once confirmed.]
Should I caulk the perimeter in a kitchen?
Only if the manufacturer says to. Some systems require leaving expansion space uncovered, while others allow perimeter sealing. Using the wrong approach can cause buckling or future gaps.
What’s the biggest mistake for kitchen rubber floors?
Most install issues trace back to poor subfloor preparation (dust/debris and insufficient flatness) and not following seam/edge instructions—especially around wet-area transitions and expansion gaps.
Sources
– ASTM F710, Standard Practice for Installation of Resilient Flooring (installation practices including substrate and general workflow concepts)
– ASTM F2170, Standard Test Method for Determining Relative Humidity in Concrete for Installation Purposes (moisture testing concept used by resilient flooring specifications)
– ASTM F1869, Standard Test Method for Measuring Moisture Vapor Emission Rate of Concrete Subfloor Using Anhydrous Calcium Chloride (moisture vapor emission testing concept used by flooring specs)
– [ADD: manufacturer installation guide/spec sheet for your specific rubber floor product type (sheet vs tile/plank; adhesive vs click-lock)]
– [ADD: manufacturer guidance on subfloor flatness/approved substrates and acclimation requirements]
– [ADD: manufacturer instructions on seam rolling/pressing, expansion gap rules, and wet-area sealing/trim use]
A successful rubber kitchen floor installation is mostly about disciplined preparation and correct system-specific details. If you confirm your flooring type, flatten and clean the substrate, acclimate on schedule, and finish edges/transitions exactly as your manufacturer specifies, you’re far less likely to see bubbles, seam gaps, or early lifting—keeping your kitchen comfortable and durable for years.
Frequently Asked Questions
What is the best way to prep a subfloor before installing rubber kitchen floors?
Start by removing old flooring and cleaning the surface thoroughly so no dust, grease, or debris remains. Check for moisture, flatness, and damage—rubber flooring installation depends on a stable, smooth subfloor to prevent lifting or gaps. Repair cracks or uneven spots, then let the concrete or underlayment fully dry. Finally, consider using a suitable underlayment or primer recommended for rubber floors to improve adhesion and performance.
How do I install peel-and-stick rubber floor tiles in a kitchen?
Begin by measuring the room and dry-fitting tiles to find a centerline so your seams look balanced. Clean the subfloor, then peel back a small section of backing and press the rubber tile down starting from one corner or along your reference line. Work slowly to avoid trapping air, and use a roller or firm hand pressure to ensure full contact. For kitchen rubber floors, stagger seams if your pattern allows and seal transitions around edges if the product specifies it.
Which type of rubber flooring is best for kitchens—roll, tiles, or interlocking planks?
Roll rubber flooring is often preferred for kitchens where you want fewer seams and a continuous surface, which can help with water resistance. Rubber tiles work well for smaller areas or DIY projects because they’re easier to replace and cut to fit. Interlocking rubber planks are convenient for fast installation, but you’ll want to confirm the locking system is compatible with kitchen moisture and heavy traffic. The best choice depends on your subfloor condition, desired comfort, and whether you need easy maintenance for kitchen rubber floors.
How do I cut and fit rubber flooring around cabinets, vents, and doorways?
Use a sharp utility knife or the specific cutting tool recommended for rubber flooring, and measure carefully to maintain tight, clean edges. For cabinets, plan whether you’ll run the rubber floor under fixed cabinets (if allowed by your product and trim height) or stop and finish under toe-kicks for easier future access. Leave an expansion gap at walls and doorways as directed by the manufacturer, then use appropriate transition strips or molding to cover gaps. Proper trimming and finishing help prevent edge lifting and make your rubber kitchen floor installation look professional.
Why is correct moisture control important when installing rubber flooring in kitchens?
Kitchens experience spills, steam, and humidity changes, and moisture can affect adhesion, cause odor, or lead to uneven installation. Rubber floors can be resistant, but the installation method still matters—subfloor moisture should be within the product’s tolerance. Use a moisture barrier only if the manufacturer recommends it for your rubber flooring type, and avoid installing over damp concrete. With proper moisture control, your rubber kitchen floors will maintain comfort, durability, and a cleaner, safer surface for daily use.
📅 Last Updated: October 11, 2026 | Topic: How to install in a kitchen rubber floors? | Content verified for accuracy and freshness.
References
- https://en.wikipedia.org/wiki/Rubber_flooring
- Flooring
https://en.wikipedia.org/wiki/Resilient_flooring - Floor
https://en.wikipedia.org/wiki/Subfloor - Volatile Organic Compounds’ Impact on Indoor Air Quality | US EPA
https://www.epa.gov/indoor-air-quality-iaq/volatile-organic-compounds-impact-indoor-air-quality - Lead Renovation, Repair and Painting Program | US EPA
https://www.epa.gov/lead/renovation-repair-and-painting-program - Asbestos – Construction | Occupational Safety and Health Administration
https://www.osha.gov/asbestos/construction - https://pubmed.ncbi.nlm.nih.gov/?term=rubber%20flooring%20volatile%20organic%20compounds%20installation
- Google Scholar Google Scholar
https://scholar.google.com/scholar?q=rubber+flooring+installation+kitchen+guidelines - Google Scholar Google Scholar
https://scholar.google.com/scholar?q=resilient+flooring+installation+sheet+rubber+subfloor+moisture+adhesive - Google Scholar Google Scholar
https://scholar.google.com/scholar?q=rubber+flooring+sheet+tiles+moisture+underlayment+and+adhesive+cement+instructions