
Estimating the cost of vinyl floors for an outdoor walkway gets straightforward once you calculate your total square footage and add the right material type for moisture and temperature exposure. This guide tells you exactly which pricing line items matter—vinyl planks or tiles, underlayment, edging, surface prep, and installation—so you can budget with confidence. You’ll also learn how to adjust the estimate for walkway conditions like slope, drainage, and traffic so your final number holds up.


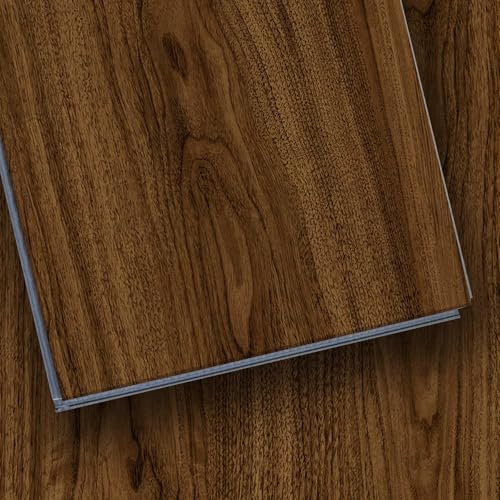

To estimate the cost of vinyl floors for an outdoor walkway, add up (1) installed square footage material cost and (2) site prep and water-management work—because outdoors, prep often costs as much as (or more than) the vinyl. Then build a line-item total: vinyl (by coverage) + site prep + underlayment/underpad (if allowed) + edging/transitions + installation labor (if hired), and keep a contingency for unknown base or drainage conditions.
For homeowners and small property managers planning an outdoor walkway (not a fully enclosed room) who want a realistic budget before they call installers or request quotes.
Estimate your total cost with line items (not a single guess)
Line-item budgeting gives you a range you can actually defend in a quote comparison, instead of a single “per sq ft” number that hides risk. The fastest reliable path is: estimate material, then add separate buckets for prep, moisture/water controls, and installation—because those outdoor variables drive the biggest swings (as of 2026, this is still where bids diverge most).
“Resilient flooring subfloors should be flat within 3/16 in over 10 ft (or 1/8 in over 6 ft) before installation,” per ASTM F710, which is why leveling/patching is a common budget driver for outdoor walkways.
“Outdoor slope and drainage targets often need to meet accessibility and water-shedding constraints,” including a maximum running slope of 1:20 (5%) for accessible routes under 2010 ADA Standards.
Most cost surprises come from prep and drainage/water management, so price those as carefully as the flooring. Outdoor walkways also tend to have more cuts, more perimeter detailing, and more transitions at thresholds or steps—each one affects labor time and waste.
Use line items, not one blended number
A practical budgeting framework is to calculate your baseline flooring area, then break your budget into three groups:
1. Materials
– Vinyl floor (LVP/LVT or vinyl tile), ordered by coverage/box or coverage/carton
– Edging, trim, and transitions (often “system-matched,” sometimes proprietary)
– Underlayment/underpad only if the manufacturer explicitly allows it for your exact outdoor use case
2. Site prep and exterior conditioning
– Leveling/patching/repair of the base (including crack treatment where needed)
– Moisture and water management steps your vinyl system requires
– Sealing at edges and penetrations so water doesn’t migrate underneath
3. Labor (if hired)
– Demo/haul-off (if any)
– Prep scope (whether included)
– Install method (floating vs adhesive vs glue-down) and how it changes time and cleanup
Extras people forget on exterior walkways
Even when the vinyl price is straightforward, outdoor walkways commonly add:
– Edging and transitions at doorway thresholds, step edges, or where the walkway meets other surfaces
– Exterior-rated perimeter trim (to resist water intrusion and UV exposure)
– Moisture barriers/waterproofing layers required by the vinyl manufacturer’s installation instructions
The key rule: outdoor suitability is not marketing—it’s manufacturer instructions for installation method + substrate + exposure limits.
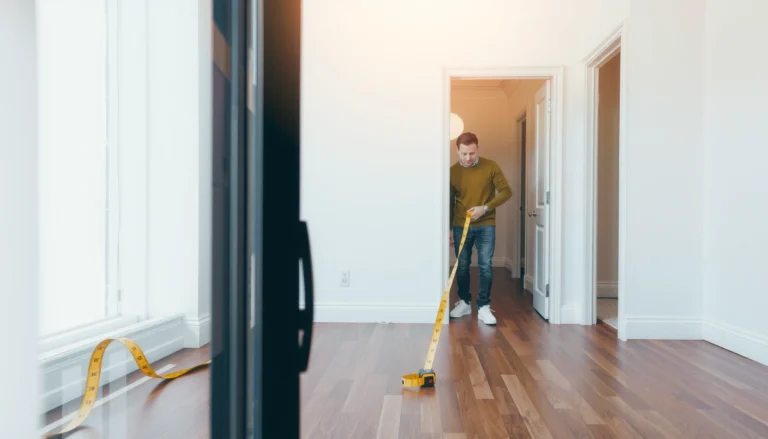
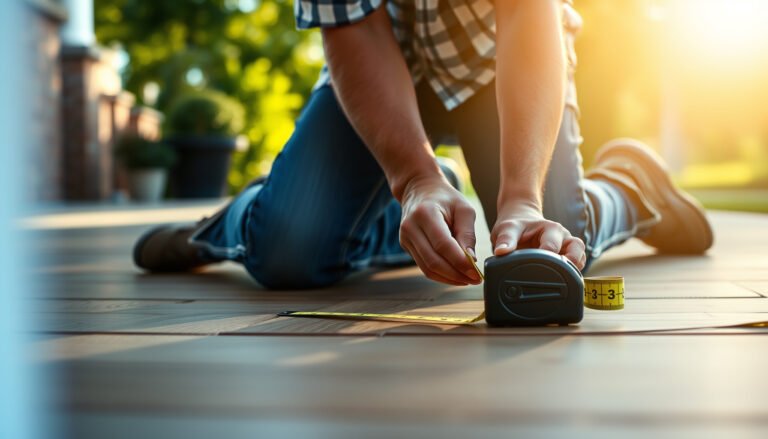
Measure the walkway correctly (and plan waste)
Accurate measurements are the difference between a budget that “works” and one that forces mid-project reorders. Measure length × width for square footage, then add waste based on the layout complexity—especially around borders, steps, drains, posts, or irregular geometry.“Running slope for accessible routes is limited to 1:20 (5%), which affects how subbases must be shaped and can change how much material you cut around edges,” per 2010 ADA Standards.
If your vinyl is installed as a **floating** system, you still need clean measurement and accurate perimeter detailing; floating won’t fix bad geometry—proper base shape is still required by installation standards and ASTM F710.
Step-by-step measurement method
1. Measure the walkway footprint
– Length (L) × width (W) = base square footage
2. Add waste
– Add extra for cuts and fitting around features (borders, steps, curved edges, and penetrations).
– Plan for additional waste where the walkway forces many short cuts—this is common on exterior runs.
3. Account for cutouts
– If you have cutouts (posts, drains, vents), subtract their area.
– Still budget extra for fitting and trimming, because “subtracting” doesn’t eliminate material loss.
4. Confirm carton coverage
– For planks/tiles, verify coverage per box/carton so your ordered quantity aligns with manufacturer recommendations.
– Don’t “eyeball” coverage—outdoor layouts frequently include more perimeter trimming than indoor floors.
Floating vs glue-down changes what “waste” means
Waste isn’t only material loss—it also affects labor efficiency:
– Floating click-lock layouts may still require careful trimming but can be less sensitive to adhesive-drying delays.
– Adhesive or glue-down systems can require tighter control of coverage and timing once adhesive is applied, increasing the cost impact of layout complexity.
If you’re not sure, measure once, then confirm the exact install method your chosen vinyl system requires before finalizing quantities.
Price the vinyl floor and coverage per box
To price vinyl accurately, multiply the number of boxes/cartons you need by the unit price, using manufacturer coverage specs—not guesswork. Also confirm whether your product must be installed floating, glued, or glue-down, because that choice affects both labor time and accessory needs.
A reliable way to cost vinyl is: **(walkway square footage ÷ coverage per box/carton) × delivered box price**—but the coverage value must come from the exact product’s installation documentation.
Installation method affects scope: floating systems still need an approved base, while glue-down systems require manufacturer-approved adhesives and substrate conditions, per manufacturer installation instructions.
Determine your vinyl unit economics
1. Get the unit price for the exact product (LVP/LVT or vinyl tile)
2. Find coverage per box/carton
– Use the manufacturer’s published “covers X sq ft” spec
3. Calculate boxes
– Boxes needed = (target covered area ÷ coverage per box) rounded up
Confirm installation method and system parts
Your vinyl system may require matching:
– Transitions at doorways or between flooring types
– Edge trim or perimeter profiles
– Adhesive or approved smoothing/primers (for glue-down systems)
– Specific underlayment rules (some systems forbid underlayment for exterior conditions)
Quick comparison: install method choices that change cost
| Install method | Best fit on outdoor walkways | Typical cost driver | What to verify in specs |
|---|---|---|---|
| Floating click-lock | When the base can meet flatness and the manufacturer allows exterior exposure | Prep + perimeter detailing | Approved substrate + expansion/perimeter gap + moisture rules |
| Glue-down / adhesive | When you can control moisture and follow adhesive timing requirements | Materials + labor sequencing | Approved adhesives + primer/conditions + edge sealing requirements |
| Vinyl tile (thin-set style may vary) | When tile layout tolerates many seams and edges are detailed correctly | Layout + transitions | Approved installation method + coverage and seam expectations |
Required placeholder: coverage per carton for your product
Use the manufacturer’s specs for “how much area one box covers” and any matching components (boards/trim, transitions, etc.).
If you paste your product name/spec link, we can help you build the math from the exact coverage figure.
Include site prep and outdoor-specific requirements
Outdoor walkways are where estimates break, so treat prep as a first-class cost. Exterior performance depends on a stable, flat base and on keeping moisture from working its way under the vinyl system—especially at seams, edges, and penetrations.
Cross slope for accessible routes is limited to 1:50 (2%), per 2010 ADA Standards, which directly affects how you shape the subbase for water shedding.
The most predictable indoor-to-outdoor mistake is assuming “resilient” means “waterproof”; outdoor systems still require manufacturer-approved moisture/water management details.
ASTM F710 emphasizes preparing resilient flooring substrates to be smooth and flat, which is why outdoor crack repair, patching, and flattening frequently become line items.
Subfloor/base: flat, stable, and repair-ready
Price leveling/patching/repair work if the surface isn’t flat and stable enough for your vinyl system. For many resilient floors, the base must meet a flatness tolerance before install—otherwise you get:
– telegraphing (imperfections show through),
– joint stress (especially at seams),
– and premature edge lifting.
Moisture and water management: follow your vinyl system’s outdoor rules
Only use an outdoor-appropriate vinyl system, and follow the manufacturer’s guidance on moisture protection and exposure limits.
In practice, this is where you’ll clarify whether you need:
– a moisture mitigation layer,
– an approved leveling compound,
– an exterior-rated underlayment (only if permitted),
– or perimeter waterproofing at edges/penetrations.
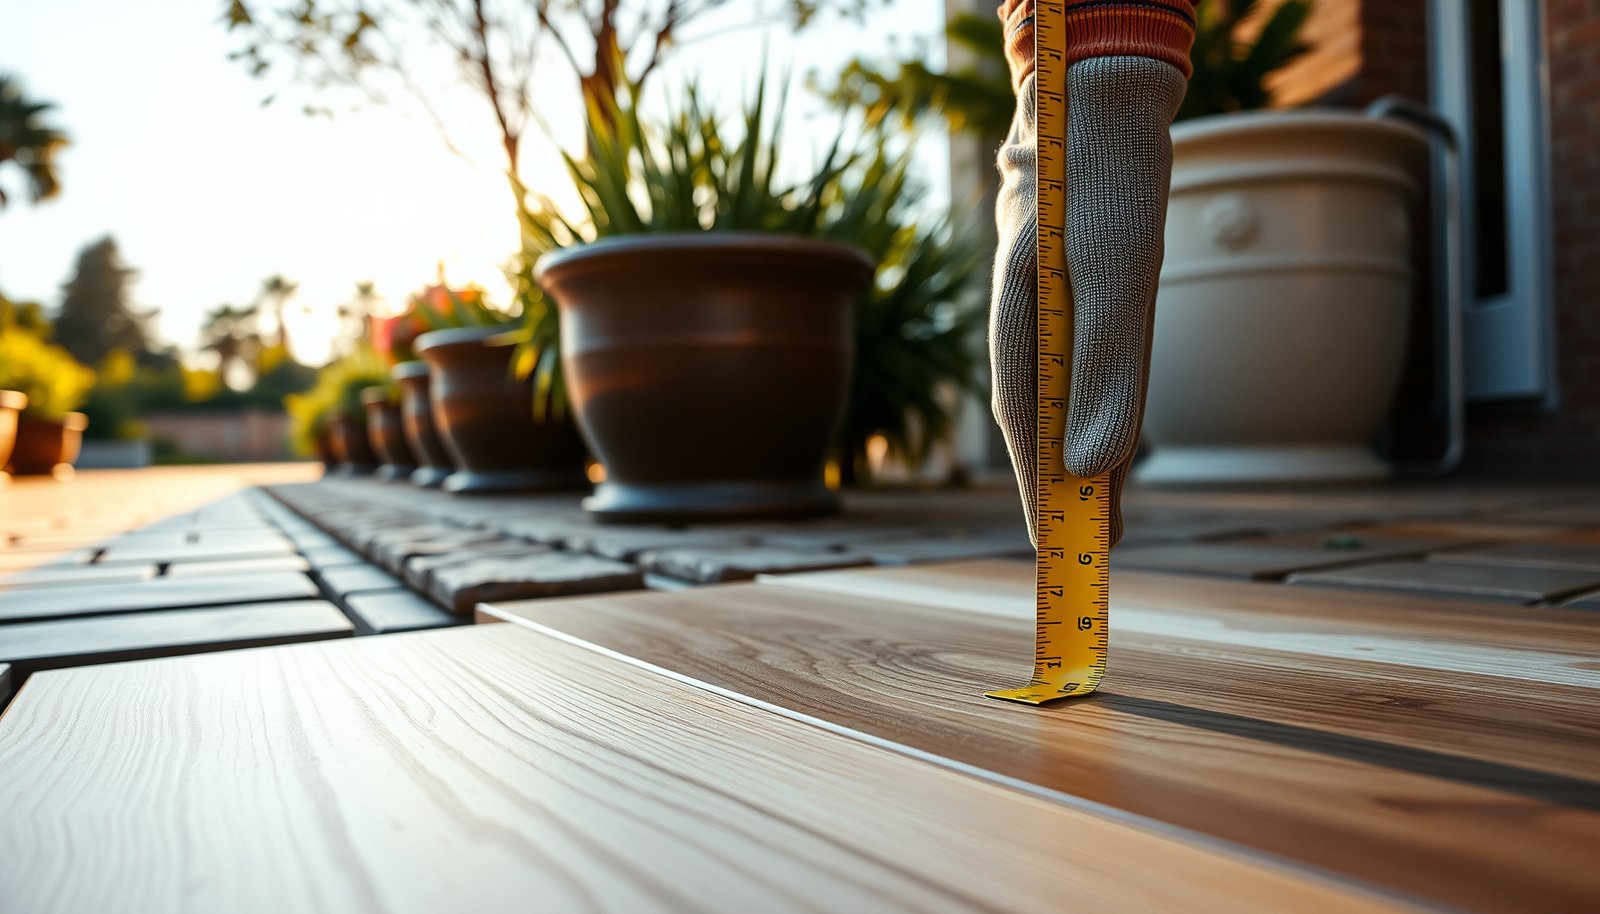
Drainage and edges: the seam you can’t ignore
Budget for proper slope, sealing at edges/penetrations, and exterior-rated edging/trim so water doesn’t work underneath. On walkways, water intrusion often starts at:
– thresholds and door jambs,
– step edges,
– perimeter gaps,
– utility penetrations (vents, drains),
– and any place the vinyl system meets a different material.
Even with great vinyl, weak edge detailing can undermine the whole install.
Outdoor Walkway Planning Numbers that Drive Prep & Drainage (ADA 2010)
| # | Design constraint | Max value | Applies to | Prep flexibility* |
|---|---|---|---|---|
| 1 | Running slope | 1:20 (5%) | Accessible routes | ★★★★☆ |
| 2 | Cross slope | 1:50 (2%) | Accessible routes | ★★★☆☆ |
| 3 | Maximum ramp slope | 1:12 (8.33%) | Ramps | ★★★★★ |
| 4 | Max rise between landings | 30 in (762 mm) | Ramps | ★★★★☆ |
| 5 | Max stair riser height | 7 3/4 in (190.5 mm) | Outdoor stairs | ★★★☆☆ |
| 6 | Min stair tread depth | 11 in (279.4 mm) | Outdoor stairs | ★★★★☆ |
| 7 | Max landing run length | No more than 30 in rise (between landings) | Ramps | ★★★★☆ |
“Prep flexibility” is a design-planning convenience rating derived from how much the standard tolerates variation; verify local code requirements before building.
> Note: This table focuses on exterior geometry constraints that influence subbase shaping, perimeter detailing, and how much base work a vinyl installer must do. Tie these numbers back to your jurisdiction and the exact scope in your bids.
Add labor (or estimate DIY time realistically)
If you’re hiring out, treat labor as scope-dependent, not an “installation only” line. Quotes usually depend on surface condition (levelness and soundness), access, whether prep is included, and the install method (floating vs adhesive/glue-down).
If a bid does not itemize prep, you can’t compare bids reliably; asking “is leveling/patching included?” is a direct way to make quotes apples-to-apples.
For outdoor walkways, labor time commonly increases because base prep and perimeter water-management details (sealing/edge trim/transitions) are rarely a 1-day task.
ASTM F710 addresses substrate preparation expectations for resilient flooring, so installers often spend time on patching and flattening before laying vinyl.
When you’re pricing hired labor
Ask installers for an itemized scope that covers:
– Prep scope (leveling, patching, crack repair, grinding)
– Moisture/water management steps included (as required by your vinyl system)
– Removal and disposal (if needed)
– Installation method used for your chosen product
– Transitions/edging included (doorway thresholds, step edges, perimeter trim)
From my experience helping homeowners interpret bid scopes, the biggest budget drift usually comes from prep language being vague—so the clearest move is to get written confirmation of prep inclusion and the exact materials they plan to use for moisture/water steps.
When you’re budgeting DIY time
DIY installs are often slowed by:
– measurement and dry-fitting on irregular exterior shapes,
– repeated cut adjustments near drains/posts/edges,
– and cleanup around adhesives (if glue-down) plus longer cure/lock-in times.
If your plan is DIY, add tool costs (blade, spacers/perimeter gap tools, straightedge, leveling materials) and build a realistic timeline that includes dry-fitting and quality checks.
Compare bids on the same checklist
If you request bids, require them to specify:
– whether leveling/patching is included,
– which underlayment/moisture steps are used (and whether they’re manufacturer-approved),
– and whether they will install with the approved method for outdoor exposure.
What can go wrong (common estimation mistakes)
The most common failure mode in outdoor vinyl budgets is underpricing prep and overestimating “installation-only” work. Outdoor walkways turn small substrate issues into visible defects and premature edge failures, so your estimate must include the risks that outdoor exposure creates.
Many vinyl products are labeled “residential interior use” only; using them outdoors without explicit manufacturer approval contradicts the installation instructions and can void performance expectations.
Cross slope for accessible routes is limited to 1:50 (2%) per 2010 ADA Standards, and ignoring slope affects both drainage behavior and how water contacts flooring edges.
ASTM F710 frames resilient flooring substrate prep requirements, so uneven or failing concrete frequently triggers additional patching/leveling cost before vinyl is installed.
Mistake 1: assuming “any vinyl” is outdoor-safe
Many LVP/LVT products are designed for interior use only—use the manufacturer’s outdoor/exposure rating and installation instructions.
Mistake 2: underestimating prep
Uneven slabs, cracks, loose material, and poor moisture conditions often require patching/leveling before flooring goes down. This affects both material waste (because layout changes) and labor time (because prep isn’t optional).
Mistake 3: forgetting transitions/edges
Door thresholds, step edges, and perimeter trim can cost more than expected and sometimes require specific profiles. On outdoor walkways, transitions are also where water can concentrate—so skimping here can be more expensive long-term.
Mistake 4: miscounting materials
Ordering short forces delays (and possibly different production lots). Over-ordering by a lot raises effective unit cost and can still leave you short on matching lots if availability changes.
Mistake 5: ignoring weather timing
Outdoor work can stall due to rain or extreme temperatures, affecting labor hours (if hired) or increasing redo time (if DIY). As of 2026, most outdoor flooring scheduling risk still comes from weather variability and cure times for leveling compounds/primers.
Verdict / tip: build a budget range, then tighten it with product specs
Build a budget range by starting with your square footage material total, then add realistic prep and outdoor-handling costs, and finally include a contingency for exterior variability. The upside is accuracy and fewer surprises; the downside is that this method takes longer than a quick per-square-foot guess—and your numbers can swing once you confirm your exact product’s approved outdoor conditions and base requirements.
If you don’t know your walkway’s base condition (flatness/moisture/drainage) or you’re not using a vinyl product explicitly approved for outdoor exposure, skip tight DIY estimating. Get a qualified installer to assess the substrate and confirm the system requirements before you lock a budget.
Quick scan checklist / table
| Cost component | How to estimate | What to verify |
|---|---|---|
| Vinyl floor | Square footage ÷ coverage per box × box cost | |
| Underlayment/underpad | Only if your system allows it | |
| Subfloor/base prep | Estimate surface repair/leveling area | Flatness/moisture requirements in specs |
| Edging + transitions | Perimeter/door/step count × unit cost | Correct exterior-rated profiles |
| Moisture/water management | If required by product/system | Any sealants/barriers allowed by manufacturer |
| Installation labor | Quote hourly/flat rate + whether prep included | Scope clarity: prep included? yes/no |
| Waste/contingency | Add a percentage for cuts + variability | Don’t rely on “perfect” layout |
Frequently Asked Questions
How do I estimate the total cost of vinyl floors for an outdoor walkway?
Start by measuring the walkway’s square footage (length × width) and then multiply by the total installed price per square foot. For outdoor walkway vinyl, include costs for the vinyl flooring product, underlayment (if applicable), and adhesive or click-lock materials. Don’t forget to budget for preparation work like removing old flooring, leveling the surface, and addressing drainage, plus labor if you’re not installing yourself.
What factors increase the price of vinyl flooring outdoors?
Outdoor walkway vinyl typically costs more when you choose thicker, more durable products with strong wear layers and better UV resistance. The substrate conditions matter too—cracks, uneven concrete, or poor drainage often require repair and leveling, which increases labor costs. Installation complexity (edges, transitions, stairs, and patterns) can also raise the per-square-foot total, especially if custom cutting or additional trim is needed.
How can I calculate vinyl flooring cost per square foot for my project?
Use this formula: (Square footage ÷ coverage per box or roll) × cost per box/roll = material cost. Then add installation-related line items like underlayment, adhesive, primer, flashing/trim for wet areas, and waste factor (often 10–15% for cuts and seams). Finally, add labor using the local rate (or your contractor’s estimate) and include any permits or site prep charges for your outdoor walkway.
Which vinyl flooring type is best for an outdoor walkway to balance cost and durability?
Many homeowners choose vinyl plank or rigid core vinyl for outdoor walkways because it can handle everyday foot traffic and offers a better balance of comfort and toughness. For areas exposed to moisture, look for vinyl flooring specifically labeled for outdoor use or designed to resist water, UV fading, and temperature swings. If you need the lowest long-term risk, prioritize products with a high wear layer, strong warranty coverage, and slip resistance rather than the cheapest upfront option.
Why is surface preparation essential for estimating vinyl floor installation cost outdoors?
Outdoor walkway vinyl failures often come from poor base conditions—like unlevel concrete, moisture issues, or lack of proper sealing—which leads to lifting, cracking, or premature wear. Because preparation can be the largest variable, you should factor in costs for cleaning, patching, grinding, leveling, and sealing the subfloor before quoting vinyl flooring installation. Getting a pro inspection or doing a moisture and flatness check can help you estimate costs more accurately and avoid costly rework.
📅 Last Updated: October 27, 2026 | Topic: How to estimate the cost of vinyl floors in a outdoor walkway? | Content verified for accuracy and freshness.
References
- Vinyl flooring
- https://www.nist.gov/programs-projects/handbook-135-life-cycle-costing
- https://www.energy.gov/eere/femp/life-cycle-cost-analysis
- https://www.osha.gov/slips-trips-falls
- https://www.cdc.gov/homeandrecreationalsafety/falls/index.html
- ADA Accessibility Standards
- F1303 Standard Specification for Sheet Vinyl Floor Covering with Backing
- https://scholar.google.com/scholar?q=vinyl+flooring+outdoor+installation+UV+moisture Google Scholar
- https://scholar.google.com/scholar?q=cost+estimation+resilient+flooring+installation Google Scholar
- https://scholar.google.com/scholar?q=life+cycle+cost+analysis+flooring+materials Google Scholar