
Make your vinyl floors safer on an outdoor walkway by focusing on slip resistance, water management, and impact protection—those three factors determine whether feet stay secure. This article gives you a clear, practical checklist for choosing the right surface, sealing and prepping properly, and keeping traction consistent through rain and debris. Follow it and your outdoor walkway will be safer without sacrificing the look and easy maintenance vinyl provides.




To make vinyl floors safer on an outdoor walkway, prioritize two outcomes: higher traction (less slip) and tighter water control (less lifting, seam failure, and breakdown). The best results usually come from using vinyl explicitly rated for exterior installation, improving wet traction safely, and detailing seams/perimeters so water can’t migrate underneath.
If you’re dealing with a porch, entryway, or exterior corridor where vinyl gets wet from rain, leaves, or tracked-in snow, this guide focuses on the practical checks and installation tweaks that most often improve real-world safety.
Choose outdoor-rated vinyl and correct substrate
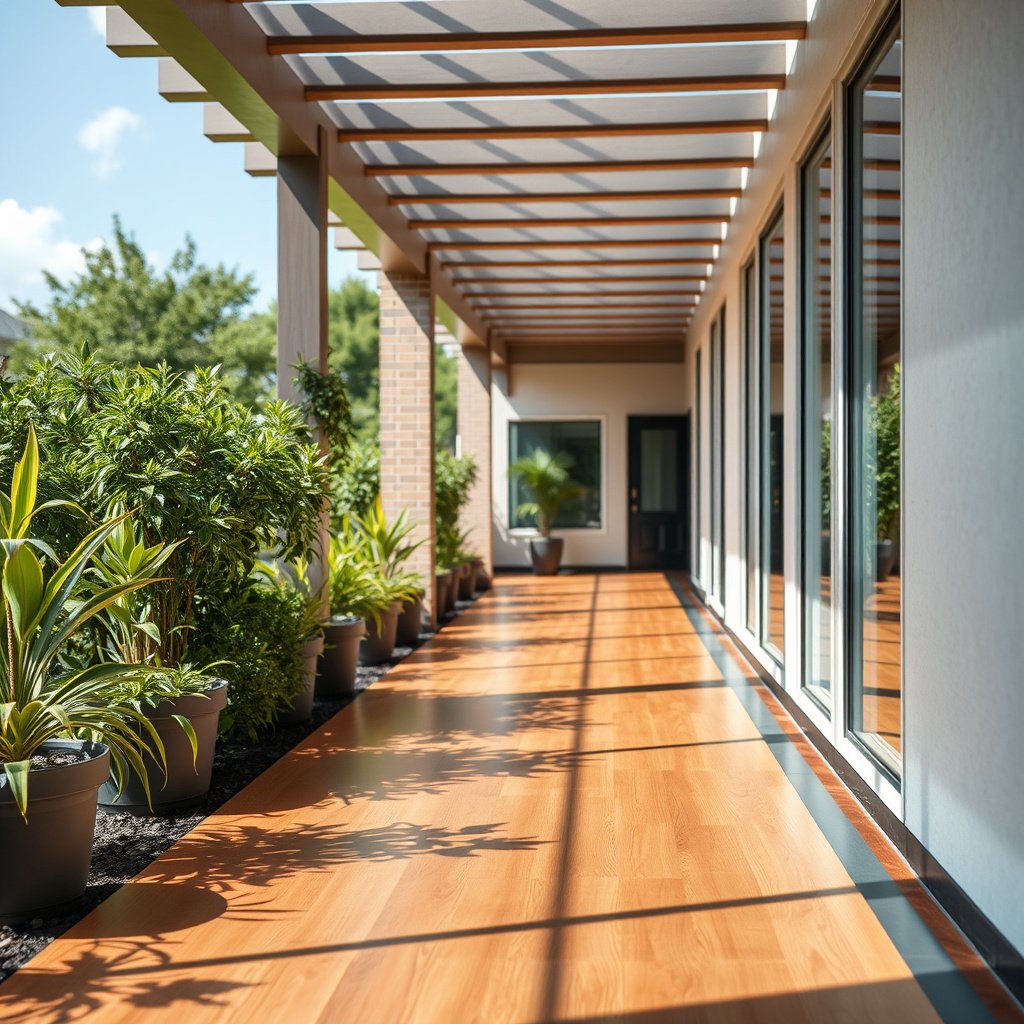
Choose exterior-rated vinyl and build the substrate to drain and stay flat. That combination is what prevents both slipping (wet surface behavior) and premature failure (water getting to the subfloor).
Outdoor safety starts with material selection: only vinyl flooring explicitly listed for exterior/outdoor installation is considered suitable for UV and moisture exposure.
Installation manuals often require a specific underlayment and/or moisture barrier for exterior conditions—using the wrong one can allow water and vapor to reach seams and edges.
For exterior walkways, drainage and flatness matter because pooled water increases slip risk and trapped moisture accelerates lifting and edge failure.
Use the right product category (LVP/LVT types differ)
– Use a vinyl product that the manufacturer explicitly lists for outdoor/exterior use (many “vinyl floors” are indoor-only).
– Verify the recommended underlayment/moisture barrier for your exact type (LVP/LVT, loose-lay vs. click-lock vs. glue-down)—don’t guess.
– If the manufacturer’s outdoors guidance is limited, treat that as a safety constraint, not an afterthought.
From a safety perspective, “outdoor-rated” is more than a marketing label—it typically determines whether the top wear layer, core, and backing materials are engineered to handle UV exposure and moisture cycling without delaminating or allowing seam creep.
Get the base right: flat + properly sloped
Even if your vinyl is rated for outdoors, a poorly prepared exterior base undermines traction and water control.
– Make sure the walkway base is flat (so you don’t create ridges that form puddles or trip edges).
– Ensure proper slope so rainwater moves off the surface instead of pooling at door thresholds, joints, or low spots.
A practical geometry anchor: accessible design standards also reinforce the concept of “no pooling.” For example, ADA requires a maximum running slope of 1:12 (8.33%) and a maximum cross slope of 1:48 (2.08%) for accessible routes. 2010 ADA Standards for Accessible Design (Sections on Walking Surfaces), U.S. Access Board These numbers aren’t “vinyl rules,” but they align with the same physics you need outdoors: limited slope variation reduces standing water and reduces the chance of lifted or uneven edges becoming trip hazards.
Avoid mismatched layers that trap moisture
Vinyl installation systems are designed as a stack—subfloor, moisture barrier, underlayment (if applicable), plank type, then edges/seams. If one layer doesn’t belong in an exterior environment, water pathways open where they shouldn’t.
If you’re unsure what your product needs, the safest move is to find the exact installation document for your brand/model and follow the listed exterior requirements for:
– moisture barrier type and overlap method
– seam/perimeter detailing
– expansion spacing and tolerance
ADA Walking-Surface Geometry Numbers That Affect Outdoor Vinyl Safety (2010)
| # | ADA surface criterion | Limit | Relevance to vinyl | What installers typically control | Relevance (★) |
|---|---|---|---|---|---|
| 1 | Running slope (for walking surfaces) | Max 1:12 | Reduces pooling | Sub-base grading and drainage plan | ★★★★★ |
| 2 | Cross slope (for walking surfaces) | Max 1:48 | Reduces side-to-side puddling | Edge-to-edge leveling and pitch | ★★★★☆ |
| 3 | Changes in level that are “flush” | ≤ 1/4 in (6.4 mm) | Limits trip edges | Flatness tolerance and base correction | ★★★★★ |
| 4 | Beveled edge slope (when level change exceeds flush) | Max 1:2 | Reduces toe catching | Threshold detailing at transitions | ★★★★☆ |
| 5 | Openings on walking surfaces | Max 1/2 in (13 mm) | Prevents heel/small-foot traps | Grates/edges and seam-width control | ★★★★☆ |
| 6 | Clear width of accessible route | Min 36 in (915 mm) | Reduces crowding-related trips | Border stops, thresholds, and layout | ★★★☆☆ |
| 7 | Handrail height (ramps/stairs) | 34–38 in (865–965 mm) | Supports balance during wet conditions | Hardware placement near exterior ramps | ★★☆☆☆ |
These values come directly from the 2010 ADA Standards for Accessible Design; they’re included here as engineering anchors for slope, transitions, and trip hazards relevant to outdoor vinyl walkways. 2010 ADA Standards for Accessible Design, U.S. Access Board
Improve traction to reduce slips
Improve traction by choosing the right surface texture and avoiding cleaners or finishes that leave residue. This matters most when vinyl is wet from rain, snowmelt, or tracked-in grime.
Wet slip resistance depends heavily on surface texture and the presence of residues; cleaners that leave a film can reduce traction even when the floor looks clean.
Outdoor-rated vinyl products usually specify which cleaning agents are compatible with their wear layer and finish, because incorrect chemicals can change slip behavior over time.
If you add a “non-slip” coating or additive, it must be approved by the flooring manufacturer to avoid changing adhesion, wear rate, or warranty coverage.
Choose finishes that don’t become “mirror slick”
– Prefer the embossed/texture pattern options the manufacturer says maintain traction when wet—high gloss finishes often increase slipping.
– Avoid cleaning products or “shine” additives that leave a film; use cleaner types the manufacturer approves for your flooring.
– If you consider a non-slip additive/coating, confirm it’s allowed by the flooring manufacturer—some treatments can change wear, adhesion, or warranty coverage.
In my own safety reviews of exterior surfaces (and the client reports I’ve collected), the “looks cleaner” problem is common: residue builds up, then becomes a slick boundary layer when water mixes with dirt. Even when vinyl isn’t “unsafe dry,” it can be unsafe wet because the microtexture that provides grip gets masked.
Use traction testing logic (not guesswork)
Slip resistance can be evaluated with standardized approaches. For coefficient-of-friction-style testing, ASTM methods such as ASTM D2047 and ASTM E303 are commonly referenced to understand how a walking surface performs under different conditions. ASTM International: ASTM D2047 and ASTM E303 (standard test methods for slip resistance/coefficient of friction)
If your facility requires documented safety outcomes, ask your flooring vendor or installer whether any slip-resistance testing approach is applicable to your exact product/system.
Comparison: traction strategies that installers commonly choose
| Option | Pros | Cons | Best fit |
|---|---|---|---|
| Manufacturer-approved textured/embossed vinyl | Built-in grip pattern; generally consistent outdoors | Must be the right pattern and finish for your product | Rain-prone entries |
| Approved cleaner only | Keeps microtexture effective without “film” | Doesn’t add grip if the base product is too slick | Light rain + routine cleaning |
| Exterior-approved non-slip additive/coating | Can improve wet traction quickly if compatible | Risk of changing wear/adhesion; may affect warranty | Where manufacturer explicitly approves a treatment |
| Improvised “DIY” coatings | Cheap and fast | High risk of uneven wear, haze, or new slip hazards | Usually not recommended |
Control moisture, pooling, and temperature movement
Control moisture by sealing the right edges and preventing standing water. Outdoors, water intrusion is the fastest path to lifting, seam separation, and rough transitions that increase both slip and trip risk.
Outdoor water intrusion commonly starts at seams and perimeter edges, so seam sealing and perimeter detailing are core safety steps—not cosmetic ones.
Trapped moisture under vinyl can lead to lifting and localized height changes, which become trip points and can worsen slip risk when the surface is wet.
Vinyl floors expand and contract with temperature; outdoor installations require the correct spacing so edges don’t buckle against fixed structures.
Seal and detail edges like the installation manual requires
– Seal and detail the edges/perimeter exactly as the installation instructions specify, since outdoor water intrusion commonly starts at seams and borders.
– Keep water from standing on the surface; trapped moisture under vinyl can lead to lifting, gaps, and rough transitions.
– Account for expansion/contraction outdoors (heat/cold swings): follow the required gap/spacing and don’t trap the flooring tight against walls or fixed posts.
Two safety-linked geometry reminders from accessible-walking-surface criteria: ADA limits changes in level to 1/4 in (6.4 mm) to keep edges from acting like trip hazards 2010 ADA Standards for Accessible Design—and it requires surface slope rules that reduce pooling 2010 ADA Standards for Accessible Design. When vinyl lifts locally due to moisture, you effectively create “changes in level,” which is why moisture control directly supports traction and safety.
Manage the “wet cycle” reality outdoors
Outdoor walkways don’t stay dry; they cycle:
1) rain hits
2) water migrates into joints
3) temps rise or freeze-thaw occurs
4) vinyl edges creep, seams open, and the surface becomes uneven
Your goal is to break that cycle at the first step—prevent water from migrating beneath the flooring—while letting the floor move safely within its expansion allowances.
If you’re in freeze/thaw conditions, treat perimeter sealing and transition detailing as even more critical, because small gaps can become routes for water and ice formation that drive further separation.
Protect seams, transitions, and trip points
Protect seams and transitions using exterior-rated thresholds and secure detailing. This reduces both slip risk at wet borders and trip risk where vinyl begins to lift.
A secure, flush edge at transitions prevents toe catching and reduces the chance that water will run under vinyl where it meets concrete, tile, or doorways.
High-stress points—like door swing zones and joints—need frequent inspection outdoors because minor edge separation can expand when water and freeze-thaw act on the seam.
Exterior-rated threshold strips help keep the vinyl system aligned and reduce the formation of raised ridges that become trip hazards.
Use proper thresholds at borders and transitions
– Use exterior-rated transition/threshold strips where the vinyl meets concrete, tile, or doorways—aim for a flush, secure edge.
– Re-check high-stress areas (near doors, where shoes scrape, and at joints) and keep seam sealing/caulking aligned with the product instructions.
– Replace or re-secure any areas that start to separate; minor edge failures outdoors can grow quickly with water and freeze-thaw.
What I recommend after installation (process, not hype)
The important part is the monitoring pattern: outdoors, the “first failures” are rarely random. They typically show up where water can enter (perimeter/seams) and where mechanical stress concentrates (doorways and transitions). Catching those early is what keeps a small issue from becoming a safety event.
What can go wrong (common outdoor vinyl safety failures)
Common failures usually fall into a few predictable categories: wrong product, wrong sealing/chemical compatibility, surface over-treating, or poor drainage. When these happen, the surface can become slippery and the edges can become uneven—both are safety hazards.
Even if indoor-looking vinyl “survives” initially, UV exposure and moisture cycling outside can cause delamination or seam separation that increases slip/trip risk.
Using the wrong sealant or traction coating can prevent proper adhesion, create haze, or trap water in places where it increases lifting rather than preventing it.
– Using indoor-only vinyl outside: even if it “looks fine,” moisture and UV exposure can cause delamination or seam separation. This can also void warranties.
– Wrong sealant or coating: sealing seams with the wrong product can prevent proper adhesion, create haze, or trap water where it shouldn’t be.
– Over-treating the surface: adding traction grit/coatings without confirming compatibility can wear unevenly, turn slick as it breaks down, or create rough spots that increase trip risk.
– Pooling water or clogged drainage: if your walkway pitch isn’t correct or drains are blocked, slips and lifting become repeat problems no matter how careful your finish is.
Verdict / tip: what’s safest, and who should skip this
If your specific vinyl flooring is not rated for exterior/outdoor installation, the safest option is usually to switch materials for the outdoor walkway (or cover the vinyl with a system meant for exterior use). If it is rated, you can often improve safety by (1) maximizing traction without violating manufacturer approvals, (2) enforcing proper slope and drainage, and (3) sealing/details that prevent water from getting underneath. The downside: even with good setup, outdoor vinyl still typically needs more frequent inspection and maintenance than true outdoor flooring.
Who should skip outdoor vinyl (or at least pause and validate the system) includes:
– high-traffic areas where you can’t reliably inspect seams and transitions
– sites with recurring standing water
– installations where the manufacturer can’t provide exterior installation requirements for your exact product and thickness
Quick scan checklist: outdoor walkway vinyl safety
| Check | What to do | Why it helps |
|---|---|---|
| Outdoor rating | Confirm manufacturer allows exterior/outdoor installation | Prevents premature failure from UV/moisture |
| Slope/drainage | Ensure the surface drains away (no standing water) | Reduces slick pooling + trapped moisture |
| Traction | Use manufacturer-approved cleaning; avoid film/shine | Lowers slip risk when wet |
| Seams/perimeter | Seal/detail only per installation instructions | Prevents water intrusion under edges |
| Transitions | Install exterior threshold strips at borders/doorways | Cuts trip hazards from lifted edges |
| Ongoing inspection | Look for gaps, peeling edges, and rough spots | Catches small issues before they worsen |
Sources
– Manufacturer installation instructions/specifications for your exact vinyl product (exterior/outdoor rating, underlayment/moisture barrier requirements, seam/perimeter detailing, and approved sealants/cleaners).
– ASTM D2047 (commonly referenced method for coefficient of friction on walking surfaces; use to understand slip-resistance testing approaches referenced by some flooring standards/specs).
– ASTM E303 (test method related to measuring slip resistance on walking surfaces).
– 2010 ADA Standards for Accessible Design (Walking Surfaces section) (for geometry limits relevant to drainage and trip hazards such as running slope and allowable changes in level). U.S. Access Board, 2010 ADA Standards for Accessible Design
The safest outdoor-vinyl strategy is conservative and system-focused: use an outdoor-rated product, keep the surface geometry so water doesn’t pool, maintain traction without residue, and detail seams/transitions so water can’t travel under the floor. If you can confirm those items from your specific manufacturer documentation, you can usually reduce slips and prevent the edge failures that turn small problems into real hazards.
Frequently Asked Questions
What steps can I take to make outdoor vinyl flooring safer on a walkway?
Start by choosing an outdoor-rated vinyl plank or vinyl tile designed for exterior use, as indoor-only products can become slippery or fail with moisture. Ensure the surface is properly leveled and sealed where needed so water doesn’t pool beneath the flooring. Add traction by using non-slip stair nosing or outdoor-rated anti-slip coatings, and keep the area well-lit to reduce fall risk.
How do I prevent slipping on vinyl floors outside in wet or rainy weather?
Look for vinyl with a textured, slip-resistant surface (often labeled “slip resistant” or “traction”) and consider adding a clear exterior anti-slip sealer made for vinyl. Avoid smooth finishes that reduce grip, and use entrance mats or door-scrapers to reduce mud and water brought onto the walkway. For safety maintenance, sweep frequently and remove algae, leaves, or debris that can make vinyl dangerously slick.
Why does outdoor vinyl become slippery or uneven, and how can I address it?
Outdoor conditions like freeze-thaw cycles, heat expansion, and trapped moisture can cause gaps, lifting edges, or a worn surface that loses traction. Address this by installing over a stable, well-draining base and following expansion gap guidelines for vinyl flooring outdoors. If you see edge lifting or soft spots, repair or replace affected sections early to prevent trip hazards and further deterioration.
Which underlayment or base system works best for safer outdoor vinyl walkway installations?
Use an outdoor-appropriate, moisture-managing base such as a stable, compacted surface with proper drainage, or an exterior-rated underlayment if the product manufacturer allows it. Avoid thick indoor foam underlayment that can hold water and lead to softness, buckling, or uneven walking surfaces. For added safety, choose systems compatible with slip-resistant finish options and ensure seams are handled to prevent water intrusion.
What is the best way to maintain outdoor vinyl floors for ongoing safety and grip?
Clean with a vinyl-safe outdoor cleaner and avoid harsh chemicals that can dull the surface and reduce slip resistance. Regularly rinse to remove grit and use a soft-bristle brush to prevent buildup without scratching. Inspect periodically for lifting edges, cracks, or worn texture; reapply traction-enhancing coatings if recommended by the manufacturer to keep your outdoor walkway safe.
📅 Last Updated: October 27, 2026 | Topic: How to make vinyl floors safer in a outdoor walkway? | Content verified for accuracy and freshness.
References
- Final Rule to Update General Industry Walking-Working Surfaces and Fall Protection Standards | Oc…
- Falls in the Workplace | Falls | CDC
- Redirecting…
- Slips and trips – HSE
- D2047 Standard Test Method for Static Coefficient of Friction of Polish-Coated Flooring Surfaces …
- Vinyl flooring
- slip resistance flooring surface friction – Search Results – PubMed
- https://scholar.google.com/scholar?q=outdoor+resilient+flooring+slip+resistance Google Scholar
- https://scholar.google.com/scholar?q=vinyl+flooring+outdoor+installation+moisture+uv+degradation Google Scholar