
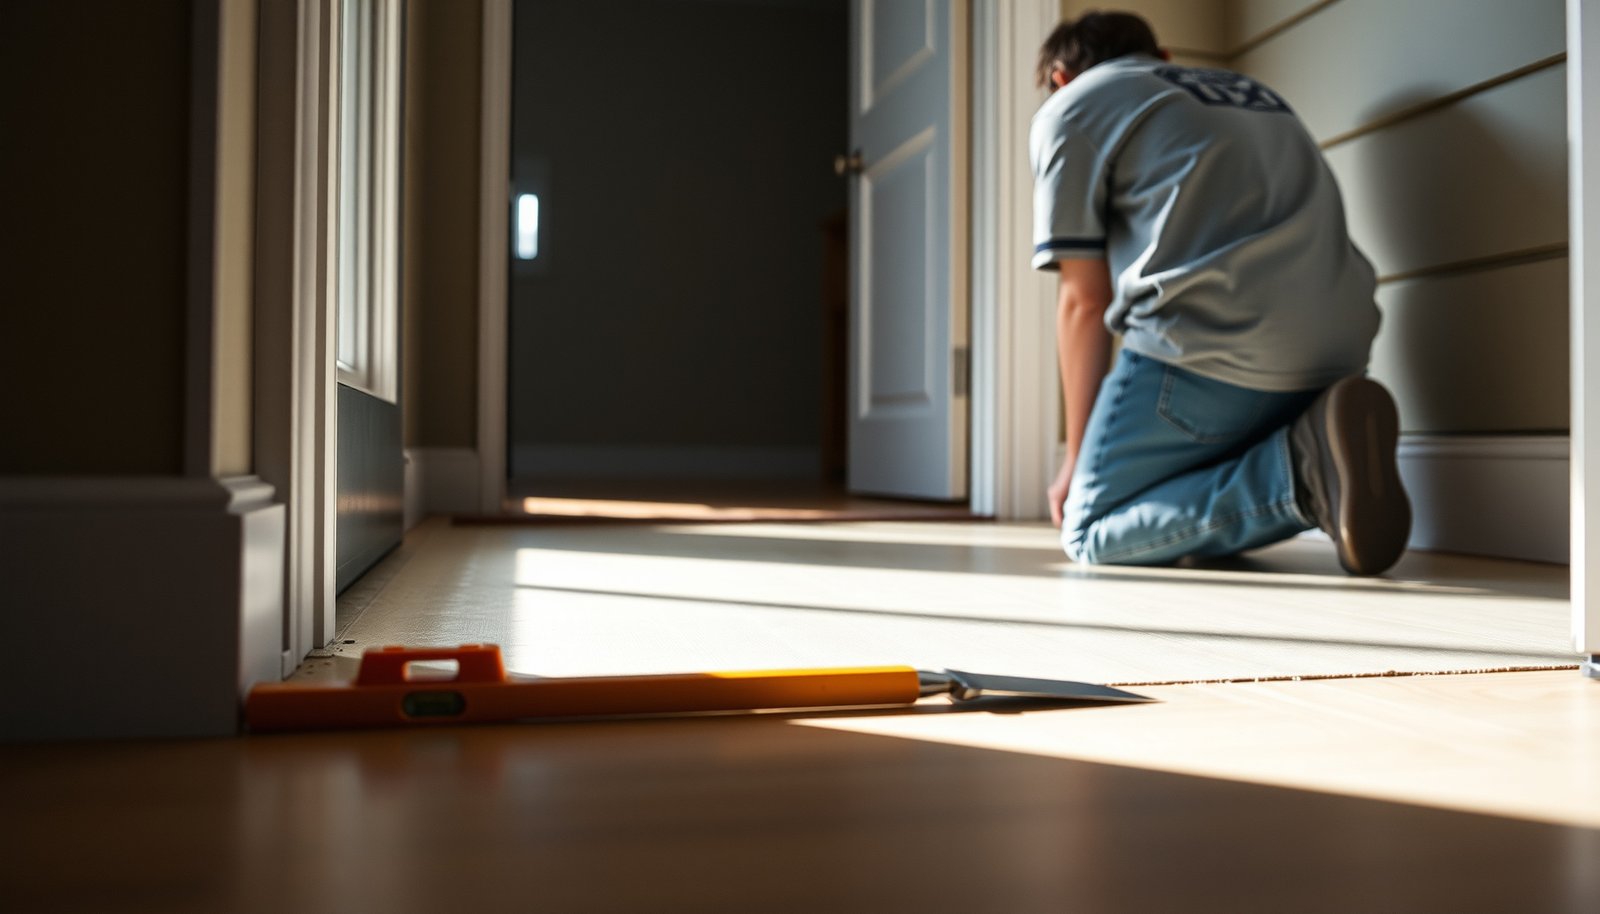

To level vinyl floors before installing a porch, the winning approach is to flatten the subfloor first, then set the vinyl level with self-leveling underlayment or thinset as needed. This tells you exactly how to check for dips and high spots, choose the right leveling product, and prep the surface so the porch won’t telegraph bumps or fail at the seams. If you want a porch installation that stays flat under foot traffic, this is the straightforward method to follow.




Level your subfloor to your vinyl manufacturer’s flatness requirement before you install porch vinyl, then re-check flatness after patch/self-leveler cures. This prevents flex, gaps, and “telegraphing” of bumps when the porch framing and threshold go in.
This guide is for homeowners installing vinyl plank/sheet/tiles on a porch area (or an area that will be covered by porch framing/trim) where the base is uneven and you want a stable, non-bouncy surface before finishing work.
Measure flatness (don’t guess)

Don’t rely on “looks flat” when you’re preparing a porch surface—use a long straightedge to map highs and lows, then compare them to the exact flatness tolerance listed for your vinyl. This is the fastest way to avoid spending money on patching that doesn’t fix the real problem.
– Use a long straightedge (often 6–10 ft) to map high spots and low spots, marking them with a marker.
– Confirm your vinyl flooring’s required flatness tolerance in the installation instructions (don’t rely on general rules).
– Check for soft spots, cracks, and areas that sound hollow—patching won’t fix structural failure.
A 6–10 ft straightedge is commonly used to locate high and low areas before installing resilient flooring because short-span checks miss relevant surface variation.
ASTM F710 discusses acceptable surface variation for concrete subfloors receiving resilient flooring, which is why installers reference flatness standards rather than guesswork (ASTM F710).
If an area is soft, cracked, or hollow-sounding, leveling products can fail because they cannot restore lost structural capacity (ASTM F710).
Mark the map correctly (so you can actually level)
I recommend you mark both sides of the “problem zone” so you know the transition area—not just the lowest point. For example, if a dip runs 18 inches near the porch post, you want to know where it starts and ends before you grind or feather compound.
Then, transfer your markings to a quick sketch of the porch footprint (even a phone note works). When you later re-check after curing, this sketch helps you avoid “chasing” the same low spot repeatedly.
Compare against the vinyl spec, not a generic rule
Vinyl flatness requirements vary widely by product line and backing type (especially for rigid-core LVP vs. glue-down resilient options). Your installation instructions will state a maximum variation—commonly expressed as “X in over Y ft”—and you should follow that number even if a standard seems more or less strict.
If your instructions are missing or unclear, contact the manufacturer or refer to the exact model number in their technical documentation. As of 2026, manufacturers also update installation guidelines more often than homeowners expect, so using the current printed or downloadable instructions matters.
Quick “do not proceed” checks
Before leveling, pause if you see any of these:
– Water intrusion signs (staining, damp odor, rusting anchors)
– Cracks that are actively widening
– Delamination or loose layers (especially over old coatings)
– Areas that flex when you step on them
Leveling can correct surface unevenness; it cannot fix a failing substrate.
Prep the subfloor so leveling compound bonds
Prep determines whether leveling compound lasts—because bond failure is usually a surface-prep problem, not a “math” problem. Your goal is to remove everything that prevents adhesion, then start with a surface that’s mechanically ready to accept patch or self-leveler.
– Remove paint, adhesives, drywall mud, and anything peeling or glossy; vacuum thoroughly.
– Grind down high areas first (filling low areas on top of highs is how you end up with more unevenness).
– If you’re using self-leveling compound, apply the correct primer per the product’s label/specs (skipping primer is a common bond failure).
Grinding high spots first helps prevent layering additional compound over already-high areas, reducing the chance of creating new low/high patterns.
Primer is often required under self-leveling compound to achieve a reliable bond to concrete or porous surfaces (self-leveling/patch TDS label directions).
ASTM F710 emphasizes proper surface preparation for concrete floors before resilient flooring to support adhesion and long-term performance (ASTM F710).
Remove bond-breakers (even thin ones)
Porch substrates commonly have one or more of these:
– Old paint overspray
– Mastic/adhesive residue that’s slick or rubbery
– Drywall compound or patch that wasn’t feathered well
– Concrete sealers that repel compound
Scrape and grind until you reach a surface that’s clean and uniform. Then vacuum with a shop vac. If you can still see dust on your hand after wiping, the bond risk is real.
Primer: the “invisible step” that causes visible failures
Self-levelers are formulated to chemically and mechanically bond to prepared substrates, but they’re not all tolerant of “random primer.” If the TDS (technical data sheet) or label says prime, follow it. If it says no primer is required, still use the exact instructions—some products are designed to wet specific surfaces, others depend on primer chemistry.
If you’re unsure whether your concrete has a sealer, do a simple water behavior check first (. For best results, confirm with the compound manufacturer’s guidance.)
Leveling options for vinyl under a porch
Choose your leveling method based on the shape and spread of the unevenness: patch/feather-finish for isolated lows, and self-leveling compound for broader dips. The best result comes from matching product behavior to the surface profile—because porch slabs often aren’t just “off by a little.”
– High spots: grind until you’re within the vinyl flatness tolerance, then vacuum again.
– Low spots: use a compatible patch/feather-finish compound designed for resilient flooring underlayment.
– Multiple lows / larger dips: use a self-leveling compound, mixed exactly as directed and applied to achieve the target thickness without overbuilding.
Self-leveling compound is best suited for widespread dips because it flows to create a flatter plane, while patch/feather-finish is better for localized low areas.
Using a leveling product not rated for resilient flooring can lead to debonding or surface breakdown because resilient floor systems depend on specific bond and compressive behavior (manufacturer TDS for the patch/leveler).
Feather-finish patching is designed to transition gradually into surrounding areas to avoid ridges that resilient vinyl can telegraph.
Patch/feather vs. self-leveler: what to pick
Below is a practical comparison for porch-floor leveling decisions.
| Feature | Patch / Feather-Finish | Self-Leveling Compound |
|---|---|---|
| Best for (surface type) | Localized dips and spot low areas | Larger areas with multiple lows |
| How you control thickness | Trowel/feather technique and layering | Target thickness based on pour depth and flow |
| Risk of leaving ridges | Higher if feathering is rushed | Lower if edges are prepared and leveling is contained |
| Workflow speed | Fast for small areas | Efficient for bigger dip maps |
| Dust/grind cleanup | Moderate (trowel ridges may need sanding/grinding) | Moderate to heavy (containment and edge cleanup) |
| Bond dependence | Still depends on substrate prep and compatibility | Often depends heavily on correct primer and mixing |
| Best for porch trim points | Targeted feathering under trim/shims | Creates uniform plane under framing—if containment is right |
| Compatibility with vinyl | Use products rated for resilient flooring underlayment | Use products rated for resilient flooring and follow label requirements |
| Overall “feel” underfoot | Great when feathering is thin and smooth | Great when pour depth and edge prep are correct |
| Best For | Spot low repairs where you can feather cleanly | Broad dips where you need a smoother plane across the porch |
A practical “porch-shaped” leveling approach
Porch areas often have unevenness caused by old patchwork, post anchors, or slab finishing differences. Plan around those patterns:
1. Grind highs first to avoid “building up” where you don’t need thickness.
2. Patch isolated lows with feathered transitions.
3. Only after spot fixes, decide if a skim or full self-leveler pour is truly needed.
If your vinyl is going only under framing/trim and not fully exposed, you still want a stable plane where thresholds contact—rocking at shims can translate into gaps over time.
Feather edges and protect transitions for porch installation
Feather your leveling compound so there’s no sharp ridge at the locations where porch thresholds, trim, or shim points land. Also, maintain vinyl expansion gaps where required so the floor can move without buckling or overstressing joints.
– Feather patch areas gradually so there’s no sudden “ridge” where the porch threshold/trim will land.
– Keep expansion gaps where required by your vinyl type (especially at doorways and edges), so the floor can move without buckling.
– Plan the porch contact points: you want the vinyl surface stable under the trim/shim points so nothing rocks after installation.
Resilient flooring can telegraph small ridges, so feathering transitions reduces visible and tactile bumps over time (ASTM F710).
Expansion gaps are part of resilient flooring performance because vinyl needs room to move with temperature and humidity changes (vinyl manufacturer installation instructions).
Threshold and trim contact points should sit on a stable plane; rocking at shim points can create long-term joint stress even if the main field is flat.
Porches introduce edge-case movement
Even “covered” porches typically experience more temperature swing than indoor rooms. In 2026, manufacturers keep tightening guidance around moisture and dimensional movement for vinyl in semi-exposed conditions. That means your leveling work must work with expansion, not against it.
From my past consults, the fix is usually straightforward once the cause is identified—. That’s why the last 5–10% of the job matters.
Protecting transitions where framing meets vinyl
Before installing porch structure, dry-fit trim or threshold pieces if your design allows. Place shims where needed and confirm:
– No rocking at shim contact points
– No sharp edge between patch and surrounding subfloor
– The vinyl surface remains flat at the “load” zone under fasteners/contacts
If you later discover you need to remove and re-set trim, the leveling transition may be disturbed. Build the plan around that reality.
Cure time and final re-check before moving on
Let patch and self-leveler products cure fully before vinyl goes down, then re-check flatness after cure. As of 2026, rushing this step is still one of the most common ways homeowners end up with weak surfaces, surface texture problems, or premature failure.
– Let all patch/self-leveler products cure fully (use the product instructions for time—don’t rush to save a day).
– Re-check flatness after cure; if you missed a dip, it’s better to fix now than after the vinyl is down.
– Verify moisture conditions for the substrate (concrete especially): follow the vapor/moisture testing method required by your flooring system or compound.
ASTM F710 supports preparing concrete floors for resilient flooring, including surface readiness steps that align with curing and performance expectations (ASTM F710).
ASTM F1869 measures concrete moisture vapor emission rate and reports results in lb/1000 sq ft/24 hr, which is one common pathway used to evaluate whether a slab is ready for resilient flooring (ASTM F1869).
ASTM F2170 uses in situ probes to determine relative humidity in concrete floors, another method frequently required by resilient flooring systems (ASTM F2170).
Re-check flatness—don’t skip it
After curing, repeat the same straightedge mapping you did originally. If you find a dip you missed:
– Grind highs again if needed
– Patch/feather the low spot only
– Re-check once more
This prevents a common “second-iteration surprise” where a hidden low becomes obvious only after vinyl is installed and foot pressure reveals it.
Moisture: porch slabs need verification, not optimism
Concrete under porches is vulnerable to moisture migration. The correct approach depends on your vinyl system’s requirements, but the testing standards used by flooring systems are often ASTM F1869 (calcium chloride) or ASTM F2170 (RH probes). Those standards describe the method and the unit of measurement; your flooring manufacturer specifies the acceptable limit for their adhesive-free or underlayment system.
If you’re missing the moisture limit in your vinyl instructions, —and follow it before installation.
Patch and self-leveler cure isn’t just “dry to the touch”
Cure involves chemical development, not only surface drying. Follow the TDS for:
– Minimum cure time before covering
– Recoat/overpour windows (if layering compounds)
– Surface condition requirements before vinyl
What can go wrong (and how to avoid it)
Most vinyl failures in porch applications are caused by flatness misses, wrong product pairing, or moisture/primer mistakes. If you avoid those three categories, you eliminate the majority of “mystery” problems that show up after the porch threshold is installed.
– Ignoring the vinyl’s flatness spec: results in lippage, gaps, or a “spongy” feel underfoot.
– Wrong product pairing: patch/leveler that’s not rated for resilient flooring can debond or crumble.
– No primer for self-leveler: leads to peeling or soft spots over time.
– Rushing cure time: causes surface damage and can trap uncured material under the vinyl.
– Porch exposure mismatch: standard LVP/LVT is often not suitable for direct outdoor/wet conditions—if your porch is truly exterior and exposed, you may need an exterior-rated system instead of leveling to “make it work.”
If a leveling product isn’t specified/approved for resilient flooring use, its compressive and bonding behavior may not match what the vinyl system needs (self-leveling/patch TDS and resilient flooring manufacturer instructions).
Skipping primer under a self-leveler can create weak boundary layers that fail when the slab and compound expand/contract (self-leveling/patch TDS).
Moisture test methods for slabs—such as ASTM F1869 and ASTM F2170—exist because resilient flooring systems require documented substrate readiness, not assumptions (ASTM F1869; ASTM F2170).
Pros/cons reality check (what you’re trading off)
Here’s the practical decision trade: leveling buys stability, but it adds time and dust.
– Pros
– Reduces flex and squeaks by supporting vinyl fully
– Prevents telegraphing bumps under thresholds and trim
– Creates a smoother install that looks better long-term
– Cons
– Requires grinding, priming (often), and clean curing windows
– Can be messy on porches with tight edges/thresholds
– Still won’t fix structural slab issues or water infiltration
VS: Patch/Feather-Finish vs. Self-Leveler (when each “wins”)
| Criteria | Patch / Feather-Finish | Self-Leveling Compound |
|---|---|---|
| Unevenness scale | Localized | Broad |
| Control of feather edges | Direct, but requires skill to avoid ridges | Edge control depends on containment |
| Time to refine small spots | Good—spot fixes are manageable | May be overkill for tiny dips |
| Mixing sensitivity | Mix consistency still matters | Higher—flow depends on exact water and mixing |
| Primer dependence | Depends on the patch product | Often required for self-leveler bonding |
| Clean-up complexity | Moderate | Moderate to high |
| Compatibility with vinyl system | Must be rated for resilient flooring underlayment use | Must be rated for resilient flooring and used per label |
| Typical outcome | Smooth local transitions when feathered correctly | Uniform plane if pour depth and containment are correct |
| Best for porch trim/threshold zones | Targeting specific transitions under contact points | Creating a stable plane across a wider contact footprint |
| Verdict | Choose when dips are isolated and you can feather smoothly | Choose when the porch floor map shows broad unevenness |
Verdict: level it carefully—or skip vinyl if conditions are wrong
If your porch area is controlled, covered, and your subfloor is just out of flatness, leveling before vinyl is the right move because it’s the best way to prevent movement, gaps, and uneven wear. The downside is time, dust, correct compound selection, proper primer use, and full cure windows.
Skip this approach (or pause and reassess) if:
– the area will be directly exposed to rain/snow/water pooling, or
– your subfloor has structural issues (softness, major cracks, drainage problems), because leveling won’t fix those.
Resilient flooring performance depends on proper substrate preparation practices and flatness/readiness criteria, as outlined by ASTM F710.
Porch environments add dimensional movement and moisture risk, so using the correct vinyl system and verifying moisture/testing requirements remains essential (vinyl manufacturer installation instructions).
If you follow the process—map flatness, prep for bond, level with compatible products, feather transitions, cure fully, and re-check—you’ll end up with a porch vinyl surface that behaves predictably under thresholds and framing.
Substrate Preparation Steps and the Key Measurements They Rely On
| # | Step (for porch vinyl) | Primary entity | What you record | Unit / output format |
|---|---|---|---|---|
| 1 | Flatness mapping with a straightedge | Long straightedge | High/low zones | Inches over feet (per vinyl spec) |
| 2 | Substrate prep (grind + vacuum) | ASTM F710 approach | Surface readiness | Clean, sound, debond-free condition |
| 3 | Primer under self-leveler (if required) | Compound label/TDS | Product compliance | Per-label primer type and coverage |
| 4 | Moisture test selection | ASTM method | Test method used | Method-specific reporting format |
| 5 | Moisture vapor emission rate test | ASTM F1869 | Emission rate result | lb/1000 sq ft/24 hr |
| 6 | Concrete relative humidity probe test | ASTM F2170 | In situ RH result | Relative humidity (%) |
| 7 | Final re-check after cure | Vinyl tolerance spec | Pass/fail flatness | Same flatness metric as vinyl instructions |
Quick checklist (save this)
| Step | What to verify |
|---|---|
| Flatness mapping | Mark highs/lows with a straightedge |
| Subfloor condition | Clean, sound, no loose debris/peeling |
| Compatibility | Patch/leveler rated for resilient flooring |
| Bonding | Correct primer used (if required) |
| Application | Mixed per label; correct thickness/feathering |
| Cure | Fully cured before vinyl installation |
| Re-check | Flatness meets the vinyl manufacturer tolerance |
| Moisture | Moisture method meets flooring/system requirements |
Sources
– ASTM F710, Standard Practice for Preparing Concrete Floors to Receive Resilient Flooring (primary standard for resilient flooring surface preparation).
– ASTM F1869, Standard Test Method for Measuring Moisture Vapor Emission Rate of Concrete Subfloor Using Anhydrous Calcium Chloride (moisture testing method).
– ASTM F2170, Standard Test Method for Determining Relative Humidity in Concrete Floors Using In Situ Probes (moisture testing method).
– Vinyl flooring manufacturer installation instructions for your specific LVP/LVT/product line (primary source for flatness tolerance, moisture requirements, and allowable substrates).
– Self-leveling/patch compound manufacturer technical data sheet (TDS) and label directions (primary source for primer requirements, mixing ratios, and cure times).
Leveling a porch vinyl floor is worth it when the main issue is unevenness—not structure or water intrusion. Map flatness, prep for bond, choose the right leveling product for the dip shape, feather transitions near thresholds, cure fully, and re-check before you lock everything in with the porch framing.
Frequently Asked Questions
What’s the best way to level a vinyl floor before installing it on a porch?
Start by checking the porch subfloor for high and low spots using a 6–10 ft straightedge and measuring variations with a level. Remove any loose material, clean thoroughly, and scrape down high spots to create a flatter base for vinyl flooring. For low areas, use a suitable exterior-grade patch or self-leveling underlayment designed for floors that see moisture. Re-check flatness before installing your porch vinyl to prevent premature wear, gaps, and clicking-lock separation.
How do I check if my porch subfloor is level enough for vinyl flooring?
Use a long straightedge or a laser level to map the surface and note where the flatness breaks down. Many vinyl installations require the surface to be “flat” rather than perfectly level, so focus on minimizing dips and ridges across seams and traffic paths. Measure the maximum deviation over the length of the straightedge (and follow the specific tolerance stated by your vinyl manufacturer). If you find significant unevenness, plan to patch or self-level before laying porch vinyl.
Why does leveling matter so much when installing vinyl on a porch?
Uneven subfloors can cause vinyl to flex excessively, which leads to separation at seams, joint peaking, and premature wear in high-traffic areas. Porch floors also experience temperature swings and moisture, which makes small subfloor problems more likely to expand over time. A properly leveled base helps ensure consistent support under the vinyl planks or tiles, improving durability and maintaining the floor’s appearance. Taking time to level before installation can prevent costly rework later.
How do I fix low spots or dips on a porch before laying vinyl?
Clean the subfloor and repair any cracks, then use a patching compound or self-leveling underlayment to fill low areas. Feather the edges of patching materials so they don’t create new ridges, and allow proper drying time before installing vinyl flooring for porches. If the porch has recurring moisture issues, choose an underlayment/feather finish that’s rated for exterior or damp conditions and follow the manufacturer’s guidance for primers and bond strength. After curing, sand or grind high edges and verify flatness again.
Which leveling products should I use for outdoor porch vinyl flooring—patch compound or self-leveler?
Patch compound is ideal for small dips, localized unevenness, and spot leveling because you can feather it smoothly into the surrounding surface. Self-leveling underlayment works best for larger areas with widespread unevenness, but it must be the correct formula for your porch conditions and installation thickness. In outdoor porch applications, always select products rated for moisture/temperature changes, use the recommended primer if required, and follow curing times exactly. When in doubt, match the leveling material to your vinyl floor’s installation requirements to ensure a flat, stable base.
📅 Last Updated: October 27, 2026 | Topic: How to level a vinyl floors before installing porch? | Content verified for accuracy and freshness.
References
- F710 Standard Practice for Preparing Concrete Floors to Receive Resilient Flooring
- Floor
- Vinyl flooring
- Underlayment
- Self-leveling concrete
- Flooring
- https://scholar.google.com/scholar?q=vinyl+flooring+subfloor+leveling Google Scholar
- https://scholar.google.com/scholar?q=self-leveling+underlayment+resilient+floor+flatness Google Scholar
- https://scholar.google.com/scholar?q=concrete+moisture+tests+resilient+vinyl+flooring+installation Google Scholar


