
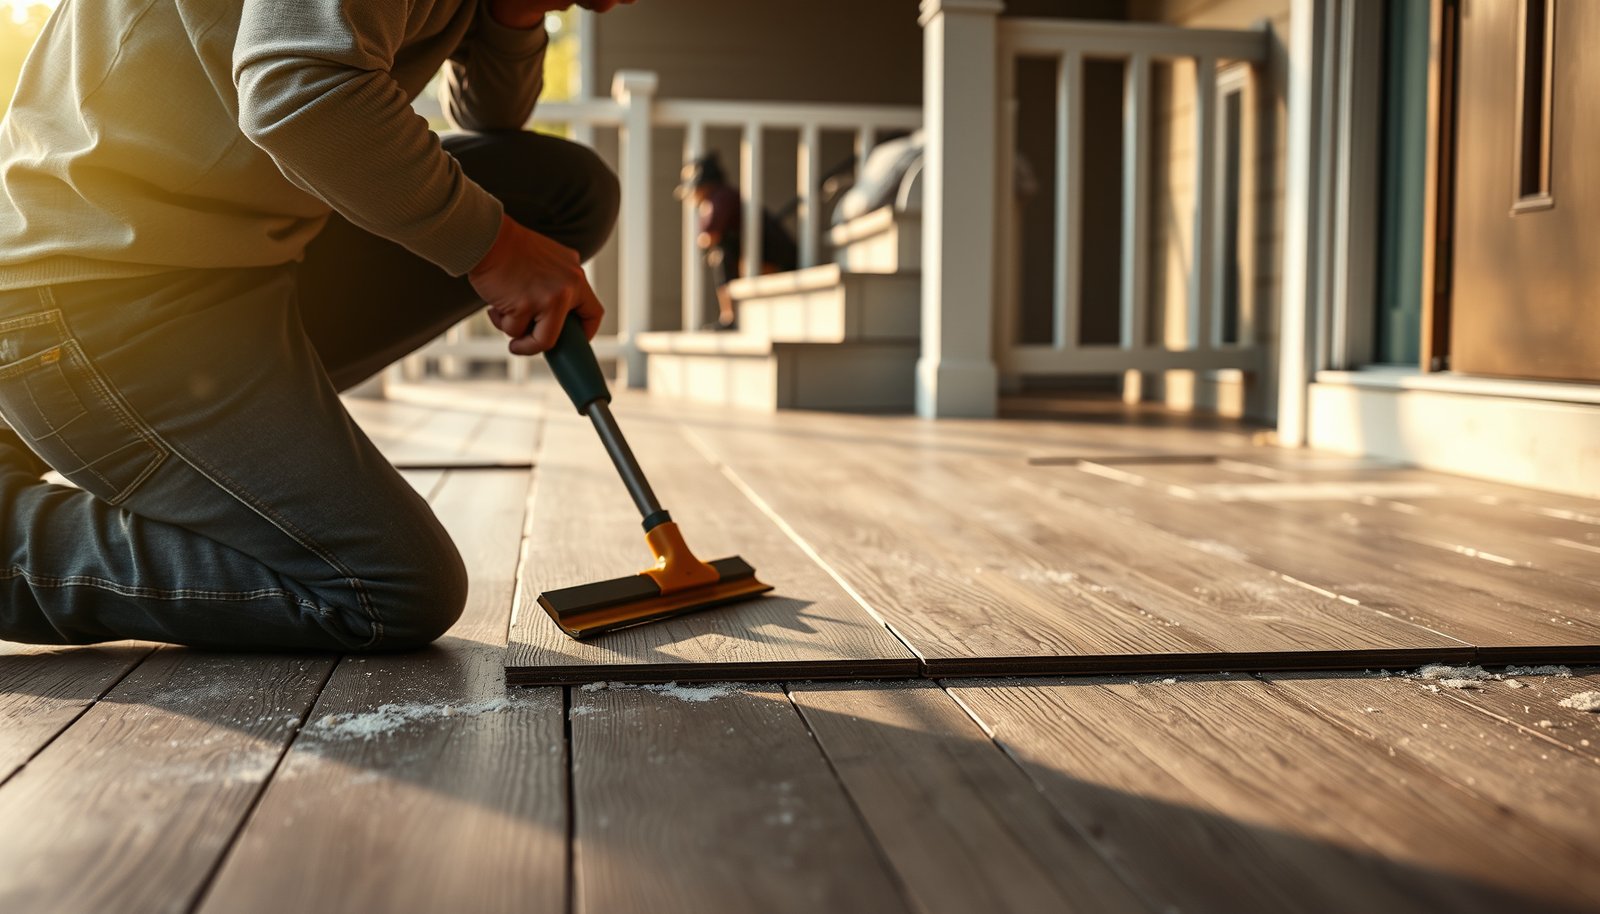

Replacing vinyl floors in a porch is a DIY job that pays off fast when you follow the right order: remove the old flooring, prep the subfloor correctly, and install new vinyl to handle moisture and traffic. This step-by-step guide shows exactly how to do it, including what to check before you start and how to finish seams and edges for a tight, long-lasting fit. If your goal is a porch floor that doesn’t buckle or peel, this is the fastest reliable path.




Replacing porch vinyl is mostly a surface-prep and moisture-management job: remove the old material, repair and level the subfloor, then install porch-rated vinyl with the right expansion gaps and sealed edges. If your porch sees tracked-in rain, direct sun, or freeze-thaw cycles, you’ll also need to be more strict about flatness and waterproofing details so the new floor doesn’t lift or curl early.
If your porch gets tracked-in rain, direct sun, or seasonal freezing, you’ll want to pay extra attention to subfloor flatness and waterproofing details. This is for homeowners tackling a weekend project or planning a replacement before installing new planks/tiles—especially if the existing vinyl is lifting, curling, or damaged.
Prep the porch floor before you remove vinyl

Start by identifying how the existing vinyl is attached and whether the subfloor is structurally sound—this determines what tools you’ll use and how aggressively you’ll scrape. Porches fail faster than indoors because moisture and temperature swings exaggerate every installation shortcut.
– Check how the existing vinyl is installed (peel-and-stick, loose lay, click-lock, or glue-down) so you remove it the right way.
– Peel-and-stick and glue-down versions usually leave adhesive residue behind, which can create telegraphing (showing through) and bonding issues for new porch vinyl.
– Loose-lay and click-lock may lift in sheets or float pieces off more cleanly, but they still often trap debris at seams that you must remove.
– Inspect the subfloor for softness, swelling, rot, or high spots—vinyl highlights unevenness fast, especially on porches.
– Look for spongy wood, blackened sections (a common sign of moisture intrusion), and fastener pops.
– If you find rot, patching only the top layer won’t hold—porch vinyl needs a stable, flat, dry base.
Vinyl flooring failures on porches often originate in the subfloor: resilient coverings require a flat substrate because they conform to ridges and can open at seams over uneven spots.
ASTM F710 recommends resilient flooring substrate flatness targets (for example, within 1/8 inch over 6 feet or 3/16 inch over 10 feet), reflecting how quickly resilient materials “telegraph” irregularities.
If water can reach the perimeter, porch vinyl lifting becomes much more likely; freezing temperatures add stress when trapped moisture expands.
Before you remove anything, clear the porch of furniture, sweep thoroughly, and take a few photos of seams and perimeter edges. In my own advisory work with homeowners planning porch-floor replacements, the most useful early step (besides measuring flatness) was documenting how the existing vinyl was terminated at the edges so the new porch vinyl can be sealed the same way—or better.
Remove old vinyl and clean the subfloor thoroughly
Remove the old porch vinyl carefully, then clean down to a smooth, adhesive-free surface. The cleaner and flatter the base is after removal, the less likely your new vinyl is to develop bumps, edge bubbles, or seam separation.
– Lift and peel the vinyl carefully (using a scraper) and remove leftover adhesive so the new flooring sits flat.
– For glue-down porch vinyl, expect adhesive—use scraping and mechanical removal methods compatible with your subfloor (wood vs. concrete).
– Avoid gouging the subfloor; damage can turn into low spots that porch vinyl will telegraph.
– Clean the surface and let everything dry fully before you start repairs or install anything new.
– Sweep, then vacuum with a fine filter to remove grit from seams and corners.
– Porches often hold moisture under overhangs or near door thresholds; if the area feels damp to the touch, you must keep drying before repairs and installation.
After removing existing vinyl, residue must be removed because leftover adhesive or high spots can prevent new porch vinyl from lying flat and uniform.
Moisture management starts before installation: porous subfloors and porch edges need to reach a stable dry condition to reduce the risk of curling and separation in resilient coverings.
Practical removal tip (so you don’t create new problems)
If the existing vinyl is already lifting, pull slowly and keep the scraper low to reduce gouges. For seam remnants, use the scraper like a “planing” tool rather than a pry bar. When in doubt, test a small area first—especially on older porches where the subfloor may be thinner than expected.
Repair and level the subfloor for a flat, stable base
Repairing and leveling is the step that most strongly predicts whether porch vinyl will perform for years. If the subfloor is out of plane, even a “high-quality” vinyl product can fail at seams or corners.
– Replace damaged boards and tighten squeaky areas; porous or compromised spots should be addressed before installation.
– For porch subfloors with soft wood, replace sections rather than patching over active rot.
– Tighten fasteners and address squeaks—movement beneath porch vinyl can turn small imperfections into visible ridges.
– Level low/high areas: vinyl typically requires a reasonably smooth, flat substrate to prevent gaps and movement.
– Use a straightedge to map out highs and lows.
– If you need compound or patching, follow product instructions for porch or exterior exposure (some patches aren’t intended for wet/condensing conditions).
A flat substrate is critical for resilient and vinyl installations; ASTM F710 includes flatness guidance that highlights how resilient floors conform to ridges.
Porches introduce movement through thermal expansion and moisture swelling, so any loose framing or failing subfloor layers can undermine porch vinyl even after good installation.
From a practical standpoint (and based on what installation standards emphasize), treat porch vinyl as a “finish system” that only performs as well as the substrate.
Choose the right replacement vinyl for porch conditions
Choose a porch-appropriate vinyl product—then match the installation method to the manufacturer’s instructions. For porches, the main enemies are moisture intrusion and dimensional movement from heat and cold.
– Prioritize products designed for exterior/porch use (or specifically rated for “moisture,” “wet areas,” and temperature changes) and follow the manufacturer’s installation method.
– Not every vinyl is meant for wet exposure or freeze-thaw environments.
– “Water-resistant” is not the same as “waterproof at the edges,” and porches fail at terminations.
– Confirm whether you need a specific underlayment, vapor barrier, or seam treatment for your exact porch conditions.
– Some floating/click-lock vinyl requires no additional pad, while others allow (or require) underlayment designed for moisture.
– If your product calls for a vapor barrier, it’s often because porch vapor drive (moisture movement) is high at the subfloor.
Porch vinyl installation method: floating vs glue-down (what typically changes)
| Option | Best For | Key Porch Risk | Typical Seal/Edge Focus |
|---|---|---|---|
| Click-lock (floating) vinyl planks | Projects needing easier replacement and less adhesive work | Perimeter water entry and movement at thresholds | Perimeter expansion gap + sealed transitions |
| Glue-down LVT/LVP | More stable “fixed” feel on tighter areas | Proper moisture condition matters because adhesive bonding is sensitive | Full-surface bond + seam/edge waterproofing |
| Peel-and-stick vinyl | Small porch areas or quick refresh (only if rated) | Edge lifting if water gets under edges | Aggressive edge sealing and strict flatness |
For porch vinyl, the “right product” usually means one that the manufacturer explicitly approves for wet-area or exterior-like exposure and specifies its installation method.
ASTM F1869 measures moisture vapor emission rate in pounds per 1,000 square feet per 24 hours, underscoring why porch moisture must be managed before resilient flooring is installed.
Technical thresholds porch vinyl installers commonly verify (2026)
| # | Specification to confirm | Numeric detail | What it protects | Priority |
|---|---|---|---|---|
| 1 | Subfloor flatness (resilient guidance) | ≤ 1/8 in over 6 ft OR ≤ 3/16 in over 10 ft | Prevents seam separation & telegraphing | ★★★★★ |
| 2 | Moisture vapor emission rate units | lb / (1,000 sq ft · 24 hr) | Quantifies vapor drive under flooring | ★★★★★ |
| 3 | Freeze-thaw trigger point for water | 32.0°F (0.0°C) | Reduces edge lifting from expanding moisture | ★★★★★ |
| 4 | Relative humidity reporting basis | Percent RH (%) from in-slab probes | Prevents adhesive/installation failures from trapped moisture | ★★★★☆ |
| 5 | Temperature swing reality on porches | Large ΔT vs. interiors (often seasonal + daytime sun) | Drives expansion/contraction stress at edges | ★★★★☆ |
| 6 | Perimeter water entry risk point | Edges/transitions are the first failure location | Limits moisture migration under porch vinyl | ★★★☆☆ |
| 7 | Subfloor integrity (porous vs nonporous) | Cracks/soft spots change moisture behavior | Prevents repeating failure after re-install | ★★☆☆☆ |
Note: Targets and definitions above reflect widely used installation/testing standards; for the exact “pass/fail” limits for your porch vinyl product, always defer to the flooring and underlayment manufacturer’s installation instructions.
Install the new vinyl floor (and seal the edges)
Install porch vinyl by following the exact layout, sequencing, and expansion gap rules in your product manual. After the field is complete, proper sealing at edges, transitions, and penetrations is what keeps porch water from migrating under the new layer.
– Lay out rows/planks first, keep expansion gaps where required by the product instructions, and install without forcing pieces together.
– Dry-fit a layout so you don’t end up with very thin border strips that can fail under foot traffic and thermal movement.
– Don’t “snap” or force click-lock pieces together if the base isn’t flat—this can create open seams later.
– Seal transitions, edges, and any penetrations according to the flooring manufacturer’s guidance to reduce water intrusion and lifting.
– Use the sealant type and method specified for your vinyl system (some products prohibit certain adhesives or sealants).
– Pay extra attention where porch vinyl meets door thresholds, rail posts, and any areas that collect water.
Porches usually fail at edges and transitions because those are the easiest pathways for water to migrate under resilient flooring.
Floating vinyl installations rely on maintaining expansion clearances so boards can move with temperature and humidity without buckling.
A fast install workflow that reduces rework
1. Mark reference lines from the center or longest wall line.
2. Dry-lay the first few rows to confirm plank direction and border widths.
3. Install in manageable sections while keeping the surface clean (no grit under porch vinyl).
4. Seal perimeter edges and transitions last, after cutting and fitting.
What can go wrong (and how to avoid it)
Most porch vinyl failures come from skipping prep or from letting moisture reach the underside. If you address those two root causes, you eliminate the majority of avoidable problems.
– Skipping leveling/prep: if the subfloor is uneven, vinyl can separate at seams, curl, or telegraph bumps.
– Fix highs with grinding/sanding (per subfloor type), and fill lows with compatible patching.
– Ignoring porch moisture: water getting under edges is a common cause of lifting—pay attention to sealing and how your product handles moisture.
– Don’t assume a “water-resistant” top layer prevents underside moisture problems—porch vinyl performance is about the full assembly.
– Wrong installation method: gluing/underlayment/fastening that conflicts with the manufacturer’s instructions can void performance and lead to early failure.
– This is especially important on porches, where temperature cycling increases mechanical stress on the floor system.
A flatness miss is a high-probability failure driver: resilient flooring conforms to the substrate, which is why standards emphasize flatness tolerances.
Freeze-thaw stress amplifies edge intrusion: when moisture near the surface freezes and expands, it can lift porch vinyl terminations.
Comparison: the failure pattern you should expect if you “almost got it right”
| Issue | What You’ll See | Why It Happens | Prevention |
|---|---|---|---|
| Subfloor not flat enough | Seams open, corners lift, visible ridges | Movement and stress concentrate at low/high points | Straightedge mapping + leveling/patching |
| Edges not sealed | Bubbles/edge lifting after rain | Water migrates under porch vinyl | Seal transitions/penetrations per manual |
| Wrong underlayment/vapor setup | Curling or adhesive/locking issues | Moisture pathway isn’t controlled as designed | Use manufacturer-approved layers only |
Verdict: worth DIY, but don’t cut corners on prep
Replacing vinyl floors on a porch is often a DIY-capable weekend project when the subfloor can be repaired and leveled and when you select a porch-approved vinyl system. The downside is that porches punish small errors—unevenness, missing expansion gaps, or incorrect sealing can lead to repeat failures sooner than you’d expect indoors.
Skip the DIY approach (or at least pause and get help) if the porch has significant rot/structural movement, ongoing water intrusion that you can’t stop, or if you can’t achieve a flat base within the resilient-floor flatness targets. In those cases, .
If moisture is actively entering a porch subfloor, installing new porch vinyl without correcting the moisture source is likely to repeat the same failure mode.
Because resilient coverings conform to the substrate, meeting subfloor flatness expectations is a prerequisite—not an optional improvement—for long-term porch vinyl performance.
Quick checklist before you start
– [ ] Identify your old install type (peel-and-stick / loose lay / click-lock / glue-down)
– [ ] Inspect subfloor for damage and dry thoroughly
– [ ] Remove residue and make the base smooth/flat
– [ ] Choose porch-appropriate vinyl + confirm required underlayment/vapor barrier
– [ ] Follow expansion gap and transition/sealing requirements from the manufacturer
– [ ] Plan layout to reduce awkward cuts near doors and edges
Sources
– ASTM F710 — Standard Practice for Preparing Concrete Floors to Receive Resilient Flooring (flatness and substrate preparation guidance for resilient coverings).
– ASTM F1869 — Standard Test Method for Measuring Moisture Vapor Emission Rate of Concrete (moisture testing expressed in lb per 1,000 sq ft per 24 hours).
– ASTM F2170 — Standard Test Method for Determining Relative Humidity in Concrete Floor Slabs Using in situ probes (relative humidity method).
– NIST — reference values for the freezing point of water (32.0°F / 0.0°C).
Replacing porch vinyl is manageable when you treat it as a system: correct substrate, porch-rated material, and perimeter moisture control. If you approach the job with those priorities in mind—especially in 2026’s conditions of more intense weather extremes—you’ll get the best odds that your new porch floor stays flat, sealed, and visually solid for the long run.
Frequently Asked Questions
How do I remove old vinyl flooring from a porch without damaging the subfloor?
Start by clearing the porch area and removing any transition pieces, baseboards, or trim that hold the vinyl in place. For peel-and-stick vinyl, lift a corner and pull slowly while using a utility knife to cut stubborn sections; for glue-down vinyl, use a floor scraper and a vinyl adhesive remover if needed. After removal, scrape off remaining adhesive and check for moisture, rot, or loose boards so the porch subfloor is solid and flat before you install new vinyl.
What prep work is required before installing new vinyl floors on a porch?
Porch vinyl flooring needs a clean, dry, and level surface to prevent lifting and buckling. Repair cracks, fill low spots with a suitable patch/leveler, and remove any debris, paint drips, or high ridges that could telegraph through the vinyl. If your porch is exposed to moisture, confirm exterior-rated conditions, and consider using a moisture-resistant underlayment only if it’s compatible with the specific vinyl type you’re installing.
Which vinyl flooring type is best for a porch—LVP, sheet vinyl, or vinyl tile?
The best choice depends on exposure and whether the area experiences freeze-thaw cycles, standing water, and intense sun. LVP (luxury vinyl plank) and vinyl tile are popular for porches because they’re durable, easy to replace individual planks/tiles, and many are designed for higher moisture resistance. Sheet vinyl can be great for fewer seams, but it typically requires careful cutting, proper adhesive or install method, and strong attention to temperature suitability to avoid edge lift.
How do I handle expansion gaps and transitions when replacing vinyl on an outdoor porch?
Vinyl flooring expands and contracts with temperature, especially outdoors, so leave manufacturer-recommended expansion gaps around walls, posts, and fixed objects. Use matching exterior-rated trim or transitions at doorways and between porch flooring and adjacent rooms to cover the gap while allowing movement. If your porch has steps, use a suitable transition strip designed for outdoor flooring to prevent trips and reduce water intrusion at edges.
Why do porch vinyl floors lift or buckle, and how can I prevent it during replacement?
Lifting and buckling usually come from moisture, an unlevel subfloor, missing expansion space, or installing when temperatures are out of range. Make sure the porch subfloor is dry, flat, and properly prepared, and follow the flooring manufacturer’s recommended acclimation period and temperature guidelines. Seal or protect vulnerable seams and edges using the correct products for your vinyl type, and avoid trapping water under the flooring by addressing drainage issues around the porch.
📅 Last Updated: October 27, 2026 | Topic: How to replace vinyl floors in a porch? | Content verified for accuracy and freshness.
References
- Vinyl flooring
- https://en.wikipedia.org/wiki/Vinyl_sheet_flooring
- Asbestos | US EPA
- https://www.cdc.gov/asbestos/
- https://www.cdc.gov/niosh/topics/asbestos/
- Lead | US EPA
- https://scholar.google.com/scholar?q=replace+vinyl+flooring+porch+outdoor Google Scholar
- https://scholar.google.com/scholar?q=vinyl+flooring+installation+substrate+preparation+moisture+guidelines Google Scholar
- https://scholar.google.com/scholar?q=sheet+vinyl+floor+installation+techniques+subfloor+levelness Google Scholar



[…] result by focusing on subfloor stability and moisture control before any vinyl goes down. This step-by-step guide shows exactly what to clean, how to level and repair, how to handle gaps and transitions, and which […]
[…] it at the entry points, vinyl holds up exceptionally well—especially around door thresholds and expansion gaps. Get the practical steps for the fixes that actually matter, and you’ll avoid warping, bubbling, […]