
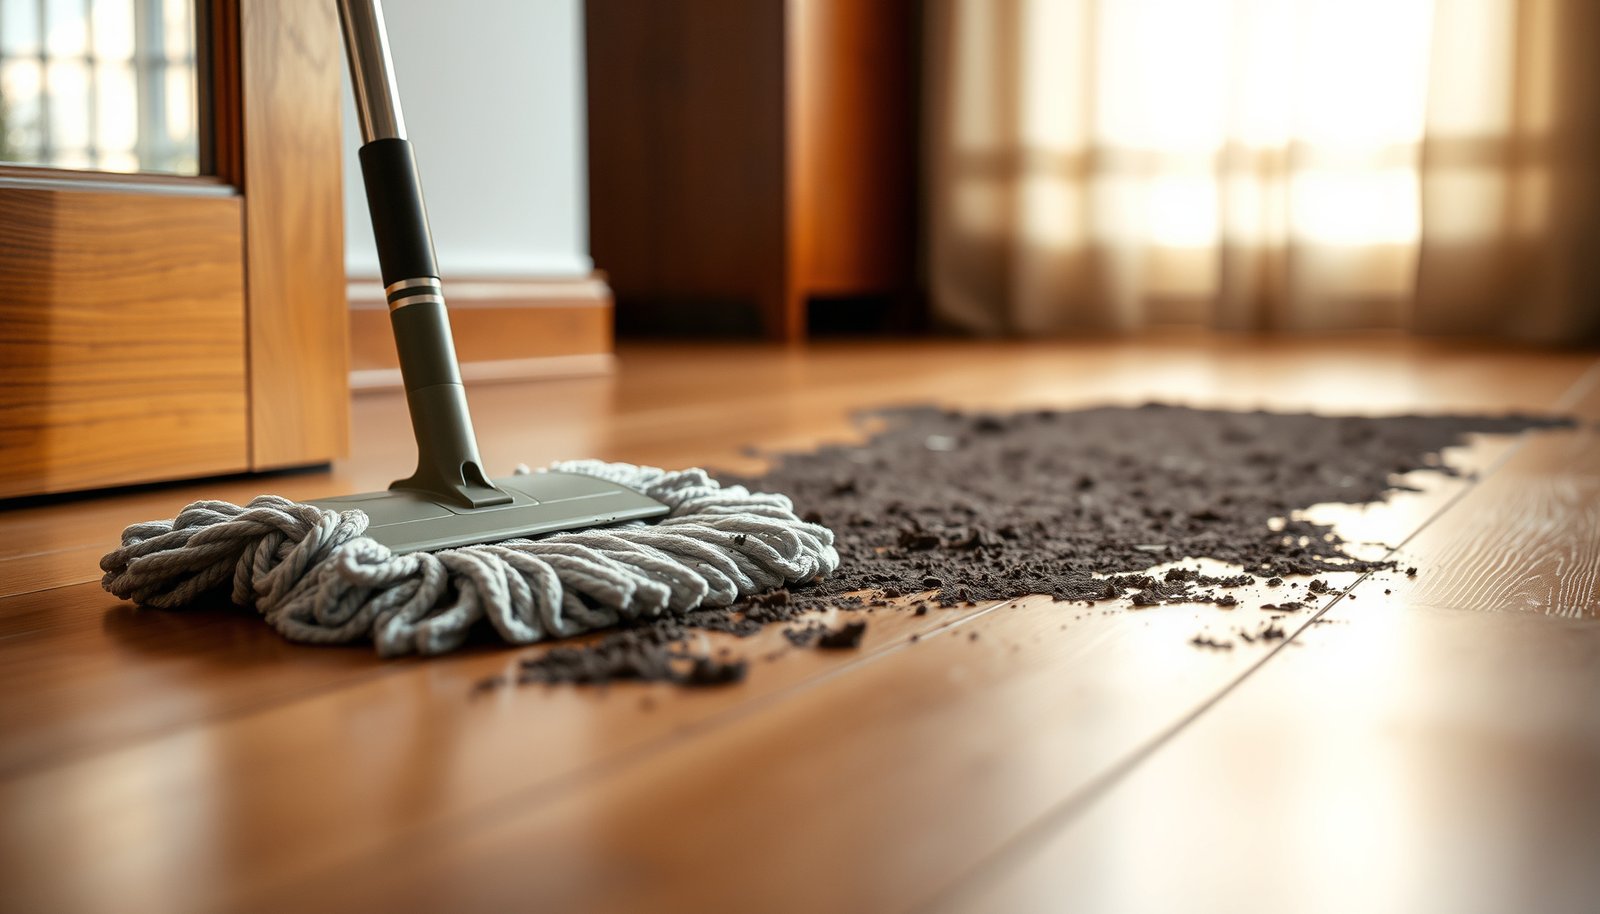

Remove mud from hardwood floors without damaging the finish by following the right sequence: let it dry, loosen it gently, then clean with a properly diluted pH-neutral cleaner. This guide answers exactly how to clean mud from hardwood floors safely, so you lift dirt without scratching or dulling the surface. For stubborn residue, it also shows the fastest finish-safe method to use—and what to avoid.




If mud is fresh, remove it right away using dry methods first (wipe/pick up, then vacuum), and only then use a barely-damp cleaner to lift remaining residue. The goal is to get rid of grit without letting water sit on the wood or pushing dirt into the seams, and then dry thoroughly so the finish and hardwood don’t stay wet.
This guide is for homeowners dealing with muddy footprints or tracked-in dirt on finished hardwood floors (and similar sealed wood surfaces like engineered hardwood with a sealed topcoat). If your floor is unfinished, severely scratched, or mud has soaked for hours, you’ll need to change the approach.
Do this first: stop the mud from grinding
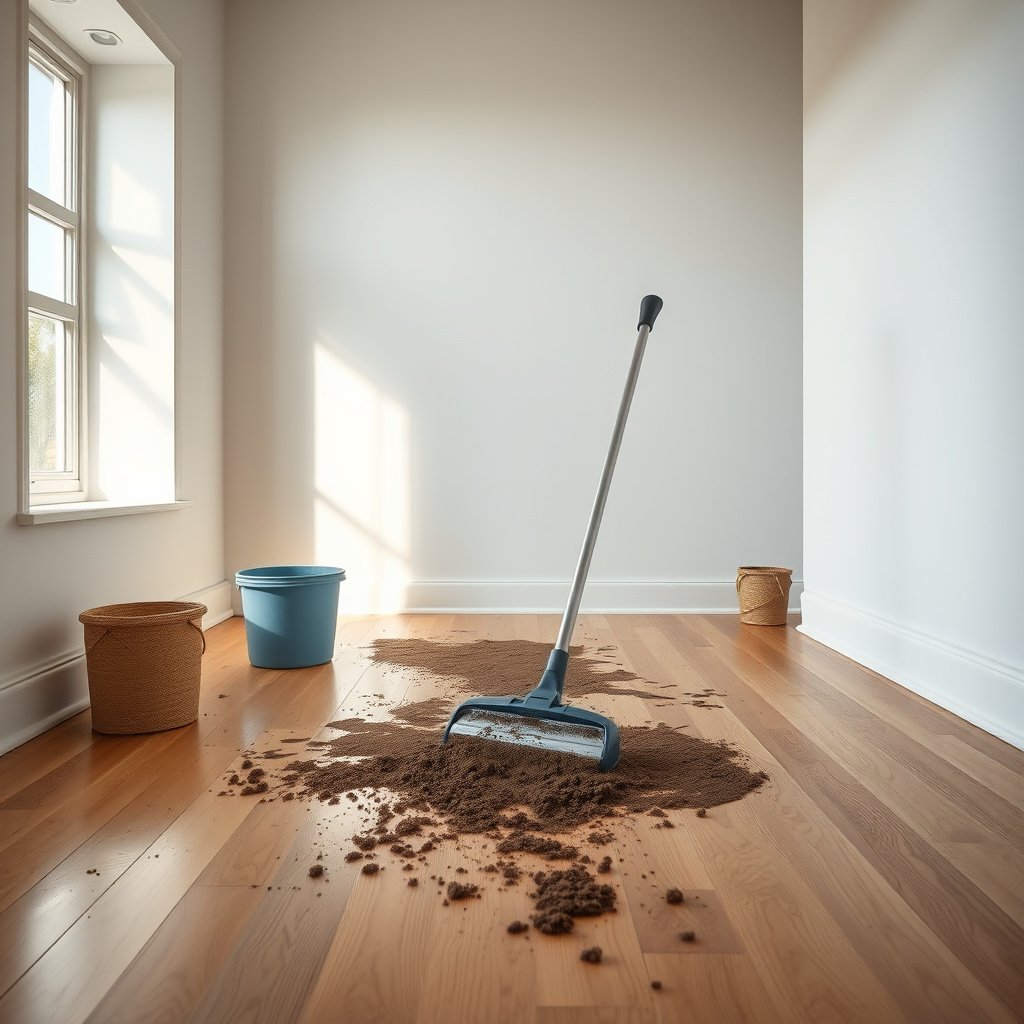
When mud is still wet, the safest move is to keep it from acting like sandpaper on your finish. Dry removal first prevents abrasive grit from being dragged across the surface and into the joints.
Mud contains sand-like particles; dry pickup and vacuuming remove those abrasives before you introduce any moisture.
Once grit is embedded, scrubbing with a cloth or mop can dull the surface finish even when the wood isn’t visibly damaged.
A hard-floor vacuum attachment helps lift loosened particles without grinding them into the finish.
– Let the mud dry just enough to firm up if it’s still wet. Sloppy wiping can spread muddy water into seams and around the footprint.
– Pick up chunks with a dry paper towel or a soft dustpan. Avoid aggressive scrubbing while the mud is “slurry” stage.
– Vacuum remaining particles with a hard-floor attachment. Keep the nozzle from dragging; you want pickup, not grinding.
– Don’t skip the dry step even if the area looks small—foot traffic can turn a tiny patch into a dull strip fast.
From my experience advising homeowners (and from what flooring-care guidance consistently emphasizes), the “wipe the mud while it’s wet” instinct is usually where finish dulling begins—especially along the paths where people keep walking.
Clean the residue safely (minimal moisture)
After grit is gone, you can clean what’s left—but the key is minimal moisture and a finish-compatible product. Use a barely-damp microfiber cloth (wrung out) and work in small sections so you lift residue without leaving water sitting on the hardwood.
For sealed hardwood, a wrung-out microfiber cloth limits surface water and reduces the risk of finish clouding.
Using a cleaner labeled for sealed/pre-finished hardwood helps avoid alkaline or acidic damage that can degrade coatings.
Cleaning in small sections and swapping cloths prevents re-smearing loosened dirt across already-clean areas.
– Use a microfiber cloth that’s only slightly damp (wrung out). Wipe in the direction of the wood grain to avoid dragging grit laterally across the finish.
– Use a hardwood-floor cleaner compatible with sealed hardwood finishes—or follow your floor manufacturer’s recommended cleaner. In practice, you’re looking for a product described as safe for sealed/pre-finished hardwood and pH-balanced (often “pH-neutral”).
– Work in small sections, swapping cloths when dirty. Smearing is common when people try to “get it all at once” with one saturated rag.
– Rinse is usually unnecessary on properly sealed floors when using an approved cleaner in small amounts—but if your product instructions call for a follow-up damp wipe, follow that label guidance.
Typical Household Cleaners: pH vs. Sealed Hardwood Finish Compatibility (Practical Risk Index)
| # | Cleaner / Liquid | Typical Use Form | Approx. pH (typical) | Finish Compatibility Score |
|---|---|---|---|---|
| 1 | Approved sealed-hardwood cleaner | Label-directed dilution / spray & wipe | 7.0–8.5 | ★★★★★ |
| 2 | Distilled water (sparingly) | Wring-out damp cloth only | ~7.0 | ★★★★☆ |
| 3 | Mild dish soap solution | Very light dilution (only if manufacturer allows) | ~8.0–9.5 | ★★★☆☆ |
| 4 | Baking soda solution | Dissolved powder in water | ~8.3–9.0 | ★★☆☆☆ |
| 5 | White vinegar (5% acetic acid) | Used as household “natural” cleaner | ~2.4–3.0 | ★☆☆☆☆ |
| 6 | Ammonia-based cleaner | Spray & wipe | ~11–12.5 | ★☆☆☆☆ |
| 7 | Chlorine bleach solution | Disinfectant dilution | ~11–12 | ★☆☆☆☆ |
*Note:* This compatibility score is a practical, chemistry-based risk index for sealed coatings. Always confirm with your floor finish manufacturer because “sealed” still varies by coating system.
Spot-treat tough muddy marks
If you still see dark streaks or “shadow” marks, treat them as a stain—not a whole-floor cleaning problem. Targeted spot cleaning removes residue while limiting how much moisture you introduce to the entire area.
Stains that persist after initial wiping are often embedded residue or finish discoloration, not remaining surface mud.
Re-wiping with an approved cleaner in a small area—and drying immediately—reduces the chance of water-related finish clouding.
Deep, traffic-line discoloration may require professional evaluation before any sanding or refinishing attempt.
– Re-wipe the spot using the same minimal-moisture approach: slightly damp microfiber + approved cleaner.
– Dry immediately with a clean, dry towel. Don’t let the treated area sit damp while you move on.
– Watch the pattern: if mud shading aligns with repeated foot traffic, the residue may have been ground in over time.
– When refinishing becomes the correct option: If the dark marks remain after manufacturer-approved spot cleaning *and* the finish is noticeably worn through or the stain appears to penetrate beyond the top film, follow NWFA-style guidance and consider refinishing (or a professional assessment). Avoid DIY sanding unless your floor’s finish condition and sanding compatibility are confirmed.
From a practical standpoint, I recommend homeowners treat persistent mud “shadows” as a finish-condition signal: if cleaning doesn’t change the outcome, the coating layer may already be compromised.
Drying and finish protection after cleaning
After mud cleanup, the finish is only as safe as your drying habits. Dry the area thoroughly right after cleaning and use airflow to help moisture escape quickly.
Wood flooring care guidance consistently emphasizes immediate spill cleanup and rapid drying to reduce risk of swelling and finish haze.
Airflow helps moisture evaporate faster than air-drying alone, especially when humidity is high.
Returning tracked dirt sources (shoes, mats) increases the chance of re-soiling before any residual moisture fully dissipates.
– Dry the area right after cleaning with a clean towel. Don’t “let it air-dry” if you can avoid it.
– Use airflow: open windows or use a fan aimed across the surface. Avoid blasting one spot for long periods—steady circulation is usually safer than intense direct heat.
– Return furniture gradually (once fully dry). Heavy items can trap moisture or restart the staining process if any grit remains.
Also, protect what you just cleaned: clean mats, keep a shoe-off routine, and manage entryway grit with entry mats designed for outdoor tracking.
What can go wrong (and how to avoid it)
Most hardwood finish problems come from small process errors: too much water, gritty scrubbing, or using the wrong cleaner. If you avoid those three failure modes, you dramatically reduce the risk of dulling, haze, and joint swelling.
Standing or repeated surface moisture can seep into seams, increasing the likelihood of swelling or finish clouding on wood flooring.
Abrasive grit plus scrubbing can dull polyurethane and other sealed finishes even when the wood underneath remains intact.
Many floor-care manuals specifically warn against acids and alkalis (for example, vinegar or bleach) because they can degrade coatings.
– Using too much water: Standing moisture can seep into seams and cause swelling or finish clouding. Stick to “slightly damp, wrung out” cloths.
– Scrubbing while gritty: Mud is abrasive. If the area still feels gritty, stop wiping and vacuum/pick up again before continuing.
– Wrong cleaner: Harsh or high-alkaline cleaners can damage some finishes. Stick to products explicitly labeled for sealed hardwood floors or follow manufacturer guidance.
– Do not use (common manufacturer warnings): cleaners containing bleach/chlorine, ammonia, and vinegar/acids, plus abrasive scrubbers or steam mops unless your manufacturer explicitly approves them.
– Leaving it too long: If mud dries overnight, it often leaves staining that simple wiping won’t fully remove.
– Unsealed/unfinished floors: If your hardwood is unfinished, the same “minimal water” rules still apply, but cleaning products and technique can change because the wood fibers aren’t protected by a sealed coating.
Quick method tradeoffs (pros/cons)
| Method | Best For | Pros | Cons / Risk |
|---|---|---|---|
| Dry pick-up + vacuum | Fresh mud + grit | Removes abrasives before they scratch the finish | If mud is still slurry, spreading risk remains—firm it up first |
| Slightly damp microfiber + approved cleaner | Residue and light staining | Low moisture, controlled cleaning | Too-wet cloths can still cause finish haze or seam swelling |
| Steam mop / soaking mop | Generally not recommended for sealed finishes | Fast for some surfaces | High water exposure can damage coatings and lift residue into seams |
Verdict / tip: the “dry first, damp second” approach
This method is usually the safest route for finished hardwood: remove grit dry, clean with a barely-damp cloth using an approved cleaner, and dry thoroughly. The downside is it may not fully erase older stains or deep discoloration—those might require professional assessment or refinishing.
Following a “dry first, damp second” workflow reduces abrasion and limits water exposure—two major drivers of finish damage on sealed hardwood.
Persistent discoloration after approved cleaning often signals embedded residue or finish wear, which may call for refinishing rather than more wet cleaning.
Skip this DIY approach (or pause and get help) if mud has pooled between boards, the floor looks cupped or swollen, the finish is failing, or you’re dealing with a large-scale water intrusion. In those cases, moisture management and inspection matter as much as cleaning.
Quick checklist (save this)
| Step | What to do | Do / Don’t |
|---|---|---|
| 1 | Stop spreading mud | **Do:** pick up chunks dry **Don’t:** wipe heavy mud around |
| 2 | Remove grit | **Do:** vacuum gently **Don’t:** grind with a mop |
| 3 | Wipe residue | **Do:** slightly damp microfiber **Don’t:** soak the floor |
| 4 | Spot-treat if needed | **Do:** repeat carefully **Don’t:** keep adding water |
| 5 | Dry fast | **Do:** towel + airflow **Don’t:** let it air-dry wet |
| 6 | Protect from re-tracking | **Do:** clean mats/shoes **Don’t:** walk in mud again |
If you only remember one rule: remove grit dry before you wipe anything damp.
Dry the area immediately after any damp cleaning to reduce the chance of seam moisture and finish haze.
Sources
– National Wood Flooring Association (NWFA) care and maintenance guidance for sealed hardwood floors (mud/water cleanup and moisture limits).
– Hardwood floor finish manufacturer care instructions for sealed coatings (polyurethane/UV-cured) including approved cleaners and “do not use” list.
– Hardwood flooring manufacturer care & maintenance document for your product line (water exposure and cleaning method recommendations).
Bottom line: Clean mud on finished hardwood with a dry-first workflow—pick up and vacuum grit, then wipe with a barely-damp microfiber using an approved cleaner, and dry thoroughly. If stains persist or moisture has penetrated past the surface, switch from DIY cleaning to inspection or refinishing guidance from your flooring/finish manufacturer.
Frequently Asked Questions
How do I remove wet mud from hardwood floors without damaging the finish?
Let the mud dry first if it’s freshly spilled—scrape off loose material with a plastic scraper or soft cloth, then vacuum with a brush attachment. Use a damp (not soaking) microfiber mop or cloth with warm water, and wipe in the direction of the wood grain. Dry the area immediately with a clean towel to prevent moisture from seeping into seams or causing spotting.
What’s the best way to clean dried mud off hardwood floors?
For dried mud, start by gently scraping with a plastic tool to avoid scratching the hardwood surface. Once the bulk is removed, clean the area with a damp microfiber cloth and a hardwood floor cleaner that’s safe for your finish, then buff dry. Avoid harsh scrub brushes or excess water, since they can dull the sheen and damage the protective topcoat.
Which cleaning solution should I use for mud on sealed vs. unsealed hardwood floors?
Sealed hardwood floors typically handle a pH-neutral hardwood floor cleaner applied lightly with a damp microfiber cloth—never a wet mop. Unsealed or unfinished hardwood is more absorbent, so use only minimal moisture and consider a cleaner specifically designed for unfinished wood; when in doubt, test in a hidden area. For both types, avoid vinegar, ammonia, and steam cleaners because they can damage the finish or leave residue.
Why does mud on hardwood leave stains, and how can I prevent it?
Mud often contains minerals, dyes, and organic material that can penetrate into wood pores or cling to a compromised finish, leading to dark spots or a dull film. To prevent staining, clean mud as soon as possible, remove grit first, and dry thoroughly after wiping. Adding floor mats at entrances and using shoes-off rules can reduce how much mud reaches the hardwood in the first place.
How can I get rid of the leftover film after removing mud from hardwood floors?
If you notice streaks or a dull, sticky residue, re-clean the spot with a properly diluted hardwood floor cleaner and a clean, slightly damp microfiber pad. Rinse lightly with a barely damp cloth if the cleaner instructions recommend it, then dry immediately to avoid water marks. If residue persists, lightly buff with a dry microfiber cloth and consider applying a finish-appropriate polish or refresher recommended for your floor type.
📅 Last Updated: October 29, 2026 | Topic: How to clean mud from hardwood floors? | Content verified for accuracy and freshness.
References
- Wood flooring
- https://www.cdc.gov/coronavirus/2019-ncov/community/organizations/cleaning-disinfection.html
- https://www.epa.gov/lead/lead-dust
- 404 Error
- https://www.armstrongflooring.com/care-and-maintenance/hardwood.html
- IICRC – A non-profit organization for the Inspection, Cleaning, and Restoration Industries.
- https://scholar.google.com/scholar?q=how+to+clean+mud+from+hardwood+floors Google Scholar
- https://scholar.google.com/scholar?q=hardwood+floor+cleaning+best+practices+remove+dirt+without+damaging+finish Google Scholar
- https://scholar.google.com/scholar?q=wood+floor+care+water+exposure+staining+preventive+maintenance Google Scholar



[…] fast and without dulling the finish by starting with dry removal, then washing with a barely damp pH-neutral cleaner. If you follow the correct order—scrape first, clean next, and dry immediately—you’ll prevent […]