
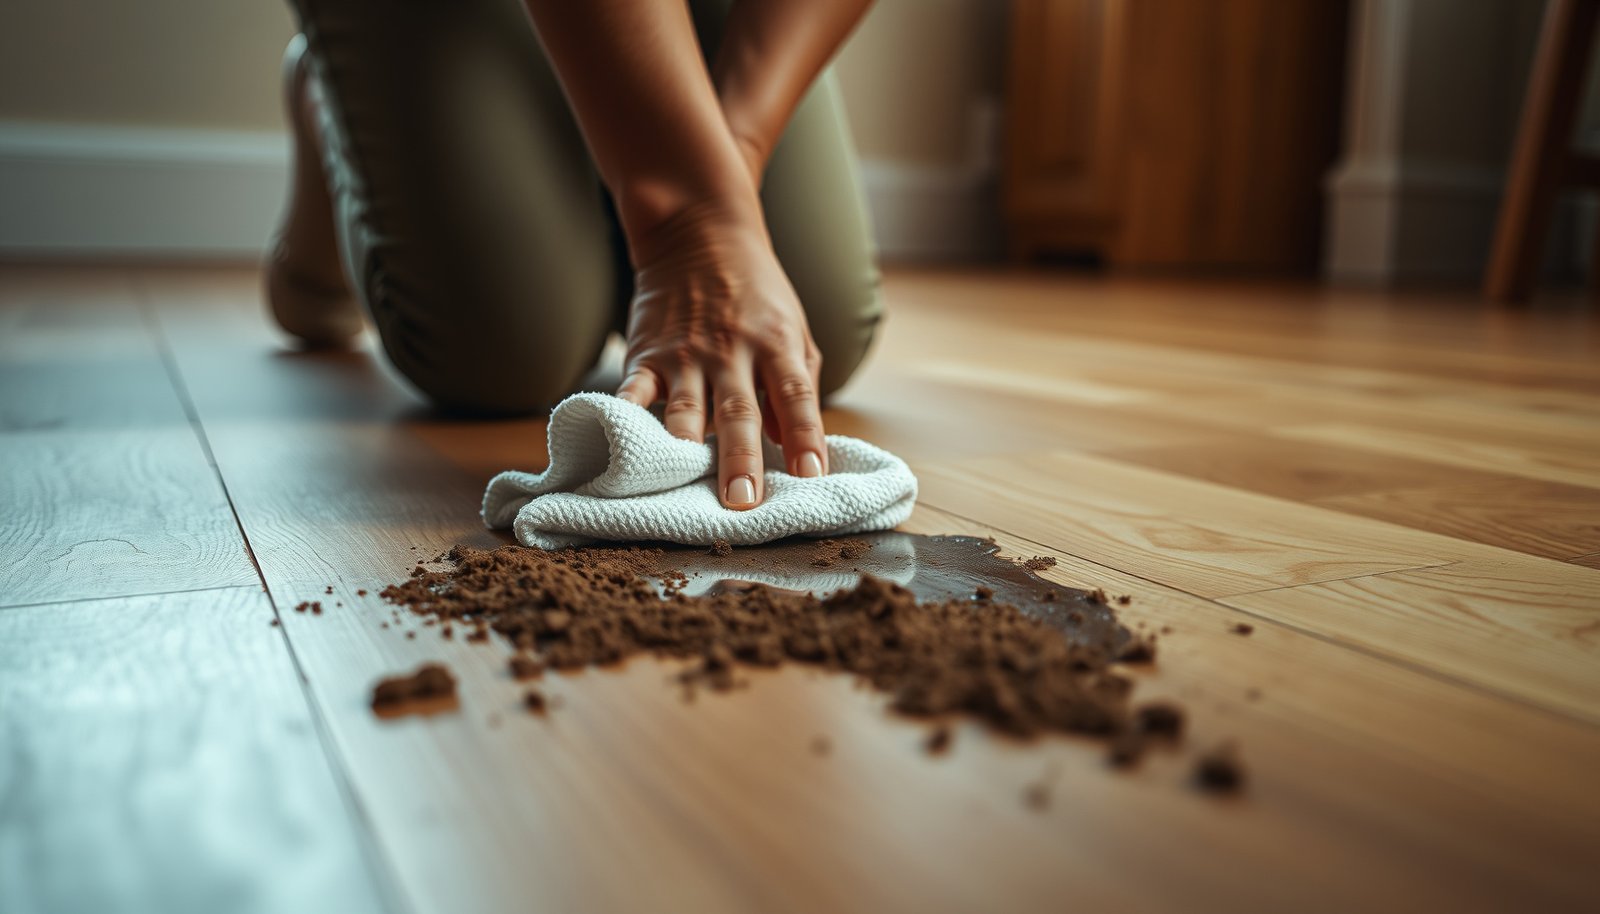

Get mud off hardwood floors fast and without dulling the finish by starting with dry removal, then washing with a barely damp pH-neutral cleaner. If you follow the correct order—scrape first, clean next, and dry immediately—you’ll prevent gritty residue from scratching and warping the wood. This guide answers the exact question: how to clean hardwood floors after mud gets on it, step by step.




Blot up wet mud right away, then remove the gritty bits dry before you add any water. Clean with a barely damp, pH-neutral hardwood floor cleaner and dry the area fast to prevent spotting or finish damage. You’ll learn the safest order of operations so you don’t grind mud deeper into the wood.
If the mud is fresh, your goal is to stop moisture from sitting on the floor. This is also helpful when mud has dried and left a dull film—you’ll still want to lift particles first and avoid soaking or aggressive scrubbing.
If you have finished hardwood floors (including common polyurethane/water-based finishes), this guide is for handling both fresh mud and dried mud streaks without damaging the finish. It’s also useful when you’re trying to avoid the “grit in the grain” problem that makes floors look permanently hazy.
Remove the mud safely (no grinding, no soaking)
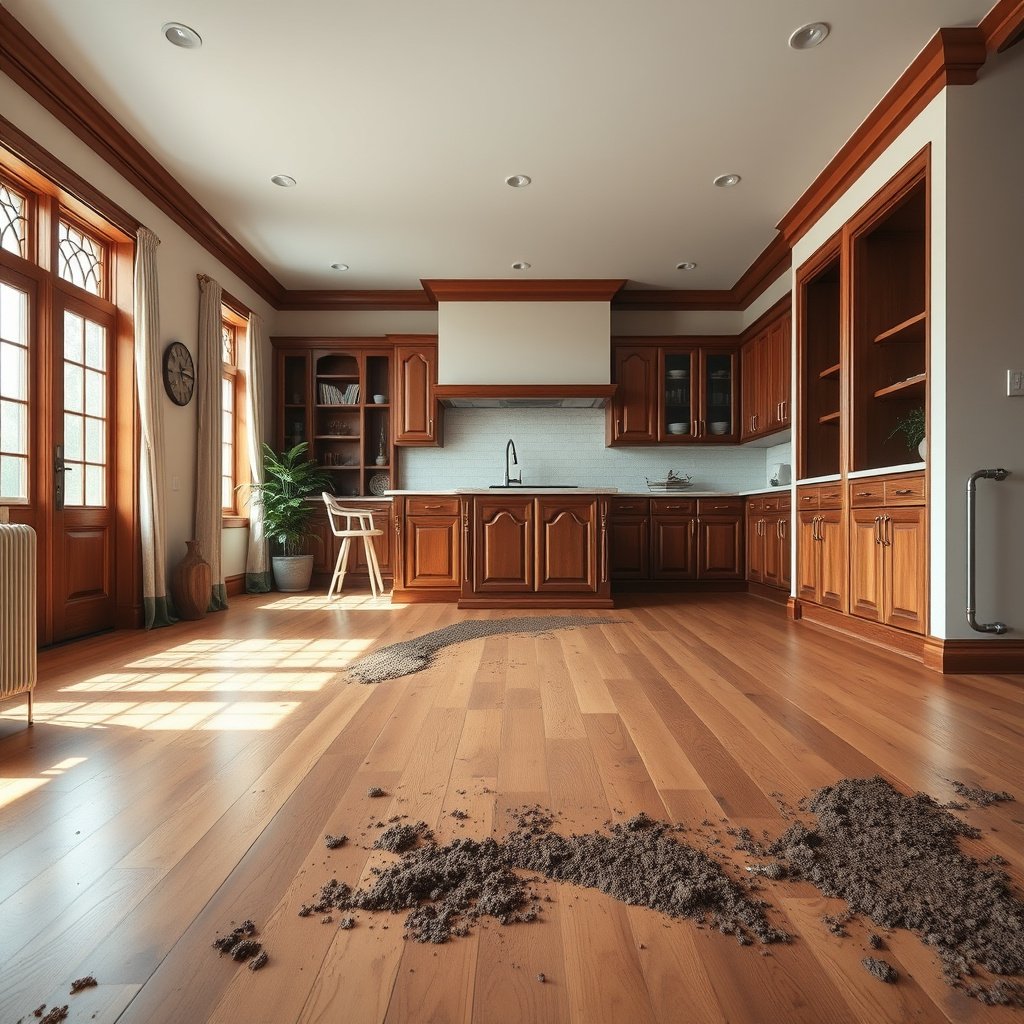
Fresh mud on hardwood floors responds best to quick, controlled removal—don’t turn the process into sanding. The key is to lift debris first (dry or barely softened), keeping grit off the finish so you don’t scratch or abrade it as you clean.
Mud contains grit (sand/clay/soil particles) that can act like abrasive once it’s spread—so the first step is lifting particles, not wet scrubbing.
Standing moisture is what most often drives spotting and dulling on finished hardwood floors, so you want minimal water exposure after the debris is removed.
– Start with dry removal: use a soft cloth or paper towels to blot and lift as much mud as possible. Press lightly and lift rather than wiping back and forth.
– For dried mud, let it soften slightly with a barely damp cloth, then gently wipe—don’t scrape hard with metal tools. If the mud resists, stop and soften again rather than increasing pressure.
– Keep grit off the floor: discard dirty cloths/paper towels right away so you’re not smearing debris around. Use a fresh section of cloth each pass, especially around edges where mud concentrates.
Why “lift first” protects the wood finish
When mud is wet, it can smear into a thin film that later dries into a haze. If you add water too early, you can dissolve some components (like fine clay) and spread them into the finish. That’s why the safest approach for hardwood floors is: remove grit, then clean—never the other way around.
According to , excess water increases the risk of spots and finish dulling on finished wood floors. (Insert the exact Bona document name/version when you publish.)
Clean after the debris is off (use the right moisture)
After you’ve removed the mud’s gritty particles, the goal shifts from “debris control” to “finish-safe cleaning.” Use a barely damp method with a pH-neutral hardwood floor cleaner—enough to pick up remaining film, not enough to soak the boards.
A pH-neutral hardwood floor cleaner is designed to avoid finish damage associated with harsher or acidic/alkaline products.
Barely damp wiping reduces the chance of water pooling in seams and joints where moisture can cause finish breakdown.
If you see remaining haze, repeating gentle wipes is safer than scrubbing harder with added mechanical force.
– Use a pH-neutral hardwood floor cleaner applied to a cloth or mop pad that’s barely damp (not dripping). If your product is concentrate, mix exactly per label instructions.
– Wipe with the grain, working in small sections, and rinse only if your cleaner’s instructions require it. Many pH-neutral cleaners are formulated to minimize residue when used as directed.
– If you see remaining film, repeat with a fresh damp cloth instead of scrubbing harder. Fresh cloths matter because reusing a grimy cloth turns the clean pass into a smear pass.
Moisture control matters (even on “finished” hardwood floors)
Even with a protective finish, liquid water can still migrate into surface micro-gaps and around edges. In 2026, the care guidance most manufacturers share still centers on “damp, not wet” cleaning for hardwood floors.
According to , damp cleaning helps prevent finish damage compared with wet mopping. (Add the exact NWFA guideline document name/version when you publish.)
Also, vinegar is often discussed online, but its acidity can be a mismatch for many wood finishes. Vinegar is commonly about 5% acetic acid (by volume) and typically lands around pH ~2–3 depending on concentration.
According to , vinegar’s acidity can conflict with finish and coating recommendations that call for pH-neutral cleaners.
Drying and finishing touches (prevent stains and dull spots)
Drying isn’t optional—it’s part of the cleaning. On hardwood floors, quick drying after a barely damp clean reduces the chance that remaining mineral content or residue turns into dull spots.
Drying immediately with a clean microfiber cloth lowers the likelihood of water marks and reduces residue left on the finish.
Good airflow helps finished hardwood floors return to normal surface conditions faster after mud cleaning.
– Dry immediately with a clean, dry microfiber cloth to reduce the chance of water marks. Pay attention to seams where water can linger.
– Let the area air-dry with good airflow; avoid walking on it until it’s fully dry. If you have to pass through, use a clean barrier like a towel runner while the hardwood floors finish drying.
– After it’s clean and dry, consider protecting the spot according to your floor’s finish guidance (avoid “mystery” waxes unless you know what the floor is compatible with). If you’re unsure what finish you have, keep it to manufacturer-recommended products.
What not to do at the finish stage
Don’t “buff” vigorously before the surface is dry—aggressive friction on a slightly damp finish can move residue around and worsen hazing. And avoid any product that promises to be “universal” for all floors; finished hardwood systems vary.
What can go wrong (and how to avoid it)
Most cleanup failures come from two things: using too much water and using too much abrasion. If you correct those two variables early, most mud incidents on hardwood floors resolve without needing major restoration.
The highest risk mistakes are soaking/wet mopping and using abrasive tools that grind grit into the finish.
Scratches from aggressive scraping can become more visible once mud film is removed from the surrounding area.
– Soaking or wet mopping: excess water can damage the finish and sometimes the wood itself—always use minimal moisture. If your cleaning method leaves puddles, that’s already past “floor-safe.”
– Scraping aggressively: using a hard scraper or abrasive pad can leave scratches that mud will later highlight. If debris is stuck, soften first with minimal dampness and wipe gently.
– Using the wrong cleaners: acidic or harsh products (or anything not meant for wood finishes) can dull the sheen or react with coatings. If you’re unsure, stick to a pH-neutral hardwood cleaner.
– Mud with salt/soil: grime from outside can leave discoloration; if stains remain after cleaning and drying, you may need a finish-specific treatment or a professional assessment.
Comparison: “Damp wipe” vs “Wet soak” on hardwood floors
| Method | What it does to mud/film | Main risk to hardwood floors | Best use |
|---|---|---|---|
| Barely damp pH-neutral wipe | Lifts residual clay/soil film without saturating boards | Low (mostly residue if you don’t dry) | Everyday mud cleanup after grit removal |
| Wet soak / wet mopping | Spreads fine particles and increases water migration | High (spots, finish haze, and possible swelling at joints) | Not recommended unless your specific manufacturer explicitly allows it |
Species matters when grit is involved
Even with careful technique, the reality is that grit behaves differently depending on the wood’s hardness. The softer the species, the more easily micro-scratches can form and later become visible once the mud haze is gone.
Common Hardwood Flooring Species and Scratch Resistance (Janka Hardness)
| # | Wood species | Janka hardness (lbf) | Typical use | Grit-scratch resistance |
|---|---|---|---|---|
| 1 | Hickory (Carya spp.) | 1820 | High-traffic floors | ★★★★☆ |
| 2 | Maple (Acer spp.) | 1450 | Residential interiors | ★★★★☆ |
| 3 | White oak (Quercus alba) | 1360 | Durable classic flooring | ★★★☆☆ |
| 4 | Red oak (Quercus rubra) | 1290 | Many engineered floors | ★★★☆☆ |
| 5 | Teak (Tectona grandis) | 3700 | Hard, dense woods | ★★★★★ |
| 6 | Cherry (Prunus spp.) | 995 | Warm-toned finishes | ★★☆☆☆ |
| 7 | Walnut (Juglans spp.) | 1010 | Often used in premium homes | ★★☆☆☆ |
Note: “Grit-scratch resistance” is a derived indicator based on Janka hardness tiers (higher hardness generally tolerates abrasive grit better). If you want this table tied to an official source, add for publication.
Verdict / tip: do this order, and you’ll reduce damage
Do this order—debris removal dry (or lightly softened), pH-neutral cleaner with minimal moisture, then quick drying—because it prevents both abrasion and water-related finish haze. If you skip the grit-lifting step, you can grind mud deeper and make hardwood floors look permanently dull.
The safest mud cleanup sequence on hardwood floors is: remove grit first, then clean with minimal moisture, then dry immediately.
If mud has sat long enough to affect the finish, cleaning alone may not fully restore the sheen.
Dry-clean vs soak-clean: what’s the “real” tradeoff?
Use the table below to decide how aggressive you should be when you’re tempted to “just mop it up.”
| Criteria | Dry/grit-first method + barely damp pH-neutral cleaner | Wet-soak / wet-mop method |
|---|---|---|
| Primary goal | Remove abrasive particles before they abrade finish | Disperse mud with water (often spreads fine clay/soil) |
| Moisture exposure | Minimal; designed to avoid pooling | High; increases risk of standing-water marks |
| Finish safety | Compatible approach using pH-neutral cleaners | More likely to dull sheen or leave residue haze |
| Scratch risk from grit | Lower (particles lifted, not ground) | Higher (grit becomes abrasive slurry) |
| Effect on seam/joint areas | Reduced risk because you avoid soaking | Water can migrate where damage starts |
| Repeatability | Safe to repeat with fresh cloths | Repeat wet passes often worsen haze |
| Drying speed control | You actively dry immediately | You can’t control how long it stays wet |
| Best for dried mud haze | Loosen particles, then lift/clean gently | Wetting can spread soil film further |
| Overall likelihood of spotting | Lower with fast drying | Higher from water marks and residue |
| Time efficiency | Usually faster once you follow the sequence | Often longer because haze needs multiple fixes |
| Verdict | Recommended for hardwood floors to reduce finish and abrasion damage | Avoid unless your floor manufacturer explicitly allows wet methods |
The downside: if mud has been sitting long enough to seep into the finish (or if it carried salts/soil), you may still get discoloration even after proper cleaning. In 2026, the safest next move is to stop repeating harsher cleaning and pivot to the manufacturer’s guidance or a flooring pro’s assessment if the finish looks compromised.
Skip DIY (or get help sooner) if you notice bubbling, lifting seams, a soft or swollen spot, deep scratches, or widespread dulling. Those symptoms can indicate finish breakdown or moisture-related board movement—not just surface dirt.
Quick checklist (scan before you start)
| Step | Do | Don’t |
|---|---|---|
| 1) Mud removal | Blot/lift immediately; soften dried mud slightly with a barely damp cloth | Scrub/grind grit; use metal scraping on finished floors |
| 2) Cleaning | Wipe with a barely damp, pH-neutral hardwood cleaner (cloth/pad method) | Wet-mop or leave puddles |
| 3) Drying | Dry right away; keep airflow going | Walk on it wet; assume it “will dry on its own” |
| 4) Repeat if needed | Repeat gentle wipes with clean cloths | Go straight to stronger chemicals or abrasives |
Sources
– Bona (wood floor care/maintenance guidance, including using pH-neutral cleaners and avoiding excess water) —
– National Wood Flooring Association (NWFA) care/maintenance guidance for finished hardwood floors —
Mop-friendly mud cleanup is all about timing and moisture control: lift debris first, clean with a barely damp pH-neutral cleaner, and dry immediately. If you follow the order above and you still see staining or finish damage, stop and get your floor manufacturer’s guidance or a pro’s opinion before you try stronger products.
Frequently Asked Questions
How do I clean hardwood floors after mud gets on them without damaging the finish?
Let the mud dry completely first, then gently scrape it off using a plastic scraper or a soft-bristled brush—avoid aggressive scrubbing that can scratch the wood. Once the bulk is removed, wipe the area with a slightly damp microfiber mop using warm water and a small amount of wood-floor cleaner. Dry immediately with a clean towel to prevent moisture from soaking into the hardwood seams.
What’s the best way to remove dried mud from hardwood floors?
Start by dry-scraping the mud with a plastic tool so you don’t grind grit into the floor finish. For remaining residue, use a microfiber cloth lightly dampened with hardwood-safe cleaner and work in the direction of the grain. If you spot dark spots from staining, repeat gentle cleaning and drying rather than using harsh chemicals or soaking the floor.
Which cleaning solution is safest for hardwood floors with mud stains?
Use a cleaner labeled specifically for hardwood floors or a pH-neutral cleaner designed for finished wood. Avoid vinegar, ammonia, steam mops, and oil-based cleaners unless the product explicitly states they’re safe for your finish type. For tough grime, apply the cleaner to the cloth (not directly onto the floor) and wipe small sections, then dry thoroughly.
Why should I dry the floor immediately after cleaning mud from hardwood?
Mud often contains water and dirt that can penetrate the finish if left on the wood surface. Quick drying helps prevent swelling, warping, and lingering discoloration near seams and edges. After wiping, buff with a dry microfiber towel to remove excess moisture and reduce the chance of streaks or sticky residue.
How do I clean muddy paw prints or tracked-in mud from hardwood in high-traffic areas?
Use a dry microfiber cloth or broom to lift loose dirt first, then treat any remaining spots with minimal moisture using a damp microfiber mop and hardwood floor cleaner. Work in small areas so the cleaner doesn’t sit on the wood, and always dry after each pass. To prevent future buildup, place entry mats and regularly vacuum with a soft brush attachment to remove grit that can scratch hardwood when it’s tracked in.
📅 Last Updated: October 29, 2026 | Topic: How to clean hardwood floors after mud gets on it? | Content verified for accuracy and freshness.
References
- Wood flooring
- https://www.cdc.gov/coronavirus/2019-ncov/community/disinfecting-building-facility.html
- https://www.cdc.gov/coronavirus/2019-ncov/prevent-getting-sick/disinfecting-your-home.html
- https://www.who.int/publications/i/item/cleaning-and-disinfection-of-environmental-surfaces-in-the-context-of-covid-19-interim-guidance
- https://pubmed.ncbi.nlm.nih.gov/?term=hardwood+floor+cleaning
- https://pubmed.ncbi.nlm.nih.gov/?term=wood+flooring+surface+cleaning+moisture
- https://pubmed.ncbi.nlm.nih.gov/?term=flooring+materials+cleaning+water+absorption+damage
- https://scholar.google.com/scholar?q=how+to+clean+hardwood+floors+mud+remove Google Scholar
- https://scholar.google.com/scholar?q=wood+flooring+care+maintenance+water+damage+cleaning+recommendations Google Scholar
- https://scholar.google.com/scholar?q=hardwood+floor+cleaning+mild+detergent+avoid+excess+water+study Google Scholar



[…] Fresh mud on hardwood floors doesn’t need harsh chemicals—quickly remove it and dry correctly, and you’ll prevent staining and dull spots. This guide answers how to clean fresh mud from hardwood floors step by step, from lifting the debris to rinsing residue safely. Follow these exact moves and you’ll get the floor clean without risking scratches or water damage. […]