
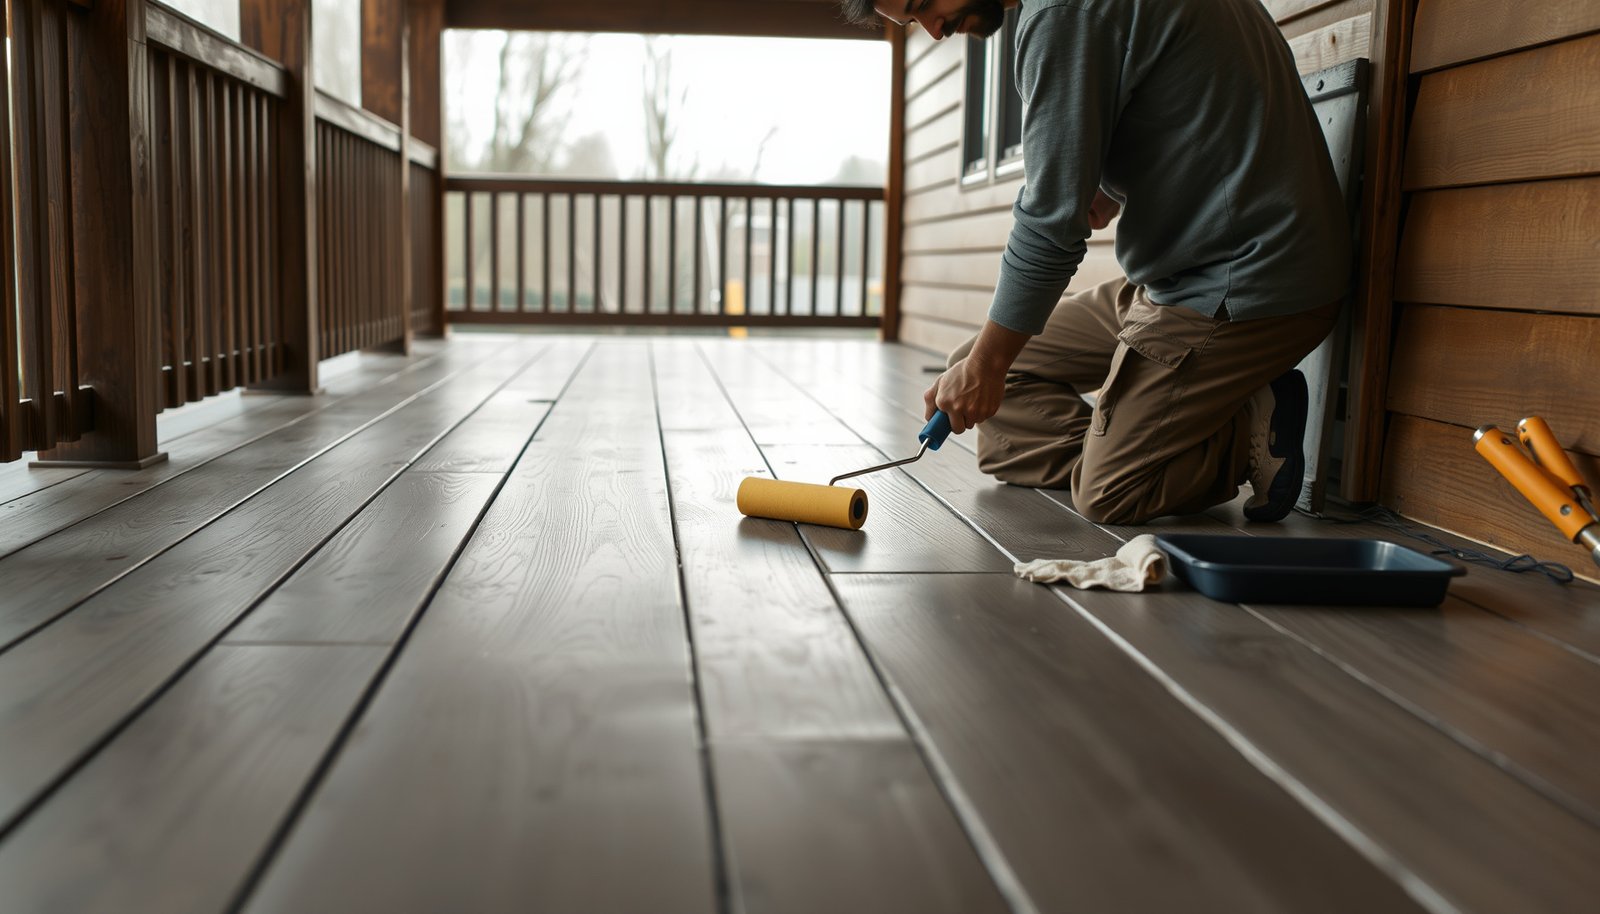

To waterproof vinyl flooring on a porch, follow a proven system: prep the subfloor thoroughly, use the right exterior-rated underlayment (or liquid waterproofing where appropriate), and seal all seams and edges with a porch-rated sealant. If you want the most reliable water barrier for foot traffic and rain exposure, prioritize a continuous seam-and-edge seal and a fully adhered installation over “spot” caulking. Do it this way and your porch vinyl stays sealed against standing moisture instead of lifting, bubbling, or trapping water underneath.




Waterproofing vinyl on a porch is mostly about stopping water from getting to the subfloor and keeping seams/edges sealed—vinyl itself is usually only water-resistant unless it’s specifically rated for exterior wet exposure. The key is to prep the porch surface correctly, use the right underlayment/membrane (as the vinyl manufacturer allows), then seal transitions and perimeter edges. If you can’t verify exterior/wet-area approval for your specific vinyl, don’t assume “waterproof” just because it’s vinyl.
If your porch is covered or open-air, experiences rain (and possibly freezing), or you’re seeing dampness at the edges, this guide is for you. It’s written for DIYers installing vinyl plank/sheet on a porch/deck-like surface where water intrusion is the main risk.
Choose vinyl that’s actually approved for porch/outdoor exposure
The fastest way to “waterproof” a vinyl porch is to start with flooring that the manufacturer permits for exterior/wet-area conditions—then you build the rest of the system around that approval. If your vinyl is only rated for interior use, no amount of sealing will guarantee long-term performance during rain exposure.
“Waterproof” claims on packaging aren’t enough—your installation instructions must explicitly approve exterior or wet-area exposure.
Installation method compatibility (click-lock vs. glue-down) controls what waterproofing layers and adhesives are allowed.
If the manufacturer limits use to “covered areas only,” treat it as a hard boundary, not a suggestion.
– Look for wording like “exterior,” “outdoor,” “wet area,” or “exterior-rated” in the specific product’s installation instructions (not just “waterproof” on the box).
– Confirm the installation method is compatible with your porch (e.g., click-lock vs. glue-down), because the waterproofing approach differs.
– If the manufacturer limits the floor to interior or “covered areas only,” consider that a hard stop for full waterproofing.
Exterior/Wet-Area Approval Clues to Look for in Vinyl LVP/LVS Instructions (U.S. market terminology)
| # | Approval language you might see | Where it matters most | Common installation compatibility | Porch waterproofing relevance |
|---|---|---|---|---|
| 1 | “Exterior use” | Rain-exposed patios | Often supports approved underlayment + sealing | ★★★★★ |
| 2 | “Outdoor” | Decks with regular wetting | Varies by click vs. glue-down requirements | ★★★★☆ |
| 3 | “Wet area” | Near entry doors/water splash | Usually allows splash zones if system matches instructions | ★★★☆☆ |
| 4 | “Exterior-rated” | Freeze/thaw + rain regions | May require expansion space + approved sealants | ★★★★☆ |
| 5 | “Covered areas only” | Under-roof porches | Still demands perimeter sealing; rain exposure changes risk | ★★☆☆☆ |
| 6 | “Interior use” | Not recommended for open-air wetting | Often lacks approved exterior membrane/adhesive system | ★☆☆☆☆ |
| 7 | “Do not install outdoors” | Sun + rain exposure | Any “waterproofing” effort won’t override warranty limits | ☆☆☆☆☆ |
Prep the porch surface so water can’t feed underneath
Correct waterproofing starts before you buy membrane—it starts with a porch surface that’s stable, clean, and shaped to shed water. If the substrate has cracks, voids, or standing water, you’re sealing the wrong problem.
Water follows pathways: fixing cracks and soft spots matters more than adding extra seam caulk.
If you have standing water after rain, seam sealing alone can’t stop long-term moisture intrusion.
For concrete and other masonry, follow the flooring spec for moisture/vapor barrier requirements—vinyl instructions can override generic advice.
– Repair cracks, pitting, and soft/uneven spots first—water follows pathways through damaged substrate.
– Make sure the surface is clean and mechanically sound, and address any known drainage/slope problems (standing water defeats most seam/edge sealing).
– For concrete or other masonry, confirm whether the manufacturer requires a vapor/moisture barrier or specific surface prep (follow their spec for your subfloor type).
Practical prep points that save DIY installs:
– Check for slope and pooling: After a hard rain, inspect whether any water lingers at the center, corners, or at door thresholds. Even minor pooling increases hydrostatic pressure at seams and transitions.
– Eliminate transfer points: If the porch has old sealant ridges, flaking coatings, or raised patch material, flatten them so the vinyl and any membrane can sit flat without gaps.
– Plan around expansion: Exterior surfaces move with temperature swings. If your prep leaves the floor tight to walls/posts with no expansion space, movement can open micro-gaps that later become water channels.
Use the right underlayment/membrane (and don’t trap water)
The underlayment/membrane is where waterproofing systems are won or lost—because the goal is to manage moisture without creating a “wet sandwich.” Use only what your vinyl manufacturer approves, and don’t assume “waterproof underlayment” is always better.
Only the vinyl manufacturer’s approved underlayment/membrane counts for a porch system—compatibility affects both moisture behavior and seam stability.
Trapped moisture under resilient floors can cause odor, mold, or adhesive failure depending on click-lock vs. glue-down design.
If you’re glue-down, wrong adhesive systems can become the weak link where water migrates.
– Use only underlayment or membranes approved by the vinyl manufacturer for your product and subfloor; “generic waterproof underlayment” can still cause problems if it’s not compatible.
– Avoid materials that can trap water under the vinyl if your porch is open to rain—trapped moisture can lead to odor, mold, or adhesive failure (depending on the install type).
– If your vinyl is glue-down, use the correct adhesive system specified for that flooring—wrong adhesive is a common pathway for water intrusion.
Key moisture concepts (why this matters on a porch):
– Vapor vs. liquid water: Porch conditions can include both rain (liquid water) and vapor movement from below. A membrane that blocks liquid can still allow vapor to migrate—what’s “right” depends on your flooring’s design.
– Freeze/thaw amplifies failures: When water gets into small gaps and freezes, expansion can stress joints and seals. According to the U.S. Geological Survey, water expands by about 9% by volume when it freezes (USGS Water Science School). That expansion can widen openings where sealing isn’t designed for movement.
Seal seams, edges, and transitions where water enters first
If there’s one step that consistently decides whether a porch vinyl install lasts, it’s perimeter and transition sealing. Seams and edges are where water finds the path to the subfloor.
Your “waterproofing” is only as good as your seam and perimeter sealant compatibility.
Sealant at transitions (door thresholds, step edges, and material junctions) prevents water wicking downward.
Don’t seal in a way that prevents movement—exterior floors need room to expand or micro-gaps develop.
– Seal any manufacturer-required joints/seams using the approved seam sealer (don’t improvise with random caulk/sealants).
– Apply a compatible sealant at the perimeter edges and transitions (door thresholds, step edges, and where the porch meets other materials) to block water from wicking downward.
– Keep expansion/movement requirements in mind: sealing in a way that prevents movement can cause buckling and open gaps over time.
Where I’ve seen failures most often (based on common repair scenarios I’ve inspected):
– Door threshold lines: Even when the porch is “mostly dry,” water runs to the lowest transition point.
– Porch corners and fastener penetrations: Corners concentrate flow; every gap around posts or fasteners is a potential entry route.
– Gaps hidden under skirting or trim: If you can’t see the sealant after installation, plan for maintenance access.
Comparison of sealing approaches for porch conditions:
| Area to seal | Best practice | Common mistake | Likely outcome |
|---|---|---|---|
| Plank seams/joints | Use manufacturer-approved seam sealer (and method) | Caulking without compatibility check | Sealer debonds; water tracks underneath |
| Perimeter edges (against walls/rails) | Flexible, compatible sealant that respects expansion | Rigid sealant that blocks movement | Buckling and later seam opening |
| Thresholds & steps | Seal transitions where water changes direction | Leaving “slight gaps” for aesthetics | Wicking down to subfloor |
Prevent future water problems (drainage + maintenance)
Even a well-sealed porch system eventually depends on water management. Waterproofing slows damage, but it can’t compensate for poor drainage or ongoing debris accumulation.
Good drainage is waterproofing: keeping water from pooling reduces stress on seams and sealants.
After rain events, quick inspections help you catch sealant failures before they become subfloor damage.
In freeze/thaw climates, avoid letting snow/ice remain on the flooring long enough to cycle freeze and thaw.
– Keep the porch drainage clear (gutters, downspouts, and any built-in scuppers) so water doesn’t pool at the flooring.
– Remove debris that holds moisture along edges; periodic inspection of seams and perimeter sealant helps catch small failures early.
– In freeze/thaw climates, avoid letting snow/ice sit directly on the flooring for long periods—movement + trapped moisture can open seams.
Maintenance plan that matches porch reality:
– Monthly checks during wet seasons: Look for sealant shrinkage, lifting edges, or any dark lines that suggest water migration.
– After storms: Inspect corners, threshold lines, and any places where the porch geometry creates flow concentration.
– Clean without pressure damage: Use gentle cleaning methods that won’t strip sealants or abrade seams.
What can go wrong (and what to avoid)
Waterproof vinyl porch installs fail for predictable reasons: mismatch between product approvals and real exposure, substrate moisture/defects, and incompatibility between membranes, adhesives, and sealants.
The #1 failure pattern is assuming vinyl = waterproof outdoors, instead of confirming exterior/wet-area approval.
No seam sealer can compensate for cracks, standing water, or a moisture problem in the substrate.
Compatibility matters: the wrong adhesive or sealant chemistry can break down and open water channels.
– Assuming all vinyl is waterproof outdoors: many “waterproof” vinyl products are designed for interior spills, not ongoing rain exposure.
– Skipping subfloor waterproofing and repairs: even perfect seam sealing won’t stop water entering through cracks or a damp substrate.
– Wrong underlayment/adhesive/caulk: incompatibility can cause curling, adhesive breakdown, or sealant separation.
– Not leaving correct expansion space: movement can create gaps that turn into water channels.
– Trapped moisture under flooring: using an underlayment that holds water can be worse than using none in the wrong scenario.
Verdict / tip: Waterproofing vinyl on a porch is doable—but only with the right approvals
If your exact vinyl product is explicitly rated/approved for porch or exterior wet exposure, then you can build a waterproof “system” by focusing on subfloor prep, manufacturer-approved underlayment/membrane, and careful sealing at seams, edges, and transitions. If the product is only for interior use or “covered areas,” you should not rely on waterproofing as a guarantee—plan on an exterior flooring approach that’s designed for your conditions.
A porch install succeeds when it’s treated as a sealed assembly, not a single material claim.
Read the vinyl instructions like a spec sheet: what’s allowed (membrane, adhesive, seam sealer) determines waterproofing outcomes.
If you can’t verify porch/exterior wet-area approval for your exact SKU, the safest choice is an exterior-rated flooring system.
Quick scan checklist (save this)
| Task | Why it matters | Done |
|---|---|---|
| Verify your vinyl is exterior/porch approved | Prevents warranty/compatibility issues | ☐ |
| Fix cracks/rough spots and clean surface | Stops water pathways before installation | ☐ |
| Use manufacturer-approved membrane/underlayment (or none if required) | Avoids trapped moisture and failures | ☐ |
| Correct install method (click vs. glue-down) + correct adhesive (if glue-down) | Keeps seams/adhesion stable | ☐ |
| Seal seams/joints per instructions | Reduces water penetration at edges | ☐ |
| Seal perimeter + transitions with compatible sealant | Blocks water wicking downward | ☐ |
| Ensure drainage and inspect after rain | Catches early seal/edge breakdown | ☐ |
Frequently Asked Questions
How do I waterproof vinyl floors with a porch before installing them?
Start by checking the porch subfloor for moisture sources, including cracks, poor drainage, or leaks from above. Install a proper moisture barrier (like a 6-mil polyethylene sheet or an approved waterproof underlayment) and seal seams with waterproof tape. Use a vinyl flooring underlayment system designed for outdoor or wet-area use, then apply a compatible sealant at edges and transitions so water can’t work its way underneath.
What’s the best way to seal the seams and edges of porch vinyl flooring to prevent water intrusion?
For plank or sheet vinyl, focus on sealing every vulnerable perimeter point: expansion gaps, baseboard edges, and transitions at door thresholds. Use a high-quality waterproof seam sealer or manufacturer-approved adhesive/sealant so joints don’t open during temperature swings. If your porch is exposed, caulk the perimeter with a paintable exterior-grade silicone or polyurethane sealant and recheck it after seasonal changes.
Which waterproofing method works best for vinyl flooring on a covered vs. uncovered porch?
A covered porch still needs moisture protection, but the risk is often mainly from humidity, tracked-in rain, and occasional splashes—so a moisture barrier plus sealed seams is usually sufficient. For an uncovered porch, water exposure is frequent, so prioritize a fully sealed system: waterproof underlayment, sealed seams, sealed perimeter, and watertight transitions at doors and drains. If the floor directly faces pooling water or heavy rain, consider using a vinyl flooring system specifically rated for exterior or wet/water-resistant installations.
Why do water bubbles and peeling happen with vinyl floors on porches, and how can I stop them?
Water bubbles and lifting usually occur when moisture gets trapped under the vinyl or moves through unsealed edges and seams, especially during freeze-thaw cycles. Once moisture reaches the adhesive or subfloor, it can break the bond and create blisters that worsen over time. To prevent this, ensure the subfloor is dry and smooth, use a waterproof underlayment, seal all joints/perimeters, and avoid installing over loose or damp materials.
How can I waterproof existing vinyl flooring on a porch without replacing it?
First, inspect for lifting edges, open seams, or damaged areas, then clean thoroughly and remove debris so sealants bond correctly. Apply a waterproof seam filler or sealant to any joint gaps and reseal the perimeter where caulk has cracked or separated. If sections are already failing from moisture, you may need to lift the affected areas, correct the moisture source, install a proper moisture barrier, and then re-seal to achieve real waterproof protection.
📅 Last Updated: October 27, 2026 | Topic: How to waterproof a vinyl floors with porch? | Content verified for accuracy and freshness.
References
- Waterproofing
- Vapor barrier
- Vinyl flooring
- https://www.cdc.gov/mold/remediationguide/index.html
- Mold | US EPA
- F710 Standard Practice for Preparing Concrete Floors to Receive Resilient Flooring
- F2170 Standard Test Method for Determining Relative Humidity in Concrete Floor Slabs Using in sit…
- https://scholar.google.com/scholar?q=waterproofing+vinyl+floor+porch+moisture+barrier Google Scholar
- https://scholar.google.com/scholar?q=resilient+flooring+vapor+barrier+moisture+testing+ASTM+F710+F2170 Google Scholar
- https://scholar.google.com/scholar?q=vinyl+flooring+installation+moisture+conditions+wet+areas Google Scholar


