
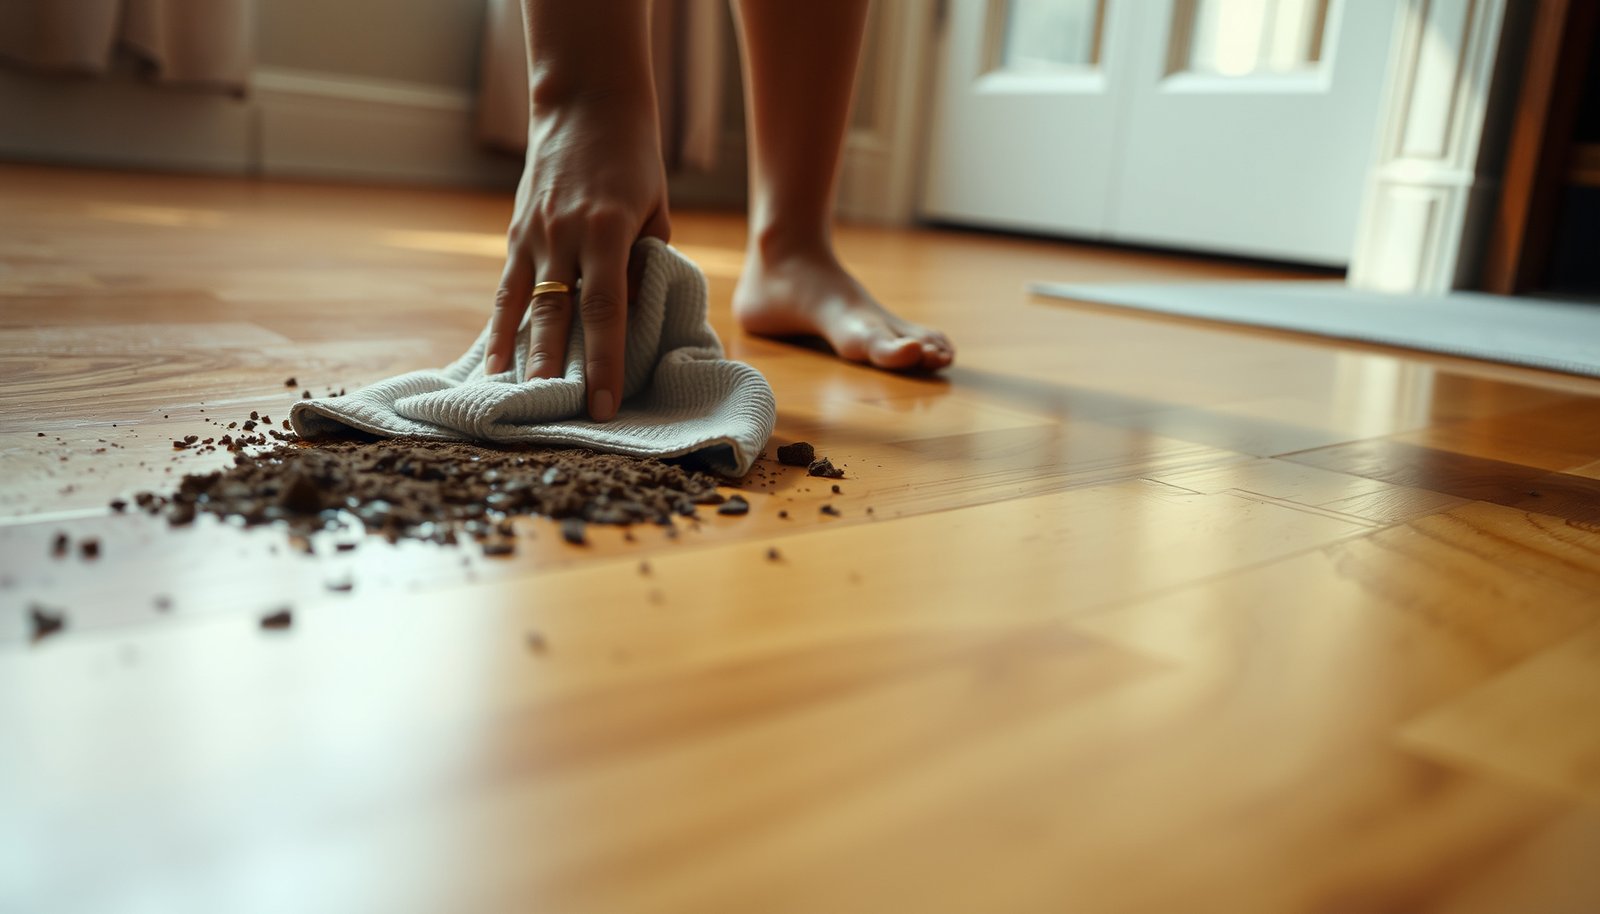

Clear mud from hardwood floors without damaging the finish with the right approach: let it dry fully, lift the crust gently, then use a barely damp microfiber with a pH-neutral cleaner. This method removes mud safely while avoiding the warping, dulling, and residue that come from scrubbing or soaking. Want the fastest, safest step-by-step order? You’ll get it here.




Lift and remove loose mud first, then clean with a barely-damp wood-safe method and dry immediately—this is the fastest way to protect hardwood finishes. If mud is still wet, remove the excess first and then clean with the gentlest method that matches your finish: use a soft dry cloth/sponge to lift grit, then wash with a barely-damp wood-safe cleaner (not soaking water), and dry thoroughly so mud doesn’t grind into the finish or seep into seams.
If you’ve got muddy footprints, a tracked-in spill from shoes, or muddy paw marks on hardwood, this guide walks through what to do right away and what to avoid so you don’t dull or cloud the finish. It’s especially helpful when the mud has dried or when you’re unsure whether your floor is sealed.
This advice is for homeowners and property managers dealing with everyday mud incidents (indoors, entryways, pet zones) on finished hardwood where you want to minimize finish wear, staining, and moisture-related plank movement—especially in 2026 when floors are commonly exposed to wetter seasons and heavier tracking.
Stop the Mud Fast: What to Do in the First 10 Minutes
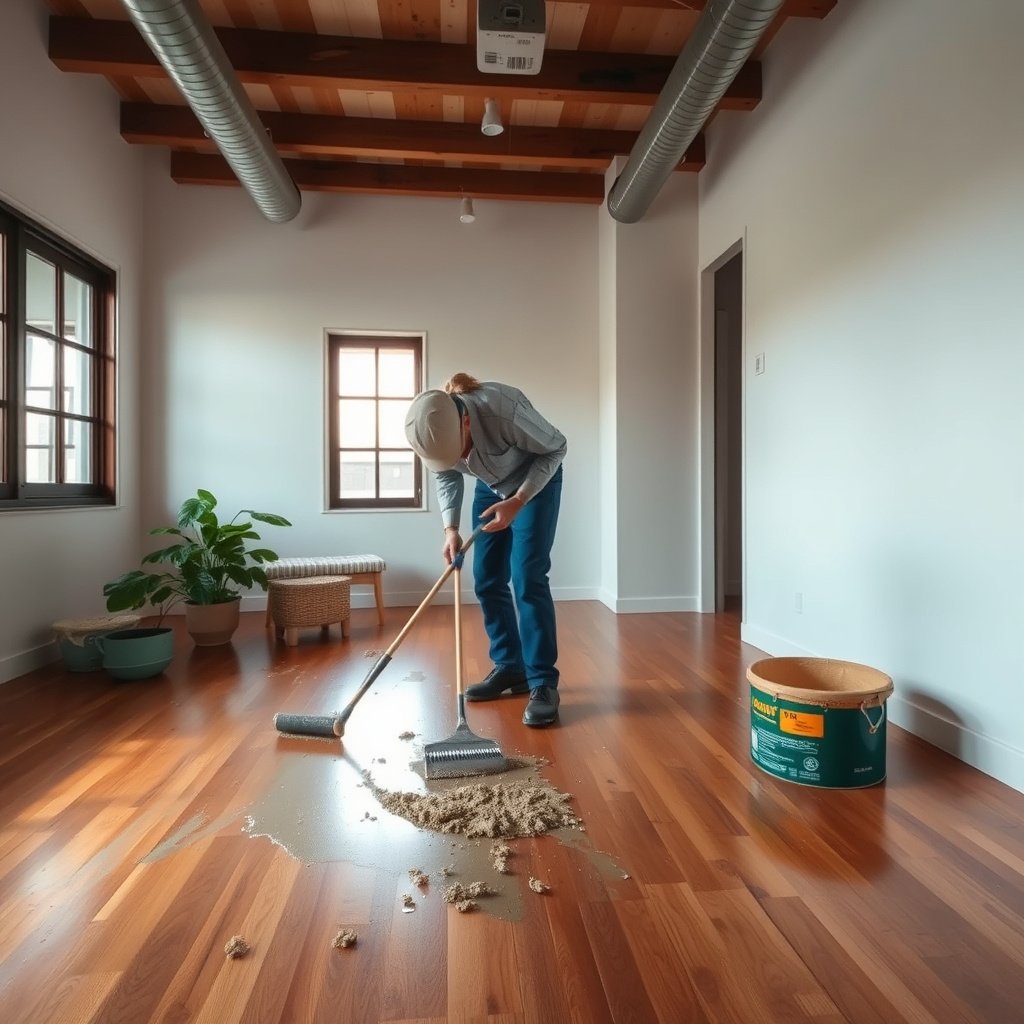
If you act immediately, you can prevent grit from acting like sandpaper and you can limit how much moisture the mud has time to transfer. The priority in the first 10 minutes is simple: lift, blot, then (only if needed) use a wood-safe cleaner on minimal moisture.
Mud left on a finished hardwood surface for even a short period can leave suspended grit that abrades the finish when you later wipe or mop.
Wood-floor cleaning best practices emphasize using a dry absorbent first, so you remove particulates before introducing any liquid.
Lift and blot—don’t scrub
– Scoop or lift mud while it’s still loose (use a soft scraper or a dull plastic card; avoid metal that scratches).
– Wipe with a dry, absorbent cloth to pick up remaining residue before adding any water.
– Don’t rub hard—grit can act like sandpaper on the surface.
Control the “wetness” you introduce
Mud cleanup often fails when people “fix it fast” with heavy damp mopping. Instead, treat the first cleaning pass as particulate removal only. If you still see color after lifting, that’s usually staining and requires a gentle wood-safe cleaner—but the cleaner should be applied to the cloth, not poured onto the floor.
Why timing matters
– The 10-minute window matters because wet mud can smear deeper into micro-texture.
– If mud is allowed to dry in place, it bonds more firmly and usually needs controlled rehydration.
Choose the Right Cleaning Approach (Wet vs. Dried Mud)
Your goal is to match the cleaning strategy to the mud’s state—because wet mud smears easily, while dried mud needs controlled rehydration to lift without abrasion. Here’s the safe way to decide.
For wet mud, wiping first reduces smear and prevents mud from grinding further into the finish during the next step.
For dried mud, gentle rehydration with a slightly damp cloth helps loosen the deposit without saturating seams.
When mud is caked in grooves, repeated gentle cleaning usually prevents finish damage better than aggressive circular scrubbing.
Wet mud: lift, then minimal-clean
– For wet mud: wipe first, then use a barely-damp cloth with a wood-floor cleaner; rinse only if your cleaner instructions require it.
– Keep liquid off the floor. The cloth should feel damp, not wet enough to drip.
Dried mud: rehydrate lightly—then lift again
– For dried mud: rehydrate gently (slightly damp cloth on top, short dwell time), then lift again and clean.
– If mud has caked in grooves, use light pressure and repeat cleaning rather than scrubbing in circles.
A quick decision check
If the mud wipes away with dry pressure and doesn’t leave wet smear, it’s acting like “dry” residue—use the dried-mud method. If it smears or transfers color immediately, treat it as wet mud and switch to lifting/blotting before any cleaner.
Key moisture context (why “barely-damp” is not optional)
Wood movement and finish failure become more likely when moisture exposure increases. According to the National Wood Flooring Association (NWFA), maintaining indoor relative humidity around 35%–55% helps reduce seasonal dimensional movement that can worsen gaps and cupping risk (add publication year from ). In other words: minimizing added liquid during mud cleanup helps you avoid triggering the conditions floors dislike—especially in 2026’s higher-humidity months.
Clean Without Soaking: Step-by-Step Method
The safest routine is: sweep/vacuum first, then spot clean with cleaner applied to a cloth, and dry immediately. This prevents abrasive grit from being dragged around and reduces the chance of moisture migrating into seams.
Apply wood-floor cleaner to a cloth rather than directly to the floor to control moisture volume and prevent puddling.
Dry-buffing immediately after spot cleaning reduces the likelihood of lingering moisture at plank edges.
Step 1: Prep with controlled dust removal
– Prep: sweep/vacuum with a soft brush attachment to remove loose dirt (avoid aggressive vacuum suction that can drag grit).
– Focus on the perimeter of the mud area first, then move inward so you don’t spread debris.
Step 2: Spot clean correctly (minimal liquid)
– Spot clean: apply cleaner to the cloth (not directly to the floor), wipe in the direction of the grain.
– Use light pressure at first. If the mud resists, don’t “force it”—rehydrate briefly and try again.
Step 3: Dry immediately (finish protection)
– Dry immediately: buff with a dry microfiber cloth and ensure airflow so moisture doesn’t linger at edges.
– Re-check visually after a few minutes. If you still see darkening, repeat the cloth-clean-dry sequence rather than adding more water.
How much cleaner to use (practical rule)
If your cloth leaves visible droplets, it’s too wet. You want a damp working surface that can lift residue without depositing excess liquid.
Hardwood-Friendly Mud-Removal Methods (Ranked by Finish Safety)
| # | Method (Mud State) | Moisture Introduced | Typical Best Use | Finish-Safety Score |
|---|---|---|---|---|
| 1 | Dry lift + blot (wet or just-dried) | None (cloth only) | Entryway tracking | ★★★★☆ |
| 2 | Barely-damp spot cleaning (cleaner on cloth) | Low (no puddles) | General mud residue | ★★★★☆ |
| 3 | Controlled rehydrate (short dwell, cloth only) | Low–moderate | Dried-on mud | ★★★☆☆ |
| 4 | Microfiber dry buff after each pass | None | Stain haze control | ★★★☆☆ |
| 5 | Scrape then repeat cloth cleaning (no circular scrubbing) | Low | Mud in seams/grooves | ★★☆☆☆ |
| 6 | Heavy damp mopping (over-wet) | High (risk of puddling) | Not recommended | ★☆☆☆☆ |
| 7 | Abrasive scrubbing pads / steel wool | None (but high friction) | Never on finished hardwood | ☆☆☆☆☆ |
Protect the Finish: What to Avoid on Hardwood
The best protection strategy is to avoid excess liquid, abrasive tools, and chemistry you can’t verify as finish-safe. If you prevent finish abrasion and moisture seepage, you prevent the dulling, haze, and plank stress that people often blame on “mud stains.”
Many wood-floor finish failures start when cleaners add more water than intended, allowing liquid to penetrate seams.
Abrasive tools and retained grit can permanently wear the finish sheen by damaging the surface film.
Avoid soaking
– Avoid soaking: standing water or heavy damp mopping can cause swelling, gaps, and finish failure.
– Don’t leave a wet cleaner layer. Work in small sections and dry as you go.
Avoid harsh cleaners
– Avoid harsh cleaners: steer clear of ammonia, bleach, steam, and “all-purpose” degreasers unless the product label explicitly allows hardwood floors.
– If you’re unsure, use a wood-floor cleaner that’s specifically labeled for finished wood floors.
Avoid abrasive tools
– Don’t use abrasive tools: no steel wool, stiff scrub brushes, or scouring pads on finished hardwood.
– Even “scrubbers” that feel soft can still leave scratch patterns when grit is embedded.
A simple pros/cons comparison (what to do vs. what to skip)
| Choose this | Avoid this |
|---|---|
| Cleaner applied to cloth, wiped with the grain, then immediate dry-buffing | Pouring cleaner directly on the floor or using wet mopping that leaves liquid behind |
| Plastic scraping to lift caked mud, followed by repeat gentle passes | Circular scrubbing that grinds grit into the finish |
| Vacuum/sweep with soft attachments to remove loose grit first | Aggressive suction or dragging debris across the surface |
Seams and moisture: the hidden failure mode
Mud is not just color—it’s fine particles plus water. If water carries mud into seams, you can end up with dark lines, swelling, or finish clouding that shows up later. According to common flooring engineering guidance, wood movement is driven by moisture content changes; if the wood picks up moisture beyond its equilibrium level, dimensional change follows ().
What Can Go Wrong (And How to Adjust)
Even if you do everything carefully, mud can leave haze or staining—or it can penetrate deeper than surface residue. The fix is to diagnose which failure you’re seeing, then adjust moisture, pressure, and dwell time.
White haze or loss of sheen on finished hardwood is often linked to overwetting or trapped moisture rather than permanent “mud stain.”
Scratches and wear marks frequently trace back to grit remaining on the surface and being rubbed into the finish.
White haze or dulling
– White haze or dulling: often from trapped moisture or overwetting—reduce liquid next time and focus on drying thoroughly.
– Dry-buffing with a clean microfiber cloth may restore appearance if the finish wasn’t damaged.
Scratches or wear marks
– Scratches or wear marks: caused by grit rubbed into the finish—use lifting first, then gentle cleaning.
– If the finish is truly worn, future cleanups can’t “undo” the abrasion; you can only prevent further damage.
Moisture into seams
– If the mud penetrated into gaps, you may need more time to dry and re-check the area after 24 hours; if swelling/cupping appears, pause DIY and assess further.
– Provide airflow (fans at a safe distance) rather than adding more liquid.
Uncertain finish: test first
– If you don’t know whether your floor is polyurethane/wax/oil, test a tiny hidden spot first with your planned cleaner and method.
– Wait for it to dry fully before judging results, because some issues only appear after moisture evaporates.
Troubleshooting mindset
Mud cleanup should be iterative: lift → minimal cleaning → thorough drying → re-check. If you jump from “dirty” to “wet and aggressive,” you increase the chance of long-term appearance problems.
Verdict: The Safest “Default” Plan (With Downsides)
Use the “lift → barely-damp clean → immediate dry” approach as your go-to. It’s typically the safest way to clear mud without driving grit deeper or flooding the surface, but the downside is it may take multiple rounds if mud dried thick or spread across many boards.
Applying cleaner to a cloth and drying immediately reduces the chance that liquid will wick into plank edges and seams.
Repeated gentle passes generally protect finishes better than one aggressive scrub when dried mud is present.
Skip this DIY process and consult a flooring professional if you see signs of moisture damage (cupping, warping, persistent haze that doesn’t improve after drying, or damaged planks), or if the mud sat for a long time and penetrated deeply. Professionals may assess whether sections need refinishing or board replacement rather than continued spot-cleaning.
Downside you should expect:
– Time: thick, dried mud often requires repeated lift/clean/dry cycles.
– Appearance: staining may remain even after the mud is removed, especially on lighter woods or porous topcoats.
If your floor is in a high-traffic area, block the zone temporarily so no one walks through residue while you clean—tracking grit after you start is a common setback.
Quick Checklist (Scan & Save)
– [ ] Lift loose mud with a plastic scraper/card first
– [ ] Vacuum/sweep loose grit with a soft brush attachment
– [ ] Clean with a barely-damp cloth (cleaner applied to cloth)
– [ ] Wipe with grain, light pressure only
– [ ] Dry immediately and re-check after a few hours
Sources
– If you tell me your floor type (polyurethane sealed, waxed, or oiled) and the cleaner you plan to use, I can help you map the steps to the exact product directions—.
The safest overall approach is deliberate: remove grit first, clean with controlled minimal moisture, and dry immediately. Do that, and you avoid the two biggest causes of finish damage—abrasion from retained particles and moisture migration into seams.
Frequently Asked Questions
How do I remove dried mud from hardwood floors without damaging the finish?
Let the mud fully dry, then gently scrape it with a plastic scraper or a soft, non-metal tool to lift debris without scratching. Vacuum the area using a floor brush attachment to remove remaining grit, since particles can abrade hardwood. Wipe with a slightly damp microfiber cloth and use a hardwood floor cleaner approved for your finish; avoid soaking the wood. Dry the floor completely and buff lightly to restore shine.
What’s the safest way to clean fresh mud off hardwood floors?
Blot up excess mud immediately with paper towels or a dry cloth—don’t smear it across the planks. Once the bulk is removed, vacuum or sweep carefully to pick up loose dirt before using any moisture. Clean with a lightly damp microfiber mop and a pH-neutral hardwood cleaner, then dry thoroughly. If mud water got into seams or gaps, dry those areas quickly to prevent swelling or discoloration.
Which cleaning method works best for muddy paw prints or tracked-in dirt?
Start by dry-removing dirt: vacuum or sweep first, then spot-clean the remaining stains with a damp microfiber cloth. For stubborn spots, use a small amount of cleaner on the cloth rather than pouring directly onto the floor. If you still see residue, repeat gentle passes and avoid harsh scrub pads that can dull the finish. After cleaning, dry and consider a light buff to blend the spot with the surrounding area.
Why should I avoid soaking or steam-cleaning hardwood after mud spills?
Hardwood is sensitive to excess water, and soaking can cause cupping, swelling, or long-lasting cloudiness, especially around plank edges. Steam cleaning can penetrate seams and force moisture deeper than surface mopping. Mud can also contain grit that acts like sandstone, so using too much water too soon may spread particles and worsen scratches. Always remove grit first, use minimal moisture, and dry promptly.
What’s the best way to handle mud stains that remain after the initial cleaning?
After removing the dirt, assess whether the stain is surface residue or deeper discoloration by cleaning a small inconspicuous area first. Use a hardwood-safe cleaner and re-wipe with a clean damp cloth, then dry fully; sometimes the stain is leftover film from mud. For persistent discoloration, you may need a finish-specific spot treatment or refinishing depending on your floor’s wear layer and type of finish. If the stain appears to have penetrated, consult a hardwood flooring professional to avoid damaging the finish.
📅 Last Updated: October 29, 2026 | Topic: How to clear mud from hardwood floors? | Content verified for accuracy and freshness.
References
- Wood flooring
- 404 Error
- https://www.bruce.com/maintenance/cleaning-your-floors
- https://www.woodflooring.org/cleaning/
- https://scholar.google.com/scholar?q=how+to+remove+mud+from+hardwood+floors Google Scholar
- https://scholar.google.com/scholar?q=hardwood+floor+cleaning+mud+water+damage Google Scholar
- https://scholar.google.com/scholar?q=wood+floor+care+cleaning+guidelines+spill+removal Google Scholar



[…] in mud, let the mud dry enough to lift off, remove grit with a soft vacuum, and then clean using a barely-damp microfiber with a wood-safe cleaner—never soaking or aggressive scrubbing. This prevents the two biggest […]