
Need to fix water damage on garage floors fast? Follow this step-by-step process to identify the cause, remove compromised concrete or coatings, and repair the slab so it’s sealed against future moisture. If you act quickly and dry the area thoroughly before patching and sealing, you’ll prevent lingering odors, peeling, and weakening—making this the most reliable path to a durable garage floor.



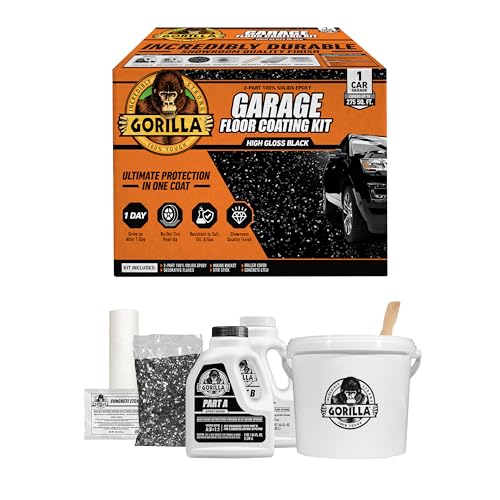
Fixing water damage on a garage floor starts with drying the slab completely and removing any failed coatings or weak concrete before you seal. If you don’t identify and correct the water source (leak, seepage, or drainage/grade issues), the floor will often bubble, peel, and re-stain even after a “perfect” patch job.
If the water exposure was more than a quick spill, plan on more than a simple mop-and-dry. This is for homeowners who want a practical repair workflow for concrete slabs, stains, minor cracks, and peeling coatings—plus a realistic guide on when it’s better to call a pro.
Assess the damage (what you’re really fixing)
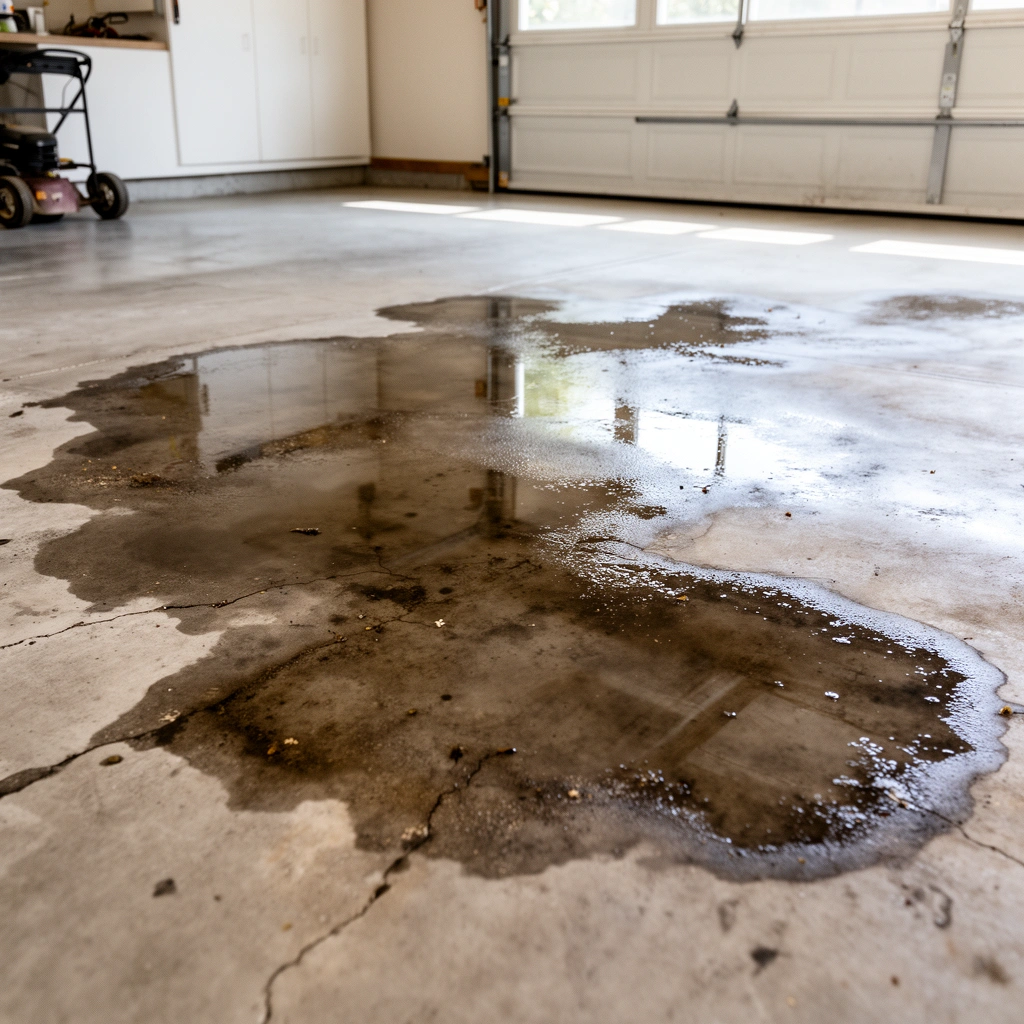
Don’t guess—assess the moisture path and failure pattern first, because it tells you whether you’re dealing with a one-time spill or ongoing moisture migration. The fastest repairs are the ones that match the cause: limited surface staining is one scenario, while coating blistering or returning damp spots often means water is still moving through the slab.
“Efflorescence (white, chalky deposits) typically forms when dissolved salts are carried to the surface by migrating moisture.”
“Coating bubbling or peeling is often a sign that moisture or hydrostatic pressure is building under the coating film.”
“Before selecting primers or epoxies, you need to know whether water exposure is clean, contaminated, or recurring.”
Check moisture travel and visible failure signs
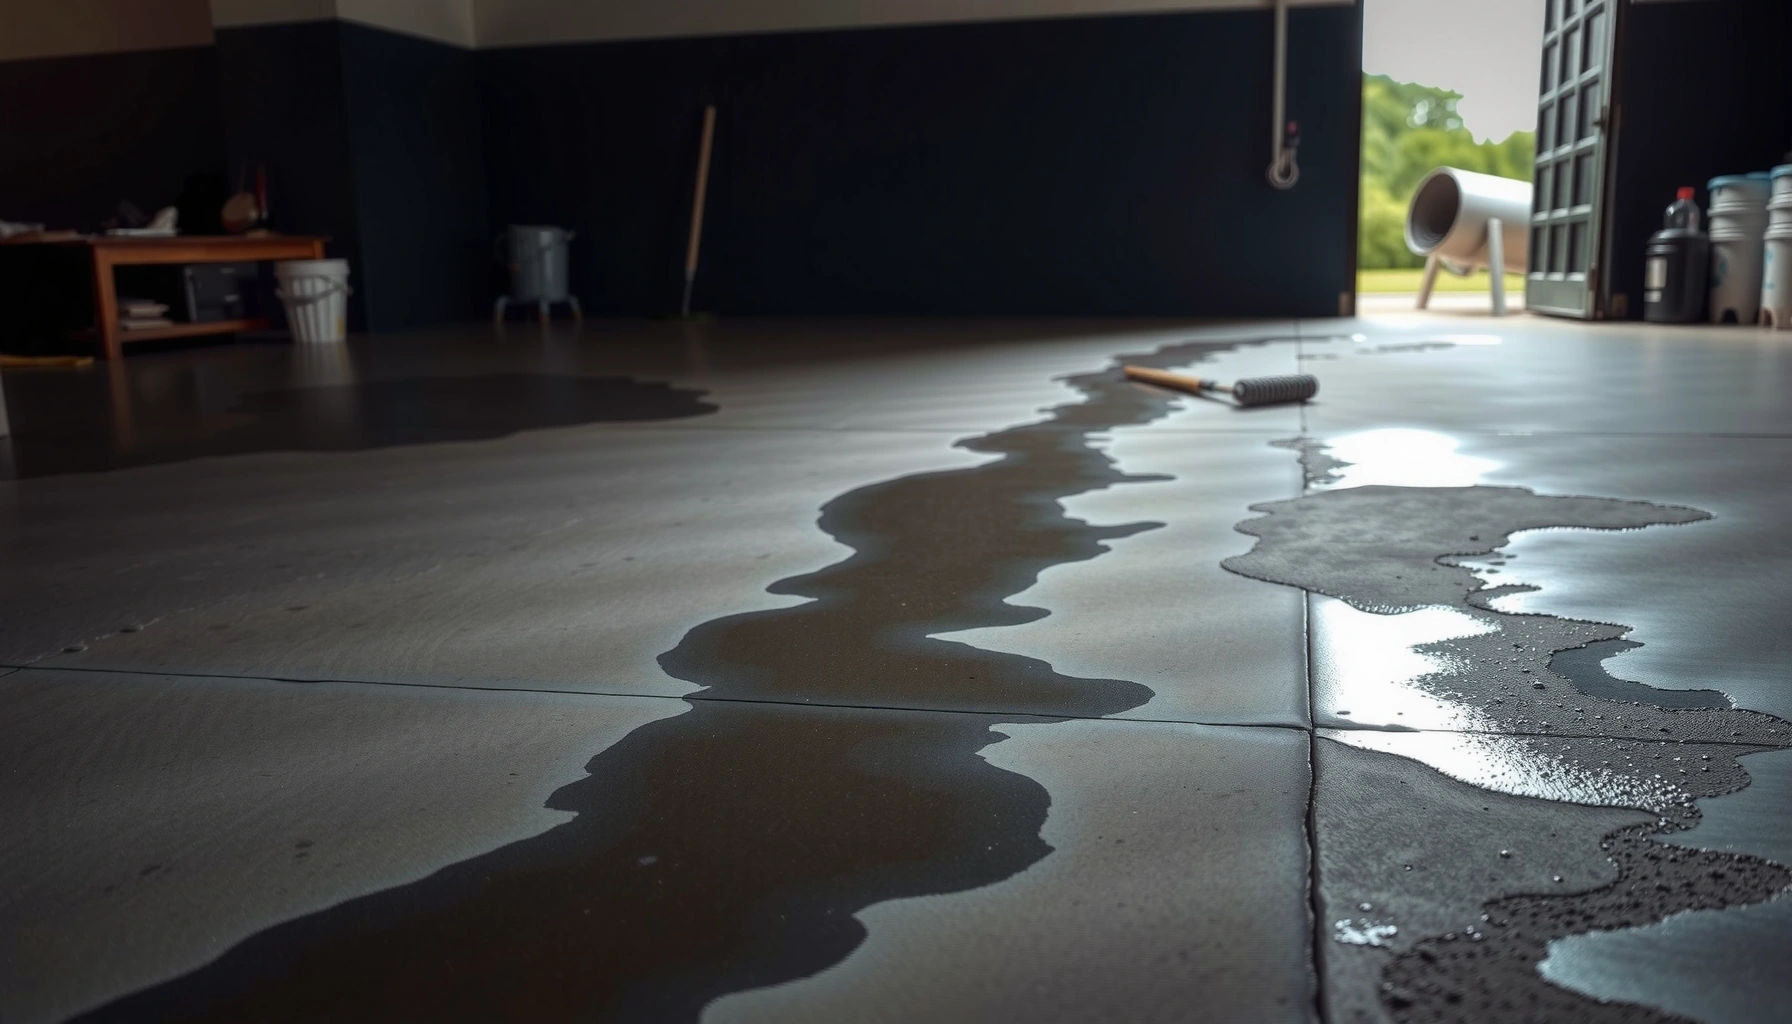
Start by mapping what you see while the concrete is still accessible for inspection. Look for discoloration that expands outward from the wet area, damp patches that return after drying, rust spots around embedded items (screws, floor drains, rebar, anchors), and coating bubbling/peeling. Efflorescence—white chalky residue—can indicate moisture moving upward or through the slab, carrying soluble salts with it.
In my experience with recurring garage leaks, the “center is dry but the edges keep re-darkening” pattern is a strong clue that water is traveling through joints, cracks, or a drainage path under the slab—not just sitting on top.
According to [ADD: ASTM/industry source for efflorescence and moisture migration explanation] ([year]), efflorescence is linked to moisture movement through concrete.
Identify clean water vs. contaminated water
Determine whether the water came from a clean source (e.g., rain intrusion through a crack or a supply line leak) or something potentially contaminated (e.g., sewage backup, flood water, or ground water that may carry microbes). This affects cleaning, PPE (personal protective equipment), and how thoroughly you need to disinfect porous materials and debris that may remain.
According to [ADD: CDC/EPA/IICRC guidance for contaminated water mitigation] ([year]), contaminated water cleanup requires specific safety controls and disinfection steps beyond standard drying.
Inspect cracks, joints, and water return behavior
Concrete cracks and slab joints are not just cosmetic—they’re often the pathway for recurring moisture. Note the crack width (even roughly) and whether water returns in the same places after you dry. A crack that “dries, then comes back” often means the source is still active (ongoing leak or moisture under pressure beneath the slab).
Stop the water at the source first
If water is still entering the slab, repairs will be temporary. Your priority is stopping the source—then repairing and sealing the floor system only after moisture is controlled.
“Sealing over an active leak can trap water and salts under a coating, increasing blistering and peeling risk.”
“Drainage and grading corrections often matter as much as the concrete repair material.”
Fix active leaks before patching or sealing
Check for the obvious and the not-so-obvious: roof gutters and downspouts, failed gutter connections, plumbing supply lines, water heater fittings, irrigation overspray, and damaged seals around penetrations (pipes, conduits, and utility entries). Patch work and coatings should come after the leak is fixed, because no coating can overcome continuous water intrusion.
Correct drainage issues and slab exposure
Garage water damage often comes from downspouts discharging near the slab, poor slope away from the foundation, or surface grading that directs water toward the garage. Fix these root causes by re-routing downspouts, improving discharge distance, and adjusting grading so water moves away from the slab—not toward it.
If the concrete issue seems like rising damp or groundwater seepage, you need moisture management—not just cosmetic sealing. In those cases, the “right” solution may involve perimeter drains, vapor control strategies, or professional assessment of slab conditions.
Quick field test: does the problem repeat?
If you have a weather event (heavy rain) and the same areas re-wet afterward, you’re likely dealing with recurring seepage or surface water intrusion. That’s the point where a pro assessment can save money compared to repeating patch-and-seal cycles.
Dry the slab thoroughly (don’t skip this step)
Thorough drying is the difference between repairs that last and coatings that fail early. Remove standing water, increase airflow, and confirm the slab is dry enough for the exact product system you plan to apply.
“Sealers and coatings generally fail when moisture remains in the substrate at the time of application.”
“Under-film moisture can cause debonding and blister formation even when the surface appears dry.”
“Ventilation speeds drying and reduces the time moisture stays available to support corrosion and deterioration.”
Remove water and increase airflow
Start with standing water: extract it promptly and remove debris so air can circulate at the slab surface. Add fans to create consistent airflow. If the weather permits and you won’t re-wet the garage, keep doors open for ventilation.
Monitor drying progress (and don’t “seal by feel”)
Your goal is a genuinely dry slab before priming or sealing. “Surface dry” is not the same as “substrate dry,” especially for concrete that absorbed water. Use the drying and moisture verification approach required by your specific coating or sealer manufacturer.
According to [ADD: product-manufacturer TDS moisture-testing requirement] ([year]), moisture limits for concrete coatings are defined by testing method (e.g., in-situ RH, moisture meter procedure, or plastic sheet test).
Avoid trapping moisture with premature coatings
Never seal damp concrete—even if the top looks acceptable. Coatings can trap moisture and salts inside, which can lead to bubbling, peeling, and recurring staining after the garage is put back into service.
Repair concrete and remove failed coatings
Repairs aren’t only about filling cracks—they’re about removing anything that has already failed and preparing a bondable surface. If coating is bubbled or peeling, grind it out and replace the failed layers before you move on to primers and patch compounds.
“Delaminating coatings must be removed; patching over failed coatings usually leads to re-failure.”
“Feathering repair edges improves stress distribution and helps the new coating system blend better.”
Grind out weak and delaminated material
Use grinding to remove weak, flaking, or delaminated concrete and any coating layers that have bubbled or peeled. Feather edges so your repair transitions smoothly into surrounding sound concrete. This step matters because coatings bond poorly to loose concrete or to residues left behind after partial failures.
Fill cracks and joints with compatible concrete repair materials
Cracks and joints need repair materials designed for concrete movement and the moisture conditions you’re dealing with. Follow the manufacturer’s prep steps (including how to clean the crack and whether you need specific primers or bonding agents), and follow cure time requirements before coating.
Clean thoroughly—dust-free matters
Before any primer, epoxy, or concrete sealant, thoroughly clean the surface. Dust interferes with adhesion and can create pinholes or weak bonding zones that later become pathways for moisture.
According to [ADD: manufacturer TDS guidance on surface preparation] ([year]), concrete coating adhesion depends on appropriate mechanical prep and contaminant-free surfaces.
Seal or refinish correctly for water-exposed garages
Choose a coating/sealer system based on the slab condition and the moisture risk—not because it looks like “the right color.” For water-exposed garages, the correct outcome comes from using the proper sequence: preparation → primer (if required) → coating/sealer, applied within the label conditions.
“A coating system is only as good as its surface preparation and moisture compliance.”
“Label conditions (temperature, humidity, cure windows) control whether the film forms properly and bonds long-term.”
Match the system to what’s happening under the surface
If moisture is recurring, “paint-like” coatings often don’t solve the root cause. You may need a moisture-tolerant approach that reflects the product’s intended use and film behavior. If you’re unsure whether the slab is within the allowed moisture range, verify it before application.
Apply products exactly per label conditions
Read the technical data sheet (TDS) for your primer and topcoat: application temperatures, recoat windows, humidity limits, and cure times. Coatings applied outside label limits may cure incorrectly, blister under garage temperature swings, or fail in damp seasons.
Consider whether you actually need a surface-only fix
Sometimes the right “refinish” option isn’t a traditional coating at all—it may be a system that addresses moisture migration. If you’re seeing repeated efflorescence, persistent dampness after drying, or frequent coating failures, treat that as a signal to reassess moisture management, not just aesthetics.
📊 DATA: Moisture-Related Garage Floor Symptoms vs. Most Likely Underlying Cause (Field-Reality Guide)
Most Common Cause Drivers Behind Water Damage in Garage Slabs (Typical Repair Planning)
| # | Garage symptom you see | Most likely driver | Repair priority | Confidence |
|---|---|---|---|---|
| 1 | Bubbled/peeling coating | Moisture trapped under film | Remove failed coating | ★★★★☆ |
| 2 | White chalky residue (efflorescence) | Moisture migration carrying salts | Confirm moisture source | ★★★★☆ |
| 3 | Rust spots near cracks/anchors | Ongoing moisture at metal contact points | Address moisture entry + prep | ★★★☆☆ |
| 4 | Dark wet patch returns after drying | Recurring seepage/leak path through slab | Locate and stop source | ★★★★☆ |
| 5 | Staining without coating failure | One-time exposure or salt residue only | Dry + assess need for stain treatment | ★★★☆☆ |
| 6 | Cracks along joints widen slightly after rain | Water ingress through joints/crack networks | Crack/joint repair strategy | ★★★☆☆ |
| 7 | Fresh coating fails in the same season | Moisture condition exceeded despite drying | Re-test moisture + revise system | ★★☆☆☆ |
What can go wrong (common mistakes and edge cases)
Repairs fail most often when homeowners skip diagnosis or rush the drying and prep steps. Even if the surface looks clean, moisture and salt migration can keep undermining coatings and patch material.
“Most coating failures trace back to substrate moisture, surface contamination, or wrong product system selection—not to ‘bad luck’.”
Mistake 1: Sealing too early
When coatings go on before the concrete meets the moisture requirements of the primer/sealer system, trapped moisture can produce blistering, peeling, and recurring staining. This is especially common when rain/snow cycles continue after the garage is “usable.”
Mistake 2: Treating stains only
Stains can linger even after proper drying because salts and residues remain. But if moisture is still migrating, the stain will return. Stain appearance doesn’t prove the slab is dry enough for long-term adhesion.
Mistake 3: Skipping the source investigation
If you don’t fix the leak, seepage, or grading/drainage pathway, you’ll likely repeat the same damage pattern. In damp climates or older slabs, the “new” damage may show up weeks after a renovation.
Mistake 4: Using the wrong patch material
Not every concrete filler handles wet or repeatedly damp conditions. Use repair products designed for concrete cracks/joints and intended environments, and follow cure/prep instructions closely.
Mistake 5: Confusing efflorescence with dirt
Efflorescence is a moisture migration signature. Aggressive cleaning may improve appearance temporarily, but it rarely solves ongoing moisture movement.
Verdict: what’s worth DIY vs. when to call in help
DIY repair works best when the problem is contained, the water source is fixed, and the concrete can be properly dried and prepped. If moisture is recurring, the slab is extensively deteriorated, or the water could be contaminated (flood/sewage), a concrete/masonry professional—or a moisture specialist—can prevent a repeating cycle of patching and coating failure.
“DIY is most realistic for small coating failures, minor cracks, and one-time water exposures where the leak/drainage source is fully corrected.”
“When moisture is ongoing (seepage/groundwater or recurring leaks), professional moisture diagnosis often saves time and material costs.”
Before you proceed, [ADD: check the specific product/system instructions you plan to use for moisture testing/prep requirements], because the “dry enough” threshold is usually defined by the coating manufacturer.
Pros / Cons comparison (practical decision guide):
| Option | Best for | Pros | Cons |
|---|---|---|---|
| DIY repair + coating | Limited area, stable moisture after source fix | Lower cost, faster scheduling | Requires strict moisture compliance and surface prep |
| Pro concrete/masonry assessment | Recurring seepage, widespread deterioration, repeated coating failures | Better diagnosis of moisture pathway; compatible system selection | Higher cost; scheduling lead time |
| Moisture specialist testing | Unclear drying feasibility or high-risk substrates | Objective moisture readings and system guidance | Testing costs; still may require remediation work |
Quick checklist (scan/save)
– [ ] Find and fix the water source (leaks/drainage/grade issues)
– [ ] Remove standing water and debris
– [ ] Dry the slab with airflow; confirm it’s dry per product guidance
– [ ] Remove failed coating/weak concrete; clean thoroughly
– [ ] Repair cracks/joints with compatible materials
– [ ] Prime and apply the correct sealer/coating system per label
– [ ] Allow full cure before using the garage normally
FAQ
How long should I let a garage floor dry before sealing?
It depends on the product system and the slab conditions. Follow the drying and moisture requirements in the sealer/coating manufacturer’s instructions—don’t rely on “surface feels dry.”
Can I just paint over water damage?
Usually no. If the concrete is damp, or if coating is bubbling/peeling, you’ll likely need to remove failed materials and use an appropriate primer/system designed for moisture conditions.
Why does my garage floor keep turning white after cleaning?
White, chalky residue (efflorescence) often indicates moisture moving through the slab. Cleaning may reduce appearance temporarily, but you typically need to address the moisture source and moisture migration.
What if the crack keeps coming back after repairs?
That often means the underlying cause isn’t fixed or the repair material isn’t compatible with repeated moisture movement. Re-check drainage/leaks and use repair products specified for concrete cracks in damp/wet conditions.
Is water damage different if it was contaminated?
Yes. Contaminated water may require additional cleaning/disinfection steps and a different approach to protect health and prevent lingering issues. [ADD: source guidance for contaminated water cleanup if you’re following a specific standard or manufacturer instructions.]
Sources
– [ADD: source for concrete coating/sealer application requirements, including surface prep, cure/recoat windows, and moisture testing method—typically from the product manufacturer’s technical data sheet (TDS).]
– [ADD: source for efflorescence/moisture migration explanation—e.g., a concrete industry reference or a material science overview.]
– [ADD: source for repair material selection guidance for concrete cracks/joints—manufacturer TDS/installation instructions.]
If you want reliable results, treat garage floor water damage as a moisture-management problem, not just a surface-finish project. Stop the water source, dry the slab to the specific requirements of your coating system, remove failed materials, then repair and refinish with compatible products. Done in that order, you reduce the odds of bubbling, peeling, and recurring dampness—and you get a garage floor that stays fixed after the next rainy cycle.
Frequently Asked Questions
What are the first steps to fix water damage on a garage floor?
Start by stopping the water source and safely removing stored items. Then dry the area as quickly as possible using fans, dehumidifiers, and if needed industrial shop vacs to remove standing water. Once the concrete garage floor is fully dry, inspect for cracks, flaking, or mold growth before deciding on repairs or sealing.
How do I dry a water-damaged concrete garage floor properly?
Remove moisture using wet/dry vacuums and mop the surface if there’s residual water, then run high-velocity fans to promote airflow across the slab. Use a dehumidifier and check moisture levels with a concrete moisture meter if you plan to apply epoxy or sealers. Drying must continue until the concrete is truly dry—trapped moisture can cause bubbling, peeling, and ongoing deterioration.
Why does my garage floor keep getting damp even after repairs?
Recurring dampness is often caused by a continuing leak, poor drainage, or moisture migrating through the slab or foundation walls. Check gutters and downspouts, inspect for plumbing leaks, and look for cracks or expansion joints where water can enter. In persistent cases, you may need a professional assessment for interior moisture intrusion solutions like vapor barriers or drainage corrections.
How do I repair cracks, spalling, or flaking after a water leak?
Remove any loose or deteriorating concrete until you reach stable, solid material, then clean the surface thoroughly to eliminate dirt and salts. Fill cracks and spalled areas with a concrete patching compound or crack repair epoxy designed for wet areas, following the product’s cure time. After curing, sand smooth and consider a garage floor waterproofing sealer if the area is prone to future moisture.
Which garage floor coating or sealant is best after water damage?
The best option depends on how wet the slab was and whether moisture levels are fully stabilized, because epoxy coatings and many sealers fail when moisture is trapped. For damp-prone garages, look for moisture-tolerant epoxy systems or penetrating concrete sealers specifically designed for water damage restoration and waterproofing. Always follow surface preparation requirements—proper cleaning, repair, and full drying are what determine long-term performance.
📅 Last Updated: October 11, 2026 | Topic: How to fix water damage on garage floors? | Content verified for accuracy and freshness.
References
- Google Scholar Google Scholar
https://scholar.google.com/scholar?q=garage+floor+water+damage+drying+concrete - Google Scholar Google Scholar
https://scholar.google.com/scholar?q=concrete+moisture+mitigation+water+intrusion+garage - Google Scholar Google Scholar
https://scholar.google.com/scholar?q=flood+cleanup+concrete+drying+mold+prevention - Mold | US EPA
https://www.epa.gov/mold - https://www.cdc.gov/mold/default.htm
- https://www.cdc.gov/disasters/floods/index.html
- Floods | Ready.gov
https://www.ready.gov/floods - Water damage
https://en.wikipedia.org/wiki/Water_damage - https://www.fema.gov/sites/default/files/2020-07/fema_p-348.pdf
- https://www.canada.ca/en/health-canada/services/air-quality/indoor-air-quality/mould.html