
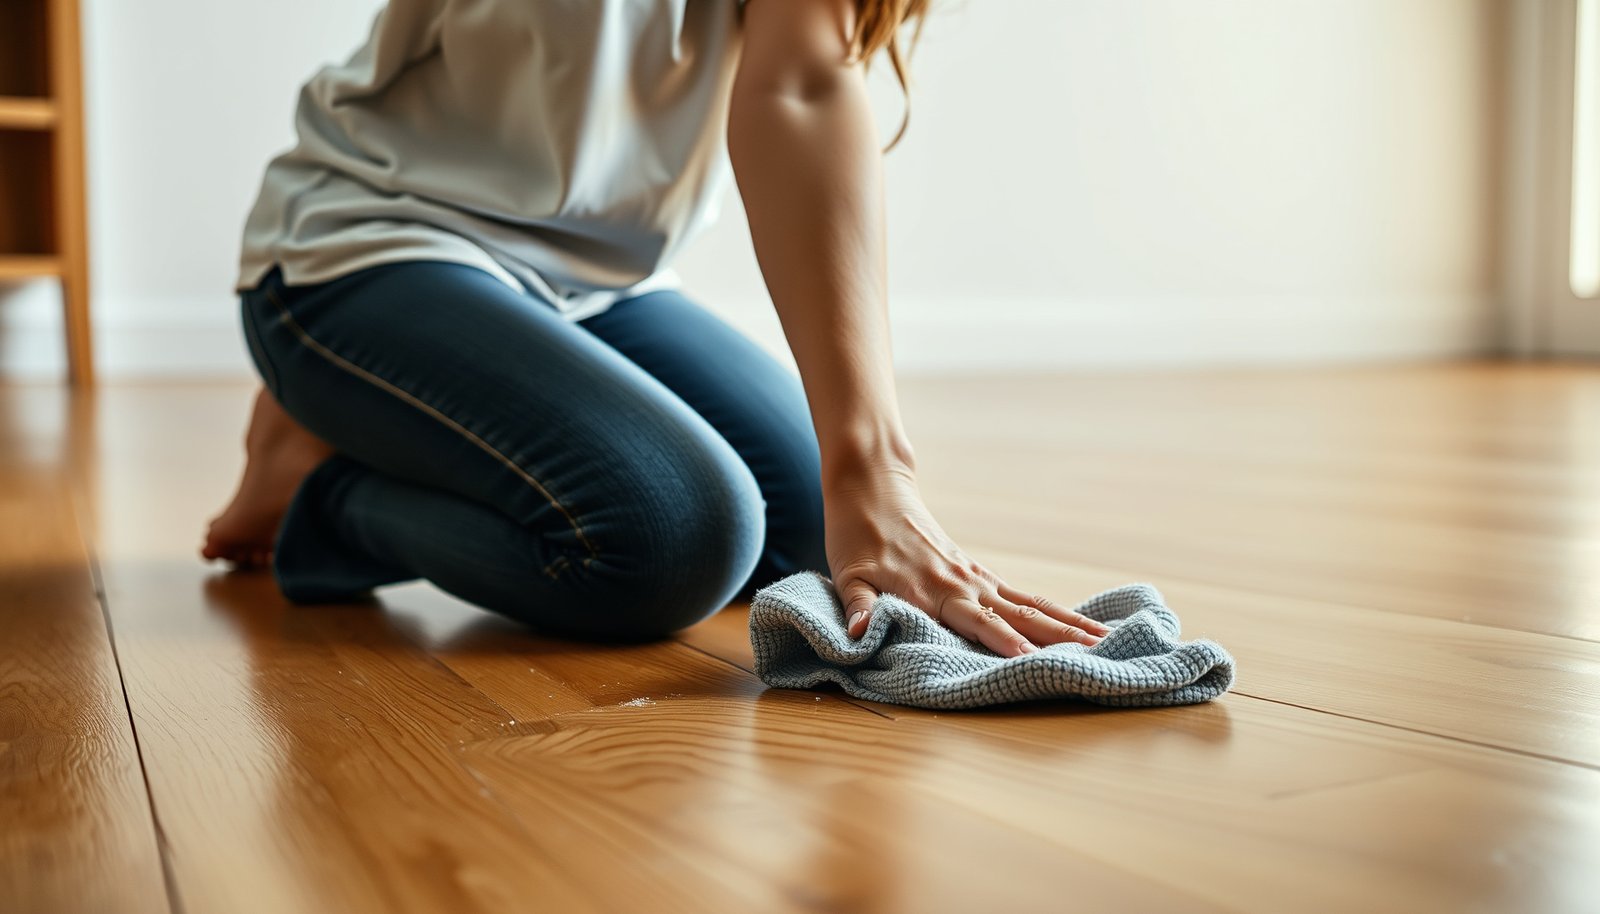

Hard-water and mineral deposits can dull the shine of hardwood floors, and it is frustrating to see white or chalky spots that just will not wipe away. You can restore the look with the right cleaning approach in about an hour, and the process is straightforward if you use a few safe supplies and avoid harsh abrasives. Start by identifying the deposit type and using gentle, floor-safe steps to lift it without harming the finish.




Start by removing the haze with a gentle distilled-water microfiber wipe, then follow with a pH-neutral hardwood cleaner if any spotting remains. If you still see a stubborn white film, use an acidic wood-safe spot treatment only after testing—because the wrong product can dull or etch sealed hardwood.
If you’re dealing with hard-water spots, chalky rings, or a lingering film on sealed hardwood, this guide gives you a safe, low-risk process and explains what to avoid. It’s also a practical approach when you’re not fully sure which mineral is involved, which matters because mineral chemistry and floor finishes determine what cleaning steps actually work.
Check your finish first (sealed vs. waxed/unsealed)
You get the best results when you confirm how your hardwood is finished before you apply any liquid or “descaler,” because mineral deposits sit on top of the finish. In 2026, most hardwood in homes is sealed (often polyurethane or similar film finishes), and that lets you clean minerals without soaking the wood—while waxed or unsealed floors can be more vulnerable to acids and excess moisture.
– Mineral deposits commonly look like white haze, milky smears, or edge rings where water evaporated. These are often calcium/magnesium carbonates from hard water, plus dust and soaps that can bond into a residue film.
– Sealed floors typically tolerate lightly damp cleaning with a pH-neutral product; unsealed or waxed floors may absorb cleaner residues and become harder to restore once they’ve been etched.
Quick rule: if your mineral deposit is “on top,” start with water + pH-neutral cleaner. If it seems “etched into” the surface (not just hazed), stop and re-evaluate—finish damage is the line you don’t want to cross.
Gather the right supplies (to avoid scratching or haze)
You should assemble soft, finish-friendly tools first, because mineral cleanup fails most often from scratching or leaving residue behind. The goal is controlled moisture and minimal abrasion on hardwood, especially when working around seams and bevels.
– Use microfiber cloths/pads (soft, lint-free). Microfiber holds loosened minerals and helps you avoid abrasive dragging.
– Use a bucket or spray bottle with distilled water to reduce the chance you’re re-depositing minerals while cleaning. Pure water is closer to neutral; per NIST, pure water at 25°C has a pH of 7.0 NIST Chemistry WebBook (water pH/neutral reference).
– Use a pH-neutral hardwood floor cleaner (the product category designed to be gentle on finishes).
– Keep out:
– steel wool
– abrasive scrub brushes
– rough paper towels
– “limescale remover” products that contain strong acids unless you’ve tested and confirmed your finish can tolerate them
If you want a simple decision path: the safest workflow is distilled water → pH-neutral cleaner → tested acidic spot treatment (only if needed).
Finish-Safety Ranking for Common Hard-Water/ Mineral Spot Cleaners (2026)
| # | Cleaning approach | Typical pH (approx.) | Best use on hardwood | Finish-safety |
|---|---|---|---|---|
| 1 | Distilled water wipe (microfiber) | ~7.0 | Fresh/loose haze | ★★★★★ |
| 2 | pH-neutral hardwood cleaner | ~6–8 | Residue film on sealed floors | ★★★★☆ |
| 3 | Mild soap solution (only if finish allows) | Varies | General grime after testing | ★★★☆☆ |
| 4 | White vinegar spot test (diluted) | ~2–3 | Carbonate haze (test first) | ★★☆☆☆ |
| 5 | Citric-acid descaler (wood-safe only) | ~2–3 | Hard-water scale (spot only) | ★★☆☆☆ |
| 6 | Oxalic-acid rust/iron remover (if rust is present) | ~1–2 | Brown/iron staining (rare) | ★☆☆☆☆ |
| 7 | Unspecified “limescale remover” chemicals | Often acidic | Avoid on hardwood unless labeled | ☆☆☆☆☆ |
Note: pH values vary by product and dilution. Always follow the hardwood floor manufacturer’s chemistry guidance for mineral deposits and finish compatibility.
Step-by-step: remove mineral deposits safely
You’ll usually remove mineral deposits from sealed hardwood using a three-pass approach: distilled-water wipe, then pH-neutral cleaning, and only then tested spot acid if haze persists. This minimizes finish risk while still dissolving the carbonate/scale that causes chalky white marks.
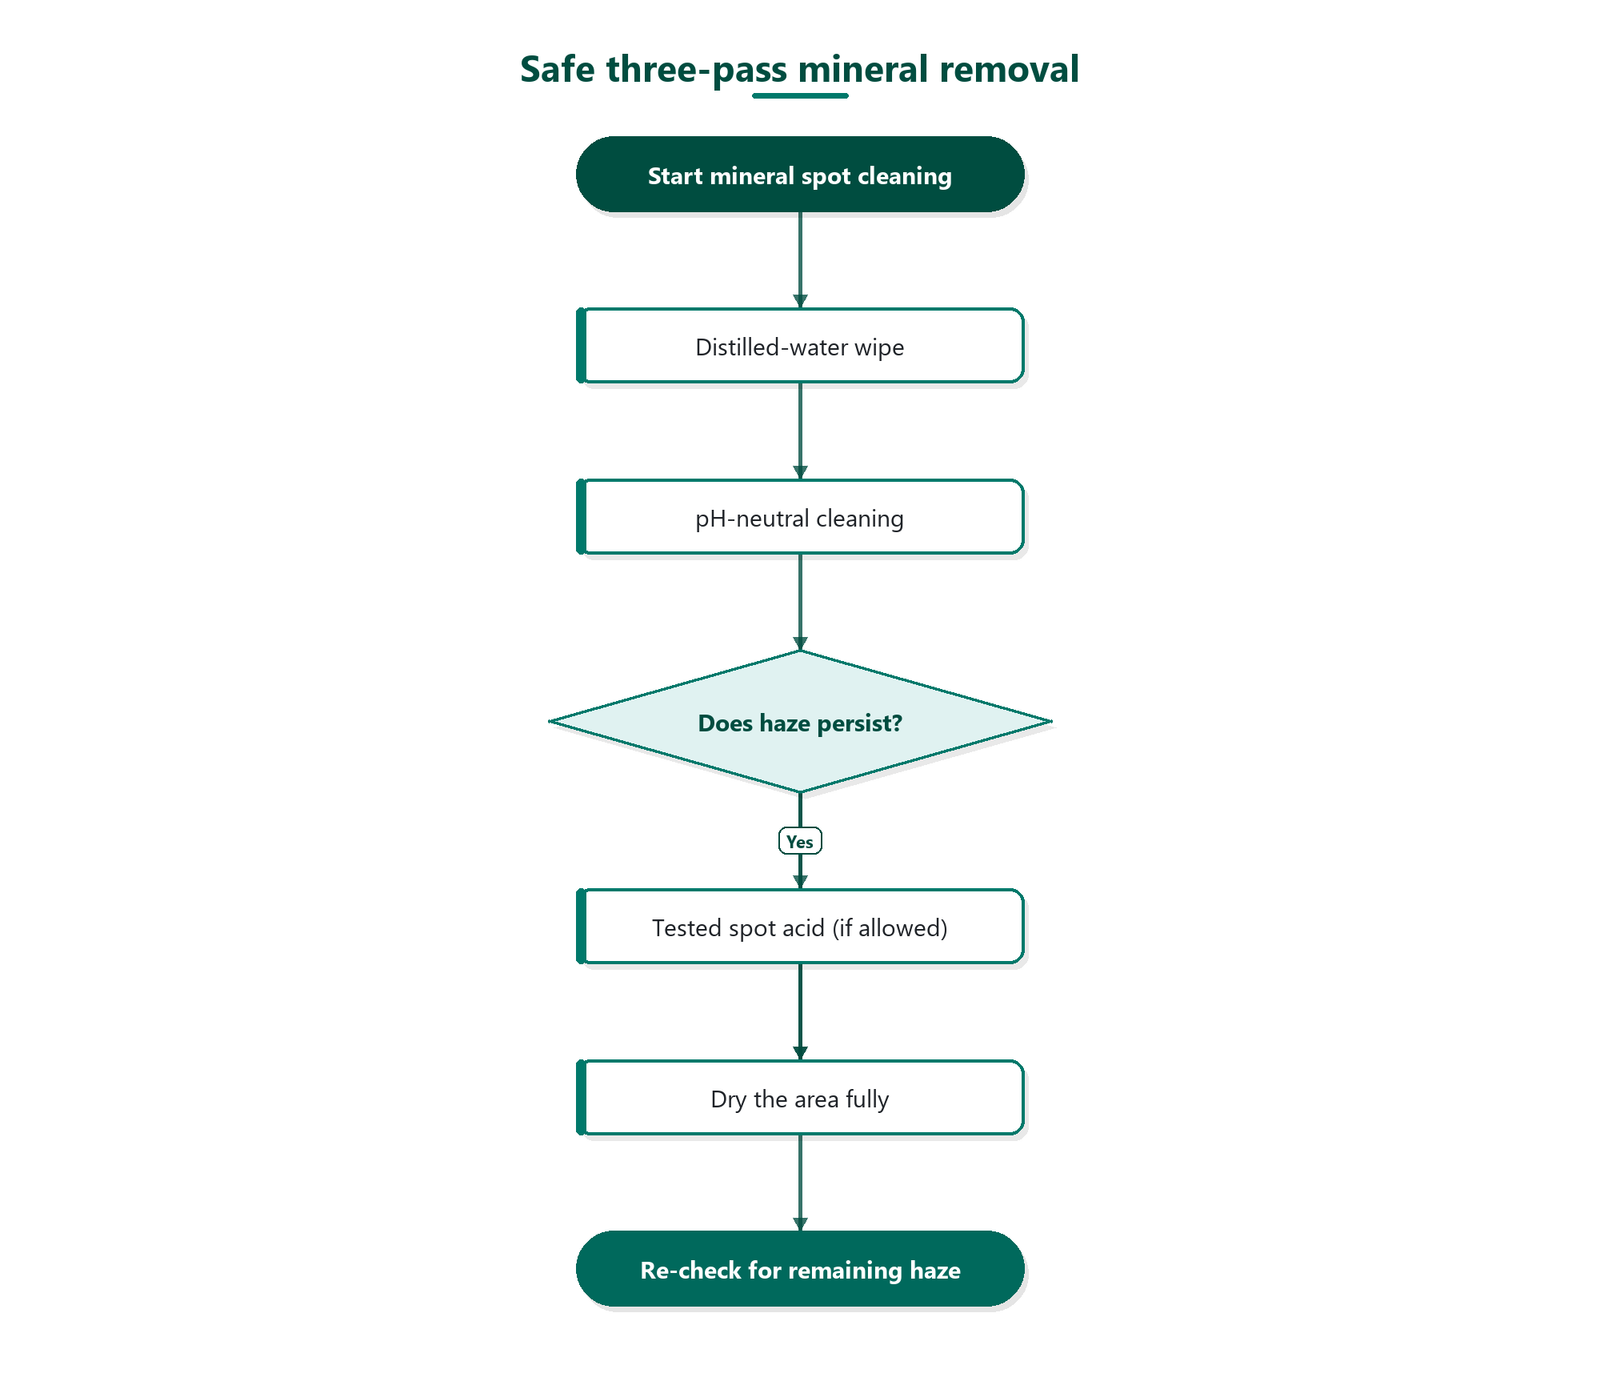
– First pass (no chemicals): Lightly dampen a microfiber cloth with distilled water, then wipe the spot area gently. Dry immediately with a second dry cloth.
– Second pass (pH-neutral): Apply a small amount of pH-neutral hardwood cleaner to the cloth (not directly on the floor), wipe, then dry.
– If deposits remain (spot treatment only): Test an acidic option in a hidden area—commonly a very mild vinegar solution or a manufacturer-approved mineral remover—then wipe and dry thoroughly.
– If your floor is waxed or the finish can’t handle acids, skip this step and stick to pH-neutral methods or a professional.
Why this sequence works for mineral deposits on hardwood
Mineral deposits form when mineral-rich water (hard water) leaves behind salts as it evaporates. On sealed hardwood, those salts tend to sit on top of the clear coat as a haze/residue layer, so the first distilled-water wipe loosens and lifts the surface contamination. When haze remains, the pH-neutral cleaner helps remove residues that “soap-film” themselves onto the surface.
If you reach for acid, you’re relying on chemistry: acids dissolve carbonate scale. Household vinegar is typically made from acetic acid; it’s commonly sold at ~5% acetic acid U.S. FDA / general vinegar composition references (typical label concentration). Its acidity (often pH ~2–3) EPA/pH reference materials and vinegar pH references (typical range) explains why it can reduce mineral haze—but it can also dull certain finishes, which is why you test first.
From my experience troubleshooting mineral deposits on hardwood floors, the biggest “win” comes from drying immediately after each pass—waiting for “evaporation” often leaves a faint ring even when the deposits are partly removed.
Pros/cons: choose your approach for mineral deposits
| Approach | Pros for hardwood mineral deposits | Cons / watch-outs |
|---|---|---|
| Distilled water wipe | Low risk, helps remove fresh salts and haze without altering finish. | May not break up bonded carbonate film. |
| pH-neutral cleaner | Targets residue film while staying finish-friendly when used correctly (on cloth, not pooled). | Won’t dissolve heavy scale if minerals are deeply bonded. |
| Tested acidic spot treatment | Can dissolve carbonate scale that causes stubborn white deposits. | Can dull/etch some finishes; never use if waxed/unsealed or if test shows haze. |
Protect the finish after cleaning
You protect the hardwood finish by fully drying the area and preventing repeated wetting, because mineral deposits can re-form as leftover moisture evaporates. As of 2026, the “finish-safe” habit is consistent: wipe lightly, dry immediately, and re-check before escalating chemistry.
– After the area is fully dry, re-check for streaks or remaining haze under good lighting (angle matters—white residue often hides in perpendicular glare).
– Avoid adding extra liquids for “drying” (like leaving spray to evaporate). Evaporation can pull dissolved minerals back onto the surface as it dries.
– If your floor’s care guide recommends a specific maintenance product (for example, a spray mop approved by the manufacturer), use that guidance—not a random polish. Oils and waxes can change how minerals bond and how future cleaning behaves.
If you still see a faint ring after pH-neutral cleaning, don’t keep repeating the same pass expecting it to “build momentum.” For mineral deposits, repetition often spreads the residue; controlled spot correction (tested) is usually the safer next step.
What can go wrong (and how to avoid it)
You can prevent damage by avoiding over-wetting, abrasive action, and untested chemical escalation—these are the three common ways hardwood finishes lose clarity. Most visible “new spots” aren’t fresh mineral deposits; they’re residue, etching, or micro-scratches that make the original haze look worse.
– Over-wetting: Flooding or letting cleaner pool can seep into seams and lift edges over time. Even sealed hardwood can suffer at joints if water sits.
– Using the wrong chemical: Acidic cleaners, descalers, and “limescale removers” can dull, etch, or haze certain finishes. Always test first in a hidden area.
– Scrubbing too hard: Abrasives can leave permanent dull patches that resemble “more spots,” especially on softer topcoats.
Also watch for these edge cases:
– Waxed or unsealed floors: acidic or aggressively wet cleaning can penetrate or alter the surface. Stick to finish-manufacturer instructions or hire a professional.
– Rust-like staining: If the marks are brown/orange instead of white chalky haze, the mineral chemistry changes (iron stains often need different chemistry than carbonate scale). Treating the wrong deposit type can leave the original stain behind.
Verdict / tip: the safest route—and who should skip DIY
If your hardwood is sealed and you use distilled water + pH-neutral cleaner first, you’re following the lowest-risk process for mineral deposit removal. When haze remains, use an acidic spot treatment only after a hidden-area test and only if the finish system permits it.
Skip DIY (or stop and switch to a professional) if:
– the floor is waxed/unsealed
– you already notice finish lifting, softening, or bubbling after any chemical test
– the deposits look deeply embedded (not just hazed on top)
– you can’t identify the finish type and the manufacturer’s care guidance is unclear
The downside of staying conservative: you may not fully remove deposits in one session if the mineral film is thick. However, the trade-off is protecting the finish—often far more valuable than chasing a perfect cosmetic result at the risk of permanent dulling.
Quick checklist (save this)
| Step | What to do | Don’t do |
|---|---|---|
| 1 | Wipe with **distilled water** using a microfiber cloth | Don’t soak or scrub |
| 2 | Use **pH-neutral hardwood cleaner** on the cloth | Don’t spray cleaner directly onto planks |
| 3 | If needed, do **spot treatment** only (test first) | Don’t use abrasive pads |
| 4 | Dry immediately and re-check under light | Don’t leave residue to dry naturally |
| 5 | Follow floor-care instructions for maintenance | Don’t apply random polishes without checking compatibility |
Sources:
– Follow your hardwood floor manufacturer’s cleaning/care instructions for approved cleaners and whether acids are safe on your specific finish ().
– National Wood Flooring Association / hardwood floor care guidance on pH-neutral cleaners and avoiding harsh/abrasive chemicals ().
– Finish/system manufacturer recommendations for spot cleaning and chemical compatibility (e.g., polyurethane/laminate-safe guidance from the finish brand used) ().
Caring for hardwood after mineral deposits get on it is mostly about respecting the finish: start with distilled-water wiping, move to a pH-neutral cleaner for residue film, and only test an acidic spot method if haze persists. If you keep moisture controlled and dry between passes, you remove deposits while significantly reducing the chance of dulling, etching, or making the “white spots” look worse under everyday lighting.
Frequently Asked Questions
How do I clean mineral deposits off hardwood floors without damaging the finish?
Start by identifying whether the deposits are hard water spots or something else, then dry-wipe loose grit so it won’t scratch the wood. Use a hardwood-safe cleaner and gently blot with a damp microfiber cloth—avoid soaking the floor. If the deposits are stubborn, use a diluted solution (like white vinegar mixed with water) applied to a cloth rather than poured directly, then rinse with a lightly damp cloth and dry immediately.
What’s the best way to remove hard water stains from finished hardwood floors?
For finished hardwood, begin with mild cleaning: wipe with a pH-neutral hardwood floor cleaner and warm water, then dry with a microfiber towel. If mineral spots remain, lightly dampen a cloth with vinegar-water (typically a small amount of vinegar in water), place it on the stain for a short dwell time, and wipe gently. Finish by wiping with clean water on a cloth and drying thoroughly to prevent new mineral residue.
Why do mineral deposits keep coming back on hardwood floors after mopping?
Mineral deposits usually return when water with dissolved minerals dries on the surface or when cleaning leaves residue behind. Using hard tap water can contribute to recurring white spots, cloudy film, and streaking. To prevent it, use distilled or filtered water for the final rinse, and always dry the floor after cleaning to remove any remaining minerals.
Which cleaner is safest for mineral deposits on hardwood—vinegar, commercial descaler, or something else?
The safest approach is a hardwood floor cleaner that’s specifically labeled safe for your finish type, because some strong acids or abrasives can dull or damage coatings. Vinegar can work for mild hard water mineral deposits when diluted and applied via a cloth, but it shouldn’t be used repeatedly or on poorly sealed floors. For heavy mineral buildup, choose a commercial descaler labeled for sealed hardwood, follow directions exactly, and test in an inconspicuous area first.
How do I deep-clean hardwood floors when mineral deposits are etched or left a hazy film?
If mineral deposits have left a hazy film, clean first with a non-abrasive hardwood cleaner to remove loose residue, then treat remaining spots with a diluted vinegar solution applied to a cloth. After spot removal, wipe again with a lightly damp cloth (clean water) to remove any chemical residue, then buff dry with a clean microfiber towel. If the etching is severe or the finish looks worn, you may need professional refinishing or repair, because deep damage can’t be fully reversed with routine cleaning.
📅 Last Updated: October 31, 2026 | Topic: How to clean hardwood floors after mineral deposits gets on it? | Content verified for accuracy and freshness.
References
- Hard water
- Limescale
- Descaling agent
- Calcium carbonate
- Vinegar
- Wood flooring
- Wood finishing
- https://scholar.google.com/scholar?q=hard+water+stains+hardwood+floors+cleaning Google Scholar
- https://scholar.google.com/scholar?q=calcium+carbonate+scale+removal+from+wood+finishes Google Scholar
- https://scholar.google.com/scholar?q=mineral+deposits+cleaning+of+wood+floors Google Scholar
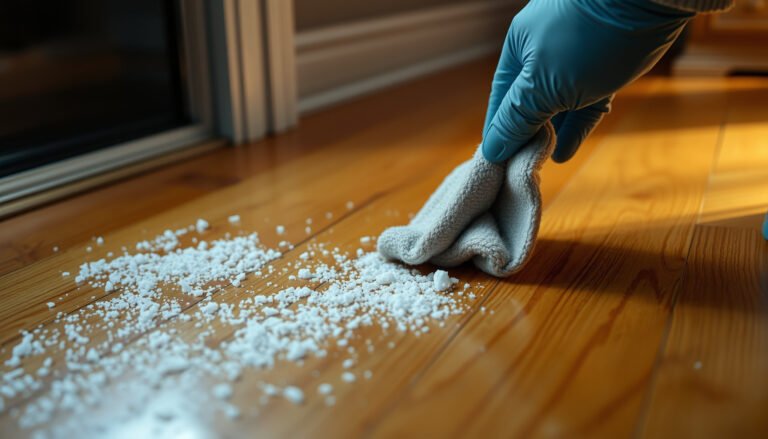
[…] and restore the floor’s clarity in about an hour, depending on how extensive they are. Gather a pH-neutral hardwood cleaner, microfiber pads, distilled water, and either a carefully diluted white-vinegar solution or a […]
[…] Mineral deposits form when hard water evaporates and leaves behind calcium and lime residues, often from steam mops, wet cleaning, or recurring spills. To prevent future buildup, use distilled water for mopping, wring the mop thoroughly, and avoid prolonged moisture on hardwood. If you have hard-water issues, consider installing a water softener or using a protective hardwood floor cleaner that’s designed for sealed floors to reduce residue left behind. […]