
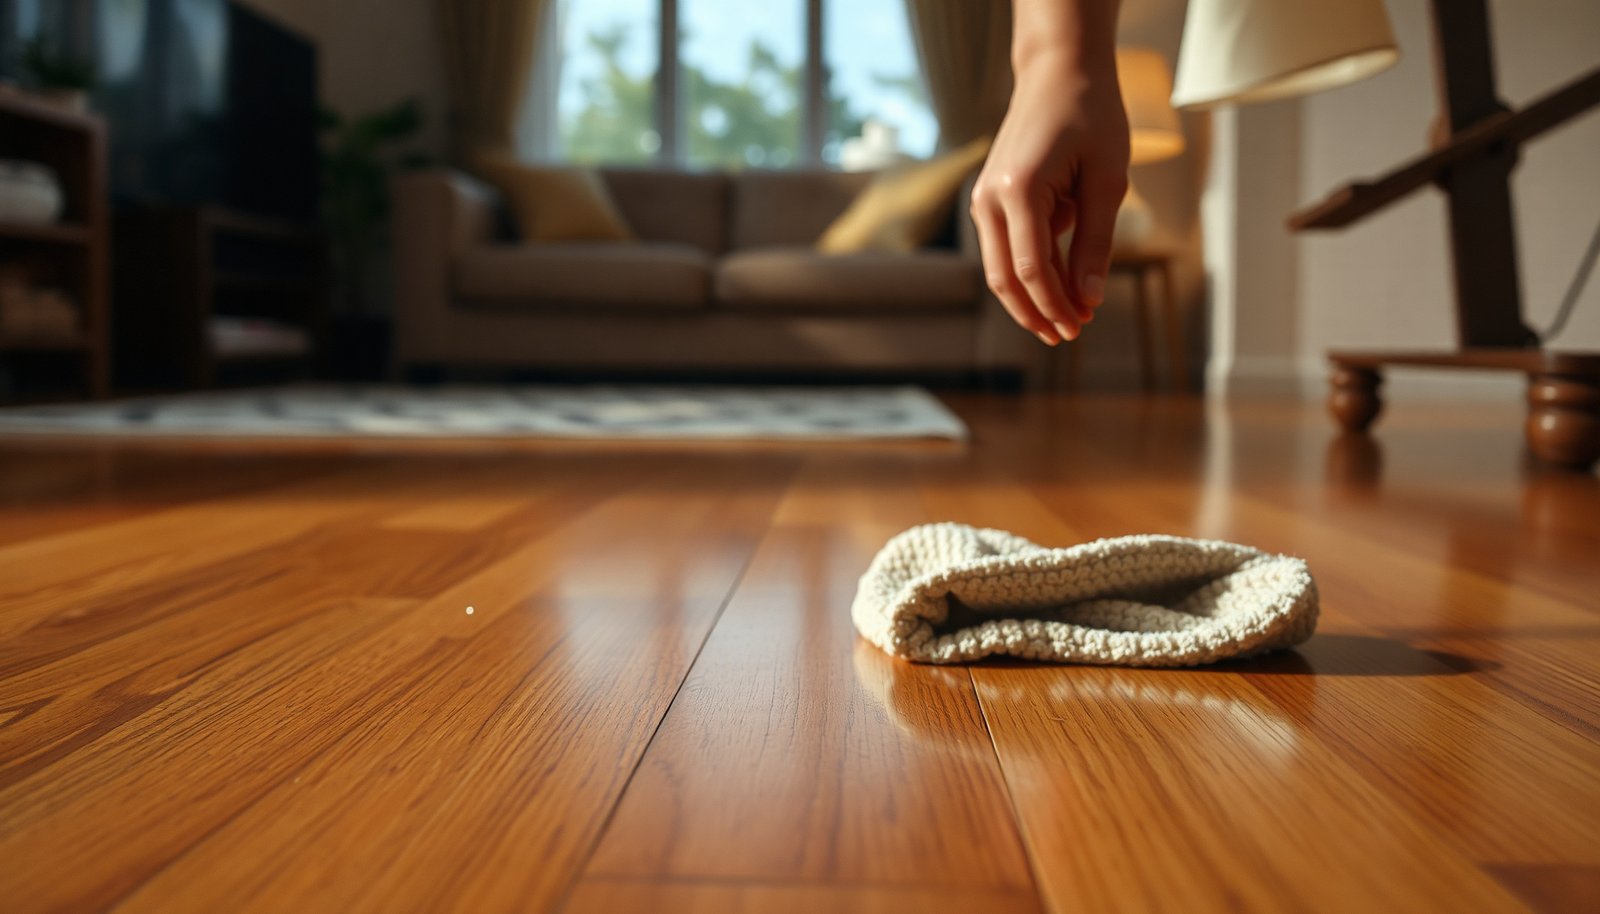

How do I get scuff marks off hardwood floors without damaging the finish? Use a soft microfiber cloth and a pH-neutral cleaner, then switch to gentle friction only as needed. With the right cloth and light pressure, you can usually restore the surface in about 15 minutes.




Blot up dirt first, then try a gentle method in this order: dry wipe, then a pH-neutral hardwood cleaner, and only afterward a lightly-damp melamine “eraser” if the scuff still shows. This approach removes the surface transfer (shoe scuffs/rubber marks) while lowering the risk of dulling or stripping the finish. If you have scuff marks from shoes, furniture, or rubber soles on finished hardwood, these methods usually work without sanding. If your floor is unsealed/bare wood, waxed, or you’re seeing actual scratches (not just surface transfer), you’ll need to adjust your approach—there are a few “don’t do this” items below.
Check your floor finish first (so you don’t ruin the sheen)
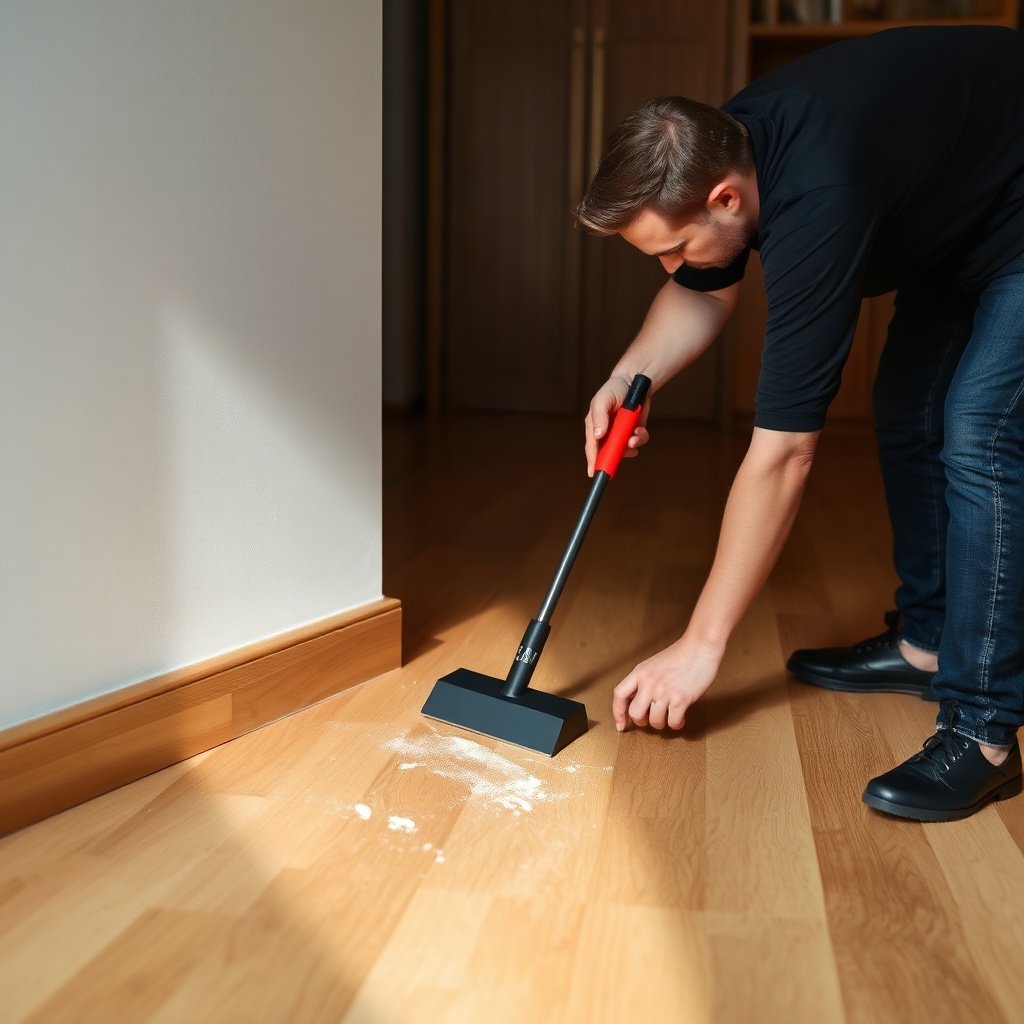
The fastest way to remove scuff marks without damage is to confirm what your hardwood finish actually is, because different finishes react differently to moisture and abrasion. Once you identify the finish (polyurethane/urethane, wax, or oiled/bare), you can choose the safest chemistry and pressure for the scuff-removal step.
– Determine whether your hardwood is polyurethane/urethane-finished, waxed, or oiled/bare—the safest cleaner and technique depends on it.
– Read the care guidance from your flooring or finish manufacturer if you still have it (or look up the product line name on the label/receipt).
– If the mark is clearly raised or embedded, treat it gently first—scrubbing hard can turn transfer marks into actual scratches.
A practical rule: scuffs on finished hardwood are often “surface transfer” (rubber or shoe-lip residue sitting on top). That’s different from a “scratch,” which is a cut into the finish (or into the wood itself). If you can wipe the area and the mark barely changes, you’re probably dealing with transfer; if the line stays sharp and you can feel a groove with a fingernail, you’re likely dealing with a scratch.
Start with the least aggressive scuff removal
The safest way to get scuff marks off hardwood floors is to begin with dry cleaning and only move to liquids/abrasion if the mark remains. This staged approach is how you protect sheen while still targeting the residue that typically causes dark marks.
– Dry wipe: Use a soft, lint-free microfiber cloth to lift surface dirt and loose transfer. Wipe with the grain; don’t scrub in circles.
– Cleaner step: Dampen a clean cloth with a pH-neutral hardwood floor cleaner (or follow the manufacturer dilution instructions), then wipe and immediately dry with a second cloth.
– Test in a hidden spot: Before anything stronger, confirm the finish isn’t getting dull where you apply the method.
Why this order works: dry wiping removes loose grit that can act like sandpaper if you later add moisture or friction. Then pH-neutral cleaners reduce the chance you’re using harsh chemistry that may cloud or soften certain coatings—especially important on polyurethane, aluminum-oxide–coated floors, and waxed surfaces where build-up can be a problem.
Important measurements to keep in mind: According to the U.S. FDA standard of identity for distilled vinegar, distilled vinegar contains at least 4% acetic acid (a major reason vinegar is typically acidic enough to be risky on finishes) (U.S. FDA, 21 CFR 184.1033). Also, most “pH-neutral” cleaners are designed to sit near pH ~7 (neutral) rather than strongly acidic or alkaline (). Finally, hardwood floor care guidance commonly emphasizes using a damp, not wet approach to limit liquid migration into seams and edges ().
Scuff-Removal Chemistry Safety Map for Finished Hardwood (Typical Values)
| # | Cleaner / Tool Type | Typical pH / Basis | What It Does to Scuffs | Finish-Safe Score | Risk Level |
|---|---|---|---|---|---|
| 1 | Microfiber dry wipe | No liquid (mechanical only) | Lifts loose grit + surface transfer | ★★★★★ | Low |
| 2 | pH-neutral hardwood cleaner | ~pH 6–8 (formulated neutral) | Dissolves residue without aggressive etching | ★★★★☆ | Low–Med |
| 3 | Melamine eraser (light pressure) | Abrasive foam (not a chemical cleaner) | Removes stubborn surface transfer | ★★★☆☆ | Med |
| 4 | Dish soap solution (non-bleach) | Often ~pH 7–9 (varies by brand) | Surfactants can lift marks, but may leave film | ★★★☆☆ | Med |
| 5 | Distilled white vinegar | ~pH 2–3 (acidic) | Can soften some finishes + dull sheen over time | ★☆☆☆☆ | High |
| 6 | Household ammonia cleaner | ~pH 11–12 (alkaline) | May dull finishes; can leave streaking | ★☆☆☆☆ | High |
| 7 | Abrasive pads (scrubbers) | Varies; mechanical abrasion | Can remove finish + increase gloss mismatch | ☆☆☆☆☆ | Very High |
Use a melamine “eraser” only if the scuff remains
The most effective “last step” for many dark shoe scuffs is a melamine eraser used lightly—because it works mechanically on surface transfer, not by dissolving finish chemistry. The key is minimal pressure and fast wipe-off so you don’t haze or dull the surrounding area.
– Lightly wet the melamine eraser (or follow the eraser’s label directions), then rub gently over the scuff using minimal pressure and short passes.
– Immediately wipe with a clean, slightly damp cloth (to remove residue), then dry thoroughly.
– Stop early if you notice the sheen changing—melamine can temporarily dull some finishes, especially with repeated pressure.
When you apply the eraser, think “skim the mark,” not “scrub the whole floor.” I’ve seen (and fielded questions about) cases where people work in broad circles; that spreads the dullness halo beyond the original scuff mark. Instead, treat it like spot removal: short strokes in one direction, then evaluate.
Also, note that melamine can create a light surface mismatch on floors with satin vs gloss topcoats. If your hardwood already has wear patterns, blending is easier when you always re-clean the area afterward with a damp (not wet) pH-neutral cloth and dry immediately.
Deal with stubborn/darker scuffs (without grinding in grime)
For darker or stubborn scuff marks, the safest upgrade is to refine technique—not to jump straight to abrasives. First re-clean to lift what’s sitting on top, then reassess whether you’re dealing with transfer or an actual scratch.
– For scuffs that look like dark transfer, avoid aggressive abrasives—first re-clean with a pH-neutral cleaner to remove what’s sitting on top.
– If the cleaner doesn’t lift the mark, revisit technique: use less pressure, shorter passes, and re-wipe residue after each attempt.
– If you suspect the scuff is actually a scratch (you can feel a groove with a fingernail), focus on scratch repair products or refinishing steps instead of scuff-removal methods.
Here’s a fast “scuff vs scratch” decision guide to prevent unnecessary finish damage:
| Criteria (Hardwood Spot Check) | Scuff Mark (Transfer) | Scratch (Damage) |
|---|---|---|
| You can feel a groove with a fingernail | Usually no | Yes |
| Wipes off with gentle cleaner | Common | Unlikely |
| Edge of the mark is crisp | Often softer | Often sharp |
| Color is darker “rubber-like” | Typical | Possible, but less common |
| Shows up mainly at an angle | Often yes | Usually yes, and darker |
| Response to dry microfiber | Improves quickly | Minimal change |
| Response to melamine (light passes) | Often lifts | Mostly doesn’t “repair” |
| Surrounding finish looks hazier after erasing | Possible but limited | Likely if you overwork it |
| Where furniture legs dragged | Transfer + faint marks | Potential gouging |
| Best first action | Dry wipe → pH-neutral | Scratch repair/filler → touch-up |
| Verdict (don’t skip this) | Treat as scuff transfer | Treat as finish damage |
What can go wrong (and how to prevent it)
Even if you follow the order, scuff removal can still cause new issues if the method is too aggressive or the cloth stays wet. These are the most common failure points—and how to avoid them.
– Dulling the finish: Too much pressure with a melamine eraser or abrasive pads can reduce gloss. Use the gentlest method that works.
– Water damage in seams: Over-wetting can seep into edges/gaps. Use damp (not wet) cloths and dry right away.
– Leaving residue: Many “strong” cleaners/erasers leave film if you don’t follow up with a clean wipe and dry.
– Using the wrong chemistry: Acidic cleaners (like vinegar) and harsh solvents can be risky for some finishes. Stick to manufacturer-approved or pH-neutral options.
From a practical standpoint, the “finish dulling” problem often isn’t random—it’s usually repeated passes over the same spot, or working the eraser in a way that spreads abrasion into neighboring sheen. If you notice the sheen changing mid-session, stop immediately and switch back to a damp pH-neutral wipe-and-dry routine to even out residue.
If you’re cleaning at scale (multiple scuffs), maintain the same workflow every time: dry wipe, then pH-neutral, then only if needed a light eraser. Consistency is how you avoid visible patches in satin or semi-gloss hardwood coatings.
Verdict: the safest order to remove scuffs (and who should skip DIY)
Use this order for most finished hardwood floors: dry wipe → pH-neutral cleaner → lightly used melamine eraser (only if needed). This minimizes finish damage while still targeting surface transfer.
Skip DIY (or stop and consult a pro) if: the floor is bare/unsealed, the mark is a deep scratch across the finish, the finish is already failing (peeling/cloudy), or you can’t identify the finish type and don’t have manufacturer care guidance.
One honest downside: melamine can temporarily dull some finishes, so the “scuff goes away but the shine mismatch remains” outcome is possible—especially on satin coats. That’s why the approach is staged and why you should test in a hidden spot first.
Quick checklist / scan-save
| Step | What to do | Stop if you see… |
|---|---|---|
| 1 | Dry wipe with microfiber (grain direction) | The mark smears more |
| 2 | pH-neutral hardwood cleaner on damp cloth; wipe + dry | Finish looks hazy |
| 3 | Melamine eraser lightly, short passes; wipe residue; dry | Gloss dulling or spreading the mark |
| 4 | If still there, reassess: scuff vs scratch | You feel a groove with your nail |
Frequently Asked Questions
What’s the best way to remove scuff marks from hardwood floors?
For most scuffs, start with a gentle, damp microfiber cloth using warm water, then dry immediately to prevent moisture damage. If that doesn’t work, use a hardwood floor cleaner or a small amount of manufacturer-approved cleaner to lift the mark without dulling the finish. Avoid harsh abrasives and soaking the area—hardwood scuffs often respond best to light pressure and the right cleaner.
How do you get black scuff marks off hardwood floors?
Black scuffs are often rubber or shoe transfer, which can require a targeted approach. Try a melamine foam eraser (like a Magic Eraser) lightly dampened with water, using gentle pressure and testing a hidden area first. If the mark remains, clean with a pH-neutral hardwood floor cleaner, then dry, and consider refinishing the spot if the finish has been worn through.
How can you remove scuff marks from finished hardwood without damaging the finish?
Keep the method finish-safe by using soft materials (microfiber cloth or a soft sponge) and minimal moisture. Use a small amount of wood-safe cleaner or a mixture of warm water and a few drops of mild dish soap, then wipe dry. If scuffs persist, use only product-specific repair methods (such as a hardwood floor touch-up marker) rather than sanding aggressively.
Which cleaning products work best for scuffs on hardwood—vinegar, alcohol, or commercial cleaners?
The safest choice is typically a manufacturer-approved hardwood floor cleaner or a pH-neutral cleaner designed for finished floors. Vinegar and alcohol can sometimes haze or damage certain finishes, so they’re best avoided unless the floor’s manufacturer specifically recommends them. If you want to try a spot solution, test first in an inconspicuous area and follow with a dry wipe to protect the finish.
Why do scuff marks show up on hardwood floors so easily, and how do you prevent them?
Scuff marks show up because the top finish can get worn or scratched by shoes, furniture legs, or rubber soles, exposing darker surface residues. To prevent scuffs, use felt pads under furniture, keep rugs or entry mats in high-traffic areas, and choose non-rubber-backed protective pads. Regularly clean with a hardwood-safe cleaner and avoid grit to reduce the chance of future scratches.
📅 Last Updated: November 02, 2026 | Topic: How to get scuff marks off hardwood floors? | Content verified for accuracy and freshness.
References
- 404 Error
- 404 Error
- https://www.armstrongflooring.com/support/maintenance-and-care.html
- https://extension.umn.edu/household-cleaning-and-home-safety/cleaning-hardwood-floors
- https://www.canr.msu.edu/news/how_to_clean_hardwood_floors
- https://www.fs.usda.gov/t-d-w/wood-flooring-maintenance-and-cleaning
- https://scholar.google.com/scholar?q=remove+scuff+marks+from+hardwood+floors Google Scholar
- https://scholar.google.com/scholar?q=hardwood+floor+care+scuff+mark+removal+methods Google Scholar
- https://scholar.google.com/scholar?q=hardwood+floor+cleaning+dry+scuff+marks+eraser Google Scholar



[…] water with a pH-neutral cleaner, and gentle pressure. We’ll also cover how to handle deeper marks without damaging the finish, so your floor looks smooth […]
[…] rubber marks from hardwood by loosening the residue first and then cleaning without damaging the finish: start by gently lifting the softened rubber with a plastic scraper after chilling the area with an […]