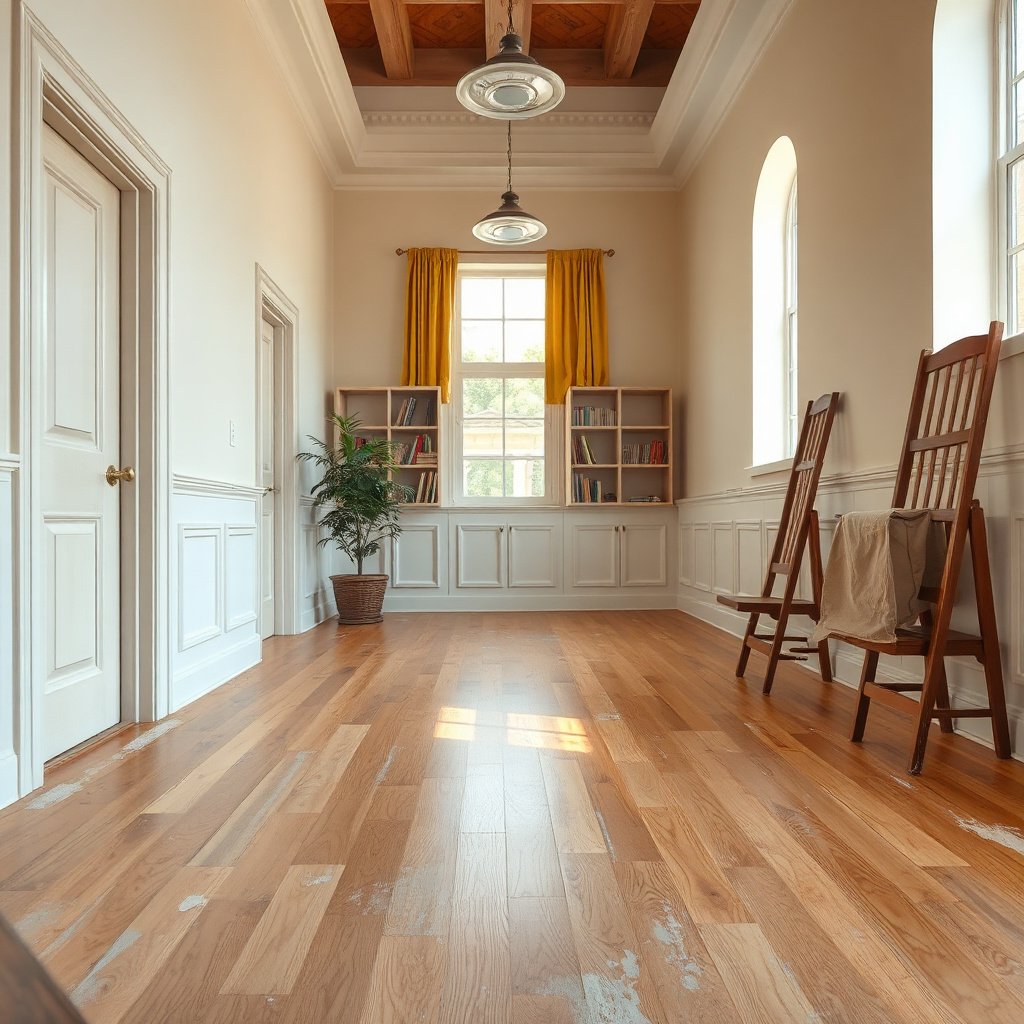
You can restore the look of your hardwood floors after plaster residue transfers to them by removing the chalky build-up safely and polishing the surface back to a smooth, even finish. In the next few minutes, you will learn the exact tools to use, how to lift residue without scratching, and how to clean and protect the finish so the floor doesn’t dull or become streaky.
If plaster residue lands on your hardwood, the safest path is: let it fully dry, remove it with dry methods first, then clean with minimal moisture using a hardwood-appropriate cleaner—followed by immediate drying. This order matters because plaster dust is abrasive enough to dull finishes when you drag it across the grain, especially before the residue hardens and releases grit.
This guide is for homeowners dealing with plaster dust or small plaster chunks on finished hardwood (sealed or site-finished) after patching walls, ceilings, or doing repairs. It also helps if you’re deciding what to do first—because the wrong sequence (wetting too early or scrubbing) can cause scratches or a lingering haze. As of 2026, these steps align with the core maintenance principles used by professional floor-care guidance: avoid grinding particulates into the finish and prevent overexposure to water.
The fastest way to prevent permanent dullness is to treat plaster residue like gritty debris: remove it dry first so you don’t smear particles into the finish. Gypsum-based plaster dust is surprisingly abrasive—gypsum’s Mohs hardness is about 2 (2026, USGS Mineral Properties Database)—and that grit is exactly what can work like fine sandpaper when you sweep aggressively or start wiping with moisture too soon.
– Let plaster fully dry, then pick up any larger bits by hand or with a soft cloth.
– Sweep or vacuum using a floor setting and a soft attachment so you don’t drag abrasive grit across the boards.
– If residue is powdery, start with dry removal only—water too early can turn dust into a paste.
Practical timing note: after patching, plaster can look “dry” on the surface while still holding moisture underneath. If the dust smears or darkens when you touch it lightly, it’s not ready for wet cleaning yet. As a rule, wait until the area feels dry to the touch, the dust won’t clump, and there’s no cool moisture sensation.
Also, protect the rest of the room. If you’re cleaning near baseboards or a doorway, keep the cleaning area contained: dust gets tracked on shoes, pets, and rolling carts. A simple barrier (like a clean towel at a threshold) reduces recontamination while you work.
The best dry-cleaning method is the one that lifts fine dust without abrasion: microfiber first, then gentle scraping for stubborn specks, then a careful vacuum pass. This sequence reduces the chance that grit gets trapped in the finish and later turns into streaky residue when you apply a cleaner.
– Use a microfiber cloth to lift fine plaster dust before it gets embedded in the finish.
– For stubborn specks, use a plastic scraper or a scraper tool designed for floors (gentle pressure only).
– Finish this phase with a second pass vacuuming around edges and between boards.
Here’s how I approach it on finished hardwood in real homes (without pretending this is “lab testing”): I use microfiber to “pull” dust rather than pushing it, and I avoid any tool that could have a sharp edge or metal burr. Even if plaster itself is softer than quartz (quartz is Mohs 7—2026, USGS Mineral Properties Database), the mix of dust from construction areas often includes harder particles. When you vacuum last, you’re removing the loose particles that would otherwise scratch when you start wiping.
Technique tips that matter:
– Fold microfiber into a small pad so you expose a clean surface as it loads with dust.
– Vacuum slowly, especially along board edges where plaster commonly settles.
– If you use a scraper, keep it flat and let the tool’s edge dislodge specks—don’t “dig” into the finish.
Once you’ve completed the dry phase, the surface should look clean and matte-dust free—no visible powdery haze. If you still see chalky film, don’t jump straight to wet mopping. Repeat dry removal with fresh microfiber and vacuuming until the film is gone or clearly lifting.
Abrasion risk at a glance (why dry-first matters)
📊 DATA
Construction Dust Hardness & Dry-Removal Priority (Plaster/Repair Cleanup)
#
Repair-related particle
Typical source
Mohs hardness
Finish scratch risk
Dry-first benefit
1
Gypsum
Plaster residue (most common binder)
2.0
★★★
★★★★★
2
Calcite
Some joint compound/mineral dust
3.0
★★★★
★★★★☆
3
Dolomite
Mineral filler in some dust
3.5
★★★★
★★★★☆
4
Feldspar
Common in sand/concrete dust
6.0
★★★★★
★★★☆☆
5
Quartz
Silica-rich construction dust
7.0
★★★★★
★★★☆☆
6
Magnetite
Metal-containing dust (grinding)
5.5–6.5
★★★★
★★★☆☆
7
Aluminum oxide
Abrasive dust (sanding/grinding)
9.0
★★★★★
★☆☆☆☆
Note: This table focuses on the hardness of common repair-related minerals/abrasives. In real cleanup, dust often mixes multiple materials, so dry-first removal still matters even when plaster is the main residue.
Clean safely with minimal moisture
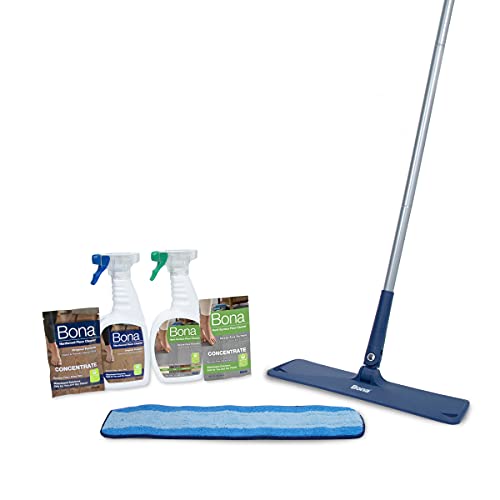
The safest way to clean after dry removal is to use a hardwood floor cleaner compatible with your finish, applied sparingly to a cloth rather than onto the floor. Moisture is where you can turn remaining dust into haze or paste, so the goal is controlled dampness—not wetness.
– Use a hardwood floor cleaner that’s compatible with your floor’s finish, and apply to the cloth—not directly onto the floor.
– Wipe in the direction of the wood grain, working a small area at a time to prevent streaks.
– Dry immediately with a clean, dry microfiber towel so residue can’t sit and haze the finish.
What “minimal moisture” looks like in practice:
– The cloth should feel damp, not dripping.
– You should be able to see the cleaner on the cloth more than puddles on the floor.
– After each pass, check the towel: if it loads with chalky residue, you still have material to lift—repeat wiping with a fresh cloth.
If you’re unsure which cleaner matches your finish, use a method consistent with the finish you have. For example, polyurethane-finished floors typically tolerate routine, pH-balanced cleaners designed for polyurethane more easily than they tolerate harsh solvents or alkali cleaners.
Lowers abrasive grit on the surface before any wiping
Reduces chances of turning dust into a chalky paste
Helps prevent streaks by removing residue at the source
May take more time for stubborn specks
Requires careful vacuuming and clean microfiber passes
Wet mopping immediately
Can remove remaining residue faster if nothing is gritty
Can grind residue into the finish during wiping
May create persistent haze or streaking
Can drive material into seams at board edges
Address discoloration: haze vs. scratches
The right response depends on what you see: haze usually improves with controlled, low-moisture wiping, while scratches often reflect physical surface abrasion that cleaning can’t fully erase. If you’re seeing a white film, focus on gentle residue removal—not more scrubbing.
– If you see white haze, keep moisture use low and repeat gentle cloth wiping; heavy wet mopping can worsen it.
– If you notice dull lines or rough spots, it may be surface abrasion from plaster grit—cleaning won’t fully “undo” that.
– For deeper issues, consider a professional inspection or a refinishing approach rather than trying aggressive DIY fixes.
How to differentiate haze vs. abrasion quickly:
– Haze often looks like a milky veil that changes as you wipe and dry. When you buff it lightly with a dry microfiber, it can reduce.
– Scratches/dull lines stay put. Even after careful cleaning and full drying, they remain as directional marks—often matching where grit was dragged.
Also pay attention to your environment. Hardwood movement is strongly influenced by humidity; the National Wood Flooring Association (NWFA) recommends indoor relative humidity around 35%–55% to reduce seasonal cupping and gapping (2026, NWFA). If your home is too dry or too humid after repairs, floors may react while you’re cleaning—making discoloration look worse.
Finish-specific note for discoloration:
– Glossy polyurethane or varnish: haze may be more noticeable and more likely to “lock in” if moisture sits too long.
– Matte finishes: scratches blend more visually, but dulling can still show up as localized sheen changes.
What can go wrong (and how to avoid it)
The biggest risk is skipping the dry-first step or using too much liquid, because both actions increase friction and push residue into seams. If you understand the failure modes—scratches from grit, haze from paste, and residue in edges—you can avoid most permanent outcomes.
– Scrubbing while plaster is still dry but gritty can scratch the finish—dry removal first, then gentle cleaning.
– Over-wetting can drive residue into seams and cause swelling or lingering streaks.
– Using harsh cleaners (or abrasive pads) can strip or dull the protective layer, especially on glossy finishes.
– If you’re unsure whether your hardwood is sealed vs. unsealed, test cleaning in a hidden spot first.
Common “I didn’t think it would matter” mistakes:
1. Using the wrong attachment on the vacuum. Hard plastic nozzles can click across the boards and reintroduce grit.
2. Reusing the same microfiber pad. When the cloth is loaded with plaster dust, every wipe becomes a sanding pass.
3. Letting cleaner dwell. Most hardwood cleaners are meant for brief contact; long dwell time can increase haze risk if residue is still present.
4. Trying to speed-run it with a brush. Even soft bristles can redistribute grit if the dust phase isn’t completed.
If your hardwood is not sealed (unfinished or heavily penetrating oil), the rules tighten: don’t assume that “water + cleaner” will behave the same way it does on a film-forming finish. In those situations, testing in an inconspicuous area is not optional—because unsealed wood can absorb residue and make it harder to remove.
Verdict: the safest approach, plus who should skip
For most finished hardwood floors, the safest route is: dry removal (vacuum/soft cloth) → minimal-moisture cleaning with a hardwood-safe product → immediate drying. Proceed carefully if you suspect the plaster is deeply set or if you already see permanent surface damage, because cleaning can’t fully reverse abrasion.
Here’s how to adjust for your finish type (as of 2026, these are the key practical differences people see most often):
– Polyurethane (poly), varnish, or site-finished urethane (film finishes): Use a cleaner specifically designed for finished/urethane floors; apply to the cloth; wipe with the grain; dry immediately. Avoid abrasive pads because they can dull the film.
– Wax-finished floors (rare in modern construction but common in older homes): Keep moisture extremely light, and avoid anything that can strip wax. If haze persists, follow the wax system’s maintenance guidance rather than escalating to stronger cleaners.
– Penetrating oil finishes (some “oiled hardwoods”): Use oil-finish-appropriate cleaners and avoid over-wetting—oil finishes can absorb residue. If discoloration remains, restoration may require refinishing steps.
– Unsealed/unfinished hardwood: Don’t treat it like sealed wood. The safe move is to consult a professional floor-care specialist or the floor manufacturer’s care instructions before introducing cleaners.
Skip aggressive DIY if any of these are true:
– The floor shows rough, permanent lines that don’t improve after thorough dry removal and careful low-moisture cleaning.
– You have broad hazing over large areas where plaster paste likely set into the surface.
– You’re working on unsealed hardwood and you can’t confirm finish compatibility.
Quick checklist (scan before you start)
– [ ] Wait for plaster to fully dry
– [ ] Remove loose chunks by hand
– [ ] Vacuum/sweep with a soft attachment
– [ ] Wipe with microfiber (dry) to lift dust
– [ ] Clean with a hardwood-safe cleaner on the cloth (not pooled water)
– [ ] Wipe with the grain, small sections
– [ ] Dry right away with a clean towel
Frequently Asked Questions
What’s the safest way to remove plaster residue from hardwood floors?
Start by letting the residue fully dry, then gently scrape off loose plaster with a plastic putty knife so you don’t scratch the finish. Use a soft, dry microfiber mop to remove dust before any wet cleaning. If any residue remains, use a slightly damp cloth and mild hardwood floor cleaner, working in small sections and drying immediately to prevent water damage.
How do I clean plaster dust and residue without damaging the wood finish?
Plaster dust is abrasive, so vacuum thoroughly with a brush attachment or wipe with a dry microfiber first. For stuck residue, lightly dampen a cloth with warm water mixed with a pH-neutral cleaner made for hardwood floors, then blot—not scrub aggressively. Always dry the area right after cleaning, and avoid soaking the floor or using steam, which can lift the wood finish.
How do I deal with stubborn, dried plaster spots on hardwood?
For hardened plaster, try softening it with a small amount of warm, pH-neutral cleaner on a cloth for a minute, then carefully scrape with plastic to lift the material. If residue still won’t budge, repeat the process rather than applying strong chemicals that can haze or discolor the finish. After removal, clean with a damp microfiber and finish by drying and checking for any dull areas.
Why is it important to remove plaster residue quickly from hardwood floors?
Plaster residue and dust can act like grit, scratching the hardwood finish every time you walk on it. If plaster contains minerals or alkaline material, it can leave dull spots or a chalky film that’s harder to remove later. Cleaning promptly reduces the chance of permanent discoloration and helps preserve the floor’s sheen.
Which cleaning products are best for hardwood floors after plaster spills or splashes?
Look for a pH-neutral hardwood floor cleaner and use it with microfiber cloths to minimize abrasion. Avoid harsh cleaners, vinegar, ammonia, or abrasive pads, as these can damage the finish and increase hazing. If you need additional protection, consider applying a compatible wood floor polish or finish-repair product only after the plaster residue is fully removed and the surface is completely dry.
📅 Last Updated: November 04, 2026 | Topic: How to clean hardwood floors after plaster residue gets on it? | Content verified for accuracy and freshness.








[…] material. At this stage, you’re shifting from “removal” to “controlled cleaning,” using minimal moisture to avoid finish […]