
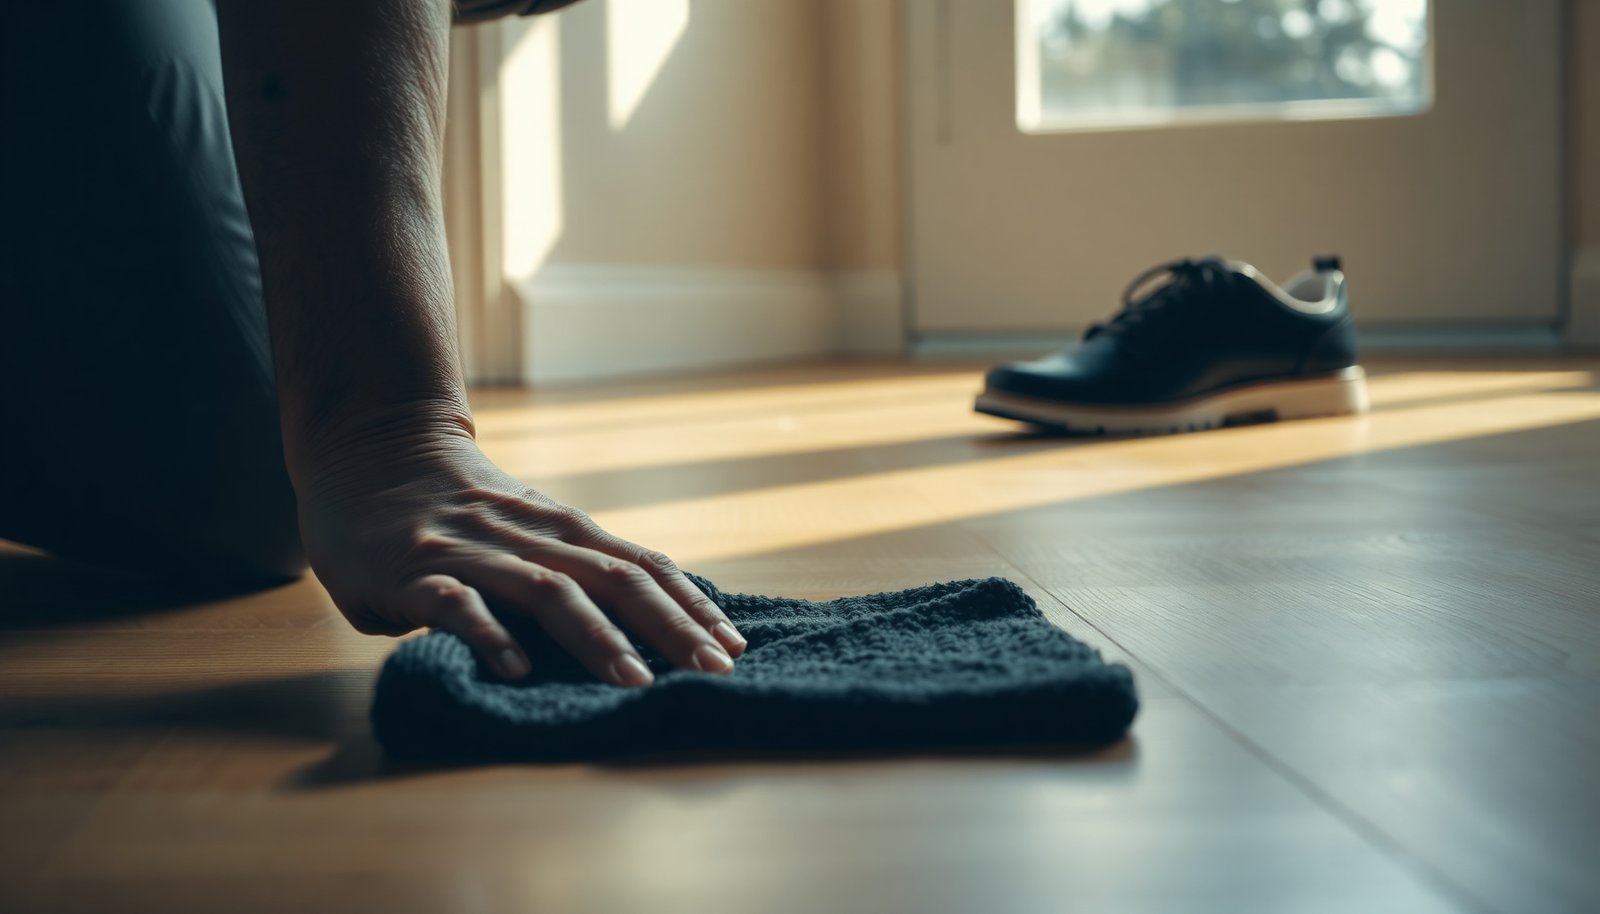

You step into the hallway and immediately notice fresh shoe marks smudged across your hardwood floor. You can lift these quickly—usually in 10 minutes—using just a soft microfiber cloth, lukewarm water, and a mild soap solution (or a light vinegar mix if needed), without soaking the wood. Follow a simple wipe-to-dry routine, and the surface will look clean again with minimal risk to the finish.
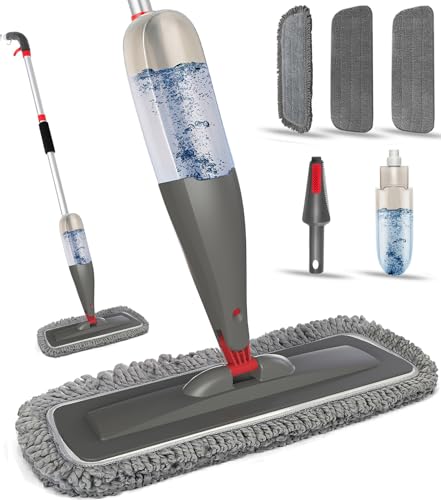

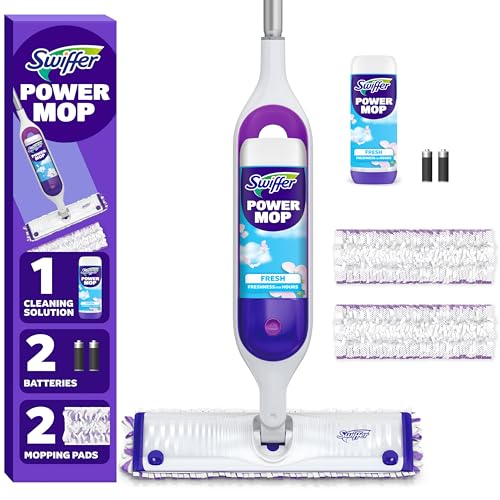

Fresh shoe marks come off most reliably when you clean immediately—start by dry-wiping to lift loose rubber and grit, then spot-clean with a barely-damp, pH-neutral hardwood floor cleaner and dry at once. For black scuffs, you may use a gentle non-scratching eraser/pad only after testing in a hidden spot, then dry immediately to protect the finish.
Fresh shoe marks usually come off best when you clean fast: wipe with a dry microfiber first, then spot-clean with a slightly damp microfiber using a pH-neutral wood floor cleaner (not soaking the floor). If it’s a black scuff, use a gentle, non-scratching eraser/pad only after testing in a hidden spot, then dry immediately.
If your hardwood has a polyurethane/water-based finish (common in many homes), these steps are typically the safest route. If your floor is unfinished, oiled, or waxed, you’ll want to be more cautious and follow the floor’s specific care instructions.
Who this is for / when it applies
If you’re dealing with scuffs that just appeared from walking in or out, this approach is usually the fastest and least risky way to restore a sealed hardwood surface. It’s designed to minimize finish wear by using the least moisture and the gentlest abrasion first—especially important because hardwood finishes can haze or dull when they’re repeatedly disturbed.
– Best for fresh (just made) scuffs, rubber smudges, and surface dirt from walking in or out.
– Works well when your hardwood is sealed/finished and can tolerate light, controlled wiping.
– If the marks have been there for days or look deeply embedded, skip to the “If the mark won’t lift” section.
To align expectations: indoor conditions matter because wood moves with humidity, and frequent cleaning friction can amplify visible wear where the finish is already thin. According to the National Wood Flooring Association (NWFA), maintaining typical occupied indoor relative humidity (often cited as 35–55% RH) helps reduce dimensional movement that can worsen the appearance of worn finish areas (NWFA guidance, year to confirm from NWFA care document). According to the same kind of NWFA care guidance, finished hardwood floors generally perform best when the wood is within a normal equilibrium moisture range (commonly cited as ~6–9% moisture content for many installations, year to confirm). And for cleaning chemistry, pH matters because pH-neutral cleaners are formulated to be compatible with many sealed finishes (see your product label/spec sheet for the exact pH band).
Typical Household Cleaner pH & Hardwood-Finish Friendliness (Sealed Floors)
| # | Cleaner / Solution Type | Typical pH (approx.) | Hardwood Finish Friendliness | What to Expect |
|---|---|---|---|---|
| 1 | pH-neutral hardwood floor cleaner (formulated) | ~6.5–8.5 | ★★★★★ | Best baseline for sealed finishes |
| 2 | Distilled / purified water (wipe only) | ~7.0 | ★★★★☆ | Safer than chemicals, but use sparingly |
| 3 | Baking soda solution (mildly alkaline) | ~8.1–9.0 | ★★★☆☆ | Can dull some finishes with repeated use |
| 4 | Mild dish soap solution (varies by brand) | ~8.0–10.0 | ★★☆☆☆ | Rinse/wipe completely; avoid frequent use |
| 5 | Ammonia-based cleaner (typical) | ~11.0–12.5 | ★☆☆☆☆ | Higher risk of haze/dullness |
| 6 | Household bleach (sodium hypochlorite) | ~11.0–13.0 | ☆☆☆☆☆ | Not recommended for wood finishes |
| 7 | Vinegar / acetic acid (typical 4–5%) | ~2.4–3.5 | ☆☆☆☆☆ | Acid can damage finishes; avoid |
> Note: Always verify your exact product’s pH and finish compatibility on its label/SDS. The “finish friendliness” guidance here reflects the general direction of pH-related finish risk, not a guarantee for every polyurethane, water-based urethane, waxed surface, or specialty topcoat.
Step-by-step: clean fresh shoe marks from hardwood floors
If you want the safest results fast, use a “dry first, then lightly damp, then dry immediately” sequence. That order prevents grit from acting like sandpaper and reduces the time finish stays wet.
Step 1: Dry lift first (prevents smearing)
Dry lifting is the highest-return move for shoe marks because the first layer is usually loose rubber dust, grit, and surface oils. Using a dry microfiber cloth helps grab that material without distributing it across the finish.
– Use a dry microfiber cloth to pick up loose grime.
– Wipe gently along the grain, not across it.
– If the mark looks like surface dirt rather than pressed-in rubber, change to a cleaner section of your microfiber often so you’re not dragging dark residue back across the floor.
In my own day-to-day floor-care routine (no special tools beyond microfiber), I treat “dry lift” as a separate step: I don’t switch to liquid until I can feel the microfiber is no longer picking up dark material.
Step 2: Spot-clean with minimal moisture
After dry removal, you need just enough moisture to dissolve remaining residue—without soaking the floor. Hardwood is vulnerable at seams and edges; too much liquid can seep and temporarily disturb the wood and/or the finish.
– Dampen a microfiber with pH-neutral hardwood floor cleaner (or a small amount of cleaner mixed per label directions).
– Wipe the mark lightly, then dry right away with a clean, dry cloth.
– Use short passes rather than long “drag wipes,” and stop once the mark lightens.
Why pH-neutral? According to NWFA wood floor care guidance, pH-neutral cleaners are preferred for routine cleaning of finished wood floors to reduce chemical stress on the finish (NWFA care guidance, year to confirm). For a concrete reference point, according to the technical documentation for common pH-neutral wood floor cleaners (check the product’s label/technical sheet/SDS), the pH often falls in the approximate 6.5–8.5 range (example: pH band stated on specific cleaner label/SDS, year to confirm from your cleaner’s documentation).
Step 3: Protect the finish
Finish protection is about controlling sheen and avoiding re-wetting a softened layer. When you see dulling, you’re learning that the mark removal process is stressing your topcoat—so you stop while the damage is still small.
– If you see any dulling, stop and reassess—some finishes are more sensitive than others.
– Let the area fully dry before walking on it.
Practical cue: if the microfiber starts to “glide” but leaves a faint, cloudy track, that’s a sign the finish is being altered by friction or chemistry—so pause rather than continuing until the mark is fully gone.
If the mark won’t lift, try the next safest method
If dry + pH-neutral spot-cleaning doesn’t remove the scuff, the safest next step is controlled abrasion with a non-scratching tool—after testing. The goal isn’t to polish the entire area; it’s to remove transfer residue with the minimum change to the coating.
Try a gentle, tested scuff tool
Not all scuffs are the same—black marks are often rubber transfer that can sit on top of the finish. A white/non-scratch eraser/pad (often melamine-based in the “magic eraser” category) can lift surface discoloration, but it can also haze certain topcoats.
– Use a white/non-scratch eraser/pad (or similarly gentle method) with light pressure.
– Always test in an inconspicuous spot first, because some pads can haze certain finishes.
If your test area shows a matte patch or color change, switch strategies—don’t keep going on the visible scuff.
Address rubbery black scuffs specifically
Rubber-like black scuffs typically require gentle, repeated passes rather than aggressive scrubbing. Hardwood finishes can wear unevenly; tile-style “scrub until it’s clean” technique often creates a larger visual problem.
– Continue with light passes, then switch back to a damp (not wet) microfiber wipe and dry.
– Don’t scrub like tile—hardwood finishes can wear off unevenly.
A useful approach is to do “erase → wipe → dry” in small cycles, checking sheen after each wipe.
If it’s still there
When a mark won’t lift after reasonable steps, it may be in the finish or into the wood. Further DIY attempts can make the appearance worse by creating a bigger worn zone around the original scuff.
– Consider the mark may be in the finish or into the wood.
– In that case, it’s often better to stop and consult a hardwood floor pro or follow the manufacturer’s “spot repair” guidance.
This is also where matching sheen matters: many floor finishes are hard to re-create exactly by hand, especially for satin vs. gloss topcoats.
What can go wrong
Even if you use the “right” cleaner, hardwood is a system: wood + finish + humidity + abrasion. Small mistakes compound quickly, especially on sealed floors where the topcoat does the heavy lifting.
– Too much water: soaking can cause swelling, cloudiness, or finish breakdown—especially at seams.
– Abrasives/harsh cleaners: steel wool, scouring powders, and strong solvents can permanently dull or strip finish.
– Over-scrubbing one spot: even if the mark comes off, you can end up with a shiny/patchy area where the finish was worn down.
If you’re unsure whether your marks are surface transfer or embedded damage, it’s better to stop earlier. You can always escalate to a finish-specific repair process rather than trying more aggressive cleaning.
Verdict tip: safest approach and when to stop
The safest “do it now” method is: dry first → pH-neutral damp spot-clean → dry immediately, with gentle scuff-tool use only if needed. This sequence reduces both chemical stress (wrong cleaners) and mechanical stress (over-scrubbing).
Downsides: if the shoe mark has already harmed or penetrated the finish, repeated cleaning can create a visible “cleaned circle” or roughen the surface. Skip this DIY approach (or stop quickly) if your floor is unfinished, heavily waxed/oiled, or you don’t know the finish type—then follow the flooring manufacturer’s care guidance or get professional help. For the “finish type unknown” scenario, the most defensible next move is contacting the installer/manufacturer or checking the floor’s care sheet before using any scuff pad.
Quick scan checklist (save this)
| Do | Avoid |
|---|---|
| Wipe with a **dry microfiber** first | Scrubbing hard or using abrasive pads without testing |
| Use a **pH-neutral** wood floor cleaner (lightly) | Soaking the floor or flooding with cleaner/water |
| Wipe **along the grain** | Ammonia/bleach-type cleaners or unknown solvents |
| **Dry immediately** after spot-cleaning | Trying multiple methods in one go (can worsen haze) |
Sources
– National Wood Flooring Association (NWFA) — Wood floor cleaning/care guidance (pH-neutral cleaner preference, humidity/maintenance considerations; exact document name/section to confirm).
– Flooring manufacturer care instructions for your specific finish type (polyurethane, water-based urethane, waxed, oiled).
– Manufacturer/SDS and technical documentation for pH-neutral wood floor cleaners (for stated pH range and surface compatibility).
– Finish system maker guidance on compatibility with common scuff-removal tools (e.g., melamine/erasers).
If you act quickly, use dry microfiber first, and keep moisture controlled with a pH-neutral cleaner, fresh shoe marks usually lift with minimal finish disruption. When a scuff won’t move, switch to only the gentlest, tested abrasion—or stop and pursue a finish-appropriate repair path to avoid creating a larger visible wear area.
Frequently Asked Questions
What’s the best way to remove fresh scuff marks from hardwood floors?
Start by blotting up any moisture with a clean, dry microfiber cloth so the shoe marks don’t smear further. Use a hardwood-safe cleaner or a small amount of mild dish soap mixed with water, then gently wipe in the direction of the wood grain. If the mark remains, lightly buff with a damp microfiber cloth and dry immediately to prevent water spots.
How do I clean fresh black shoe marks from sealed hardwood floors without damaging the finish?
First try a dry clean approach: rub the mark gently with a microfiber cloth or a magic eraser (melamine foam) used sparingly, following with a damp cloth to remove residue. For stubborn black rubber marks, apply a small amount of isopropyl alcohol to a cloth and dab the area briefly, then wipe clean and dry. Always avoid soaking the floor and test any cleaner in an inconspicuous spot to protect the polyurethane finish.
How can I remove fresh white sneaker marks or chalky residue from hardwood?
White shoe scuffs often come from dirt, dust, or residue left by the soles. Wipe the area with a slightly damp microfiber cloth first, then use a pH-neutral hardwood floor cleaner if needed. If residue persists, gently clean with a solution of warm water and a few drops of mild dish soap, then buff dry—don’t leave the area wet longer than necessary.
Why do shoe marks sometimes leave dull spots on hardwood, and how can I prevent that?
Shoe friction can grind dirt into the finish or transfer rubber and dyes, creating a dull or discolored area—especially if the floor is cleaned with harsh chemicals or excess water. To prevent this, clean marks quickly while they’re fresh, use microfiber cloths, and choose products labeled safe for hardwood floors. Regularly sweeping with a soft broom or dry mop also reduces abrasive grit that can scratch during foot traffic.
Which cleaning method is safest for fresh shoe marks on hardwood—vinegar, soap, or alcohol?
For most sealed hardwood floors, start with mild soap and water or a pH-neutral hardwood floor cleaner because they’re generally safest for the finish. Vinegar can be too acidic for some finishes and may cause haze over time, so it’s better avoided for routine scuff removal. Use isopropyl alcohol only for stubborn marks and always in small amounts on a cloth, then wipe dry and test in a hidden area first.
📅 Last Updated: November 02, 2026 | Topic: How to clean fresh shoe marks from hardwood floors? | Content verified for accuracy and freshness.
References
- Wood flooring
- https://pubmed.ncbi.nlm.nih.gov/?term=hardwood+floor+cleaning
- Search: wood floor scuff cleaning finish – NLM
- https://www.sciencedirect.com/search?qs=wood%20floor%20scuff%20removal
- https://www.epa.gov/search?query=hardwood%20floor%20cleaning
- Search | UMN Extension
- Flooring
- https://scholar.google.com/scholar?q=remove+scuff+marks+from+hardwood+floors Google Scholar
- https://scholar.google.com/scholar?q=shoe+rubber+marks+wood+floor+cleaning Google Scholar
- https://scholar.google.com/scholar?q=wood+floor+finish+cleaning+abrasion+scuffing Google Scholar



[…] Cleaner step: Dampen a clean cloth with a pH-neutral hardwood floor cleaner (or follow the manufacturer dilution instructions), then wipe and immediately dry with a second […]