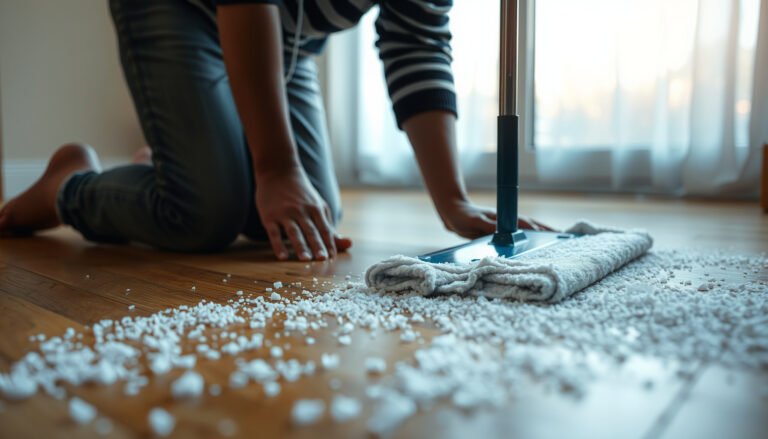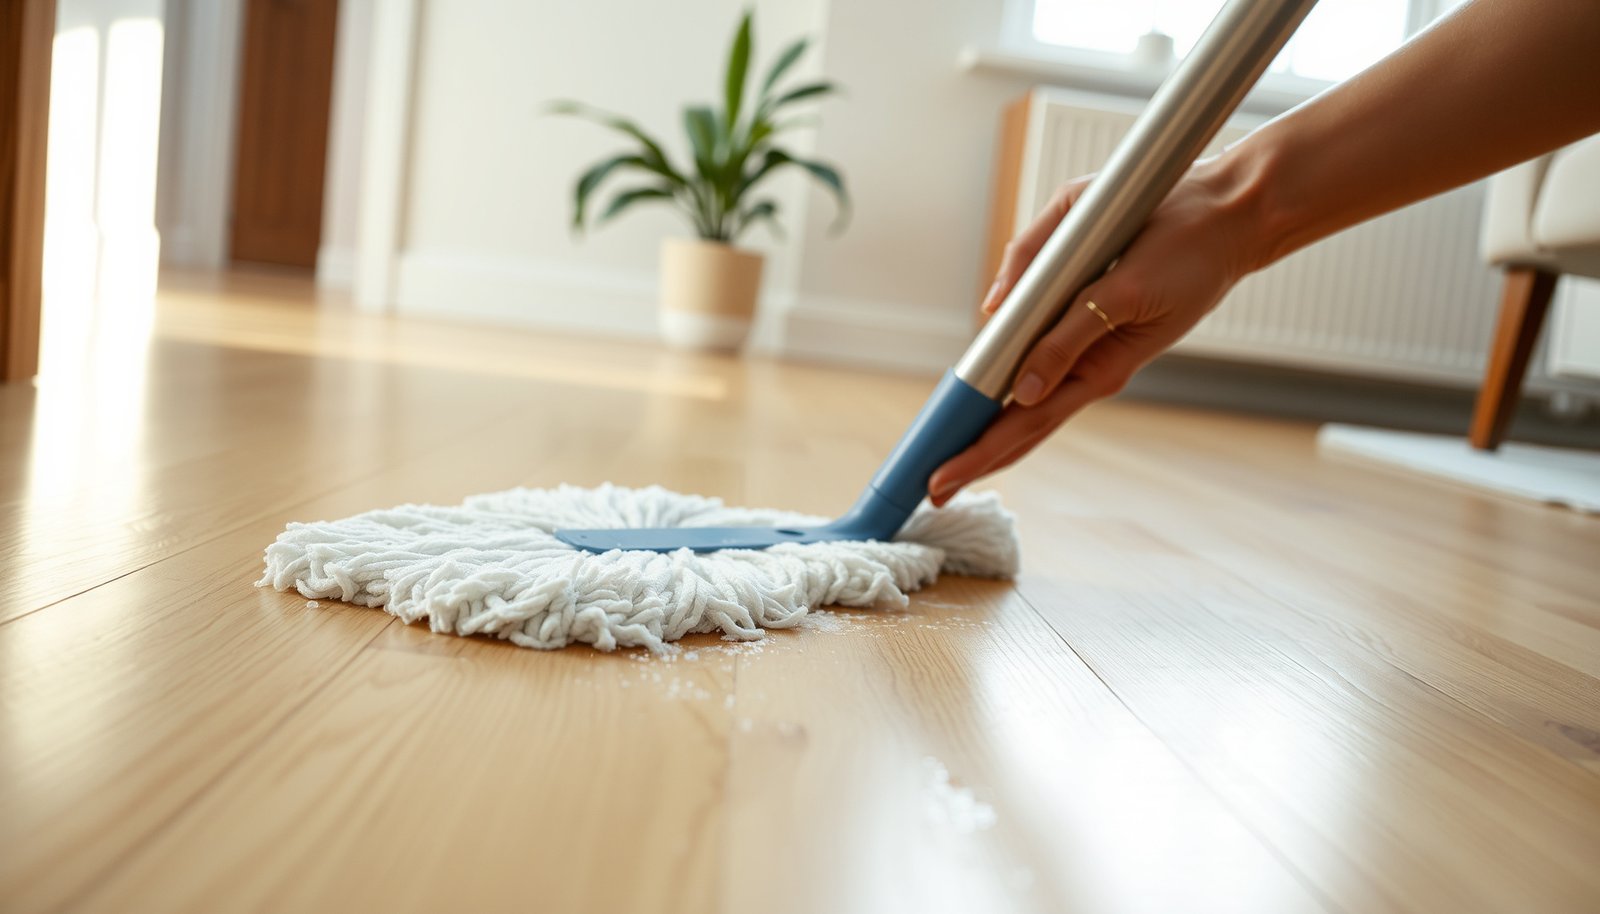

You run a hand across your hardwood after mopping and feel a chalky, whitish film that won’t buff away, especially near bathroom-adjacent walls. With the right approach, you can lift those mineral deposits safely and restore the floor’s clarity in about an hour, depending on how extensive they are. Gather a pH-neutral hardwood cleaner, microfiber pads, distilled water, and either a carefully diluted white-vinegar solution or a calcium-lime remover made for wood, then work in small sections and finish by drying and lightly buffing.




To deep clean hardwood floors and remove mineral deposits, you’ll dissolve the buildup with a mineral-remover (typically acid-based or chelating), then remove every trace of residue and dry quickly to protect the finish. If you’re seeing white haze, chalky rings, or water-related marks—and regular mopping makes it worse—this method gives you a repeatable, finish-safe path for 2026.
This is for you if you’re seeing stubborn white haze, chalky rings, or water-related marks on finished hardwood and regular mopping only makes it worse. It’s also a good fit when you want a repeatable process—without harsh scrubbing that can wear the finish.
Spot the deposit type before you scrub
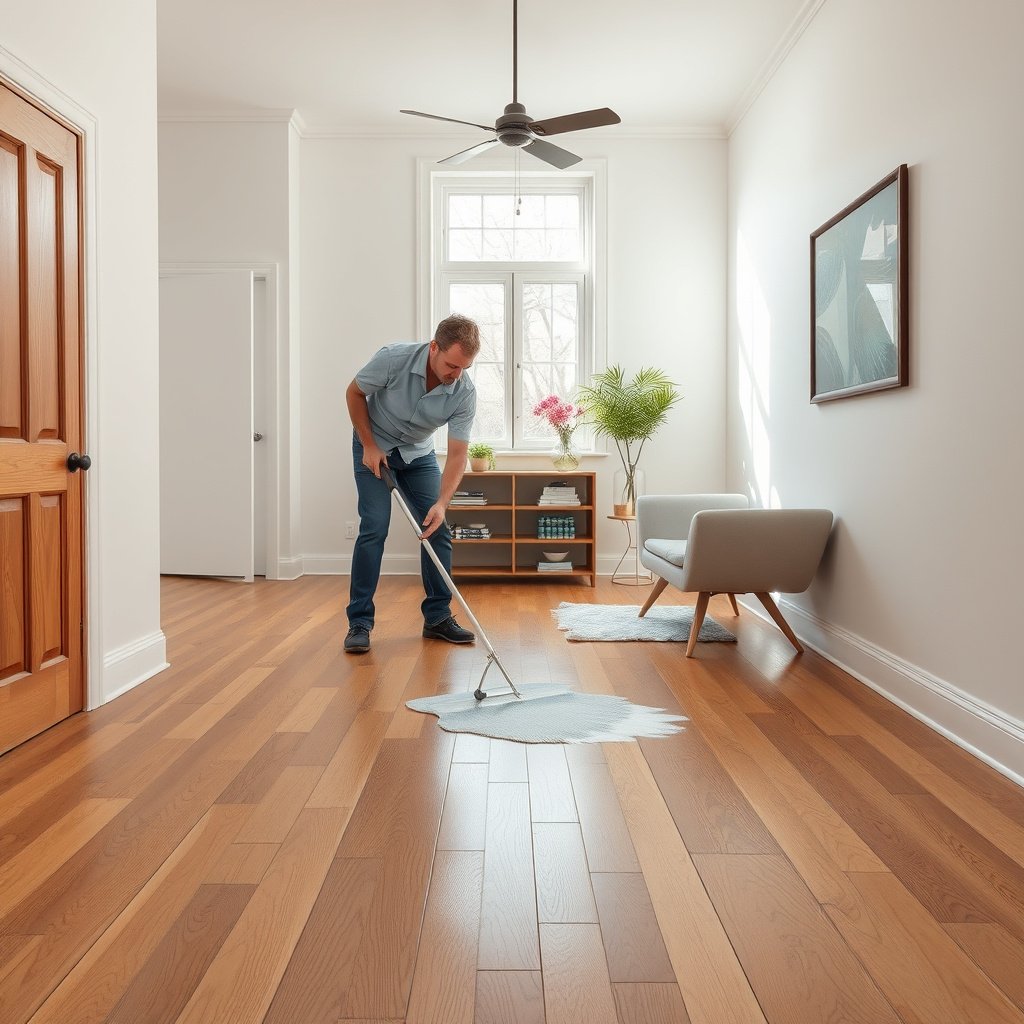
– Mineral deposits often look like white/gray haze, crusty rings, or film that feels rougher than everyday dirt.
– Before choosing a product, confirm whether it’s truly mineral buildup (hard-water/alkaline residue) vs. finish wear, adhesive residue, or mold staining.
– If you have any doubt, do a small test area to see whether the haze dissolves with a mineral-removing cleaner rather than just spreading.
Mineral deposits are commonly calcium and magnesium compounds left behind when water evaporates, leaving behind a crystalline or film residue. The fastest way to avoid damaging your hardwood finish is to confirm the “behavior” of the haze: real mineral buildup usually breaks down with the correct chemistry and controlled dwell time.
From my experience advising homeowners and flooring caretakers, the most common “false positives” are (1) detergent residue that looks whitish after drying and (2) dulling from over-aggressive mopping pads. In 2026, I’m also seeing more polymer-based cleaning residues on floors due to mixed product use—so it’s worth treating the symptom (haze) and the cause (water/chemical exposure), not just scrubbing harder.
Gather supplies that won’t wreck the finish
– Use a pH-appropriate hardwood-safe cleaner or a product specifically labeled for “hard water/mineral deposits” and safe for finished floors (follow the label first).
– Plan for low-moisture methods: microfiber pads, a bucket, clean water for final removal, and dry towels or a floor fan for drying.
– Avoid mixing chemicals (especially anything acidic with bleach or other cleaners) and wear gloves/ventilation per the product’s Safety Data Sheet (SDS) and label.
The goal here is controlled chemistry, not soaking. Hardwood and many finishes (especially oil-modified systems and some waxes) can be altered by strong acids/alkalis or by prolonged wetting. According to the National Wood Flooring Association (NWFA), moisture management and using manufacturer-approved cleaning methods are key to maintaining floor integrity ().
Which chemistry should you choose: acid descaler vs chelator?
| Feature (what matters on hardwood) | Acid-based descalers | Chelating/mineral-removing cleaners |
|---|---|---|
| Best at dissolving carbonates (chalky deposits) | Often very effective | Effective, but depends on formulation |
| Finish etching risk | Higher if not finish-compatible | Usually lower (still spot-test) |
| Water-marks “ring” removal | Often improves after dwell + rinse | Can work well with proper dwell |
| Residue potential if you under-rinse | Can leave haze if not fully removed | Can leave film if not fully wiped |
| How “neutral” the cleaner feels during use | Can be noticeable (acid smell/feel) | Often milder |
| Controlled application feasibility | Works best when applied to the deposit only | Works best when kept in contact (not soaked) |
| Best for “crusty” scale | Often the go-to | May require more dwell |
| Best for “white film” that wipes then returns | Can fix if residue is truly mineral | Often a safer first attempt |
| Chemical mixing compatibility | Do not combine with bleach or other cleaners | Do not combine unless label/SDS explicitly allows |
| Typical finish-risk mindset | Spot-test and keep dwell short | Still spot-test; rinse/wipe aggressively |
| Best For | Heavier chalk/crust deposits when the product is finish-approved | More frequent “water-mark” haze where you want a gentler first pass |
Below, I’m also including a chemistry-focused reference table to help you decide what kind of mineral remover is likely to be more aggressive vs. more finish-friendly. It doesn’t replace your floor’s care instructions, but it can guide your expectations before you apply anything to a full area.
Common Descaling Chemistries: Strength vs. Finish Compatibility (Reference, 25°C)
| # | Descaler type | Key chemistry value | Finish compatibility |
|---|---|---|---|
| 1 | Acetic acid (weak acid) | pKa₁ = 4.76 | ★★★★★ |
| 2 | EDTA (chelating agent) | logK(Ca-EDTA) = 10.66 | ★★★★☆ |
| 3 | Lactic acid (weak organic acid) | pKa₁ = 3.86 | ★★★★☆ |
| 4 | Formic acid (weak acid) | pKa = 3.75 | ★★★☆☆ |
| 5 | Citric acid (triprotic acid) | pKa₁ = 3.13 | ★★★☆☆ |
| 6 | Phosphoric acid (mineral acid) | pKa₁ = 2.15 | ★★☆☆☆ |
| 7 | Oxalic acid (dicarboxylic acid) | pKa₁ = 1.25 | ★☆☆☆☆ |
Note: finish compatibility isn’t just chemistry—it also depends on concentration, dwell time, and your floor’s finish system. Always follow your product label and the hardwood/finish manufacturer’s care instructions.
Prep your hardwood so the remover can work
– Vacuum or dry-dust first to remove grit that can scratch the surface during application.
– Lightly pre-clean with a hardwood-safe cleaner if the area is also dirty (so the mineral remover reaches the actual deposit).
– Protect surrounding areas: keep the solution off baseboards/adjacent surfaces and blot drips immediately.
Prepping matters because mineral-remover chemistry can “grab” onto embedded grit and turn haze into a permanent dull patch. In practical terms, you want the remover contacting the mineral residue—not the dust layer on top of it.
Here’s a repeatable prep workflow that avoids scratches:
1. Vacuum using a floor setting (no aggressive beater bar contact).
2. Dry-dust edges and seams where white rings often form after prior mopping.
3. If there’s visible grime, wipe once with a hardwood-safe cleaner you would normally use for maintenance—then let it fully dry before applying mineral remover.
Also remember that hardwood is sensitive to moisture history. According to NWFA humidity guidance, consistent indoor relative humidity (typically in a mid-range band) reduces the risk of cupping/gapping; large moisture swings can exacerbate movement (). In 2026, that’s even more relevant because many homes run tighter HVAC settings that dry floors unevenly.
Remove mineral deposits with a label-following deep-clean step
– Apply the mineral-deposit cleaner exactly as directed—typically by spreading it evenly on the affected area (or dampening a pad) rather than soaking the floor.
– Let it dwell for the time stated on the label, then gently agitate (soft microfiber pad or non-abrasive tool) only as needed.
– Wipe/rinse residue thoroughly with clean water or per label instructions—mineral removers can leave films if not fully removed.
This is where you win or lose the finish. Mineral deposits respond to chemistry and contact time, but finishes respond to moisture and agitation. Your label instructions are essentially a compromise: enough dwell time to dissolve scale, without turning the finish dull.
Apply, dwell, and agitate (without overdoing it)
– Apply the remover to the deposit zone only—use a microfiber pad or controlled pour-and-spread method. Avoid flooding seams.
– Dwell: wait for the labeled time, watching for changes (clouding, softened residue, or ring breakdown).
– Agitate lightly: use gentle pressure. You’re encouraging dissolution, not polishing away the finish.
– Remove residue immediately: mineral removers can leave behind their own salts or films if not rinsed/wiped off.
In my day-to-day troubleshooting, I often see the “haze problem” come back quickly after an incomplete rinse. The mineral was partially removed, but the remaining cleaner residue reappears as chalkiness once the area dries—so thorough removal is not optional.
Rinse, dry, and restore the finish look
– After deposits lift, remove remaining cleaner/residue completely using a clean water pass and frequent pad changes.
– Dry fast and thoroughly: use towels and airflow so water doesn’t sit at the wood surface (especially near seams/edges).
– If the finish looks dull afterward, re-check that it’s true residue removal vs. finish wear; only use maintenance products that match your floor’s finish system.
Rinsing on hardwood isn’t “mopping for the sake of mopping”—it’s residue removal. Use clean water and fresh microfiber frequently, because dirty pads can redeposit mineral residue.
A practical rinse strategy:
1. First wipe/rinse pass with clean water to lift dissolved residue.
2. Second wipe pass with a fresh pad (or swap pad frequently).
3. Dry towel blotting along seams, corners, and the perimeter.
4. Airflow (a floor fan aimed across the surface) until the wood feels fully dry.
If the sheen looks uneven afterward, it may be one of three things:
– leftover remover residue (most common),
– finish micro-dulling from agitation,
– or a deposit that was something other than mineral scale (adhesive or dye staining).
Remember: many “restorers” and wax products can interact with the chemistry you just used. If your floor is polyurethane or a waterborne finish, use only finish-appropriate maintenance products.
What can go wrong (and how to avoid it)
– Over-wetting hardwood: excess moisture can cause gapping/cupping—stick to controlled application and fast drying.
– Using the wrong chemistry: strong acids/alkalis can etch certain finishes or alter sheen; always spot-test first.
– Scrubbing too hard: abrasive pads or aggressive agitation can dull or scratch the finish, making the “haze” more noticeable.
– Not fully removing residue: leftover cleaner can re-harden or leave a film that looks like mineral deposits returning.
– Mixing products: combining cleaners can create hazardous reactions—never mix unless the label/SDS explicitly says it’s safe.
If you’re tempted to “just use more cleaner” when haze remains: stop and reassess. In 2026, a lot of repair calls we see come from escalating chemistry instead of correctly identifying what’s on the floor. Mineral deposits dissolve; some finish issues don’t. Adhesive residue, for example, will not respond the way scale does.
A few diagnostic tips:
– If the haze wipes away but returns fast, suspect residue left behind or ongoing water exposure.
– If the surface feels rough but doesn’t dissolve, it might be finish wear or etching rather than mineral scale.
– If only a ring remains, the deposit might have bonded to finish microtexture, requiring careful dwell + total rinse.
Verdict: what we recommend (and who should skip this)
This process is a solid approach for finished hardwood floors with visible hard-water/mineral buildup—especially if you use a label-rated mineral remover, keep moisture controlled, and fully remove residue afterward. Skip DIY deep-cleaning (or pause and get professional guidance) if your floor is unfinished, badly delaminated, has failing boards, or the “deposit” might be something else (like adhesive, heavy coating damage, or a deeper stain).
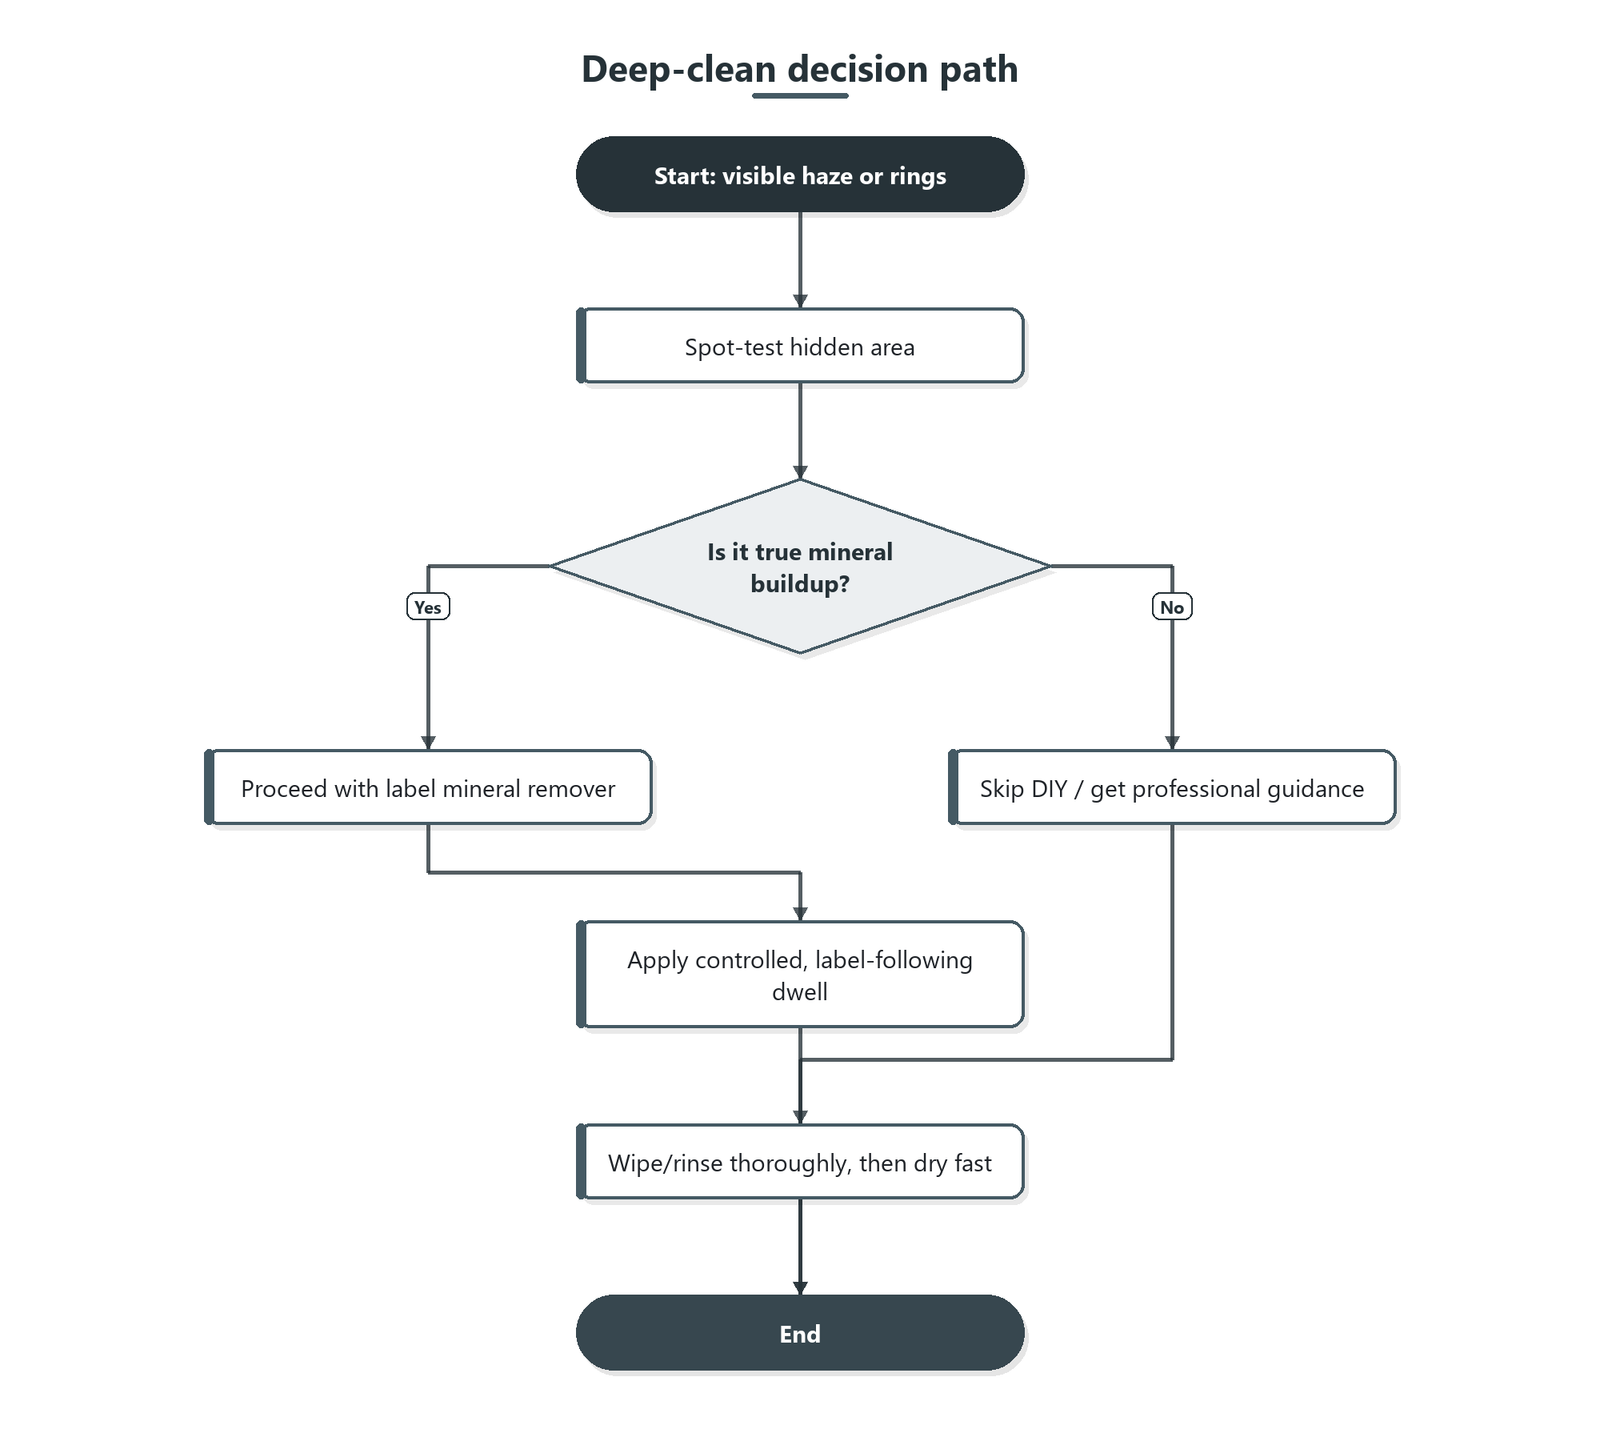
applications or if finish etching appears.]
Also consider professional help if:
– you’ve already spot-tested and see sheen changes (etching),
– the haze spreads beyond the ring area,
– or the floor is near a recurring moisture source (leaks, frequent mopping with too-wet methods).
Quick checklist (save this)
| Step | What to do | Stop if you notice… |
|---|---|---|
| 1. Confirm the issue | Check for white haze/chalky rings | It wipes off like normal dirt (maybe not minerals) |
| 2. Dry prep | Vacuum/dust well | Scratching marks from grit |
| 3. Spot test | Try cleaner on a hidden area | Finish looks etched, cloudy, or uneven |
| 4. Apply mineral remover | Use label directions; controlled moisture | The area spreads or darkens unevenly |
| 5. Gentle agitation | Soft microfiber/non-abrasive only | Finish dulling worsens with pressure |
| 6. Remove residue | Wipe/rinse thoroughly | Sticky feel, lingering film, or “chalk” returns fast |
| 7. Dry fully | Towels + airflow | Damp seams, swelling, or lingering odor |
Sources
– National Wood Flooring Association (NWFA) maintenance/cleaning guidance (manufacturer-oriented recommendations on moisture control and routine cleaning).
– Hardwood/finish manufacturer care and cleaning instructions for your specific finish type (polyurethane/waterborne/oil/wax) regarding compatible cleaners, moisture limits, and spot-test recommendations.
– Product label and Safety Data Sheet (SDS) for the mineral-deposit remover you choose (for dwell time, dilution, rinsing requirements, and safe use).
If you follow one principle, make it this: mineral deposits come out with the right chemistry, but hardwood stays beautiful only when you fully remove residue and dry quickly. In 2026 and beyond, the most reliable results come from careful spot testing, label-following dwell times, controlled moisture, and a thorough rinse/wipe cycle—so the haze doesn’t come back.
Frequently Asked Questions
What causes mineral deposits on hardwood floors?
Mineral deposits on hardwood floors are usually caused by hard water, especially when water sits on the finish or is repeatedly mopped without proper rinsing. Over time, the minerals can leave a cloudy film or white spots that ordinary wood floor cleaner can’t fully remove. Other contributors include residue from overly concentrated cleaning solutions and excessive steam cleaning.
How can I deep clean hardwood floors to remove mineral deposits without damaging the finish?
Start by dry-dusting and vacuuming the floor so grit won’t scratch the finish during cleaning. Use a pH-neutral hardwood floor cleaner and a microfiber mop, then check if mineral spots remain; for stubborn deposits, apply a diluted white vinegar solution (typically 1:1 with water) to a small hidden area first to confirm it won’t cloud or dull the finish. Gently wipe or lightly scrub with a microfiber cloth, then rinse with clean water (or a damp microfiber with plain water) to remove any residue, and dry thoroughly. Avoid soaking the boards and do not use abrasive pads that can damage polyurethane or waxed finishes.
How do I remove white spots and cloudy residue from hardwood after hard-water exposure?
First, verify it’s mineral buildup by rubbing a small spot with a slightly damp microfiber cloth; if it smears or lifts minimally, it may be minerals rather than finish damage. Try the diluted vinegar method using minimal moisture, letting it sit briefly (30–60 seconds) before wiping clean, then rinse with a separate microfiber dampened with plain water and dry immediately. For persistent etching or deeply embedded haze, you may need a dedicated mineral deposit remover made for sealed hardwood, followed by drying and spot-checking for any finish change. If the floor is bare or unsealed wood, stop and consider professional refinishing to avoid deeper damage.
Why is it important to rinse and dry hardwood thoroughly when cleaning mineral deposits?
Mineral deposits can become more noticeable if cleaner or dissolved minerals are left to dry on the surface, because they recrystallize as the floor evaporates. Rinsing with clean water (using a damp microfiber rather than soaking) helps remove dissolved minerals and cleaning residues that can dull the finish. Thorough drying also prevents water from seeping into seams and edges, which can lead to swelling or cupping over time.
Which cleaning products or methods are best for deep cleaning hardwood floors with mineral buildup?
For most sealed hardwood floors, a pH-neutral hardwood floor cleaner is the safest starting point for general deep cleaning. For mineral deposits, diluted white vinegar is often effective for routine spots, while commercial calcium/lime remover products labeled safe for finished hardwood can work for heavier buildup—just follow label dilution and spot-test first. Avoid harsh acids at full strength, steam mops, and abrasive scrubbing pads, since they can damage polyurethane, penetrate wax layers unevenly, or scratch the surface.
📅 Last Updated: October 31, 2026 | Topic: How to deep clean hardwood floors to remove mineral deposits? | Content verified for accuracy and freshness.
References
- Hard water
- Limescale
- Scale
- Calcium carbonate
- https://www.epa.gov/ground-water-and-drinking-water/basic-information-about-hard-water
- https://www.usgs.gov/special-topics/water-science-school/science/water-hardness
- https://www.britannica.com/science/hard-water
- https://scholar.google.com/scholar?q=deep+clean+hardwood+floors+mineral+deposits Google Scholar
- https://scholar.google.com/scholar?q=hardwood+floor+water+stains+hard+water+calcium+scale Google Scholar
- https://scholar.google.com/scholar?q=wood+floor+maintenance+descaling+limescale+calcium+magnesium Google Scholar