
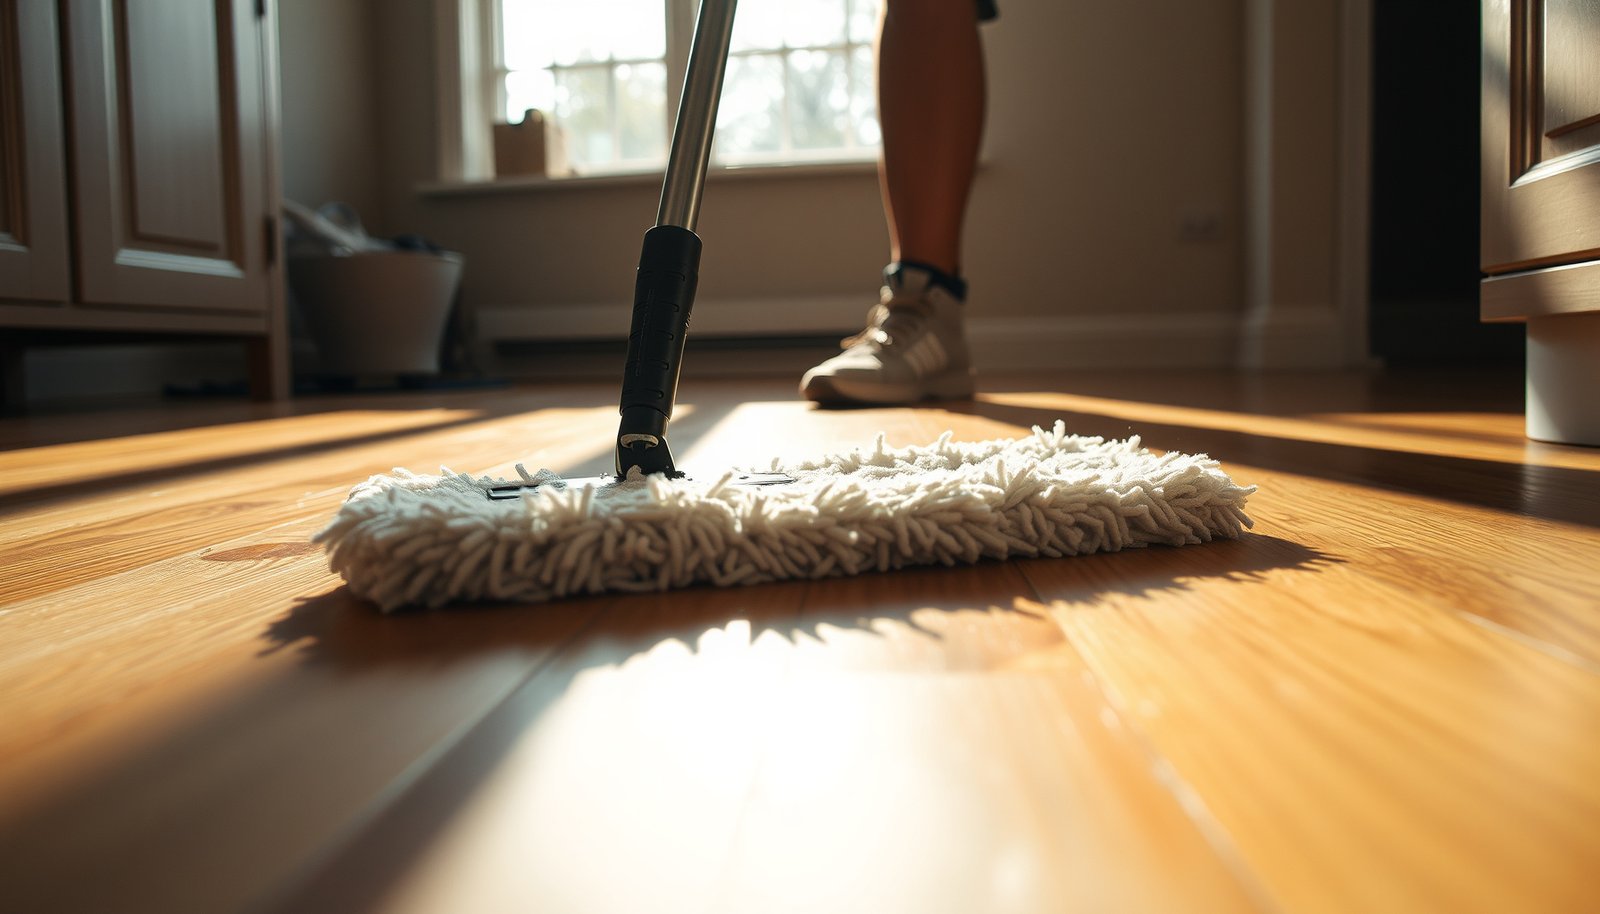

How do you deep clean hardwood floors after a food spill so the stain disappears instead of spreading? Start by scraping residue, then washing with a pH-neutral wood cleaner, followed by a targeted treatment for remaining discoloration. With the right supplies—soft microfiber pads, clean water, and a gentle stain remover safe for wood—you can refresh a typical room in about an hour, with careful drying and no harsh chemicals.




Remove food stains from hardwood safely by doing a dry residue removal first, then following with a pH-neutral hardwood cleaner using a nearly-dry microfiber pass, and finally spot-treating based on the stain’s chemistry (grease, water rings, or tannin discoloration). In practice, this “dry remove → pH-neutral deep-clean pass → targeted spot treatment” workflow lifts most meal spills, tracked food marks, and long-settled smudges without soaking the floor.
This is for homeowners and renters tackling spots from spills, tracked meals, or aged food discoloration on sealed/finished hardwood. If your floor is waxed, refinished recently, or you’re unsure what finish you have, do a quick hidden spot test before you go deeper—because the wrong cleaner (or too much water) can dull or cloud the finish.
Assess the finish and the stain source
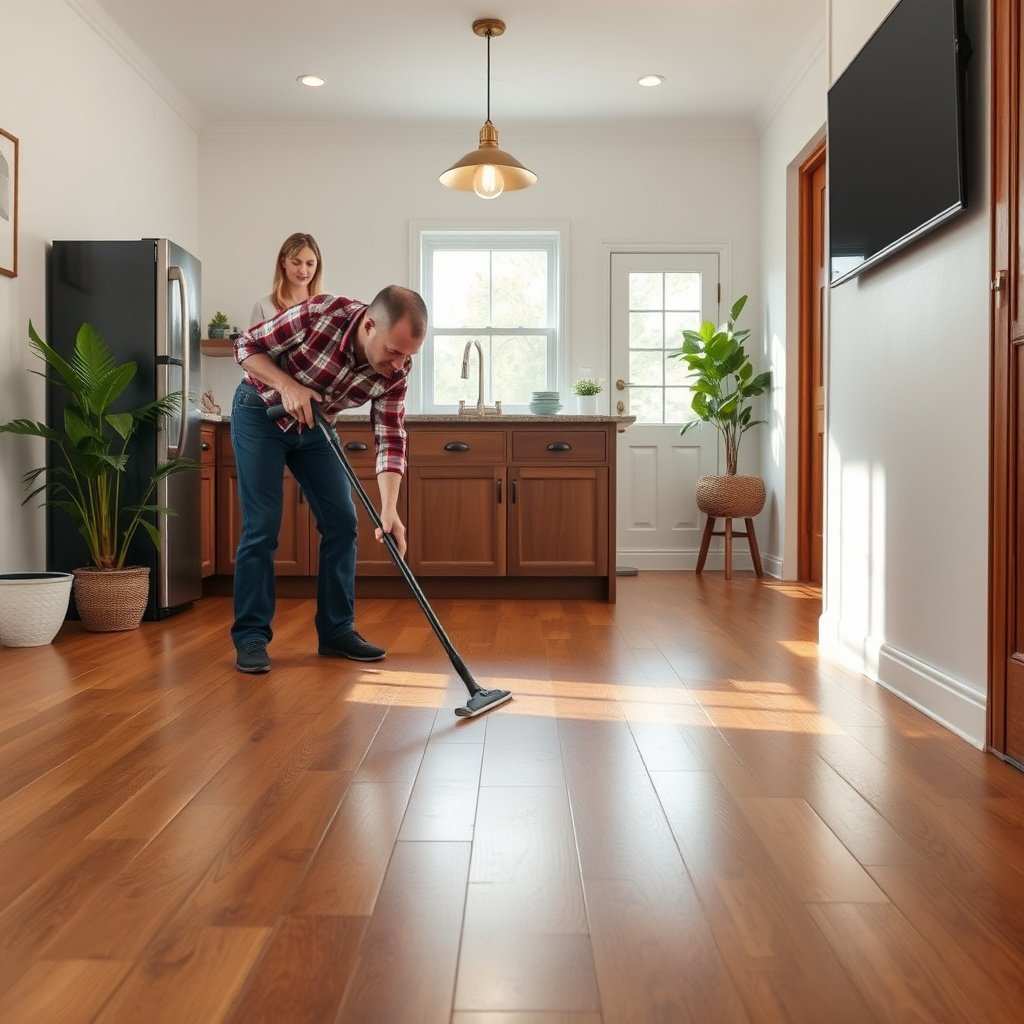
Food stains come out faster and with less risk when you match the cleaning method to (1) the finish type and (2) the stain’s chemistry. Start by confirming whether you’re working with a sealed surface (urethane/polyurethane) or a wax/penetrating oil system, then categorize the mark (grease vs. moisture ring vs. tannin).
– Check whether your hardwood is sealed (polyurethane/urethane finish) or has a wax/penetrating oil finish; the “right” cleaner depends on this.
– Identify the stain type: sticky/greasy food spots typically need degreasing, while dull rings often point to moisture or tannin transfer.
– Look for manufacturer instructions (floor brand/finish name). If you have no label, treat the area like a sealed floor first and do a hidden spot test.
What “stain source” looks like in real life (so you don’t guess):
– Grease/sticky residue: feels tacky, smears, or darkens when the area is dampened with water on a cloth (oil often “wets out” slightly).
– Water rings / dull halos: usually look lighter or hazier under the sheen, often surrounding where something sat.
– Tannin/organic discoloration: common under tea, coffee, sauces with browning agents, or foods with plant pigments; these marks can look brownish and may spread slightly under moisture exposure.
Finish check tip (quick): If a small drop of water beads on the surface after a few minutes, your floor is likely sealed; if it absorbs, you may be dealing with a penetrating finish. If you’re unsure, proceed conservatively: test an inconspicuous spot with the same pH-neutral method you’ll use everywhere.
Set up for safe deep cleaning (before you scrub)
Safe deep cleaning depends on using the right tools and controlling water so you don’t force residue deeper into the grain or weaken seams. The goal is agitation plus controlled moisture—not a wet scrub.
– Clear the area fully and dry-dust first so you don’t grind food residue into the grain.
– Use tools that won’t scratch: microfiber pads/mops, soft-bristle brush, and lint-free cloths—avoid abrasive pads.
– Prepare a “minimal water” routine: well-wrung microfiber, short work sessions, and immediate drying to prevent water from sitting in seams.
Before you add any cleaner, make sure you’re starting from “clean contact,” not “dirty friction.” I’ve found that the most stubborn “ghost stains” aren’t always the original food—they’re the residue you accidentally worked into the finish the first time. As of 2026, most manufacturers still steer homeowners toward microfiber-based, low-moisture cleaning because modern finishes behave best when they’re not repeatedly flooded.
Product risk in one glance (pH neutrality matters)
According to Bona, using a pH-neutral cleaner is part of their recommended hardwood routine (n.d.). If you’ve ever tried vinegar or a strong degreaser and the stain got harder to remove, this is usually why: pH extremes can affect surface sheen and how residue bonds to the finish.
Cleaner pH Alignment for Sealed Hardwood Spot Work (2026 method planning)
| # | Cleaner / additive | Typical pH (range) | Neutrality match | Finish risk vs pH-neutral |
|---|---|---|---|---|
| 1 | Water (for pre-damp wiping) | 6.5–8.5 | ★★★★☆ (score 9/10) | Low |
| 2 | pH-neutral hardwood cleaner (labeled) | 6–8 | ★★★★★ (score 10/10) | Very Low |
| 3 | Baking soda (sodium bicarbonate) solution | ~8.3–8.5 (aqueous) | ★★★★☆ (score 8/10) | Low–Moderate |
| 4 | Mild liquid dish detergent (varies by brand) | ~7–9 (common formulations) | ★★★☆☆ (score 7/10) | Moderate (residue risk) |
| 5 | Vinegar (acetic acid) | ~2–3 | ★☆☆☆☆ (score 4/10) | High |
| 6 | Household ammonia (typical) | ~11–12 | ★☆☆☆☆ (score 4/10) | High |
| 7 | Hydrogen peroxide (commonly sold 3%) | ~3–4 (solution-dependent) | ★★☆☆☆ (score 5/10) | Moderate–High |
Deep-clean steps to lift food stains
Food stains lift best when you remove residue first, then clean with a controlled, pH-neutral method rather than saturating the floor. This section is designed for both sealed hardwood and most “do no harm” homeowner approaches as of 2026.
– Start with dry cleanup: lift crumbs and debris with a vacuum (hard-floor setting) or dry microfiber, then wipe with a barely-damp cloth to catch leftover residue.
– Do a pH-neutral cleaner pass: apply cleaner to the microfiber (not directly to the floor), scrub gently in small sections, and wipe clean with a second microfiber.
– Rinse-wipe if your cleaner instructions require it: use a lightly damp cloth to remove any remaining cleaner, then dry thoroughly.
Step 1: Dry remove (so you don’t grind the stain deeper)
– Vacuum the area using a hard-floor setting, then repeat with a microfiber dry pad.
– If there’s sticky residue, don’t scrub yet—first loosen it with gentle wiping using a cloth that you can flip frequently.
Step 2: pH-neutral deep-clean pass (controlled moisture)
– Use pH-neutral hardwood cleaner and follow its label directions for dilution and method.
– Spray or dispense onto the microfiber, not the wood. You want “damp cloth energy,” not puddles.
– Scrub in tight 2–3 foot sections with gentle pressure, then immediately wipe with a clean microfiber.
Step 3: Optional rinse-wipe and full dry
Some pH-neutral products recommend a rinse-wipe. If your label says to remove residue, use a lightly damp cloth (again: not a soaked mop), then dry immediately with a dry microfiber towel. This is especially important near seams, edges, and under transitions.
Spot treatment for stubborn marks
Stubborn marks usually need targeted chemistry, not more general scrubbing. Once you’ve done the pH-neutral deep-clean pass, choose a spot treatment based on whether the stain is grease, moisture/tannin, or a finish-embedded discoloration.
– Grease/sticky food: repeat gentle degreasing with a hardwood-safe cleaner (the one labeled as safe for your finish). Don’t switch to harsh solvents unless your floor manufacturer explicitly allows them.
– Ring marks or discoloration: use a spot remover that’s specifically formulated for hardwood and follow label directions exactly; stop if you see finish dulling or lightening.
– If the stain has “soaked in” under the finish: deep cleaning may lighten it but not fully remove it—at that point, you may be looking at refinishing rather than cleaning.
Choose the right “stain chemistry” (comparison)
- Grease / sticky residue
-
Best first step: a hardwood-safe degreaser applied to microfiber.
Pros: usually lifts within repeat clean/wipe cycles.
Cons: if you over-wet, grease can smear outward and look larger.
- Water ring / hazy halo
-
Best first step: pH-neutral cleaning plus controlled drying; then a hardwood-specific spot remover only if the ring remains.
Pros: often improves once residual film is removed.
Cons: aggressive scrubbing can dull the surface and make the halo more visible.
- Tannin / organic discoloration
-
Best first step: clean thoroughly, then use a product intended for tannin/organic stains on hardwood if your manufacturer supports it.
Pros: can lighten if the pigment is still at the surface layer.
Cons: if pigment is trapped under the finish, cleaning won’t fully erase it.
From my experience troubleshooting real kitchen and dining-room floors, the biggest “failure mode” is repeating only one approach (like more water-based cleaning) on an oily stain—oil can spread under the finish layer and create a larger, duller smear.
What can go wrong (and how to avoid it)
Most problems happen when homeowners unintentionally shift from cleaning to “finish damage.” The safest way to avoid this is to control water, avoid incompatible chemicals, and stop when you see the finish reacting.
– Over-wetting the floor: letting moisture pool around seams or under edges can cause swelling/crowning and lingering haze.
– Using the wrong products: vinegar, steam, and abrasive cleaners can damage certain finishes or leave a film that makes stains look worse.
– Scrubbing too hard: aggressive brushing can leave surface scratches that later catch grime.
– Trying one method repeatedly without adjusting: if the stain is oily, a water-based approach may just spread it—match the treatment to the stain type.
– Unclear finish or recent work: if the floor is newly finished, refinished, or waxed, follow the coating’s curing/maintenance instructions before deep cleaning.
Three practical “stop signs” you should watch for:
1) Finish dulling: if the sheen changes during spot treatment, stop and reassess.
2) Lightening/whitening around the spot: can indicate trapped residue, finish incompatibility, or uneven moisture exposure.
3) Cupping or edges lifting: if you see any movement after damp cleaning, halt and address underlying moisture conditions first.
Also, be careful with steam. According to Bona, steam cleaning isn’t recommended for hardwood finishes because heat and moisture can harm floors (n.d.). As of 2026, this remains a common manufacturer theme across many sealed-hardwood care instructions.
Verdict: a practical approach that works—when it’s safe
If you want the best chance of removing food stains without harming hardwood, use the “dry remove → pH-neutral deep-clean pass → targeted spot treatment” workflow. This approach is usually safer than experimenting with strong chemicals, and it limits how much water touches the floor.
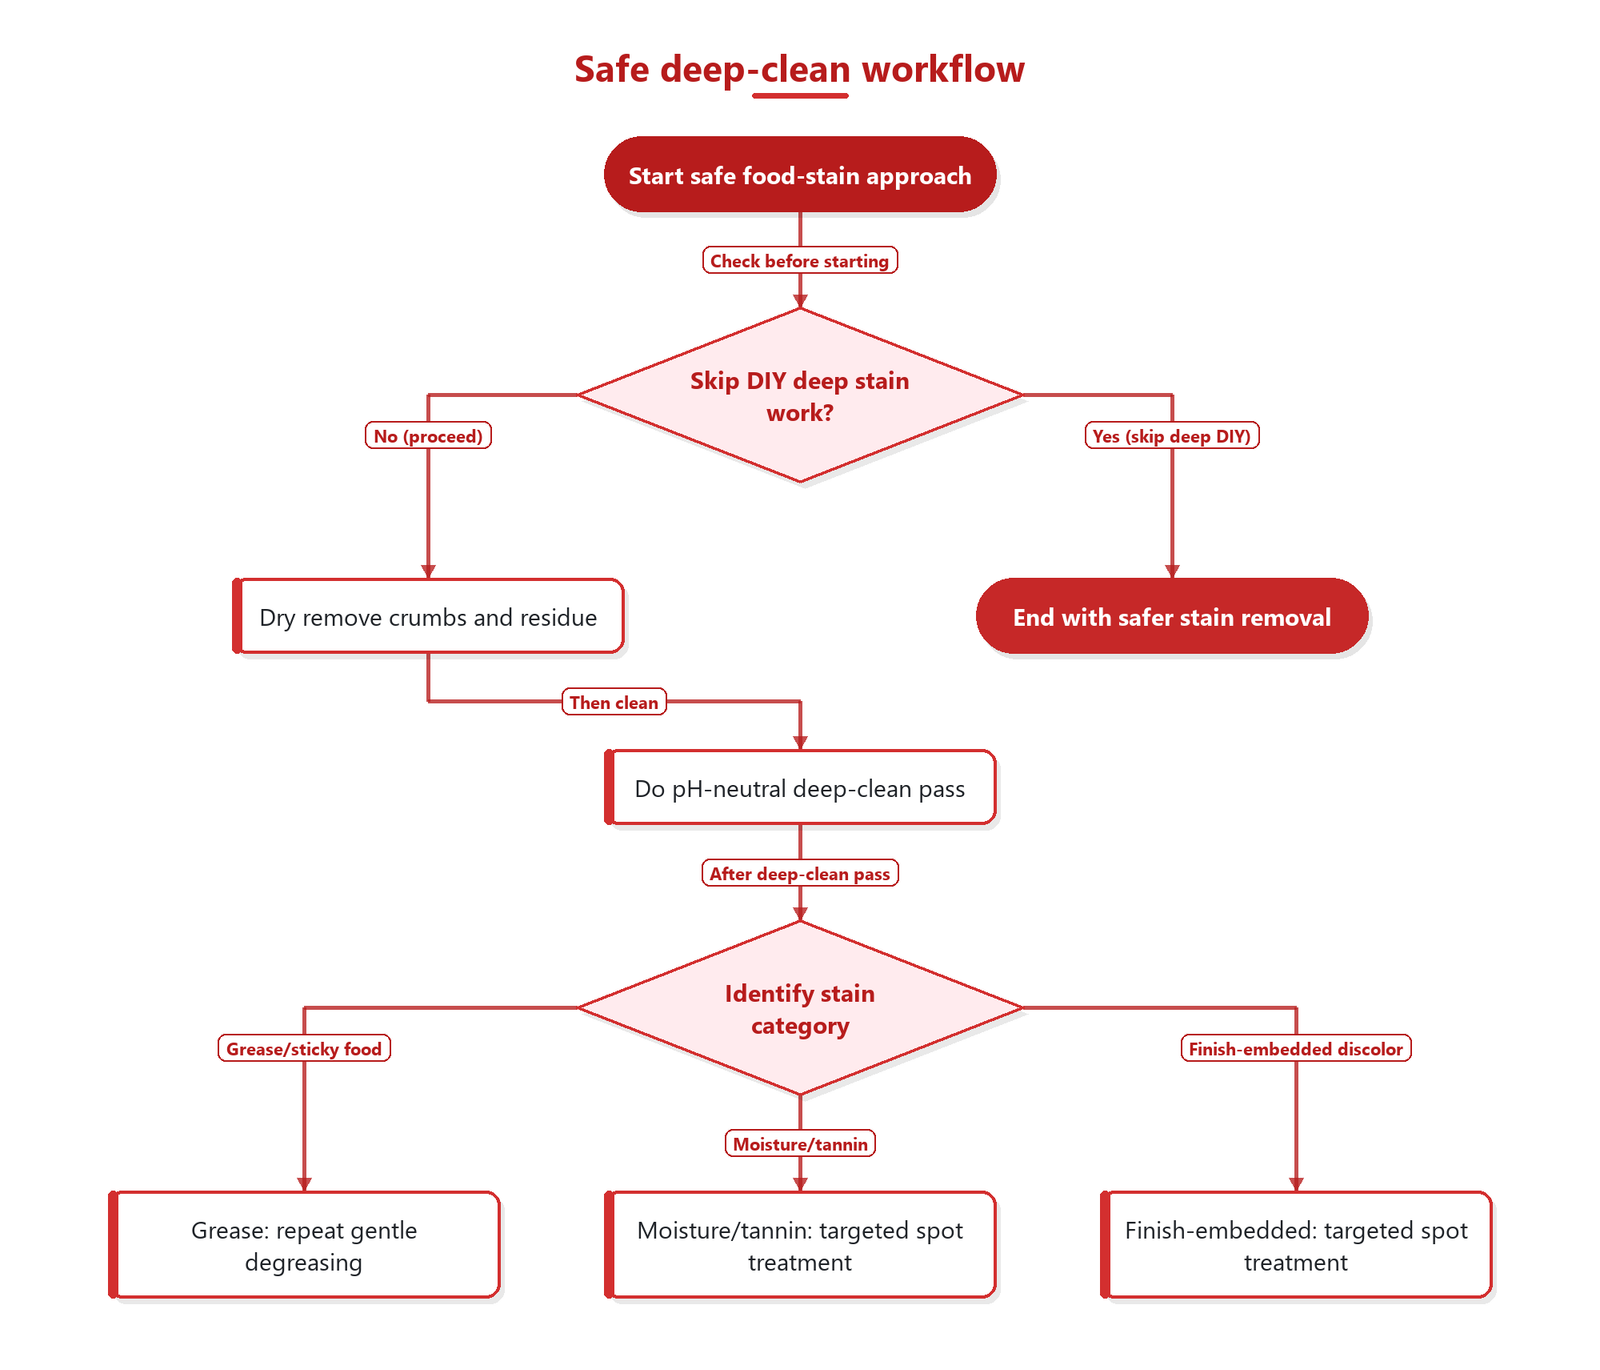
Skip deep DIY stain work if:
– You have a waxed/penetrating-oil finish and can’t confirm what your manufacturer recommends.
– The floor has visible cupping, lifting seams, or active moisture issues underneath.
– The stain appears to be embedded under the finish (you’ve tried appropriate cleaning/spot methods with no improvement).
Quick checklist (scan before you start)
| Step | Do | Don’t |
|---|---|---|
| Before cleaning | Dry-dust/vacuum crumbs first | Rub residue into the wood |
| Cleaner choice | Use a pH-neutral hardwood cleaner labeled safe for your finish | Use vinegar/abrasives/unknown solvents |
| Applying cleaner | Put cleaner on microfiber; wring well | Flood the floor or spray directly |
| Scrubbing | Gentle agitation in small sections | Scrub hard or use scouring pads |
| After cleaning | Wipe clean and dry thoroughly | Leave moisture to evaporate on its own |
| Stain treatment | Use a hardwood-safe spot product and follow label directions | Guess with DIY chemicals when finish is unknown |
Sources
– National Wood Flooring Association (NWFA) — hardwood floor cleaning and maintenance guidance (follow manufacturer-safe, low-moisture cleaning principles).
– Bona — manufacturer instructions for hardwood floor cleaning (use pH-neutral cleaners; avoid steam and excess water).
If the stain isn’t fully lifting after careful pH-neutral cleaning and a finish-safe spot treatment, the safest “next move” is to stop before you damage the surface—because once the finish is affected, refinishing may be the only true repair.
Frequently Asked Questions
What’s the best way to deep clean hardwood floors after food spills?
Start by removing any residue with a dry, soft cloth, then wipe the area with a slightly damp microfiber mop using warm water and a small amount of hardwood floor cleaner. For food stains, apply the cleaner to the stain directly and let it sit briefly before gently scrubbing with a non-abrasive pad. Rinse with a lightly damp cloth (avoid soaking), then dry thoroughly to prevent water damage.
How do I remove dried food stains from hardwood without damaging the finish?
Dried food stains often require gentle, staged cleaning: rehydrate the spot with a damp microfiber cloth for a few minutes, then use a pH-neutral hardwood cleaner. Gently work from the outside of the stain inward using a soft brush or cloth—avoid steel wool and harsh abrasives. If the stain remains, repeat with a slightly stronger method like a small amount of cleaner on a cloth, then dry completely.
Why do food stains leave marks on hardwood floors, and how can I prevent them?
Food spills can penetrate tiny gaps in the finish or absorb into the wood if they’re left to dry, causing discoloration. Grease-based foods can leave sticky residues that attract more dirt during daily cleaning. To prevent staining, wipe spills immediately, use a microfiber mop, and avoid excess moisture—spot-treat with a proper hardwood floor cleaner and dry right away.
Which cleaning solution is safest for deep cleaning hardwood floors with stubborn food stains?
Use a pH-neutral, manufacturer-approved hardwood floor cleaner, since acidic or harsh chemicals can dull or damage the finish. For sticky or oily food stains, choose a cleaner designed for hardwood that cuts grime without soaking the wood. Avoid vinegar, ammonia, and steam mops unless your floor’s finish specifically allows them, because they can worsen staining or create dull spots.
How do I deep clean and deodorize hardwood floors after removing food odors and stains?
After stain removal, wash the area with a pH-neutral hardwood cleaner to eliminate remaining food oils and residue that can cause lingering smells. Follow up with a clean, lightly damp cloth to remove any cleaner buildup, then dry thoroughly with towels and airflow. If odor persists, lightly mist the area with water on a cloth (not directly on the floor), blot dry, and repeat as needed to avoid over-wetting the hardwood.
📅 Last Updated: October 31, 2026 | Topic: How to deep clean hardwood floors to remove food stains? | Content verified for accuracy and freshness.
References
- 404 Error
- 404 Error
- https://www.brucefloor.com/learning-center/how-to-clean-hardwood-floors/
- https://www.britannica.com/technology/wood-flooring-care-and-maintenance
- https://scholar.google.com/scholar?q=deep+clean+hardwood+floors+food+stains Google Scholar
- https://scholar.google.com/scholar?q=hardwood+floor+stain+removal+sealed+finished+wood+vinegar+hydrogen+peroxide Google Scholar
- https://scholar.google.com/scholar?q=wood+flooring+care+deep+cleaning+techniques+to+avoid+damage+stains Google Scholar
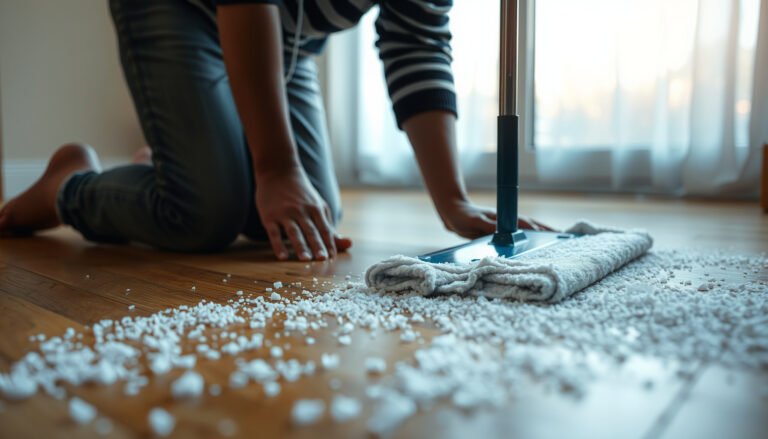

[…] This article walks you through what to prepare—distilled white vinegar (properly diluted) or a pH-neutral wood cleaner, microfiber cloths, and clean water—for safe spot cleaning and careful residue removal. In most […]