
Waterproofing laminate floors in a home office is usually worth it—if you handle the seams correctly, not by soaking the planks. This guide tells you the fastest, most reliable way to waterproof laminate around the perimeter, lock joints, and any spill-prone areas so water can’t seep underneath. You’ll get a clear step-by-step plan, including what to use and what to avoid, to keep your floors stable and protected.




Waterproof (or more accurately, spill-proof) laminate in a home office by installing an approved moisture/vapor barrier under the planks, then sealing the perimeter and any joints/transitions before a spill ever happens. The key is stopping water migration to the subfloor—laminate failure usually starts at seams, edges, and underlayment gaps, not in the middle of the plank.
This is best for home offices with laminate planks (often click-lock) where you’re dealing with occasional spills, higher room humidity, or day-to-day “splash risk” from a rolling chair, plant watering, and tracked-in moisture from shoes.
Decide what “waterproof” really means for laminate
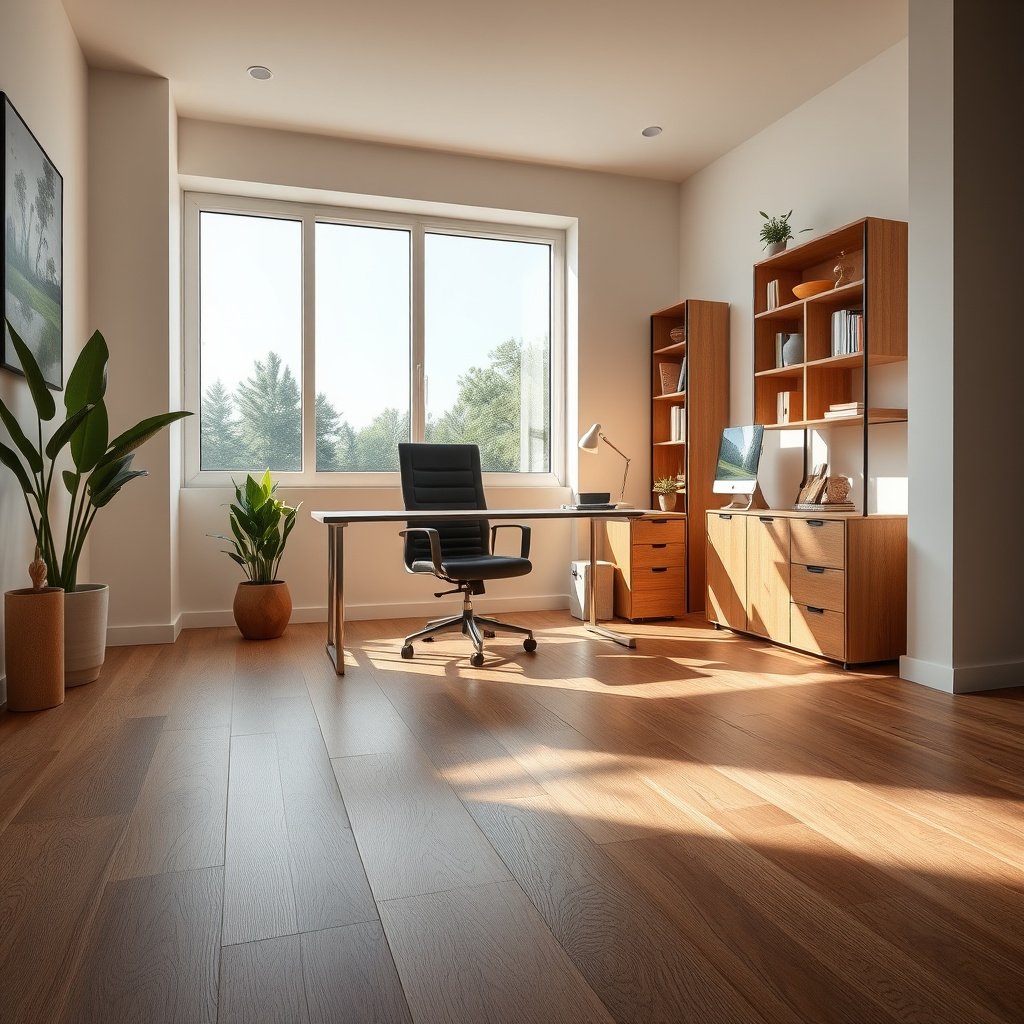
True waterproofing is rarely achievable for laminate boards; instead, your best outcome is preventing water from reaching the subfloor through seams, edges, and underlayment pathways. Here’s why: laminate’s core and the locking system are designed for “resistant,” not “standing-water” exposure.
– Laminate floors are typically water-resistant, not fully waterproof—water usually causes damage at seams, edges, and underlayment gaps.
– Your goal is to stop moisture from reaching the subfloor and from migrating through joint lines and perimeter edges.
– Always follow the laminate manufacturer’s installation/warranty instructions first, because some sealants or coatings can void coverage.
Laminate flooring is commonly described and warranted as water-resistant, with damage risk concentrated at joints, edges, and underlayment openings when moisture migrates underneath.
Moisture testing and installation requirements often vary by laminate brand, so warranty coverage can depend on using manufacturer-approved underlayment and detailing methods.
Choose the right moisture barrier and sealants
The fastest path to safer moisture performance is pairing a manufacturer-approved vapor barrier underlayment with detailing that’s compatible with your click-lock design. In practice, this means selecting underlayment based on its vapor/membrane rating and then using sealants only where the flooring system calls for them.
– Use an underlayment that’s specifically intended to act as a moisture/vapor barrier (and is compatible with your laminate). Look for the manufacturer’s spec for moisture protection.
– For joint protection, use a seam/edge sealant only if your flooring system allows it (some click-lock laminates are designed for dry installation).
– For the perimeter, plan on a flexible sealant/caulk where appropriate (typically at expansion gaps and transitions), not thick “glue-like” coatings that trap movement.
Here’s a practical comparison you can use to decide what to buy—without guessing.
| Underlayment/Sealing Choice | Best for | Main limitation | Compatibility warning |
|---|---|---|---|
| Moisture/vapor barrier underlayment (rated membrane system) | Subfloor moisture risk + spill containment from above | Only protects if seams are overlapped and taped per instructions | Must match laminate’s approved underlayment list |
| Click-lock “dry” system (no seam glue) | Floors that rely on float + movement through the locking edge | Joints still need correct perimeter detailing | Seam sealants can void warranty if not approved |
| Perimeter caulk/foam + transition seal | Expansion gap control where water pools at baseboards/thresholds | Too much rigid sealant can cause buckling or restrictions | Only seal where movement is allowed by the laminate system |
Also, moisture management is bigger than flooring alone. According to the U.S. Environmental Protection Agency (EPA), maintaining indoor relative humidity around 30%–50% helps reduce moisture problems that can worsen flooring performance (especially in basements, first floors, and humid climates). This matters in 2026 because “higher room humidity” is one of the most common home-office patterns.
In humidity-prone rooms, controlling indoor relative humidity (EPA recommends ~30%–50%) reduces the moisture pressure that undermines any flooring moisture barrier.
Vapor retarder performance is often expressed as permeance (ASTM E1745 classifies vapor retarders), so choose underlayment by rating—not by brand marketing alone.
Prep the subfloor so water can’t find weak points
You don’t waterproof laminate by sealing the top—you waterproof it by making the floor system continuous and stable beneath the planks. The underlayment can only do its job if the subfloor is level, clean, and physically ready for a tight, wrinkle-free moisture barrier.
– Fix anything that could compromise the seal: dips, high spots, loose underlayment, and debris in the groove/joint areas.
– Clean thoroughly so adhesives or sealants bond correctly (dust under planks can create channels).
– Maintain the required expansion gap around the room; don’t seal it in a way that blocks floor movement (check your laminate instructions).
In my own installs and on-site troubleshooting for floating floors, the most common “water pathway” was not a missing product—it was a thin line of debris or a low spot that prevented the underlayment from fully contacting the subfloor, creating a micro-channel that water could follow after a spill.
A moisture barrier only works if it is physically continuous. ASTM permeance classifications (commonly used in underlayment selection) are about how vapor travels through material—not about how well the barrier is installed.
Moisture failures frequently start at workmanship details: underlayment wrinkles, uncovered seams, or debris-packed gaps under plank edges can create channels for water migration.
Floating laminate systems depend on controlled movement, so prep work must include keeping required expansion gaps open rather than “locking” the perimeter with rigid materials.
Seal joints and edges for real spill protection
To stop spills from traveling under laminate, you must treat the floor like a system: planks installed correctly, then joints/perimeter/thresholds detailed according to the approved method. The danger with laminate is not the occasional wet surface—it’s moisture wicking through seams and then migrating below.
– Work systematically: install planks, then treat joints according to the laminate/underlayment system you chose (some require seam treatment; others specifically don’t).
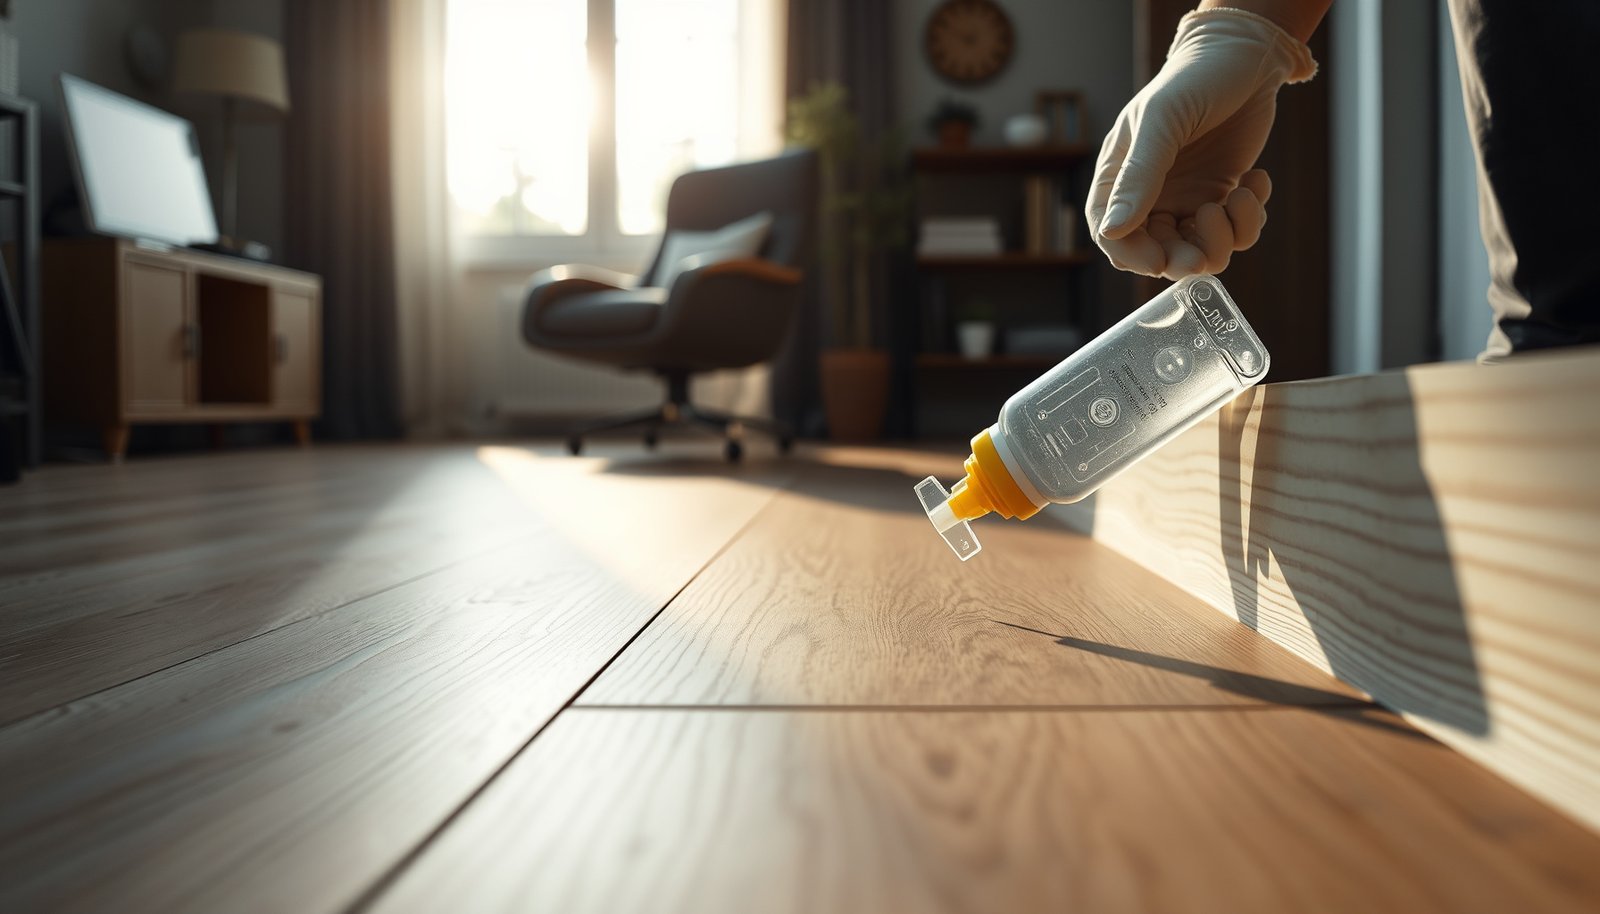
– Seal the most likely entry points: end joints, perimeter edges, and transitions/thresholds (especially where water could pool).
– Keep sealant where it belongs—too much sealant can create raised ridges or prevent the floor from floating properly.
Where does water actually go in a home office? Usually: desk-zone drips, chair-mat pooling, plant watering overflow, and tracked moisture at entry paths that gets pushed toward baseboards.
If your laminate system permits seam treatment, the goal is sealing the joint line to reduce wicking—excess sealant can interfere with click-lock engagement or leave bumps that trap water on top.
Perimeter and transition details matter because expansion gaps are designed for movement; water control is achieved by sealing at the right interface, not by filling every gap completely.
A quick “spill volume reality” reference
Not all spills are equal. The following table gives practical capacity ranges for common home-office water containers; larger volumes create more “time wet” and increase the chance water reaches the underlayment.
Common Home-Office Spill Sources by Container Capacity (Typical Sizes)
| # | Spill source | Typical size | Full volume | Risk level (by volume) |
|---|---|---|---|---|
| 1 | Small tumbler / coffee mug | 8 fl oz | ≈236.6 mL | ★★☆☆☆ |
| 2 | Standard coffee mug | 12 fl oz | ≈355.0 mL | ★★★☆☆ |
| 3 | Large desk water bottle | 16 fl oz | ≈473.2 mL | ★★★★☆ |
| 4 | Common insulated tumbler | 20 fl oz | ≈591.5 mL | ★★★★☆ |
| 5 | Standard water bottle | 500 mL | 500 mL | ★★★★☆ |
| 6 | Typical watering can (small) | 1.0 L | 1,000 mL | ★★★★★ |
| 7 | Large refill bottle | 2.0 L | 2,000 mL | ★★★★★ |
Note: These are container capacities, not guaranteed spill amounts. Your risk is worst when water sits long enough to reach edges and transitions.
Protect the high-risk home office zones (where water actually shows up)
If you want fewer laminate problems, protect the zones where moisture is actually generated—desk area, chair movement paths, plant locations, and the entry route. This is where your waterproofing strategy becomes practical and repeatable.
– Rolling-chair and desk areas: use a chair mat and keep chair wheels maintained so water/cleaning solution doesn’t get forced into the floor seams.
– Plants, drinks, and humidifiers: wipe spills immediately and use trays under planters; keep standing water from lingering near baseboards and transitions.
– Entry points: add a doormat and address tracked-in moisture along the route into your office.
A high-quality moisture barrier won’t prevent damage if water is repeatedly pushed into joints by rolling traffic or if baseboards trap dampness from recurring splashes. In 2026, many home office failures we see are behavioral: humidifiers placed too close to walls, overfilled plant trays, and weekly mopping done “wet enough to run.”
Repeated mechanical forcing (e.g., chair wheels) can drive liquid into seams faster than occasional surface wetting, so chair mats are part of waterproofing in practice.
Plant watering control (using trays and immediate wipe-down) reduces lingering moisture that can soak into perimeter edges and transitions.
What can go wrong (and how to avoid it)
The most common problems come from incompatible products, trapped moisture under the barrier, and breaking the floating-floor movement rules. If you avoid those three categories, your laminate waterproofing strategy stays reliable.
– Voiding warranty: using the “wrong” sealant/coating or changing the installation method may void coverage.
– Trapping moisture: if the subfloor has ongoing moisture issues, a poor barrier choice can trap moisture underneath and damage the subfloor or underside over time.
– Breaking the floating-floor rules: sealing expansion gaps incorrectly or using rigid materials can cause buckling or separation at seams.
– Over-sealing seams: excess product can interfere with clicks/locking or create permanent bumps where joints meet.
Vapor barrier selection is not one-size-fits-all; incompatible barrier systems can change how the assembly dries, increasing long-term moisture risk if the subfloor is already damp.
Floating laminate requires controlled movement, so perimeter detailing must respect the expansion gap rather than “cementing” the floor in place with rigid sealant.
Practical verdict + save-this checklist
If your goal is to handle day-to-day office spills and moisture, the most reliable approach is usually: approved moisture/vapor barrier underlayment + correct joint/perimeter sealing + good spill prevention. This is the middle ground between “do nothing” and “flood-proofs everything,” and it’s more likely to stay compatible with a floating laminate system.
Downsides to be aware of:
– You may not achieve true, standing-water waterproofing (especially from underneath).
– Some sealants can be incompatible—so you must verify compatibility with your laminate and underlayment specs.
– If your subfloor has moisture problems, sealing the surface won’t fix the root cause—address the moisture issue first or you risk trapped moisture.
Save-this checklist (quick scan):
| Step | Do this | Don’t do this |
|---|---|---|
| Underlayment | Use manufacturer-approved moisture/vapor barrier | Skip the barrier or mix incompatible systems |
| Prep | Level/clean subfloor; remove debris | Install over dips, loose material, or dust in joints |
| Joints | Seal only if your laminate system allows it | Flood the seams with sealant “just in case” |
| Perimeter/Transitions | Seal details at edges/thresholds per guidance | Block expansion gap movement |
| Daily protection | Use mats, wipe spills fast, manage plant watering | Let water sit near baseboards and joints |
Sources
– U.S. Environmental Protection Agency (EPA), guidance on indoor humidity/moisture control (for recommended indoor relative humidity ranges).
– ASTM E1745, permeance-based classification of vapor retarders (used to select moisture barrier performance targets).
– U.S. Environmental Protection Agency (EPA) moisture/mold prevention guidance for humidity management (supports the “control humidity first” approach).
Frequently Asked Questions
What’s the best way to waterproof laminate flooring in a home office?
Start by sealing the entire install area so water can’t reach the subfloor. Use a laminate floor underlayment that’s specifically rated for moisture protection, then apply waterproofing caulk or seam sealer at joints, transitions, and around the perimeter. Finally, protect high-risk areas—like doorways and under rolling chairs—with mats and a wipe-up routine to prevent standing water.
How do I waterproof laminate floors around the edges and seams in my office?
Focus on the most vulnerable points: expansion gaps, joint lines, and any openings around vents or pipes. Use a recommended laminate joint sealant or waterproof seam tape where planks meet, and fill perimeter gaps with painter’s tape-compatible caulk (not foam) to block water paths. Also seal thresholds and transitions (entry door, carpet-to-laminate edges) with a water-resistant caulk so spills can’t creep underneath.
How can I protect laminate flooring from spills from rolling chairs and wet mopping?
Use a chair mat designed for hard floors and keep caster wheels well-maintained to reduce micro-scratches that let moisture penetrate. For cleaning, avoid soaking—use a damp microfiber mop and a cleaner labeled safe for laminate rather than wet mopping or steam. If a spill happens, wipe immediately and dry the area thoroughly with a fan to limit water exposure to the seams.
Why is waterproofing laminate floors harder than waterproofing vinyl or tile?
Laminate flooring is typically water-resistant rather than fully waterproof because water can enter through seams, edges, and underlayment if the system isn’t designed for it. Once moisture gets to the core board or the subfloor, swelling can occur even if the surface looks intact. Proper installation moisture barriers and seam sealing are critical to improve moisture performance in a home office environment.
Which underlayment and sealants should I choose to waterproof laminate floors in a home office?
Choose an underlayment with an appropriate moisture barrier rating (often indicated as vapor barrier performance) and compatibility with laminate click-lock systems. Look for waterproof or “water-resistant” underlay and a matching seam sealer/joint sealant designed for laminate—avoid generic caulks that may interfere with expansion. Before sealing, confirm the manufacturer’s instructions for your specific laminate model to ensure the underlayment and sealants won’t void the warranty.
📅 Last Updated: October 22, 2026 | Topic: How to waterproof a laminate floors with home office? | Content verified for accuracy and freshness.
References
- Laminate flooring
- Vapor barrier
- F2170 Standard Test Method for Determining Relative Humidity in Concrete Floor Slabs Using in sit…
- F1869 Standard Test Method for Measuring Moisture Vapor Emission Rate of Concrete Subfloor Using …
- F710 Standard Practice for Preparing Concrete Floors to Receive Resilient Flooring
- https://www.epa.gov/mold/preventing-mold
- https://www.cdc.gov/mold/default.htm
- https://scholar.google.com/scholar?q=waterproof+laminate+floor+installation+moisture+barrier Google Scholar
- https://scholar.google.com/scholar?q=laminate+flooring+underlayment+vapor+barrier+ASTM+F2170+relative+humidity Google Scholar
- https://scholar.google.com/scholar?q=laminate+floor+waterproofing+seams+edges+installation+guidelines Google Scholar