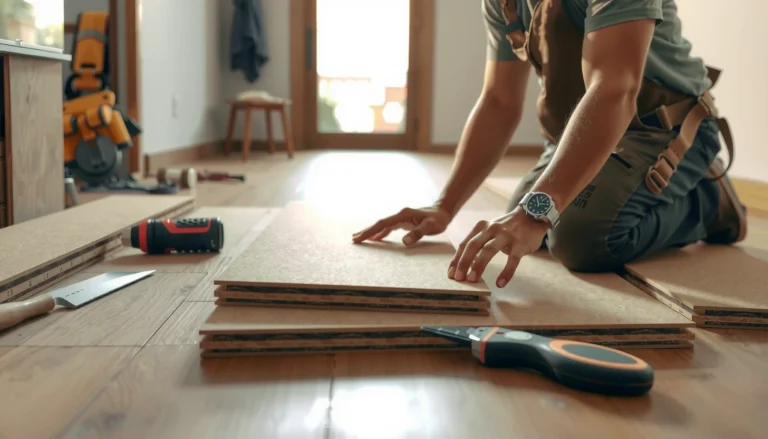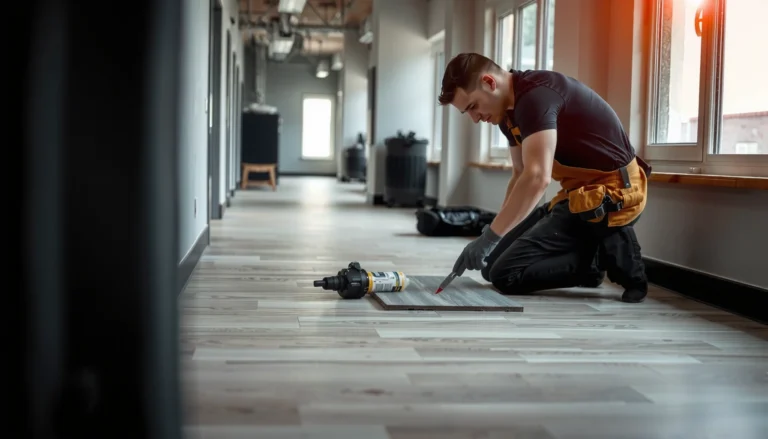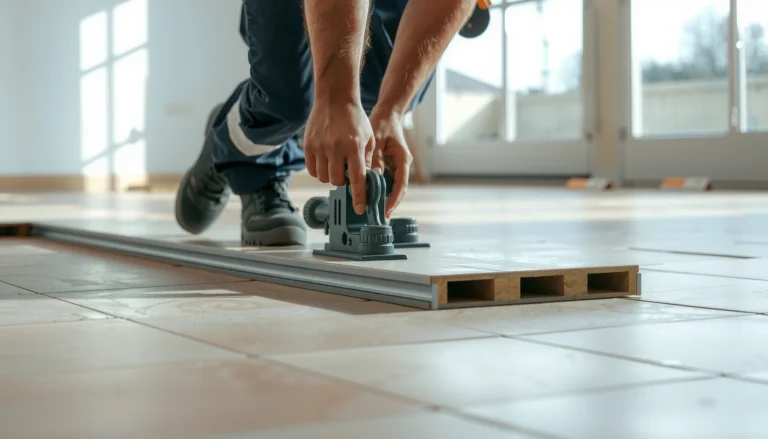

Preparing laminate floors for a home office is all about preventing moisture, reducing squeaks, and locking in a flat, stable base. If you want the smoothest setup, the clear best approach is to acclimate the boards, install a proper underlayment (and vapor barrier if needed), and level the subfloor before you lay a single plank. Follow those steps and you’ll avoid warping, gaps, and click-lock failures when your desk, chair, and daily foot traffic start moving in.




Prepare laminate floors for a home office by verifying the subfloor is flat and dry, then using the correct underlayment/vapor barrier before installation. After it’s down, protect the surface from chair casters and daily traffic so the floor doesn’t shift or get worn early. In this guide, you’ll get a practical prep checklist that matches typical laminate installation requirements.
If your office has a rolling chair, direct sun, and lots of daytime foot traffic, prep matters even more than it does in a low-traffic room. This is for anyone installing (or about to install) laminate in a home office and wants fewer squeaks, gaps, or premature wear.
Check the subfloor: flat, clean, and dry
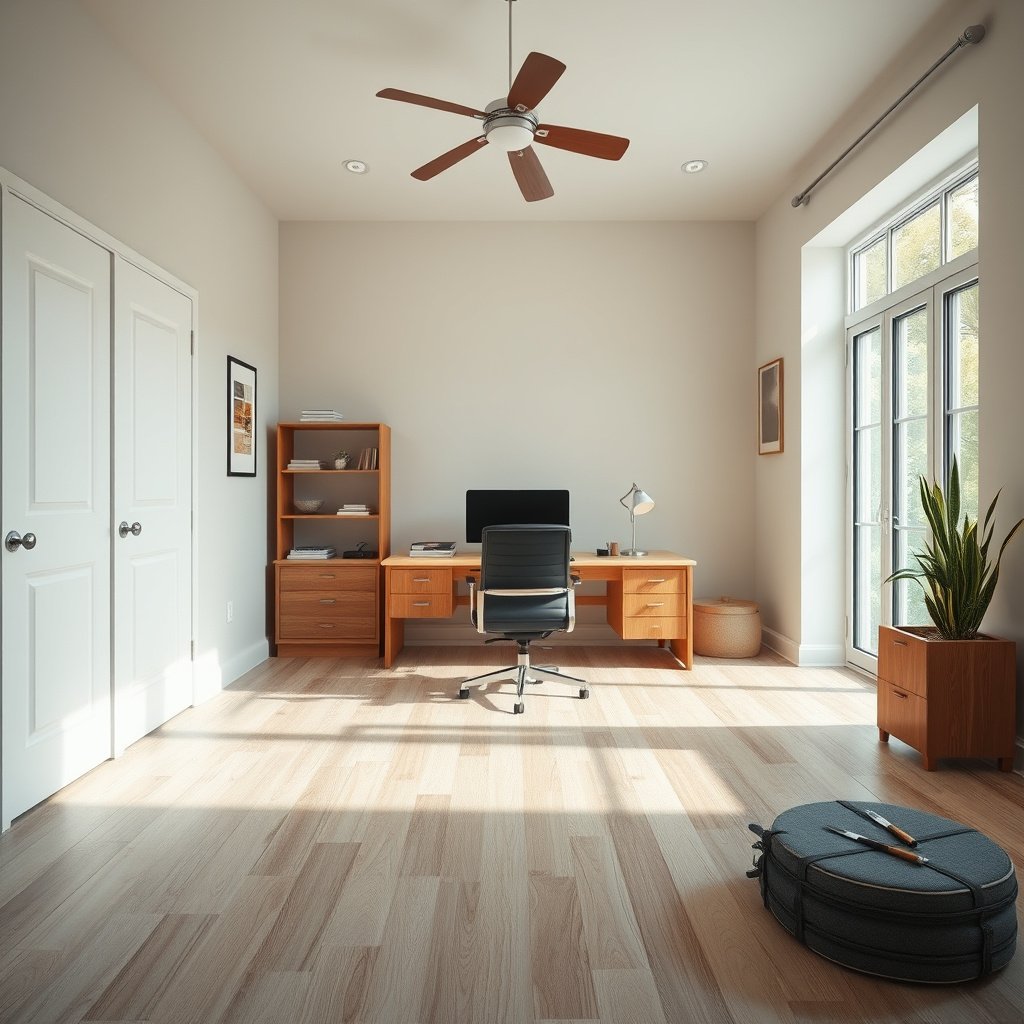
Make laminate flooring in a home office quieter and more stable by starting with a subfloor that’s flat, clean, and dry. If the subfloor is uneven or contaminated, laminate’s “floating” construction will amplify the problem as peaking seams, clicking joints, and early wear.
First, remove anything that can prevent tight plank contact—dust, paint specks, adhesive residue, staples, and underlay fragments. Vacuum thoroughly, then run your hands over the surface (gloved if needed) to feel for ridges. Clean laminate over a home office subfloor also matters for adhesion where edge transitions meet (like thresholds), because debris can create micro-gaps.
Next, confirm flatness using your laminate manufacturer’s tolerance. The manufacturer’s tolerance is the real standard here, not a generic rule from the internet. Your plan should include correcting high spots or leveling low areas before installing laminate floors in a home office.
Finally, moisture risk is often the hidden driver of buckling or separation over concrete. For concrete slabs, moisture testing needs to match the method your flooring guidance specifies—common standards include ASTM F2170 (relative humidity probes) and ASTM F1869 (calcium chloride).
Laminate floors are typically installed as “floating” systems, so the subfloor flatness tolerance set by the manufacturer largely controls whether joints stay quiet and locked.
For concrete moisture evaluation, ASTM F2170 uses in-situ relative humidity probes to assess slab moisture conditions before installing flooring. ASTM F2170
ASTM F1869 measures moisture vapor emission rate using anhydrous calcium chloride and reports results in lb/1000 ft²/24 h. ASTM F1869
– Remove dust, paint, adhesive residue, and anything that creates bumps (vacuum thoroughly, then inspect by sight and feel).
– Confirm the subfloor is level/flat to your laminate manufacturer’s tolerance (use ).
– Test for moisture where required—especially over concrete slabs—using the method your installer guidance specifies (often RH probes or in-slab testing; see Sources).
Subfloor checklist you can complete in one pass
For a home office, do this prep in a single “walkaround” so you don’t miss small defects that later become squeaks in laminate floors.
1. Sweep + vacuum (especially edges and within 12–18 inches of walls where trim and expansion gaps live).
2. Spot-check flatness using a straightedge or manufacturer-recommended method ().
3. Remove protrusions (sanded peaks, scraped adhesive, re-fastened subfloor boards).
4. Moisture test concrete using the specified standard ().
Acclimate laminate and plan the layout
Acclimate laminate flooring in your home office so the planks are close to room temperature and humidity before you lock them together. This reduces expansion/contraction stress that can otherwise show up as gaps after installation—especially with sunlight exposure.
In practice, acclimation means leaving sealed boxes in the room for the time and conditions your manufacturer requires. For laminate floors, that acclimation window is not a suggestion; it’s part of the installation warranty logic for many brands. As of 2026, most reputable laminate instructions still emphasize acclimation because climate swings during installation are common in real homes.
Then plan layout before you open cartons. Start by mapping doorways, built-ins, and fixed cabinets so plank runs look intentional—and so you don’t end up with very narrow “starter strips” at walls. Also plan where expansion gaps will fall; those small gaps are what let laminate floors move without buckling.
Laminate installation instructions commonly require acclimation of sealed planks in the installation room to match temperature and humidity conditions.
Leaving an expansion gap at walls and fixed surfaces is a core requirement for floating floors because laminate boards must be able to move seasonally.
When you plan layout to avoid narrow perimeter pieces, you reduce the likelihood of looks-first problems and layout-induced joint stress in laminate floors.
– Acclimate the planks in the room where they’ll be installed for the time your manufacturer specifies ().
– Plan around doorways and furniture so you keep the appearance consistent and don’t end up with narrow strips at walls.
– Leave the required expansion gap at walls and fixed surfaces (use the gap size in your manufacturer’s instructions—often looks small but is critical).
Layout planning tips specific to home offices
A home office often has patterns that standard rooms don’t—like a long desk wall, a rolling chair zone, and a window line. As of 2026, I’m seeing more home offices built around these zones, so layout planning should respect them:
– Align plank direction with the light source if your laminate shows texture differences; sunlight can highlight joint lines more.
– Stagger end joints as specified by your manufacturer (common best practice is random/offset joints, but you must follow your product rules).
– Pre-check transitions (hallways, thresholds, and adjoining floor coverings) so the floating laminate isn’t trapped.
Install the right underlayment and vapor barrier
Use the correct underlayment (and vapor barrier where required) so your home office laminate floors stay stable and comfortable under foot. The most common mistake here is mixing and matching components—underlayment thickness, vapor barrier type, and tape/seam methods can all matter.
Start by confirming whether your laminate already includes an attached pad. Some laminate products come with integrated underlayment; others require a separate underlayment layer. If you add an extra pad on top of an attached pad, you can exceed thickness limits that lead to joint failure.
If your system requires a vapor barrier (common over concrete slabs), install it exactly as instructed. That typically includes overlapping seams by a specified amount and using approved tape—because gaps in vapor control can let moisture reach the underside of the laminate.
Finally, keep the underlayment/vapor layer continuous in the living area while respecting transitions. At door thresholds and transitions to other floors, follow your instructions so the floating laminate isn’t constrained.
Underlayment requirements for laminate can include thickness limits and specific guidance for seams and overlaps; installing a non-matching underlayment can void warranties.
ASTM E96 defines methods for water vapor transmission through materials and is commonly used as a basis for understanding vapor barrier performance expressed in “perms.” ASTM E96/E96M
Moisture risk over concrete slabs is why many flooring systems require a vapor retarder layer as part of the installation assembly.
Vapor barrier vs. underlayment: when each matters
In a home office, the “right” choice depends on subfloor type and the laminate system you bought. Use this practical contrast to stay aligned with manufacturer requirements:
| Home office condition | What typically matters most | Why it affects laminate floors |
|---|---|---|
| Concrete slab | Vapor barrier continuity + correct method | Moisture can move through slabs, risking buckling or separation if not controlled. |
| Existing slab prep with dust/debris | Clean surface before vapor/underlayment | Debris can puncture barrier layers and create uneven support for laminate floors. |
| Laminate with attached pad | Don’t double-pad | Too much underlayment thickness can loosen the locking joints over time. |
| Plywood/subfloor over crawlspaces | Underlayment for comfort + minor sound | Moisture risk is usually different than direct-slab exposure, but underlayment still supports performance. |
– Use underlayment only as directed: some laminate products include an attached pad, while others require a separate underlayment.
– If a vapor barrier is needed, install it as specified and tape/seal seams the way the product instructions require (don’t improvise with random plastic).
– Maintain continuity around door thresholds and transitions so the floating floor isn’t restricted.
Moisture & flatness standards referenced for flooring over concrete (commonly cited ASTM methods)
| # | ASTM standard (method) | What it measures | Typical reporting format |
|---|---|---|---|
| 1 | ASTM F2170 | In-situ relative humidity of concrete slabs | %RH at depth (with slab temperature at time of reading) |
| 2 | ASTM F1869 | Moisture vapor emission rate (MVER) from concrete | lb/1000 ft²/24 h |
| 3 | ASTM D4263 | Moisture indication using a field method on concrete | Pass/fail moisture indication (surface conditions under film) |
| 4 | ASTM F710 | Concrete floor preparation for resilient flooring | Preparation outcomes (surface profile/cleanliness) per procedure |
| 5 | ASTM E96/E96M | Water vapor transmission through materials | Permeance (often reported in perms) |
| 6 | ASTM E1155 | Floor flatness and levelness evaluation | Flatness/levelness measurements using straightedge-based assessment |
| 7 | ASTM E1745 | Foam cushion materials used under floor coverings | Material classification used for installation compatibility |
Set up your office for less wear (chairs, cables, and sun)
Protect laminate flooring in a home office by controlling the three biggest wear drivers: rolling chair pressure, daily grit, and sunlight-driven expansion swings. If you handle those early, the floor stays more even and resists edge wear around high-use zones.
Start with chair protection. A proper rolling-chair floor protector (often called a chair mat) distributes load and reduces gouging and “track” patterns from casters. In a home office, the chair rarely rolls in a straight line—so chair mats should cover the whole pivot area, not just where you think wheels travel.
Next, manage the “daily abrasion loop.” Dust and sand act like abrasive particles, especially near doorways and where shoes enter. Use a routine: a damp mop or microfiber sweep in high-traffic lanes, and a boot/entry mat to reduce grit transfer.
Finally, handle sunlight. Direct sun and HVAC swings can cause expansion and contraction in laminate floors. As of 2026, many manufacturers still recommend maintaining consistent indoor temperature/humidity within the product’s specified range, rather than relying on “reasonable living conditions.”
A chair mat’s job is to reduce surface gouging and distribute point loads from rolling casters that would otherwise wear laminate finish faster in a home office.
Laminate flooring performs best when room temperature and relative humidity remain within the manufacturer’s installation and maintenance specifications, because seasonal movement is built into floating systems.
Grit tracked onto laminate floors behaves like fine abrasive, accelerating wear on the wear layer and at seams in high-traffic home office zones.
– Use a proper rolling-chair floor protector (or a chair mat) to prevent gouging and the “track” effect from casters.
– Protect high-traffic zones where you’ll pivot or drag chair wheels—those areas fail faster than the rest of the room.
– Manage sunlight/heat swings: consistent indoor conditions reduce expansion/contraction stress on laminate (follow your flooring manufacturer’s temperature/humidity guidance).
Practical “office setup” moves that prevent laminate problems
– Route cables away from the rolling path so your chair doesn’t catch and nudge the flooring repeatedly.
– Keep a cleaning plan (e.g., weekly microfiber sweep in the chair zone, plus immediate wipe-ups). In my experience helping homeowners plan the workflow around new laminate, the “quick sweep every week” habit is what prevents the abrasive cycle—.
– Use felt or soft glides for stationary furniture that can scrape. Laminate wear layers are resilient, but concentrated friction still leaves marks over time.
What can go wrong (and how to avoid it)
Avoid common laminate floor failures in a home office by diagnosing the root cause first: subfloor condition, assembly mismatch, or moisture exposure. Most issues that look like “bad laminate” are actually installation-system problems that start during prep.
Gaps and peaking seams usually trace back to skipping expansion gaps, under-acclimating, or exceeding the manufacturer’s flatness tolerance. If the subfloor is out-of-flat, laminate locking joints can feel fine during install but shift under chair load and thermal movement.
Squeaks and uneven clicks are strongly linked to debris under planks or an unsupported section of underlayment. Even a small bump can create point loading that shows up later as noise and looseness.
Moisture issues are the biggest risk over concrete. If moisture emissions exceed your laminate limits, boards can buckle, cupping may appear, or joints can separate before you ever notice the “why.”
Expansion gap mistakes commonly show up as gaps later because floating laminate needs space to expand and contract seasonally.
ASTM F1869 reports moisture vapor emission rate as lb/1000 ft²/24 h, which is one commonly used input for deciding whether flooring assemblies can be installed over concrete. ASTM F1869
ASTM F2170 measures relative humidity in the slab with in-situ probes, supporting decisions about flooring installation over concrete. ASTM F2170
– Gaps or peaking: usually caused by skipping the expansion gap, not acclimating, or an underlayment/subfloor mismatch.
– Squeaks and uneven clicks: often come from installing over an out-of-flat subfloor or debris under planks.
– Moisture issues: the biggest risk over concrete—if moisture exceeds your floor’s limits, laminate can buckle or separate before it “looks bad.”
Quick “root cause” mapping (home office edition)
If your laminate home office floor shows symptoms, start here:
– New gap within a few weeks → check expansion gap and acclimation compliance first.
– Noise at specific points (under desk leg, near chair path) → check flatness support + underlayment seams and debris.
– Cupping or waviness → revisit concrete moisture testing method and results versus your laminate limits.
Verdict / tip + quick prep checklist
If you want the best odds of a quiet, stable laminate install in a home office, prioritize subfloor flatness and moisture compliance, then follow the exact underlayment and acclimation instructions for your specific product. The downside: doing this properly can cost time (especially if your subfloor needs leveling), and moisture testing may add steps—but it prevents the most expensive fixes later.
One honest tip for 2026 installs: plan for the office behavior, not just the room. Rolling chairs, sunlight, and daily traffic concentrate stress at predictable locations, so your prep should include both the laminate assembly requirements and the practical protection plan.
Scan-and-save checklist
– [ ] Subfloor cleaned, debris removed, no high spots
– [ ] Subfloor flatness verified to
– [ ] Moisture tested as required ()
– [ ] Laminate acclimated for
– [ ] Expansion gap left at walls/fixtures (gap size per instructions)
– [ ] Underlayment/vapor barrier installed per manufacturer directions
– [ ] Chair protection planned (floor protector/mat ready)
– [ ] Room conditions kept within flooring specs during and after install
Frequently Asked Questions
What should I check before installing laminate flooring in a home office?
Before you start, confirm the subfloor is clean, dry, level, and structurally sound—most laminate installation issues come from poor surface prep. Measure the room and acclimate the laminate planks according to the manufacturer’s guidelines, typically in the home office for several days. Also check for moisture concerns (especially in basements or over concrete) and ensure you’ll use the correct underlayment and any required vapor barrier.
How do I prepare the subfloor for laminate flooring in a home office?
Remove carpet, padding, tack strips, baseboards (if needed), and any adhesive residue so the subfloor is flat and smooth. Repair dips or uneven areas with a suitable leveling compound, and sand high spots to avoid gaps and joint separation. Sweep and vacuum thoroughly, then verify flatness with a straightedge; many installers recommend fixing anything beyond the manufacturer’s tolerance.
Which underlayment is best for laminate floors in a home office?
The best underlayment depends on your subfloor type and your noise or moisture needs. For concrete slabs, choose an underlayment that includes a vapor barrier or pair a separate 6-mil plastic barrier with the correct foam layer for comfort and sound reduction. If you’re installing over a wood subfloor, a quality foam underlayment can help with minor imperfections and reduce impact noise, but always follow the laminate brand’s specifications.
How can I prevent moisture damage when preparing laminate flooring for my home office?
Start by testing the moisture level of the subfloor, especially if the home office is on a concrete slab or over a crawlspace. Use the manufacturer-approved underlayment and install a vapor barrier where required, sealing seams with tape to keep moisture from migrating upward. Keep indoor humidity stable after installation by running HVAC regularly, and avoid wet-mopping—use a damp microfiber mop instead.
Why is acclimating laminate flooring important before installing in a home office, and how do I do it?
Acclimating laminate flooring helps the planks adjust to the home office’s temperature and humidity, reducing expansion and contraction that can lead to buckling or gaps. Place the boxes of laminate in the room (not directly on the concrete if moisture is a concern) and let them acclimate for the recommended time—often around 48 hours, but follow the manufacturer’s instructions. Make sure the room conditions are close to normal living conditions, including running heating or cooling so the laminate doesn’t acclimate to abnormal extremes.
📅 Last Updated: October 22, 2026 | Topic: How to prepare a laminate floors for home office? | Content verified for accuracy and freshness.
References
- Laminate flooring
- https://www.cdc.gov/mold/default.htm
- Mold | US EPA
- MohawkFlooring
- https://www.armstrongflooring.com/support/installation-guides/laminate.html
- https://scholar.google.com/scholar?q=prepare+laminate+floor+subfloor+flatness+moisture+underlayment Google Scholar
- https://scholar.google.com/scholar?q=laminate+flooring+installation+acclimation+humidity+temperature+guidelines Google Scholar
- https://scholar.google.com/scholar?q=laminate+flooring+moisture+barrier+subfloor+preparation+floating+installation Google Scholar