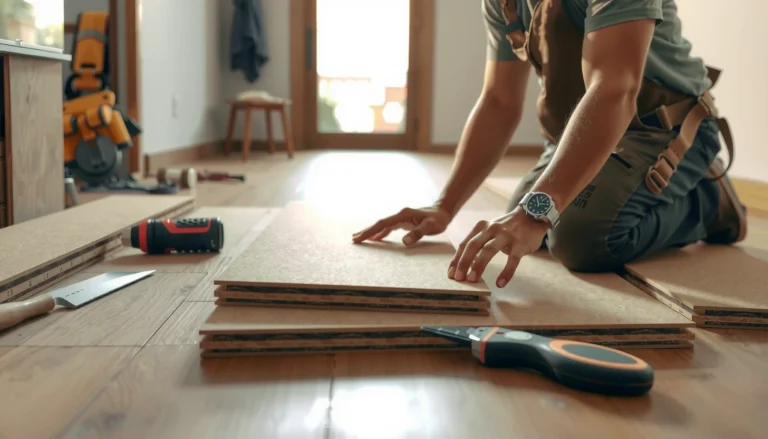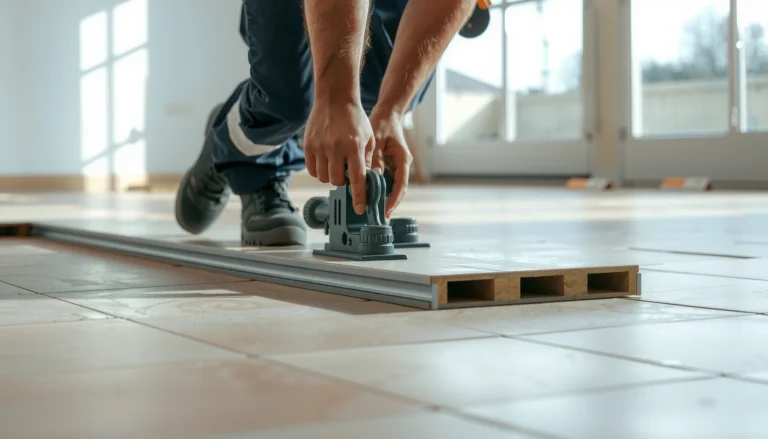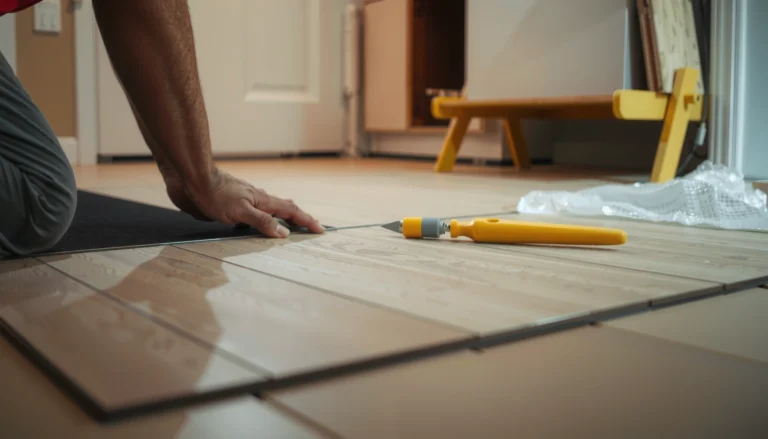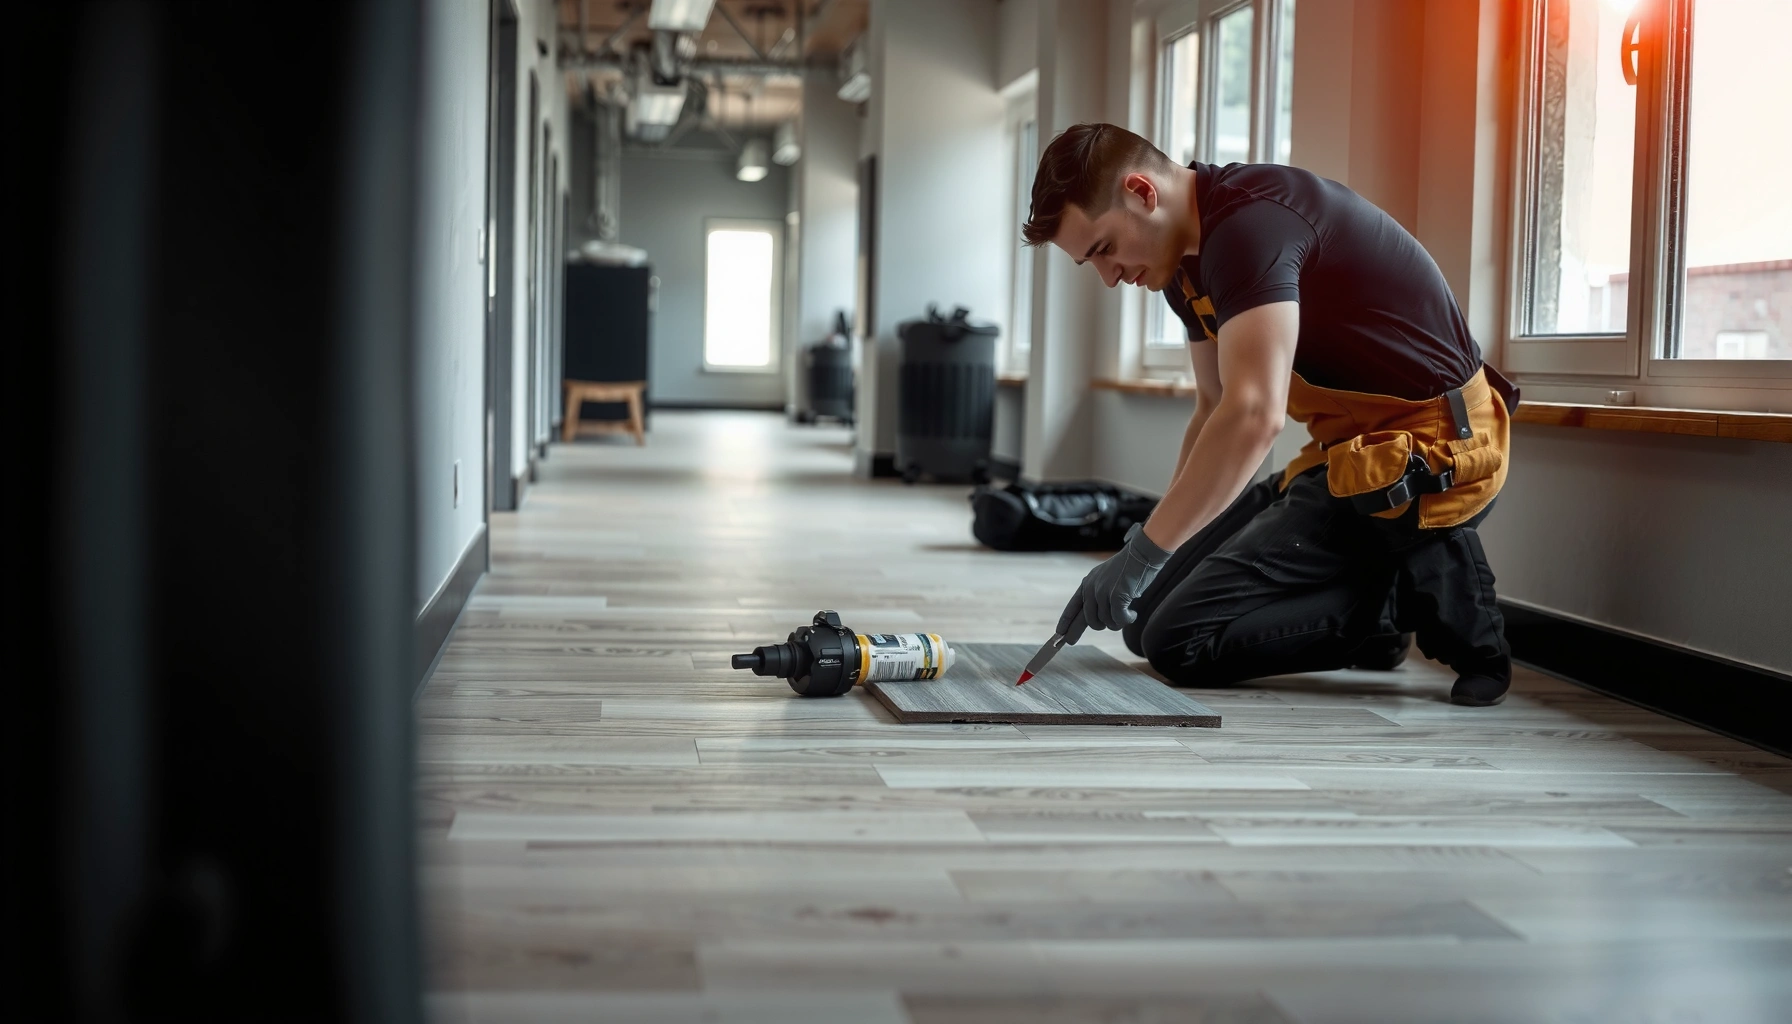

Want to install flooring over plywood commercial floors without guesswork? This step-by-step guide walks you through the exact prep, underlayment/adhesive, and fastener approach that produces a flat, stable surface for commercial-grade results. If your plywood is solid and properly prepared, you’ll get a reliable installation with fewer failures like squeaks, telegraphing, and loose tiles.




If you want a durable commercial floor installed over plywood, the most important priorities are (1) getting the plywood flat and fully fastened and (2) using the exact underlayment/moisture system your finished floor manufacturer specifies. Once those two fundamentals are correct, the rest is straightforward: underlayment goes in correctly, then you install the finished floor using the right method (floating, adhesive, or tile system) and the required edge/expansion details.
If you manage a facility, run flooring crews, or handle DIY for a commercial overlay—especially over existing subfloors where sound control, traffic resistance, and long-term stability matter—this walkthrough is built to help you reduce call-backs by addressing the failure points that show up most often on plywood-based substrates. In 2026, more commercial renovations are using plywood overlays for speed and cost control, but the “save time” risk is skipping flatness and moisture compatibility checks—so this guide focuses on those items first.
Plan the system (flooring type + plywood condition)
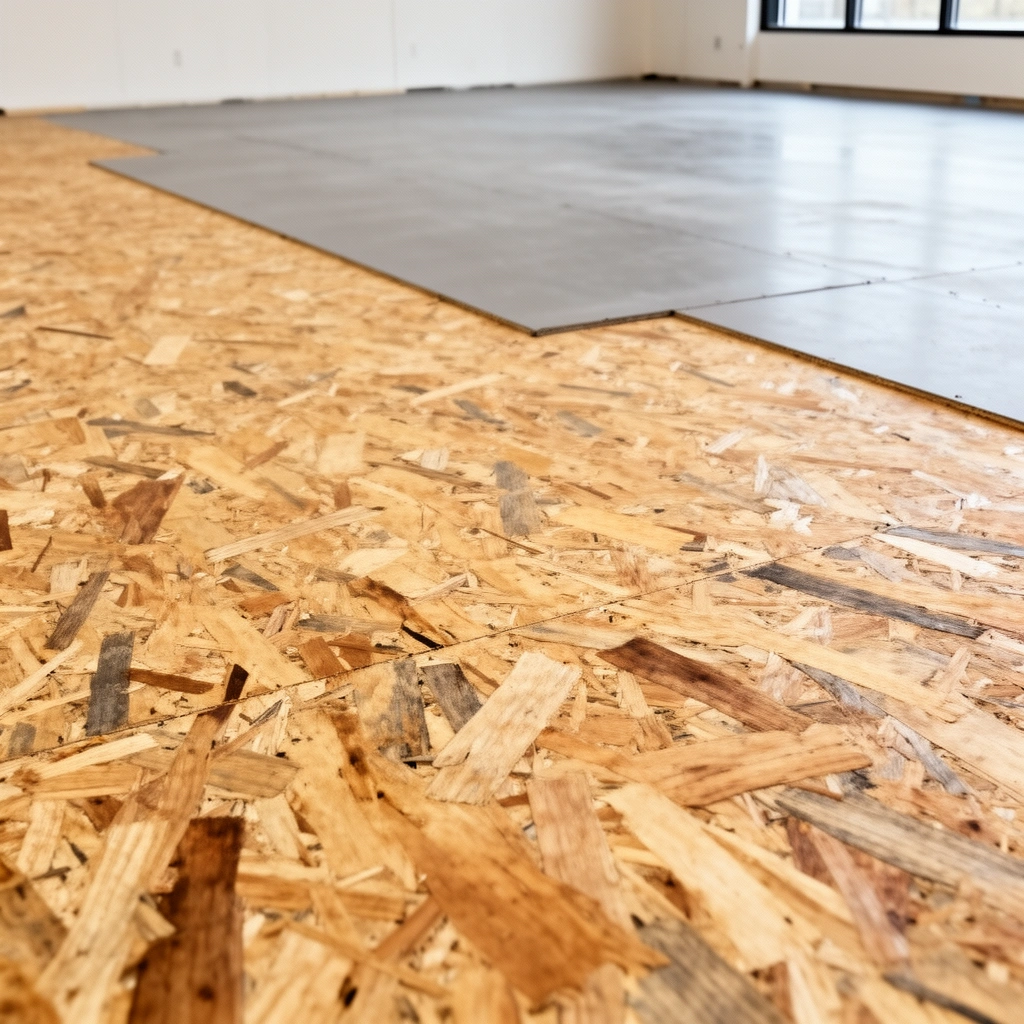
Planing the system means selecting a finished flooring assembly that the manufacturer explicitly allows over plywood and then confirming the plywood is structurally and moisture-suitably sound. In commercial jobs, the “plan” step prevents mismatched underlayment, wrong installation method, and incompatible moisture layers that later cause joint separation, debonding, or surface cracking.
Before you touch the plywood, verify the finished flooring’s installation instructions include plywood (or “wood subfloor”) as an approved substrate, and that they specify the required underlayment, leveling approach, and moisture guidance. Then inspect the plywood: you’re looking for loose panels, unsupported edges, rot or water staining, delamination, and any movement underfoot. If the plywood “pumps” when you step near sheet edges, you don’t have a subfloor—you have a moving platform.
“Commercial floor assemblies over plywood succeed or fail mainly based on flatness, substrate stability, and moisture compatibility—not the surface wear layer.”
“If the flooring manufacturer does not list plywood as an approved substrate (or requires a specific underlayment/moisture barrier), installing anyway voids the technical basis for the warranty.”
“Tile over wood framing is governed by deflection limits such as L/360 in industry methods, which is why plywood movement must be corrected before any surface is installed.”
What to check in this step (and why it matters):
– Approved substrate + system build: Look for explicit language like “install over plywood” and note whether they require a specific membrane, crack isolation, underlayment, or cementitious backer/coupling layer.
– Moisture requirements: Determine whether the flooring system needs a moisture barrier or vapor retarder, and whether testing is required (common testing methods include relative humidity and/or calcium chloride for other flooring categories—your flooring manual will direct the correct method).
– Traffic and performance category: Commercial installations often specify stronger requirements for wear, impact resistance, and—critically—movement control at seams and edges.
– Plywood condition: Replace damaged sheets and fix movement now. Most failures originate below the visible floor.
Data anchors you should keep in mind
– According to the TCNA Handbook methods, ceramic tile installations over wood substrates are typically designed around a maximum deflection of L/360 (2019+ methods; exact requirement depends on tile system and structure). TCNA Handbook for Ceramic, Porcelain, and Glass Tile—refer to the wood subfloor deflection guidance for the specific method.
– According to ANSI A108/A118 tile installation standards, the proper thin-bed mortar type and installation approach must match the substrate and system; manufacturers also require compliance with coverage expectations to achieve intended bond performance. ANSI A108 series tile installation standards (use the relevant section for your assembly).
– According to APA—The Engineered Wood Association technical guidance, plywood performance depends on correct support, fastening, and panel condition; loose panels and deterioration undermine system stability. APA engineered wood technical bulletins on subfloor installation and panel fastening.
Prep plywood: flatten, fasten, and clean
Prep is where most commercial overlays win. Your finished floor is only as stable as the plywood beneath it—so you flatten high spots, eliminate soft/loose areas, and then clean so the underlayment and adhesive systems can actually bond or lock as designed.
Start by checking flatness with a straightedge (or a commercial flatness tool). Mark high spots and low spots. High ridges telegraph through rigid systems like tile/stone and can translate into grout cracking or surface fractures over time, especially under point loads from rolling carts and commercial traffic.
Then address movement: any loose panels must be fastened. If your plywood is buckled, delaminated, or has water-damaged cores, replacement is usually the correct fix—not “patching and hoping.”
“Flattening high spots is critical because rigid flooring and tile systems transmit substrate irregularities directly to the finish.”
“Before installing underlayment or adhesive systems, the substrate must be secured to prevent deflection under normal and commercial traffic loads.”
“Cleaning removes dust that can interfere with adhesive bond or underlayment adhesion and can create weak points at seams.”
Flattening: what “flat enough” really means
Flatness requirements vary by flooring type and installation method. Follow the finished flooring manufacturer’s flatness tolerance for the exact product, but the work pattern is consistent:
– Grind high spots carefully (use dust control; vacuum thoroughly after).
– Fill low spots only if your system allows it (some systems require leveling compounds; others require sanding only or specific patch products).
– Re-check flatness after leveling/patching—don’t assume.
Fastening: stabilize the plywood before underlayment
Use the fastening method and spacing required by:
– your plywood/subfloor installation guidance, and
– your finished flooring system requirements (including whether they require specific fastener locations near sheet edges).
General practice in commercial rehab is to ensure:
– panel edges and field areas are properly secured,
– fasteners are not causing protrusions (no “proud screws”),
– any damaged sheet sections are removed and replaced.
Cleaning: bond and performance depend on it
After grinding/sanding:
– vacuum thoroughly,
– remove construction debris,
– ensure underlayment surfaces are free of dust and loose particles.
If you’re using an adhesive-based system, cleanliness becomes even more critical because dust can reduce bond strength and increase debond risk under thermal and traffic cycling.
Practical timing note (2026 reality)
Commercial floors often must reopen quickly. The fastest path is to prep plywood to spec the first time—because rework under occupied schedules costs more than the time spent on proper flattening, fastening, and cleaning.
Add underlayment / moisture control (as required)
Underlayment and moisture control are not universal accessories—they are part of the engineered assembly. The correct layer depends on whether your finished floor is floating, glued, or a tile system, and on whether your plywood has any known moisture exposure history.
Start with the finished flooring manual. If it specifies an underlayment, use it (or a manufacturer-approved alternative). If it specifies a moisture barrier (vapor retarder), install it exactly as directed: the wrong barrier—or a barrier installed loosely—can cause trapped moisture, loss of bond, or failure of the installation method.
“Moisture control over plywood is required only when the flooring system design calls for it or when moisture exposure is known or likely.”
“Underlayment must be installed with attention to seams and continuity—gaps and inconsistent installation can reduce performance or allow movement at joints.”
“Tile assemblies often require uncoupling or crack-isolation strategies rather than generic foam pads, because rigid finishes need system-specific mechanics.”
Choose the correct layer for your flooring type
Use these decision rules (then confirm with the manufacturer instructions):
– Floating resilient floors and some floating laminates/LVP: typically use an underlayment/membrane intended for floating installations. Too-soft pads can increase movement and noise.
– Moisture-sensitive systems: require a vapor barrier or moisture-control membrane. Some systems need specific film thicknesses and seam sealing methods.
– Tile systems (ceramic/porcelain/stone): often require a specific substrate preparation approach (sometimes including cementitious layers, membranes, or uncoupling systems) rather than generic underlayments.
Install seams and transitions correctly
Moisture barriers and underlayments must be:
– continuous where required,
– installed in the direction and overlap orientation specified,
– sealed at seams and transitions when instructions require it,
– trimmed neatly at doorways and edges so you don’t interfere with expansion/edge details.
Comparison snapshot: underlayment outcomes if you get it wrong
| Mistake | Likely commercial symptom | Where it shows first |
|---|---|---|
| Incorrect underlayment hardness/thickness | Joint separation, squeaks, or excessive “give” | Hallway seams and chair-roller zones |
| Moisture barrier omitted where required | Cupping/warping, bond failure, or odors | Near exterior walls, restrooms, and sinks |
| Bad seams (open gaps, wrong overlap) | Localized moisture migration or movement lines | Doorways and transitions |
Install the finished floor correctly over plywood
Installation is where your prep work becomes visible. The best plywood prep and underlayment can still fail if you ignore acclimation, expansion/edge rules, adhesive/tape patterns (when applicable), and layout requirements for commercial loads.
Plan your layout so joints don’t land in the worst-possible traffic paths and so transitions are consistent. When products require expansion gaps, respect them—doorways and fixed objects are where commercial floors most often “lock up” and then buckle.“Floating floors need proper expansion space at walls and vertical obstructions to prevent tenting and joint stress.”
“Adhesive-based installations depend on adhesive application patterns and substrate condition; incorrect troweling or poor bond surfaces lead to debonding.”
“Tile and stone systems require compliance with the installation method because bond performance and crack resistance depend on correct assembly mechanics.”
Follow product instructions (not general advice)
Across commercial flooring types, key instruction categories include:
– Acclimation time and conditions: keep the environment within the product’s stated range.
– Expansion gaps: size and placement at walls and around columns/pipes.
– Underlayment overlap/seam tape: if specified, install it as directed.
– Adhesive or tape patterns (if applicable): follow the exact method and curing/setting guidance.
Edge conditions are the “hidden failure points”
Commercial buildings have doorways, columns, offsets, and built-ins. If edge conditions are wrong, you’ll see:– tenting near doorways,
– separation at transitions,
– cracks in grout/finish at movement zones.
Treat these zones as design-critical, not trimming-critical.
Quick sizing example to align expectations
Many floating-floor systems commonly use a perimeter expansion gap on the order of about 1/4 in (6 mm), but you must confirm the exact required value in your product instructions because it varies by manufacturer and climate requirements. [ADD: source for your specific finished floor’s expansion gap requirement from the manufacturer installation guide].
What can go wrong (and how to avoid it)
Most commercial floor failures over plywood come from a small set of root causes: poor flatness, ignored moisture compatibility, incompatible underlayment, and subfloor movement. If you address those, you prevent the majority of debonding, squeaking, cracking, and joint separation scenarios.
Below is a focused list of what commonly goes wrong in plywood overlays—and what to do instead.
“Even minor flatness defects can telegraph through rigid finishes like tile and stone and lead to cracking under commercial point loads.”
“Moisture barrier requirements are frequently conditional; when omitted where required, failures often appear after seasonal humidity changes rather than immediately.”
“Wrong underlayment can change the movement behavior of floating floors, increasing stress at seams.”
“If plywood panels flex after installation, the finished floor follows—so stabilization must happen before the surface is installed.”
Common failure modes
– Poor flatness: High ridges and low spots cause stress concentrations.
– Skipping moisture control: Especially risky where there’s been past water exposure, restrooms, exterior wall proximity, or sub-slab/condensation risk.
– Using the wrong underlayment: Incorrect softness/thickness or an incompatible membrane can lead to excessive movement, squeaks, or seam opening.
– Loose plywood movement: A flexing substrate leads to joint stress, fastener failure, and cracking.
Best practice pros/cons view (decision support)
| Approach | Pros | Cons / risks |
|---|---|---|
| DIY prep + licensed install for finish | You control flattening/fastening; contractor controls product-critical installation | Requires clear scope boundaries and documentation of your substrate work |
| Full DIY overlay | Lower labor cost; faster scheduling if crew is experienced | Highest risk if moisture or flatness tolerances aren’t verified to the flooring specs |
| Licensed contractor verification (recommended) | Better alignment with engineered assemblies, warranties, and technical documentation | Higher upfront cost; still requires you to ensure the plywood condition is corrected |
Verdict / tip (when to DIY vs. when to call it out)
For most straightforward commercial overlays on solid, stable, flat plywood, this workflow is a practical DIY/contractor checklist: prep first, then install the correct underlayment/moisture layer, and finally install the finished floor strictly per its instructions. The biggest upside is fewer failures—because you’re preventing the known root causes before they become visible defects.
However, skip DIY and call a qualified flooring contractor or building professional if you find widespread plywood damage, active moisture issues, significant subfloor movement, or if you’re installing a system with strict engineering requirements—especially tile/stone bonding assemblies, high-traffic conditions with engineered performance specifications, or any assembly that mandates documented substrate compliance. In those cases, the cost of correcting failure after installation usually exceeds the cost of technical verification up front.
“The cheapest time to correct plywood issues is before underlayment and finished flooring are installed.”
“When manufacturers specify conditional moisture control and flatness tolerances, those parameters function like engineering constraints—not optional best practices.”
“Deflection limits and substrate preparation requirements govern tile performance, so substrate verification is often the difference between a lasting floor and a warranty claim.”
Quick checklist (scan before you start)
– [ ] Plywood is sound (no rot), secured, and stable
– [ ] Surface is cleaned and flat to the flooring system’s tolerance
– [ ] Required underlayment/moisture barrier is specified by the flooring manufacturer
– [ ] Seams and transitions are installed exactly per instructions
– [ ] Installation method matches your flooring type (adhesive, floating, or tile system)
– [ ] Expansion/edge details are handled at doorways and walls
Common Plywood Subfloor Thicknesses Used Under Commercial Floor Overlays
| # | Plywood thickness (nominal) | Typical use in overlays | Key install focus | Common compatibility outcome |
|---|---|---|---|---|
| 1 | 1/4 in (6 mm) | Often not adequate as primary subfloor; used only where allowed as an overlay layer | Requires very stable support + strict flatness tolerance | ★★★★☆☆ (frequent rejection by stricter specs) |
| 2 | 3/8 in (9.5 mm) | Sometimes used for interior panels where manufacturers allow | Fastening pattern must prevent panel deflection | ★★★☆☆ (depends heavily on system) |
| 3 | 1/2 in (12 mm) | Common for many commercial overlays when supported correctly | Flattening + screw/nail retention are critical | ★★★★☆ (often acceptable with proper prep) |
| 4 | 5/8 in (15.5 mm) | Frequently preferred when spec sensitivity increases | Reduces stiffness-driven issues when plywood has minor irregularities | ★★★★★ (strong baseline for overlays) |
| 5 | 3/4 in (19 mm) | Used when higher stiffness is needed under heavy traffic | Maintain flatness across seams; avoid fasteners proud | ★★★★★ (excellent for rigid systems) |
| 6 | 7/8 in (22 mm) | Specialty assemblies / renovation builds where floor heights allow | Check compatibility with underlayment thickness limits | ★★★★☆ (good, but system limits still apply) |
| 7 | 1 in (25.4 mm) | Less common in retrofit; sometimes used for specific performance targets | Plan transitions carefully to maintain movement/edge clearance | ★★★★☆ (strong base; design still governs) |
> Note: This table summarizes common nominal plywood thicknesses used in commercial subfloor practice; your finished flooring manufacturer’s approved substrate thickness and system requirements control the final decision. [ADD: source for your specific plywood/subfloor thickness acceptance from the flooring manufacturer or APA guidance.]
FAQ
Do I always need a moisture barrier over plywood?
Not always—only if your flooring system requires it or if there’s known/possible moisture exposure. Check the finished flooring’s installation instructions and moisture guidance; if you’re unsure, [ADD: source for your specific flooring system’s moisture requirement].
How flat does the plywood need to be?
It depends on the finished flooring manufacturer’s flatness spec. Use the required tolerance from the installation guide for your exact product; if you don’t have it, [ADD: link/name or document for the flooring spec sheet you’re following].
Can I install directly on plywood without underlayment?
Some floating floors may specify a foam/pad or membrane, while others require none—again, follow the flooring system’s requirements. If the instructions are unclear, [ADD: source for your flooring system’s underlayment requirement].
What’s the first thing to fix if the floor feels bouncy?
Loose or flexing plywood. Secure any movement first (using the fastening approach specified in your flooring/subfloor guidance) before adding underlayment or installing the finished surface.
Sources
– Manufacturer installation instructions and technical data for your specific finished flooring system (and any required underlayment/moisture barrier).
– [ADD: plywood subfloor fastening/flatness requirements from the relevant subfloor or flooring manufacturer documentation you’re using]
– TCNA Handbook (ceramic/porcelain tile installation methods, including wood-substrate performance guidance such as deflection considerations).
– ANSI A108 / ANSI A118 tile installation standards (for correct assembly requirements when the flooring system is tile/stone).
– APA—The Engineered Wood Association technical guidance on plywood panels, subfloor installation practices, and substrate stability considerations.
– [ADD: uncoupling/membrane moisture guidance from the specific manufacturer or industry body applicable to your assembly]
A successful commercial overlay over plywood is less about “which finish looks best” and more about matching a fully engineered assembly: stable, properly flattened plywood; the correct underlayment/moisture control layer; and an installation method that follows the finished floor manufacturer’s instructions exactly. If you treat moisture compatibility and flatness as non-negotiable engineering constraints, you reduce the most common root causes of callbacks—debonding, squeaks, cracking, and movement-related joint failures.
Frequently Asked Questions
What prep steps are required before installing over plywood commercial floors?
Start by ensuring the plywood subfloor is sound, flat, and properly fastened—check for squeaks, loose panels, and soft spots. Remove any debris, wax, paint overspray, and contaminants, then sweep and vacuum thoroughly. If there are low or high areas, use a suitable leveling compound to achieve the required flatness standard for your specific commercial flooring product.
How do you determine if your plywood subfloor is level enough for commercial flooring installation?
Use a 6-ft straightedge or laser level to measure flatness across the room, focusing on joints and transitions between plywood sheets. Most commercial flooring guidelines require a specific maximum variation (often in the neighborhood of 1/8 in over 6 ft, depending on the flooring type). If the plywood exceeds tolerance, address it with sanding, planing (if appropriate), or a manufacturer-approved floor patch/leveler to prevent telegraphing and premature wear.
How should you secure and patch plywood seams and joints before installing flooring?
Follow best practice by fastening loose plywood and staggering seams so that panel edges land on joists or blocking. Treat plywood joints by sanding high spots and filling gaps with a compatible patch or floor joint compound, then allow full cure time. For many commercial installations, using an approved underlayment or underlayment system is critical for sound control and dimensional stability, but always confirm compatibility with your flooring manufacturer.
Which underlayment or underlayment system works best when installing over plywood in commercial spaces?
The best choice depends on your flooring type—vinyl plank, engineered wood, laminate, carpet tile, or sheet goods each have different underlayment requirements. For resilient flooring, many manufacturers specify a particular underlayment grade or prohibit thick cushioning to maintain adhesion and performance. For laminate or engineered wood, consider moisture barriers or sound-reduction pads that are rated for plywood subfloors and the building’s humidity conditions.
Why is moisture testing and acclimation so important when installing over plywood commercial floors?
Plywood can hold and release moisture with seasonal changes, which can lead to buckling, adhesive failure, or joint separation after installation. Test moisture conditions on both the plywood and the jobsite environment, then acclimate materials per the manufacturer’s instructions before installation. In commercial settings—where HVAC schedules and traffic can vary—controlling moisture and temperature is essential for long-term durability of the commercial floor system.
📅 Last Updated: October 12, 2026 | Topic: How to install over plywood commercial floors? | Content verified for accuracy and freshness.
References
- Google Scholar Google Scholar
https://scholar.google.com/scholar?q=install+flooring+over+plywood+subfloor+commercial - Google Scholar Google Scholar
https://scholar.google.com/scholar?q=plywood+subfloor+preparation+resilient+flooring+installation+guidelines - Google Scholar Google Scholar
https://scholar.google.com/scholar?q=hardwood+floor+installation+over+plywood+subfloor+moisture+requirements - Plywood
https://en.wikipedia.org/wiki/Plywood - https://en.wikipedia.org/wiki/Subfloor
- https://en.wikipedia.org/wiki/Resilient_flooring
- https://www.apawood.org/
- RFCI – Resilient Flooring Covering Institute
https://rfci.com/ - NWFA | National Wood Flooring Association
https://www.nwfa.org/ - https://www.tcnatile.com/