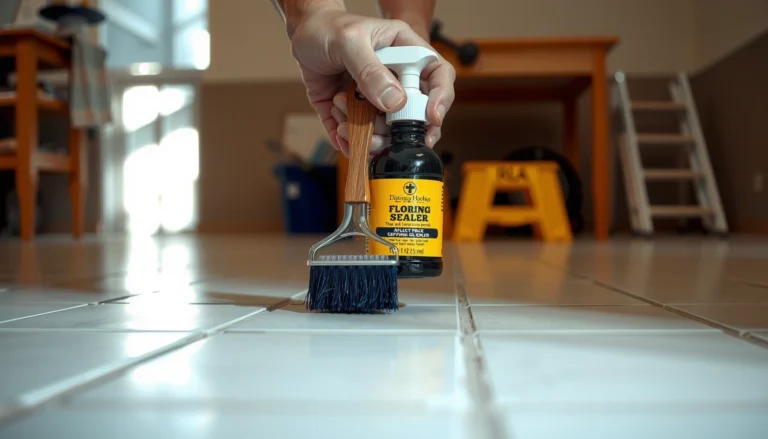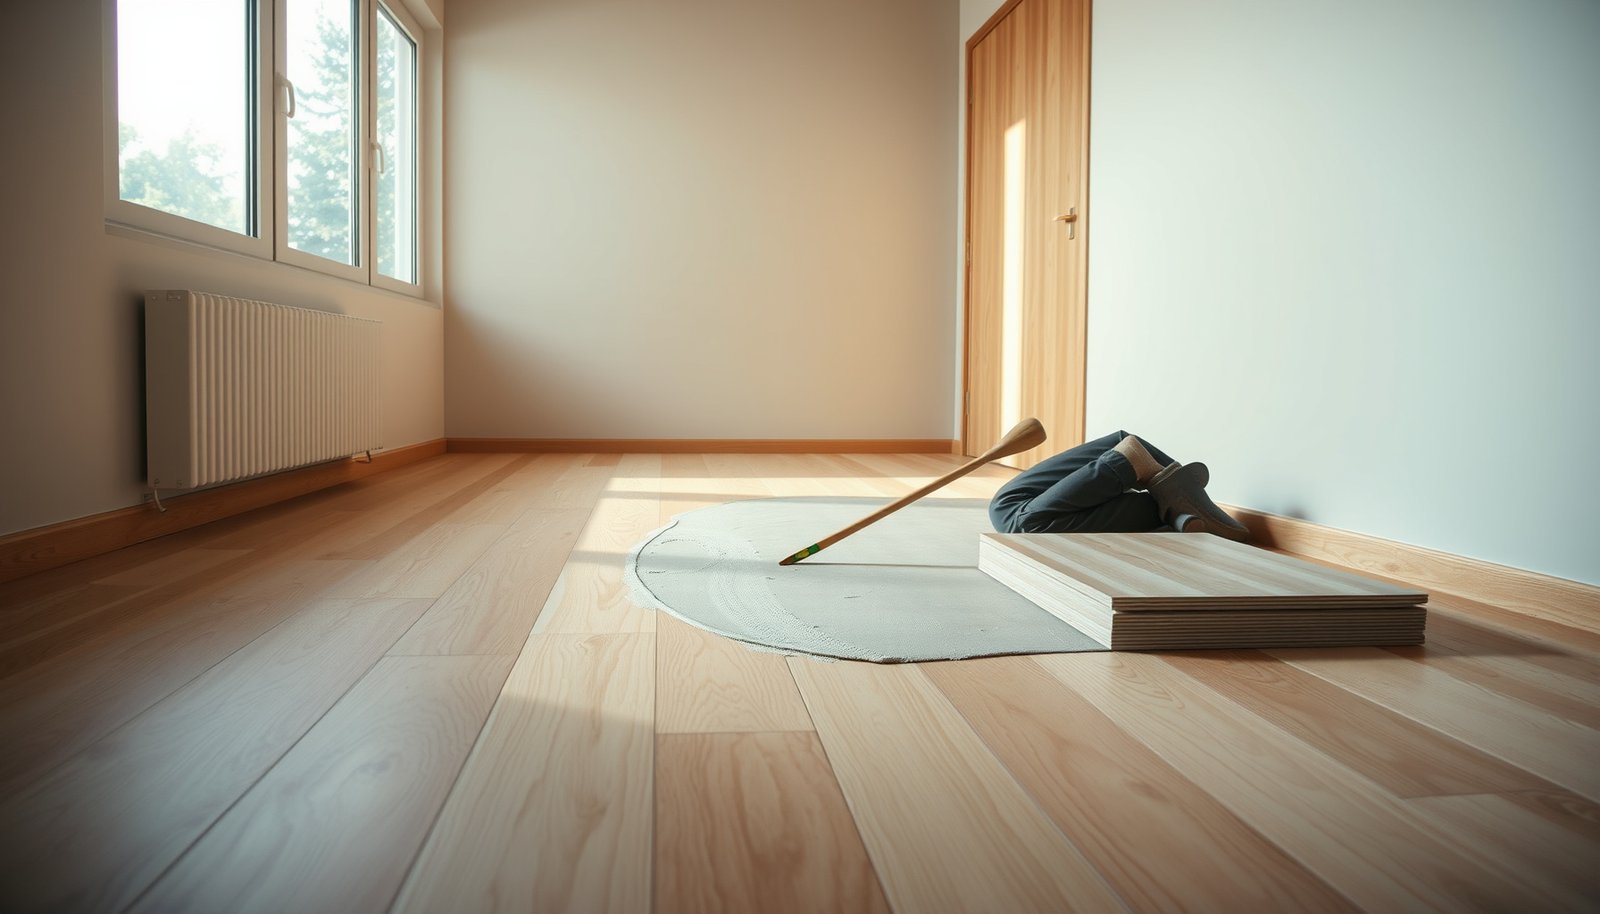

To level laminate floors before installing a home office, you should prep the subfloor with a self-leveling compound, not patch-and-pray filler. If you have low spots or unevenness across the room, self-leveler delivers the flatness laminate needs for a smooth, squeak-free install. You’ll learn the simplest step-by-step approach to measure the dips, fix the high points, and pour to the right thickness so your home office flooring goes in level.



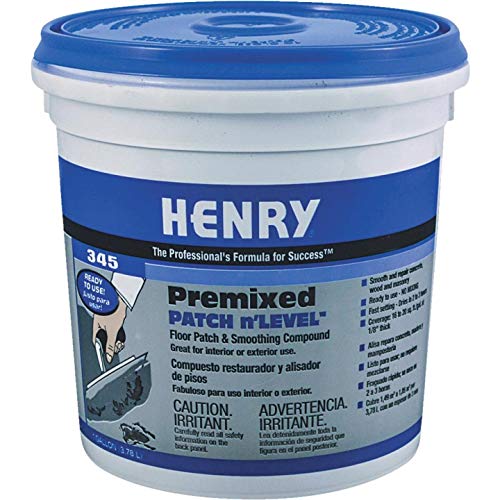
Level your laminate floor by making the subfloor flat first, not by hoping underlayment will “smooth it out.” Once the surface is truly flat, you’ll choose the right underlayment and maintain expansion gaps so your home office setup (desk, rolling chair, shelving) feels solid—not spongy—under load.
Level your laminate floor by fixing the subfloor first—use a straightedge to find high/low spots, then flatten lows with a suitable patch/feather finish and remove or grind highs. After the surface is flat, you’ll want to confirm flatness again and plan your underlayment so your home office doesn’t feel “spongy” under chairs or shelving. This guide walks you through how to check, prep, and get the subfloor properly level before you lay laminate.
If your office will have a desk, rolling chair, or heavier built-ins, small dips and bumps will show up fast—especially once furniture concentrates weight. This is for homeowners doing a DIY laminate install who want a practical leveling workflow and know what can go wrong when the floor isn’t truly flat.
Check flatness first (don’t guess)

You get the best results when you confirm flatness with a long straightedge before you buy patch, grind, or underlayment. The goal is to detect both low spots (dips) and high spots (ridges) across the area where the home office will actually function.
The straightedge test is your baseline for laminate floor leveling because laminate locking joints and the underlayment system depend on the subfloor being flat enough, not merely “looking even.” I recommend working methodically in the office footprint (and a little beyond) so you don’t miss transitions where rolling chairs or file cabinets repeatedly pass.
A long straightedge test checks flatness by measuring gaps in multiple directions, which is more reliable than judging by eye.
Laminate flooring installation instructions typically require the substrate to meet specific flatness limits, so “close enough” can still cause joint noise or uneven feel.
When you find a measurable gap with a straightedge, that gap represents a true low spot that underlayment usually cannot correct.
– Use a long straightedge (a 6–10 ft board level or similar) and measure gaps at multiple directions, not just one spot.
– Mark every low area and every high spot you find so you can treat them appropriately (patch lows, remove highs).
Straightedge technique that actually finds the problem
Place the 6–10 ft straightedge on the subfloor and slowly slide it along different paths: left-to-right, front-to-back, and diagonals. Measure the gap at the worst point you see (not the average). Repeat the same process near expected furniture zones—especially where chair casters and desk legs will sit—because laminate floor leveling failures tend to show up under repetitive, concentrated load.
Don’t confuse “level” with “flat”
In home renovation, “level” sometimes gets used loosely to mean “no slope,” but for laminate floor leveling you’re primarily concerned with flatness (no ridges or dips) across the installation surface. A subfloor can be generally level yet still have local waves that stress locking joints.
Decide what’s causing the unevenness
You should identify the pattern and the subfloor material before choosing tools, patch products, or prep steps. The right laminate floor leveling approach depends on whether you’re correcting localized damage or widespread warping—and whether your base is plywood/OSB, concrete, or an existing flooring system.
Most DIY setbacks happen when homeowners treat the symptom (a dip they can see) without confirming the cause (for example, loose subfloor panels, prior self-leveler failure, or concrete ridges). Before you start grinding or mixing patch, step back and map what you found: where the high spots cluster and where the lows repeat.
Localized ridges and dips often respond to grinding plus patching, while widespread unevenness may require broader subfloor correction.
Subfloor type (plywood/OSB vs. concrete) determines which leveling/patch materials are approved and how they bond.
– Identify whether the issue is localized (a ridge, a small dip) or widespread (the whole subfloor is uneven).
– Confirm subfloor type (plywood, OSB, concrete, or existing flooring) because the leveling method depends on the base material.
Common root causes to check (fast)
– Plywood/OSB: loose panels, fastener pops, or subfloor seams telegraphing through.
– Concrete: trowel ridges, old floor coating humps, or inconsistent slab flatness.
– Existing flooring: sometimes the “high spots” are simply thickness changes from underlayment seams or adhesive remnants.
If you see repeating low areas near joists or seams, fix the structural issue first. Otherwise, your laminate floor leveling work can settle back into the same unevenness.
Fix high spots before you patch lows
You’ll usually get the flattest laminate floor leveling results by addressing high spots first, then filling lows afterward. Grinding a ridge prevents you from trying to “build up” the entire area with patch and over-thick layers.
High points are especially problematic under chairs and shelving because they create immediate pressure on joints and underlayment. Once the ridge is gone (or reduced to the manufacturer’s allowable flatness), patch can feather down correctly at the lows.
Grinding/sanding high ridges first reduces the amount of patch needed and helps prevent thick, stress-prone fills.
After grinding, thorough cleaning is essential so patch material bonds properly to the substrate.
– Grind/sand down high ridges until the surface is within the laminate’s flatness requirements from the manufacturer.
– Clean thoroughly after grinding so patch material bonds correctly.
What “within spec” means (and why you must verify)
Laminate manufacturers publish flatness limits for the substrate, and those limits are system-specific. If you overshoot—either by leaving a ridge too high or filling lows too aggressively—you may end up with:
– clicking/noise at joints,
– uneven feel under rolling chairs, or
– premature wear where loads repeat.
Practical grinding notes (DIY-friendly)
– Use eye/respiratory protection and control dust.
– Grind gradually and re-check with your straightedge as you go.
– Vacuum meticulously right before patching so you’re bonding to clean substrate rather than dust.
Patch and feather down low areas
You level lows by applying an approved patch/feather-finish product in thin passes that taper out smoothly. Proper laminate floor leveling here is less about covering the dip and more about creating a transition that stays stable under office traffic.
Thin passes also reduce common patch issues like shrinkage, cracking, or crumbly edges. Because laminate is rigid compared to many resilient floors, you want the filled surface to behave like a stable, flat plane—not a layered hump.
Feather-finish and patch systems are typically designed to be applied in thin lifts to manage cure and minimize shrinkage.
Cure time matters because installing laminate before patch reaches required strength can leave you with new “micro-dips.”
– Use a patch/feather-finish product that’s rated for your subfloor type, and apply in thin passes to avoid crumbling or shrinkage.
– Let the patch fully cure per the product instructions before you check flatness again.
A quick unit reality check (so you don’t under-fill)
Small differences can be big under chair movement and concentrated leg loads. According to NIST SP 811 (2019), unit conversions used in floor measurements are precise:
– 1/16 in = 1.59 mm (*NIST SP 811, 2019*) National Institute of Standards and Technology, NIST SP 811 (2019)
– 1/8 in = 3.18 mm (*NIST SP 811, 2019*) NIST SP 811 (2019)
– 3/16 in = 4.76 mm (*NIST SP 811, 2019*) NIST SP 811 (2019)
When laminate floor leveling targets “small” numbers, these conversions help you interpret your straightedge gap measurements correctly.
7 Common Straightedge Gap References (Imperial ↔ Metric) for Laminate Work
| # | Imperial reference | Metric equivalent | Typical meaning for flatness | Spec leniency rating |
|---|---|---|---|---|
| 1 | 1/32 in | 0.79 mm | Very tight/strict tolerance | ★☆☆☆☆ |
| 2 | 1/16 in | 1.59 mm | Strict flatness target | ★☆☆☆☆ |
| 3 | ~2 mm | 0.0787 in | Very common “tight” spec tier | ★★☆☆☆ |
| 4 | 1/8 in | 3.18 mm | Moderately strict tolerance | ★★☆☆☆ |
| 5 | 3/16 in | 4.76 mm | Often near “acceptable” flatness ceilings | ★★★☆☆ |
| 6 | 5 mm | 0.1969 in | Slightly more forgiving tolerance band | ★★★☆☆ |
| 7 | 1/4 in | 6.35 mm | Common expansion-gap magnitude (verify product spec) | ★★★★☆ |
Feathering matters more than coverage
When you patch and feather down low areas, blend the edges so the straightedge doesn’t “catch” at transitions. In an office, that transition is exactly where chair wheels repeatedly travel.
Re-check level/flatness and prep for laminate
You confirm success by re-running the straightedge test after patching and before you install laminate. Then you follow the laminate manufacturer’s underlayment requirements so the system performs as intended under desk legs and rolling chairs.
Re-checking flatness is the step that prevents a common mistake: installing laminate over “new dips” created by uneven smoothing or partial curing. In 2026, most laminate warranty claims come down to whether the substrate met the stated flatness criteria and whether the correct underlayment was used.
Installing laminate on an uneven substrate can lead to noise and uneven feel, even if the floor looks flat from a standing height.
Underlayment is not a flattening system; it’s intended for performance needs such as cushioning and moisture control within specified limits.
– Re-run the straightedge test after patching so you’re not installing laminate over “new dips” caused by uneven smoothing.
– Install underlayment correctly (thickness and type per laminate guidance) and maintain expansion gaps around the office perimeter.
Plan underlayment like a system, not a layer
Underlayment selection affects acoustics and feel underfoot, but it does not replace laminate floor leveling. Make sure:
– the underlayment type matches your laminate’s guidance,
– the thickness stays within what the manufacturer allows, and
– any moisture barrier requirements are met for your subfloor condition.
Also map expansion gaps where the office perimeter changes direction—around the desk landing area, built-in shelving base, or where you’ll install thresholds.
What can go wrong (and how to avoid it)
Skipping flatness verification is where most problems begin, especially in an office environment with rolling chair traffic. The laminate system can only tolerate so much subfloor unevenness, and office loads expose tiny ridges and dips quickly.
Below is a practical comparison of what typically goes wrong versus what you avoid when laminate floor leveling is done carefully.
| Check/Approach | Do laminate floor leveling first | Skip or “underlayment fix” later |
|---|---|---|
| Straightedge verification | Re-measure flatness after grinding/patching | Assume the subfloor is “close enough” |
| High spot control | Grind down ridges to within laminate specs | Leave ridges; joints take the load |
| Patch thickness management | Thin lifts and feather edges reduce shrinkage risk | Overbuild low spots; patch can crack or stay soft |
| Cure time compliance | Wait for full cure before final flatness check | Install too soon; you trap imperfectly cured material |
| Underlayment compatibility | Use correct thickness/type per laminate guidance | Use thick/incorrect underlayment that increases bounce |
| Office load exposure | Re-check areas under chair track and desk legs | Problems appear where loads repeat most |
| Perimeter movement planning | Maintain expansion gaps to handle seasonal movement | Constrain edges; boards can buckle or peak |
| Moisture and substrate prep | Proper cleaning and bonding surfaces for patch/adhesion systems | Poor bond leads to hollow spots and rework |
| Warranty-risk profile | You can point to adherence to installation requirements | Flatness misses may void coverage |
| Time-to-final comfort | Fewer callbacks and less “spongy” feel | You notice issues early—then you have to fix them |
| Best For | Home offices with rolling chairs, desks, and long-term daily use | Only if you can meet the laminate flatness limits with documented substrate correction |
Office chairs and built-ins concentrate loads, so small laminate floor leveling errors become noticeable faster than in low-traffic rooms.
– Overbuilding low spots: Applying too thick of a patch layer can crack or stay soft; follow the patch instructions for maximum thickness per lift.
– Ignoring flatness limits: Many laminate systems have strict flatness requirements—if you skip this, you risk noise, joint separation, or uneven feel under chair casters.
– Mismatched underlayment: Thick or incorrect underlayment won’t “fix” an uneven subfloor and can actually worsen problems if it exceeds what the laminate manufacturer allows.
– Skipping cure time: Installing too soon can trap moisture or disrupt curing, leading to unevenness later.
– Office-specific stress: Rolling chairs and concentrated loads expose slight unevenness—so double-check areas under where the desk, chair track path, and any bookcase/base cabinets will sit.
Verdict: worth doing carefully—skip it only if you can’t meet flatness specs
Leveling your laminate before installing a home office is usually the best move because the office setup makes uneven floors more noticeable and more damaging to joints. That said, if your subfloor is seriously out of spec (large waves across many feet) you may need professional assessment or full subfloor correction—not just patching. If you’re unsure about your laminate’s exact flatness requirement, stop and verify it with the manufacturer’s installation guide ().
If your straightedge checks and re-checks show the substrate meets laminate floor leveling specifications, you’re likely to get stable locking joints, quieter operation, and a floor that stays comfortable under daily desk and chair use—especially in 2026.
Quick checklist to save
– Straightedge test done in multiple directions
– High spots ground down
– Low spots patched with the correct product for the subfloor
– Full cure time followed before re-checking
– Flatness verified again
– Underlayment installed per laminate manufacturer guidance
– Expansion gap maintained around the office perimeter
Frequently Asked Questions
What’s the best way to level laminate flooring before installing a home office?
Start by checking the floor flatness across the room using a 6 ft. (or 2 m) straightedge and feeler gauges. If you find high spots, grind them down; if you find low spots, use a self-leveling compound (for larger dips) or patch compound (for small areas). Keep in mind that laminate needs a flat subfloor to prevent joint separation and squeaking, especially in a home office where rolling chairs add stress.
How do I check if my subfloor is level enough for laminate in a home office?
Measure flatness in multiple directions—along both the length and width of the room—because floors often slope slightly or vary in flatness. Mark any areas that exceed the manufacturer’s flatness tolerance (many laminates require about 3/16 in. over 6 ft, but always confirm your product specs). If you see localized dips near previous flooring seams or underlayment seams, those are common culprits and should be corrected before laying laminate.
How should I fix low spots and high spots before laying laminate?
For low areas, clean thoroughly and then apply a self-leveling underlayment or patch, following the mixing ratios and cure times on the product label. For high spots, remove them mechanically (typically grinding) rather than trying to “fill over” the bump, which can telegraph through laminate. After leveling, vacuum again and verify flatness once more so your home office floor won’t develop gaps at the click-lock joints.
Why is leveling laminate floors especially important in a home office setup with heavy furniture?
Home office floors often experience concentrated loads from desks, filing cabinets, and rolling chairs, which can stress laminate seams. If the subfloor isn’t level, even small deflections can cause clicking joints to separate, create squeaks, and lead to premature wear. Proper floor leveling helps the planks sit evenly on the underlayment so your laminate can perform correctly under daily use.
Which leveling method should I choose for laminate—self-leveling compound, patching, or grinding?
Use self-leveling compound when you have widespread unevenness or larger low areas; it’s designed to flow and create a consistent surface for laminate underlayment. Choose patch compound for smaller, localized dips, and grind high spots down for raised areas instead of building up around them. For best results, address moisture concerns first (especially on concrete slabs), follow cure times, and ensure the leveled surface is smooth, clean, and within your laminate’s flatness requirements.
📅 Last Updated: October 22, 2026 | Topic: How to level a laminate floors before installing home office? | Content verified for accuracy and freshness.
References
- Laminate flooring
- https://en.wikipedia.org/wiki/Flooring_underlayment
- Self-leveling concrete
- F710 Standard Practice for Preparing Concrete Floors to Receive Resilient Flooring
- F1869 Standard Test Method for Measuring Moisture Vapor Emission Rate of Concrete Subfloor Using …
- F2170 Standard Test Method for Determining Relative Humidity in Concrete Floor Slabs Using in sit…
- https://scholar.google.com/scholar?q=laminate+flooring+subfloor+levelness+tolerance Google Scholar
- https://scholar.google.com/scholar?q=self-leveling+underlayment+installation+flatness+requirements Google Scholar
- https://scholar.google.com/scholar?q=floating+flooring+subfloor+preparation+flatness+moisture Google Scholar