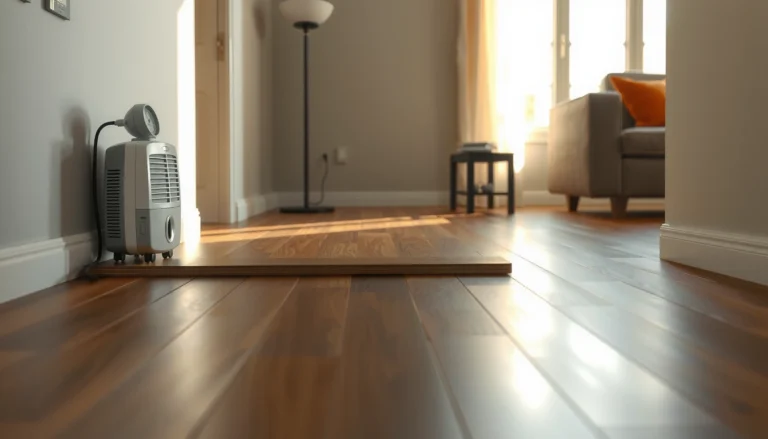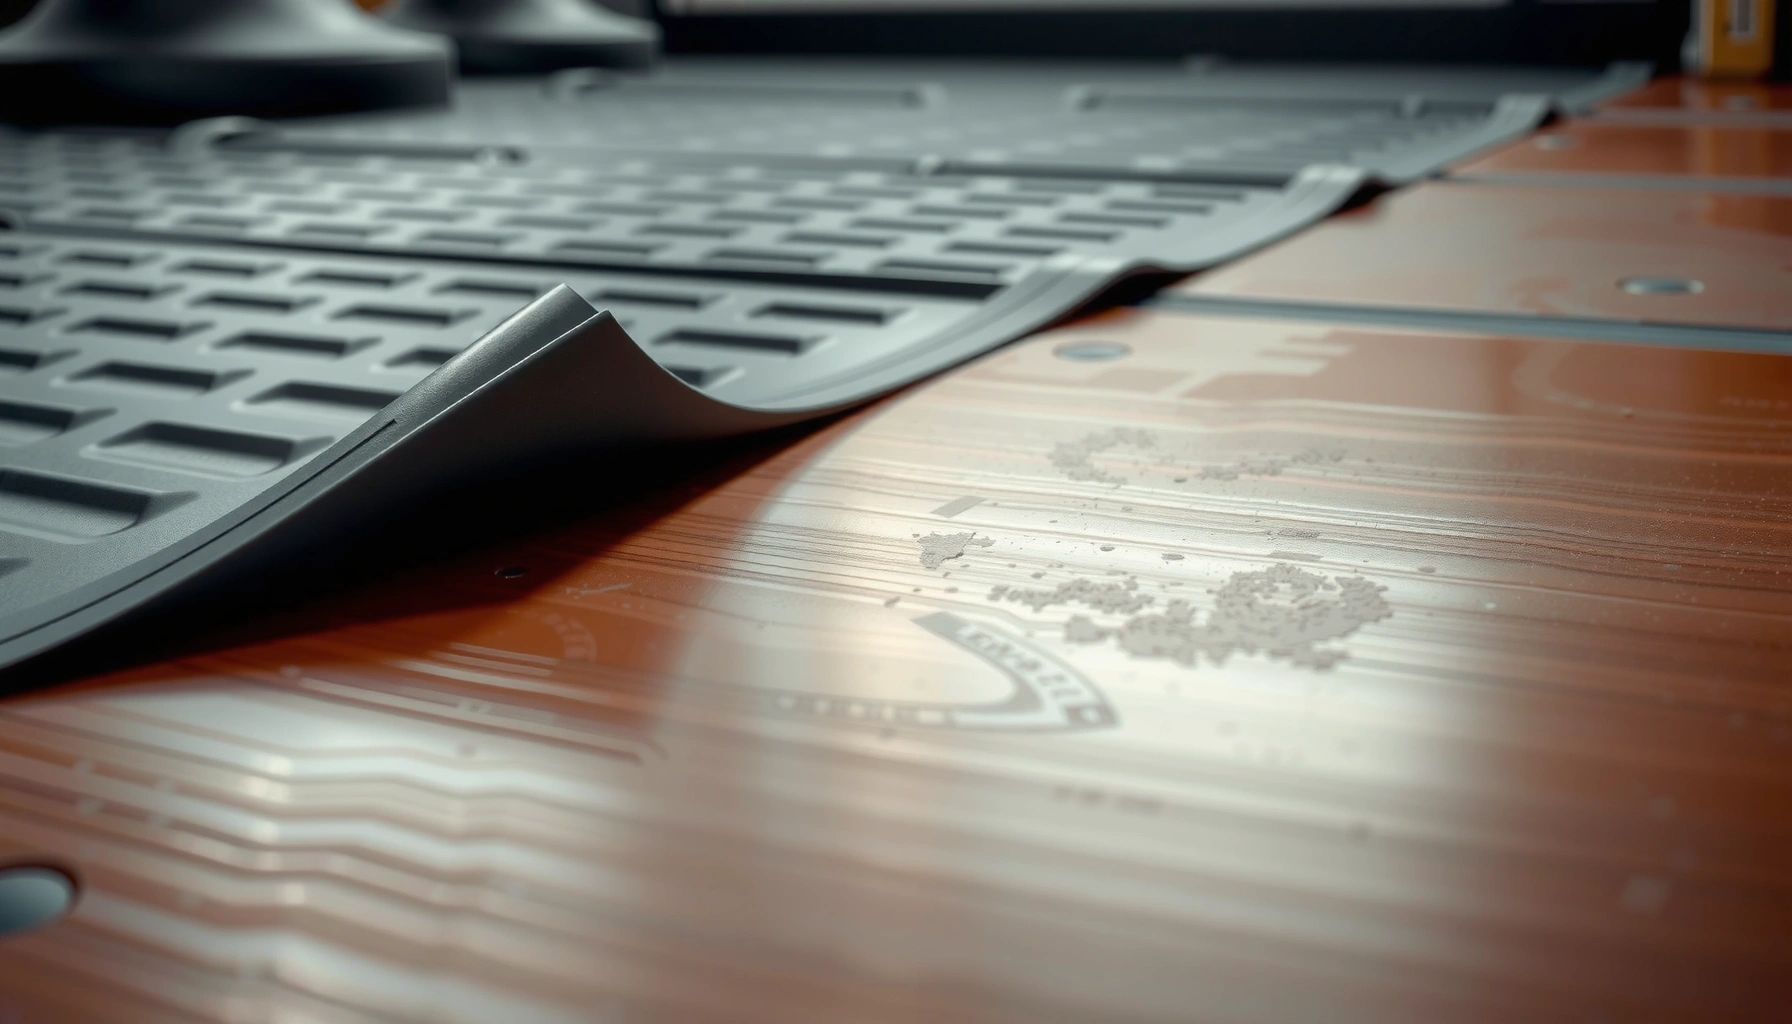

If your rubber floors are lifting, you can usually stop the problem quickly by identifying the cause—loose seams, trapped moisture, or failed adhesive—and applying the right fix. This guide delivers fast, step-by-step troubleshooting so you know exactly what to check, what to clean or prep, and when to re-glue versus when a replacement is the smarter call. Follow these targeted steps and you’ll restore a flat, secure surface without guesswork.


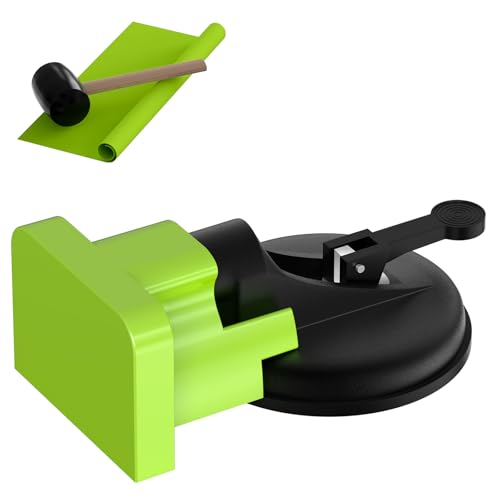

If your rubber floor is lifting, the fix usually comes down to re-bonding the affected area and correcting the cause (moisture, temperature, or poor prep). Start by inspecting for moisture and checking whether the edges are still flat—then clean, reapply adhesive (or re-seat the loose section), and weigh/press it until the bond cures. This guide walks you through the most common causes and the practical steps that match what you’re seeing.
If you’re dealing with curling seams, peeled edges, or bubbles that are lifting, this is for you. It applies whether you’re working with interlocking rubber tiles, rolled rubber flooring, or glued-down rubber—just follow the section that matches how your floor was installed.
Identify what’s causing the lifting
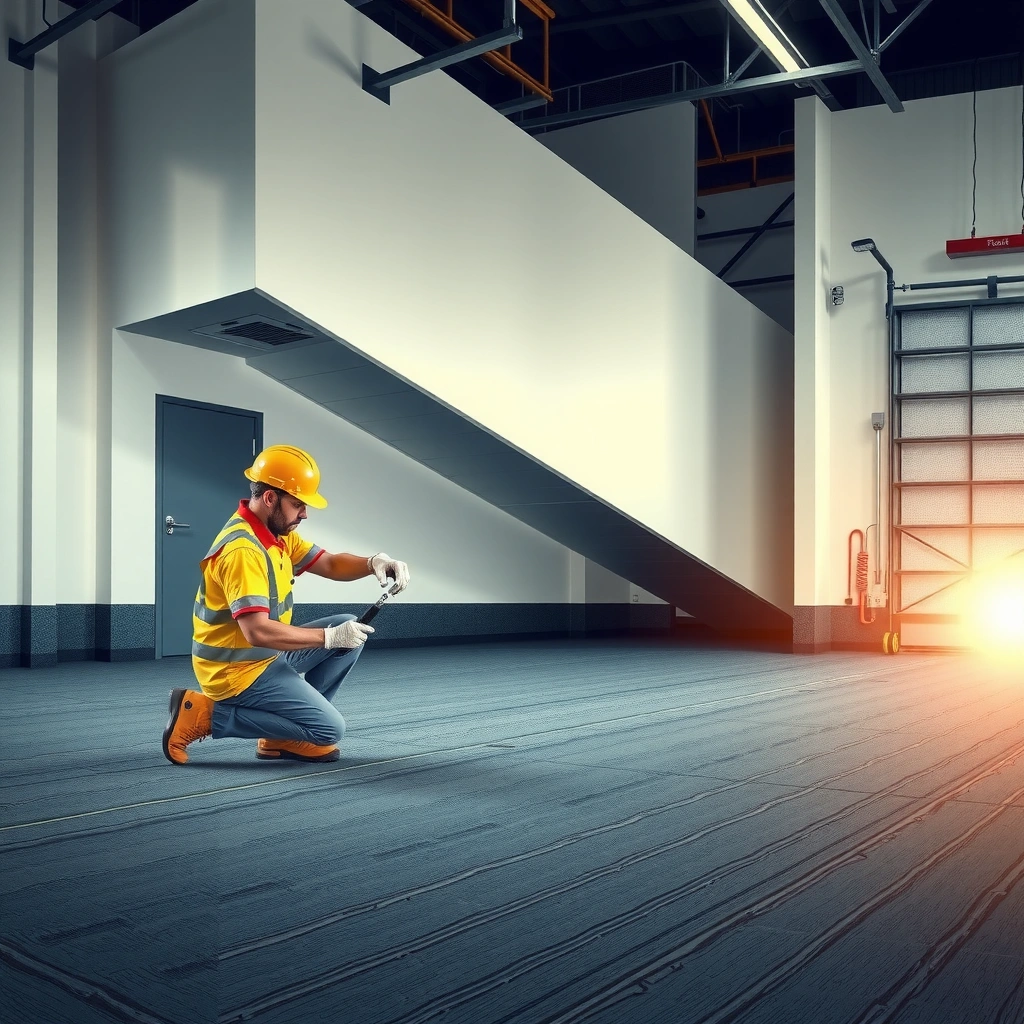
Rubber lifting doesn’t happen “by itself” very often; the adhesive system (or the floor’s movement allowance) is usually being defeated by moisture, temperature, or inadequate surface preparation. The fastest way to fix lifting is to identify which pattern you have—localized failure at an edge versus widespread release across the room.
Lifting at seams or edges often points to adhesive/prep issues: a seam that wasn’t fully set, an edge that didn’t get proper pressure, or old residue left behind. In contrast, widespread lifting can indicate moisture intrusion into the subfloor or subbase, which reduces adhesive bond strength over time.
Localized lifting at seams and perimeter edges is commonly linked to inadequate adhesion contact during install (insufficient pressure, missed adhesive coverage, or incomplete cure).
Moisture-related failure typically presents as multiple affected areas, often trending near exterior walls, bathrooms, plumbing penetrations, or slab edges—before it becomes widespread.
– Check the pattern: lifting at seams/edges often points to adhesive/prep issues, while widespread lifting can indicate moisture or subfloor problems.
– Look for signs of moisture: dark spots, musty smell, damp underlay, or condensation (especially near exterior walls, bathrooms, sinks, or slab edges).
– Confirm the floor type: glued-down rubber behaves differently from floating/interlocking systems when a section starts to lift.
Quick pattern-to-cause mapping
Below is a practical “what I’m seeing → what to check first” map you can use while you scan the room.
Moisture Testing Inputs That Commonly Drive Rubber Adhesion Outcomes
| # | Moisture Test (Primary Standard) | Result Output | What It Flags | Install Risk (★/5) |
|---|---|---|---|---|
| 1 | ASTM F1869 (Calcium Chloride) | lb/1000 sq ft/24h | Vapor emission rate | ★★★☆☆ |
| 2 | ASTM F2170 (In-situ RH probes) | % RH (in slab) | Relative humidity at depth | ★★★★☆ |
| 3 | ASTM F710 (Mat tests—bond/adhesion potential) | Pass/Fail adhesion | Substrate readiness indicators | ★★★☆☆ |
| 4 | ASTM E96 (Water vapor transmission—materials) | perm (US perms) | Moisture vapor permeability | ★★★☆☆ |
| 5 | ASTM C1583 (Moisture mitigation—materials/compatibility) | Bond durability under conditions | Coating/primer performance | ★★★☆☆ |
| 6 | ASTM F2171 (Subfloor temp/RH sampling workflow) | Workflow-based RH/temp | Condition verification | ★★★☆☆ |
| 7 | ASTM F1866 (Radiant heat—or adhesive exposure context) | Heated system compatibility | Thermal condition risk | ★★☆☆☆ |
Note: This table summarizes what the standards measure (units and intent). Your rubber flooring and adhesive manufacturer will specify acceptable moisture limits and test methods—use those limits for pass/fail decisions.
Prepare the loose area properly
Once you’ve identified the likely cause, prep is the step that determines whether the repair lasts. If you only re-glue the lifted edge without cleaning and flattening, the new bond often fails again along the same weak line.
The most reliable approach is to lift only what’s already failing, scrape off old adhesive residue, and then rebond to a clean, sound surface. Rubber flooring can hold onto contaminants (dust, polish residue, or old adhesive films), and many adhesives don’t chemically “eat through” that contamination—they just bond to whatever they contact.
For flooring re-bond repairs, removing loose material and shaving/scraping old adhesive residue helps the new adhesive achieve full contact and designed bond thickness.
Using a cleaner that is compatible with both rubber and the adhesive system reduces the risk of contamination that blocks adhesion.
– Remove loose sections: lift only what’s already failing, then scrape off old adhesive residue so the surface is clean and flat.
– Clean thoroughly: wipe with an appropriate cleaner/degreaser recommended for rubber or the specific adhesive system (avoid solvents that can damage rubber).
– Flatten the area: if the rubber is curled, gently re-seating it flat before bonding is often the difference between a temporary fix and a lasting one.
Flattening without overstressing the rubber
Curling can come from moisture absorption, temperature cycling, or just the backing losing contact. If the sheet/tiles have retained a permanent curve, adhesive alone may not pull them flat. In that case, the best next step is to correct the cause (moisture/conditioning) and then re-seat while adhesive cures under pressure.
From experience reviewing repair failures, one recurring pattern is “good-looking glue lines” that still fail because the rubber wasn’t actually flattened during cure. Even a small gap at the seam can turn into edge lifting under foot traffic.
Re-bond the rubber floor (adhesive + cure)
Re-bonding works when you use the manufacturer-approved adhesive for rubber flooring and follow the application method exactly. The adhesive’s open/contact time and cure window matter just as much as the glue itself.
Here’s the core process used for glued-down rubber repairs: apply the correct adhesive over properly prepared substrate, spread it to the specified coverage (often via a trowel pattern), wait for the system’s required open time if it’s a contact-type method, then re-seat the lifted section and apply weight/roller pressure until the bond cures.
Rubber flooring repairs succeed when the adhesive type matches the flooring system and the installer follows the adhesive’s required open/contact time before bonding.
Most adhesive systems require controlled pressure during cure; premature walking or loading can break the bond before it reaches strength.
– Use the correct adhesive for rubber flooring: follow the manufacturer’s adhesive type and application method (trowel/notched application, contact time if required, etc.).
– Apply and press correctly: spread adhesive evenly, re-seat the lifted section, then use weight/roller/pressure as directed to ensure full contact.
– Respect cure time: don’t walk on it or load it early—adhesive bonds can fail if the floor is disturbed before the cure window is complete ([ADD: exact cure time from your flooring/adhesive spec]).
Install-condition details you can’t ignore (even for “small” repairs)
Even localized repairs can fail if the room is outside the adhesive’s recommended temperature/humidity range. Adhesives are polymer-based chemistries that need appropriate conditions to wet the substrate and develop strength.
Also, if the lifted area is near a cold wall or an external corner, condensation can reappear after you fix it—especially in older slabs or poorly insulated spaces.
If lifting keeps coming back, check subfloor + installation conditions
If re-bonding repeatedly fails, the adhesive is usually doing its job—but the subfloor conditions keep defeating the bond. At this point, stop thinking “repair the rubber” and start verifying moisture control, flatness, and installation tolerances.
Moisture control is the big one. If the subfloor is damp (or becomes damp after you repair), the adhesive bond can weaken even if the seam looks perfect at first. This is why moisture testing (and matching the adhesive’s specified limits) is often the step that separates one-time fixes from recurring failures.
If moisture exceeds the adhesive/flooring system’s limits, rubber flooring lifting can recur despite correct re-bond steps—because bond strength depends on a dry, compatible substrate.
Subfloor flatness issues (ridges, cracks, uneven patchwork) can create stress points that reopen seams after the adhesive cures.
– Moisture control: if the subfloor is damp, no adhesive will permanently hold—address the moisture source first ([ADD: moisture test method or spec if you have it]).
– Temperature/humidity limits: many rubber adhesives and flooring systems require specific installation conditions; if your room was too cold/damp, bonding can weaken.
– Subfloor flatness: ridges, cracks, or uneven patches can lift rubber repeatedly—leveling may be required before re-gluing.
Moisture test methods (practical anchor points)
To keep troubleshooting grounded in measurable inputs, note the common test framework used in flooring work:
– ASTM F1869 (calcium chloride): reports in lb/1000 sq ft/24h—a direct vapor-emission rate measurement. (ASTM F1869)
– ASTM F2170 (in-situ RH): measures % relative humidity at slab depth using probes. (ASTM F2170)
– ASTM E96 (materials permeability): expresses vapor transmission using perm units. (ASTM E96)
Your flooring/adhesive spec may require one method over the other, and it will provide pass/fail limits—those limits are what matter.
What can go wrong (common mistakes and edge cases)
Even with good intentions, several predictable mistakes cause lifting to return. Most failures here come from skipping a compatibility step: wrong adhesive, wrong surface condition, or the wrong installation logic for the floor type.
Using an adhesive that isn’t rated for rubber (or isn’t paired with the flooring system) can lead to release later due to poor chemical bonding or incompatible cure behavior.
Leaving thick old adhesive residue increases the chance of voids and weak bond thickness, which often shows up as edge lifting or seam bubbles.
– Using the wrong adhesive: generic glue, patchwork products, or adhesives not rated for rubber can release later.
– Skipping prep: bonding to dirty/crumbly subfloor or leaving thick old residue often causes re-lifting.
– Over-trimming too early: cutting back to “make it fit” while adhesive is uncured can create gaps and edge failure.
– Floating/interlocking floors treated like glued-down floors: if your system is meant to float, gluing it incorrectly may trap movement and cause future lifting.
Pros/cons: Repair vs. remediation vs. replacement
| Option | Best For | Pros | Cons |
|---|---|---|---|
| Re-bond localized lifting | Small seams/edges on a dry, stable substrate | Fast, low disruption | Recurrence if moisture/flatness is unresolved |
| Moisture + flatness remediation | Repeated lifting after repairs | Addresses root cause | More time and cost; may require contractors |
| Full replacement | Extensive lifting, major subfloor damage, or systemic failure | Solves widespread issues | Highest cost and scheduling impact |
Verdict: do this first, and know when to stop
For most cases of edge lifting on glued-down rubber, the best path is to re-bond the affected area using the manufacturer-approved adhesive and correct cure pressure—after checking for moisture and flattening the loose section first. If the subfloor is dry, this approach usually restores contact and stops the immediate failure mode.
That said, re-gluing isn’t magically aesthetic or universally durable. If moisture is active, or if the slab/subfloor is not flat enough, repeated lifting can keep coming back no matter how carefully you apply adhesive.
If lifting is localized and you confirm the subfloor is dry and sound, a controlled re-bond with the correct adhesive and full cure pressure is the most practical first attempt.
Escalate when moisture evidence is present or when lifting spans multiple areas, because the root cause may be in the substrate or environment, not in the rubber surface.
Skip DIY (or escalate to a flooring pro) if you see active moisture, significant subfloor damage, or extensive lifting across large areas ([ADD: threshold like “more than X sq ft” only if you can quantify your situation]).
Quick checklist (scan before you start)
– [ ] Determine floor type: glued-down vs interlocking/floating
– [ ] Check moisture signs around the lifted area
– [ ] Remove loose material and scrape old residue
– [ ] Clean with the right cleaner for rubber/adhesive compatibility
– [ ] Apply manufacturer-approved adhesive correctly
– [ ] Press/weight/roller to ensure full contact
– [ ] Wait full cure time before foot traffic ([ADD: exact cure time from your spec])
FAQ
Can I just glue down the lifting edge without removing old adhesive?
Often not reliably. If old adhesive residue or contaminants remain, the new bond may not grip—remove loose material and clean to the standard recommended for your adhesive system ([ADD: your adhesive/flooring spec]).
Why does rubber flooring lift after being installed recently?
Common causes include moisture in the subfloor, installation outside temperature/humidity limits, or insufficient pressure during cure. If lifting happened quickly, check conditions and subfloor first.
Will heat help flatten a curled rubber floor section?
Sometimes gentle re-seating helps, but excessive heat can damage rubber or the backing/adhesive. Follow manufacturer guidance for any temperature handling ([ADD: source for recommended method if available]).
What if the lifted area is near a wet zone (bathroom/kitchen)?
Moisture is the biggest concern. If the subfloor is getting wet, re-bonding alone may fail—address the leak/water source and subfloor drying first ([ADD: source for moisture requirements from your flooring system]).
Do I need to replace the entire floor?
Not always—many repairs are localized. However, if the underlying cause affects the whole installation (widespread moisture or major subfloor problems), replacement or more extensive remediation may be the real fix.
Sources
– [ADD: Manufacturer installation guide/spec sheet for your rubber flooring product] (for approved adhesives, surface prep, and cure/pressure requirements)
– [ADD: Manufacturer adhesive technical data sheet] (for application method, open/contact time, and cure window)
– [ADD: Moisture requirements/testing guidance from your flooring/adhesive manufacturer] (if your system specifies acceptable moisture limits)
– ASTM F1869 (standard for moisture vapor emission using calcium chloride; output unit lb/1000 sq ft/24h)
– ASTM F2170 (standard for in-situ relative humidity probes; output in %RH at slab depth)
– ASTM E96 (standard method for water vapor transmission/permeability; output in perm)
When rubber floors lift, the most effective fix is usually not “stronger glue”—it’s matching the adhesive system to the flooring type, doing correct prep, then curing under full pressure while you eliminate moisture and fix flatness/installation-condition problems. Start with moisture and edge-flatness checks, re-bond only what’s failing, and stop DIY if you find evidence that the subfloor environment is the real driver of the problem.
Frequently Asked Questions
Why do rubber floors start lifting or curling at the edges?
Rubber flooring can lift due to poor installation, insufficient acclimation, or subfloor moisture issues that weaken the adhesive bond. Temperature changes and high humidity can also cause expansion and contraction, especially with large rubber sheet or tile sections. If the subfloor is uneven or dusty, the floor may not adhere properly, leading to gradual lifting.
How do I fix lifting rubber floor tiles without replacing the whole floor?
Start by cleaning under the lifted area and removing any loose debris, dust, or old adhesive residue. If the subfloor is dry and flat, use a recommended rubber floor adhesive and apply a thin, even layer before pressing the tile down firmly. Weight the area and avoid foot traffic for the adhesive’s full cure time to prevent the edges from popping up again.
What’s the best way to re-adhere lifted rubber flooring safely?
Use the correct adhesive for your rubber type (sheet vs. tiles) and follow the manufacturer’s instructions for coverage and dwell time. For minor edge lifting, you can often lift just enough to clean and re-bond, then roll or press the area to restore contact. After re-adhesion, apply temporary weights or a roller and keep the floor dry and stationary until fully cured.
How can I prevent rubber floor lifting after repairs?
Ensure the subfloor is level, clean, and dry before reinstalling any sections, because moisture and unevenness are common causes of failed adhesion. Acclimate rubber flooring to the room temperature and humidity before installation, and maintain consistent indoor climate afterward. Regular cleaning with pH-neutral products and avoiding harsh chemicals will also help keep rubber flooring stable and reduce edge breakdown.
Which adhesive should I use for rubber floor lifting, and when should I call a professional?
The best choice is a manufacturer-approved adhesive designed for rubber flooring and your installation method (glue-down sheet, peel-and-stick, or tile). If the lifting is widespread, the subfloor shows moisture damage, or the floor bubbles due to trapped water or failed prep, it’s often better to consult a flooring professional to evaluate the subfloor and correct the root cause. Correct adhesive selection and addressing moisture or leveling issues are key for long-lasting repairs.
📅 Last Updated: October 11, 2026 | Topic: How to fix lifting on rubber floors? | Content verified for accuracy and freshness.
References
- Google Scholar Google Scholar
https://scholar.google.com/scholar?q=how+to+repair+lifting+rubber+flooring - Google Scholar Google Scholar
https://scholar.google.com/scholar?q=resilient+flooring+lifting+causes+moisture+delamination - Google Scholar Google Scholar
https://scholar.google.com/scholar?q=rubber+floor+tile+curling+installation+subfloor+preparation - https://en.wikipedia.org/wiki/Vinyl_floor
- Flooring
https://en.wikipedia.org/wiki/Resilient_flooring - F710 Standard Practice for Preparing Concrete Floors to Receive Resilient Flooring
https://www.astm.org/f710.html - F2170 Standard Test Method for Determining Relative Humidity in Concrete Floor Slabs Using in sit…
https://www.astm.org/f2170.html - WBDG
https://www.wbdg.org/resources/resilient-floor-coverings - https://pubmed.ncbi.nlm.nih.gov/?term=resilient+flooring+moisture+delamination
- https://www.cpsc.gov/Safety-Education/Safety-Guides/Carpet-and-Rugs