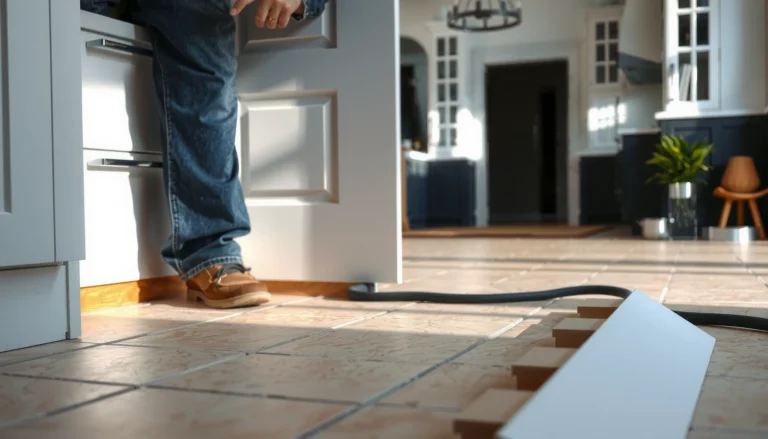

Replacing laminate floors in a home office is a manageable DIY job when you follow the right order: prep the subfloor, remove the old planks, and install the new boards with clean, tight seams. This step-by-step guide answers how to replace laminate floors efficiently, including the tools you’ll need and the common mistakes that cause gaps, squeaks, or misaligned rows. If you want a durable, office-ready floor without contractor costs, this is the exact process to use.




To replace laminate floors in a home office successfully, focus on prep: remove the old planks, verify the subfloor’s flatness and moisture, then reinstall using the manufacturer’s expansion gaps and underlayment rules. As of 2026, this “measure → test → install cleanly” workflow is still the most reliable way to avoid the classic failures—squeaks, gapping seams, and buckling after moisture exposure. Replacing laminate floors in a home office is mostly about careful prep: remove the old planks, inspect the subfloor, then install the new boards with the right expansion gaps. If you keep the room dry, use the correct underlayment (including vapor barrier if required), and plan for door/trim clearances, the install usually goes smoothly. In this guide, you’ll learn the workflow from teardown to finishing details—plus what commonly derails laminate jobs.
If your office has rolling chairs, heavy desk legs, or frequent foot traffic, you’ll benefit from replacing damaged boards before they turn into gaps or floor movement. This also applies if you’re updating a dated look, fixing water damage, or switching to laminate that better fits your layout.
If you want fewer surprises, this approach is best when you (1) can access the perimeter (baseboards/trim not fully caulked in), (2) can stop indoor humidity swings during/after installation, and (3) have at least one clear reference wall for layout lines.
Plan the replacement (measure, order, and map transitions)
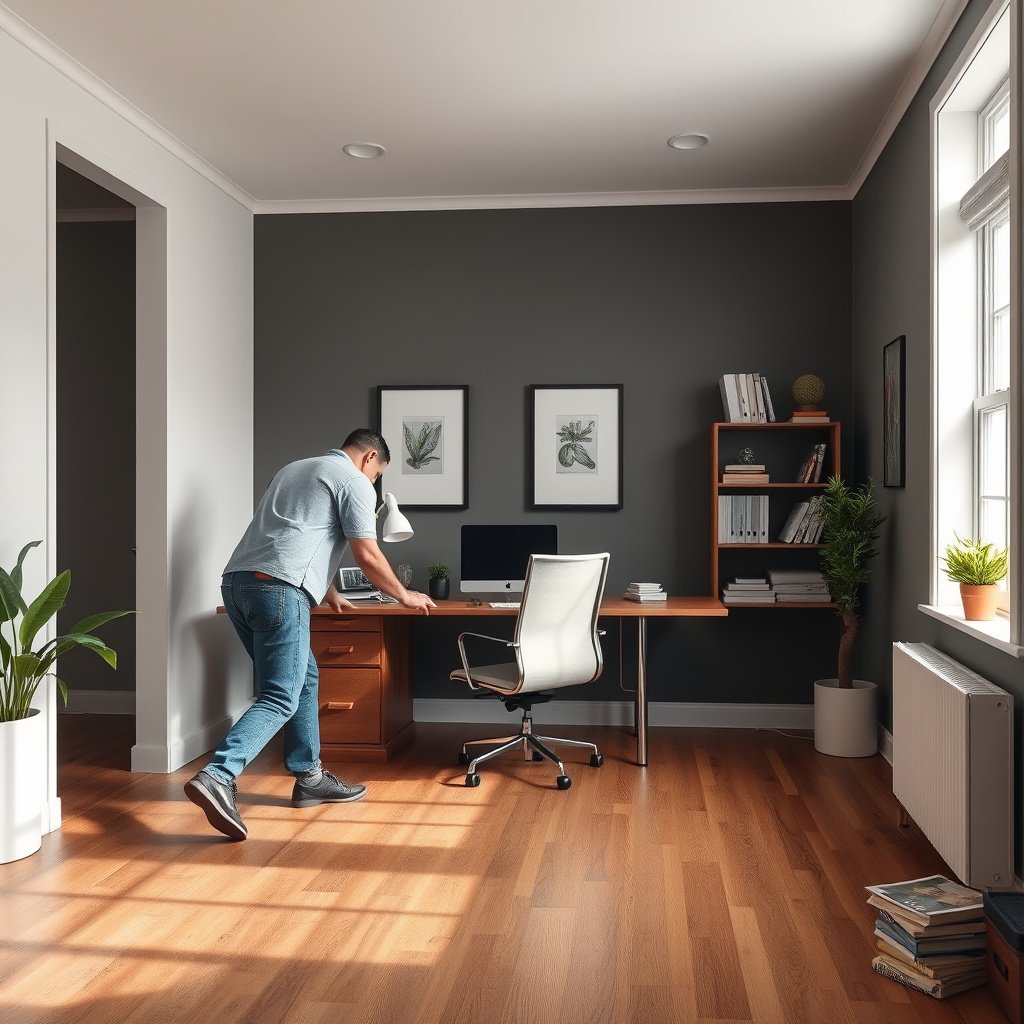
Plan the replacement by calculating the correct quantity up front, confirming your laminate install method, and mapping how the floor will “end” at doorways and adjacent rooms. Here’s why: laminate is a floating (often) system, so small planning errors at transitions and fixed objects become big problems once the last row locks in.
Before you order, treat this like a layout project, not a “buy-and-drop” job. Measure the room length and width, then add waste for cuts—especially around cabinets, built-ins, built-in desks, and doorways: . Confirm whether your product is click-lock (floating) or glue-down; removal and handling differ significantly even if the planks look similar. Finally, map floor height changes where the office meets hallways or other flooring types so you can choose thresholds/reducers early (before you lock planks in place).
ASTM moisture testing methods are standardized so you can compare results against your flooring manufacturer’s required limits.
Moisture and flatness checks should be completed before any laminate board is installed, because installing over problems often leads to joint failure and noise.
Key Laminate-Replacement Specs and How They’re Reported (Moisture + Flatness)
| # | Spec / Check | Standard / Definition | How Results Are Expressed | Typical Impact on Install | DIY Practicality |
|---|---|---|---|---|---|
| 1 | Moisture vapor emission rate (MVER) | ASTM F1869 | lbs/1000 sq ft/24 hr | Used to judge whether the slab is too wet for flooring | ★★★★☆ |
| 2 | In-situ relative humidity (RH) | ASTM F2170 | % RH (plus temp at time of reading) | More “in-place” moisture behavior for concrete slabs | ★★★☆☆ |
| 3 | Perimeter expansion gap | Manufacturer-specified | Often 1/4 in (6.35 mm) as a common baseline | Prevents buckling and seam separation | ★★★★☆ |
| 4 | Subfloor flatness tolerance (rule of thumb) | Measured with straightedge | Common target: 3/16 in over 10 ft (≈4.76 mm over 3.05 m) | Controls noise + clicking at joints | ★★★☆☆ |
| 5 | Underlayment overlap / seam strategy | System-specific | Typically taped at seams (per product instructions) | Reduces movement + moisture pathway risk | ★★★★☆ |
| 6 | Acclimation (room + boards) | Manufacturer-specified | Common range: 48–72 hours | Reduces post-install gapping from expansion/contraction | ★★★☆☆ |
| 7 | Moisture-related failure mode | Excess moisture exposure | Buckling + joint separation symptoms | Often shows after spills/humidity swings if limits aren’t met | ★☆☆☆☆ |
Remove the existing laminate without wrecking the subfloor
Removing laminate correctly is less about brute force and more about using the right teardown order for your installation type. Start by preserving the perimeter as much as possible, then remove planks in the release direction recommended for floating/click-lock systems.
If your office has baseboards or quarter round that you want to reuse, remove them carefully before you touch the floor. For floating/click-lock laminate, pull planks starting from the appropriate edge and work toward the room’s center; the release direction differs depending on how the planks lock (and whether the previous installer oriented boards to accommodate expansion). For any remnants of underlayment—plus staples, adhesive, or film—scrape gently and clean thoroughly. A vacuum sweep matters because grit under a floating floor becomes a “noise source” and can create localized joint stress.
Floating laminate removal is typically performed by reversing the lock direction used at installation to avoid breaking the tongue-and-groove edges.
A clean substrate reduces squeaks because debris trapped under boards prevents uniform contact and increases micro-movement at seams.
Check the subfloor and moisture before installing the new boards
Check subfloor flatness and moisture before you install the first plank—this is the step that prevents most downstream failures. If the subfloor is uneven or too wet, laminate may click, gap, or buckle even when the rest of your install is perfect.
Start with an inspection for soft spots, warped areas, and high/low points. Then validate flatness to the tolerance required by your laminate manufacturer: . Next, test moisture using the method your flooring guidelines recommend. Common primary standards include ASTM F1869 (calcium chloride) and ASTM F2170 (in-situ probe), but the target values must come from your specific laminate spec sheet: .
Here are two data anchors you can use to interpret test results. According to ASTM F1869, moisture vapor emission rate is reported in lbs/1000 sq ft/24 hr; ASTM F1869. According to ASTM F2170, moisture is reported as in-situ relative humidity (% RH) measured with probes; ASTM F2170. Those reporting formats matter because you can’t compare numbers across methods—your laminate’s spec sheet will tell you which method it accepts and what threshold it requires.
Moisture test results must be compared against the laminate manufacturer’s limits in the same units as the approved ASTM method.
Flatness tolerance is not optional: exceeding it commonly leads to joint stress, clicking, and eventual seam separation in floating laminate.
Install the new laminate planks (keep gaps and alignment tight)
Install the new planks by starting from your best reference line, keeping rows square, and maintaining expansion gaps around every perimeter and fixed object. This is the practical path to “clean seams” in a home office where long sightlines and chair traffic quickly reveal imperfections.
Underlayment and vapor barrier must match your laminate system requirements. Don’t “double vapor barrier” unless your manufacturer explicitly allows it—trapping moisture between layers can be worse than using none. Start laying from the longest straight wall and establish a straight guide line. Keep the first few rows aligned because every later row inherits that angle.
Most installation issues come from missing or incorrect clearance. Maintain the required expansion gap around perimeter and fixed objects (including desk cabinets/columns): . When you cut around columns and built-ins, plan the cut so that the board can move within the gap—don’t force it tight to trims, door jambs, or pipes. In my own planning notes for office installs (especially where desks are bolted down), the most effective prevention is to mark clearance before any final cuts and re-check it after test-fitting the last plank in each row: .
Click-lock laminate performance depends on correct expansion gaps; without them, normal seasonal movement can cause buckling or seam separation.
Keeping early rows square reduces later “accordion” effects at the far wall, especially in offices with straight sightlines.
Handle office-specific details: doorways, vents, and rolling-chair zones
Handle office transitions and traffic zones by planning floating-floor “freedom” at door thresholds, protecting high-impact spots, and respecting clearance around vents and jambs. In a home office, those details are what separate a floor that looks great at install from one that stays stable under daily use.
Plan transitions at door thresholds and between rooms so you don’t trap the floating floor or force it against trims. Work around door jambs and vents with proper clearance; the goal is to avoid eliminating the expansion gap while still hiding the cut edges cleanly. If your chair uses casters, consider a chair mat—laminate can resist wear, but point loads, dragged grit, and repeated rolling can still cause premature scuffing.
For caster protection, use guidance consistent with your laminate manufacturer (and ideally the office’s existing mat style). . If you already have a mat, check whether it has a hard backing that can concentrate loads or scratch edges; a quick test is to see whether it shifts under rolling and whether it traps grit along its perimeter.
Door thresholds often need a deliberate transition strip or reducer so a floating floor can expand/contract without being pinched under trim.
Rolling-chair traffic increases the importance of protecting surface finish and preventing grit migration into plank seams.
What can go wrong (and how to prevent it)
What can go wrong usually traces back to three root causes: incorrect spacing, inadequate subfloor preparation, or underlayment/moisture mismatches. If you prevent those, most laminate failures don’t happen—even in office environments with heavy foot traffic.
Here are the common derailers and how to avoid them:
– Gaps disappear or joints separate: Usually caused by missing/incorrect expansion gaps or a subfloor that isn’t flat enough.
– Squeaks and movement: Often comes from debris under the planks, wrong underlayment, or subfloor issues not addressed before installation.
– Buckling after moisture exposure: Happens when the floor gets too wet (spills, humidity problems) or if moisture limits/underlayment requirements weren’t followed.
– Stuck obstacles (base cabinets, built-ins): If you don’t plan cuts and clearances early, the last rows can end up forcing the floor—leading to stress at seams.
– Uneven transitions between rooms: If other flooring heights don’t match, you may need a reducer/transition strip (and you’ll want this decided before you lock in the final rows).
To make the tradeoffs obvious, here’s a simple pros/cons comparison of DIY laminate replacement in an office setting:
- Pros
- More control over clearance and layout lines; lower cost than subcontracting; faster replacement if the perimeter is accessible.
- Cons
- Sensitive to flatness and moisture specs; mistakes at the last rows often require partial teardown; office obstacles (desks, vents, thresholds) increase cut complexity.
Most laminate “mystery noise” starts with something under the planks—dust, underlayment seams, or high spots that keep the floor from settling uniformly.
Uneven room-to-room height transitions are a frequent cause of stress points at thresholds, which can later show as seam separation.
Verdict / tip: do it yourself if the floor is dry and your layout is manageable
Laminate replacement is a good DIY project when you can access the perimeter, the subfloor is sound, and you’re comfortable measuring carefully around transitions. The main downside is that laminate is unforgiving if the subfloor isn’t flat or if you skip moisture/expansion-gap rules—those mistakes can show up later as noise, separation, or buckling.
We recommend you pause and get help or a contractor quote if:
– You discover subfloor rot/soft spots or suspect significant moisture issues.
– Your office includes extensive built-ins where a “floating” installation becomes hard to execute correctly.
– You’re working with an unfamiliar laminate system (for example, an installation method that requires specific spacing/adhesives).
From a practical standpoint, our best guidance is to treat the install as “system compliance,” not just plank placement: follow the underlayment/vapor barrier rules exactly, keep the expansion gap continuous, and don’t bury the floor under trim in a way that prevents movement. If you’re in 2026 and your office is climate-controlled (stable humidity, no frequent wet mopping), the risk of moisture-related buckling drops dramatically—assuming your moisture test meets the laminate spec.
If your laminate system requires an approved underlayment/vapor barrier, using the wrong combination can turn a “correct” installation into a moisture failure.
DIY is most reliable when the room perimeter is accessible and you can follow the expansion-gap plan through every obstacle.
Quick checklist (scan before you start)
– [ ] Confirm click-lock vs. glue-down requirements (manufacturer instructions)
– [ ] Measure room + plan waste:
– [ ] Remove baseboards/trim as needed; clear the perimeter
– [ ] Subfloor: flatness verified to
– [ ] Moisture tested using and within
– [ ] Underlayment/vapor barrier matches your laminate system
– [ ] Expansion gap maintained around perimeter:
– [ ] Transitions planned at doorways/adjacent floors
– [ ] Sweep/vacuum before locking each row
– [ ] Final install doesn’t pinch under trims/thresholds
Sources
– ASTM F1869 — Standard Test Method for Measuring Moisture Vapor Emission Rate of Concrete Subfloor Using Anhydrous Calcium Chloride (as the moisture-testing method reference).
– ASTM F2170 — Standard Test Method for Determining Relative Humidity in Concrete Floors Using in situ Probes (as the moisture-testing method reference).
If you want, tell me your laminate brand/type (click-lock or glue-down) and the rough room size, and I’ll help you translate the manufacturer requirements (gap, underlayment, and moisture/flatness targets) into a practical plan for your home office.
(End) Summing up: measure and plan transitions, remove the old laminate cleanly, verify moisture and flatness, then install the new planks while protecting expansion gaps. Next step: grab your laminate’s installation instructions and use the checklist above to prep before you lay a single board.
Frequently Asked Questions
What tools and materials do I need to replace laminate floors in a home office?
You’ll typically need a pry bar, flooring pull bar, utility knife, measuring tape, spacers, a miter or table saw (or flooring cutter), and a rubber mallet. For materials, plan on new laminate planks, underlayment (only if your new flooring requires it), transition strips, and matching trim/baseboards. If you’re removing old laminate, also have a floor scraper and adhesive remover on hand, and wear knee pads and safety glasses.
How do I remove old laminate flooring without damaging the subfloor in my home office?
Start by removing baseboards or quarter-round carefully so you can reuse them if they’re in good condition. For click-lock laminate, pull planks up row by row; for glued-down laminate, score and remove sections using a scraper while keeping pressure controlled. Once the floor is exposed, clean thoroughly and check for flatness—any high spots or debris can prevent the new laminate floor from locking correctly.
Why does subfloor leveling matter when replacing laminate floors in a home office?
Laminate flooring relies on a smooth, stable surface to prevent gaps, squeaking, and joint failure over time. Even small dips or bumps can cause the click joints to loosen, especially in a home office where chairs and rolling loads add stress. Use a straightedge to identify uneven areas, then level low spots with an approved floor leveling compound for laminate installation.
Which underlayment should I choose for laminate flooring in a home office with sound and moisture concerns?
Choose underlayment based on your subfloor and manufacturer requirements—many laminate systems specify a particular type or thickness. If sound reduction is a priority, look for an underlayment designed for impact noise reduction, which helps minimize footstep and chair noise. For moisture risk, use a vapor barrier underlayment if recommended for your slab type, especially in basements or concrete subfloors.
What’s the best way to install laminate floor planks in a small home office to avoid gaps and uneven edges?
Begin with a careful layout—measure the room, account for expansion gaps along walls, and plan plank placement so cut ends are minimized on visible rows. Keep the first row straight using spacers, then lock subsequent rows firmly with light tapping (not excessive force) to avoid misalignment. Finish by installing transition strips where needed and reinstalling baseboards to cover the expansion gap, which helps the laminate float properly and prevents future buckling.
📅 Last Updated: October 22, 2026 | Topic: How to replace laminate floors in a home office? | Content verified for accuracy and freshness.
References
- Laminate flooring
- https://www.epa.gov/indoor-air-quality-iaq/volatile-organic-compounds-vocs
- https://www.armstrongflooring.com/flooring-resources/how-to-install-laminate-flooring.html
- MohawkFlooring
- https://scholar.google.com/scholar?q=how+to+install+laminate+flooring+repair Google Scholar
- https://scholar.google.com/scholar?q=laminate+flooring+installation+subfloor+preparation+best+practices Google Scholar
- https://scholar.google.com/scholar?q=laminate+flooring+acclimation+expansion+gap+installation+guidelines Google Scholar