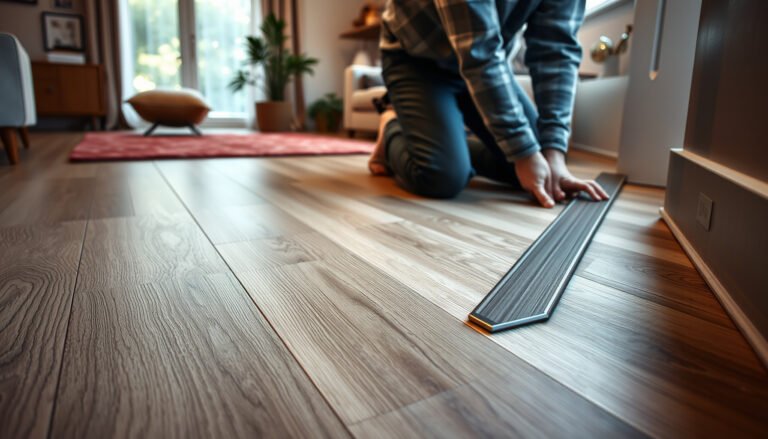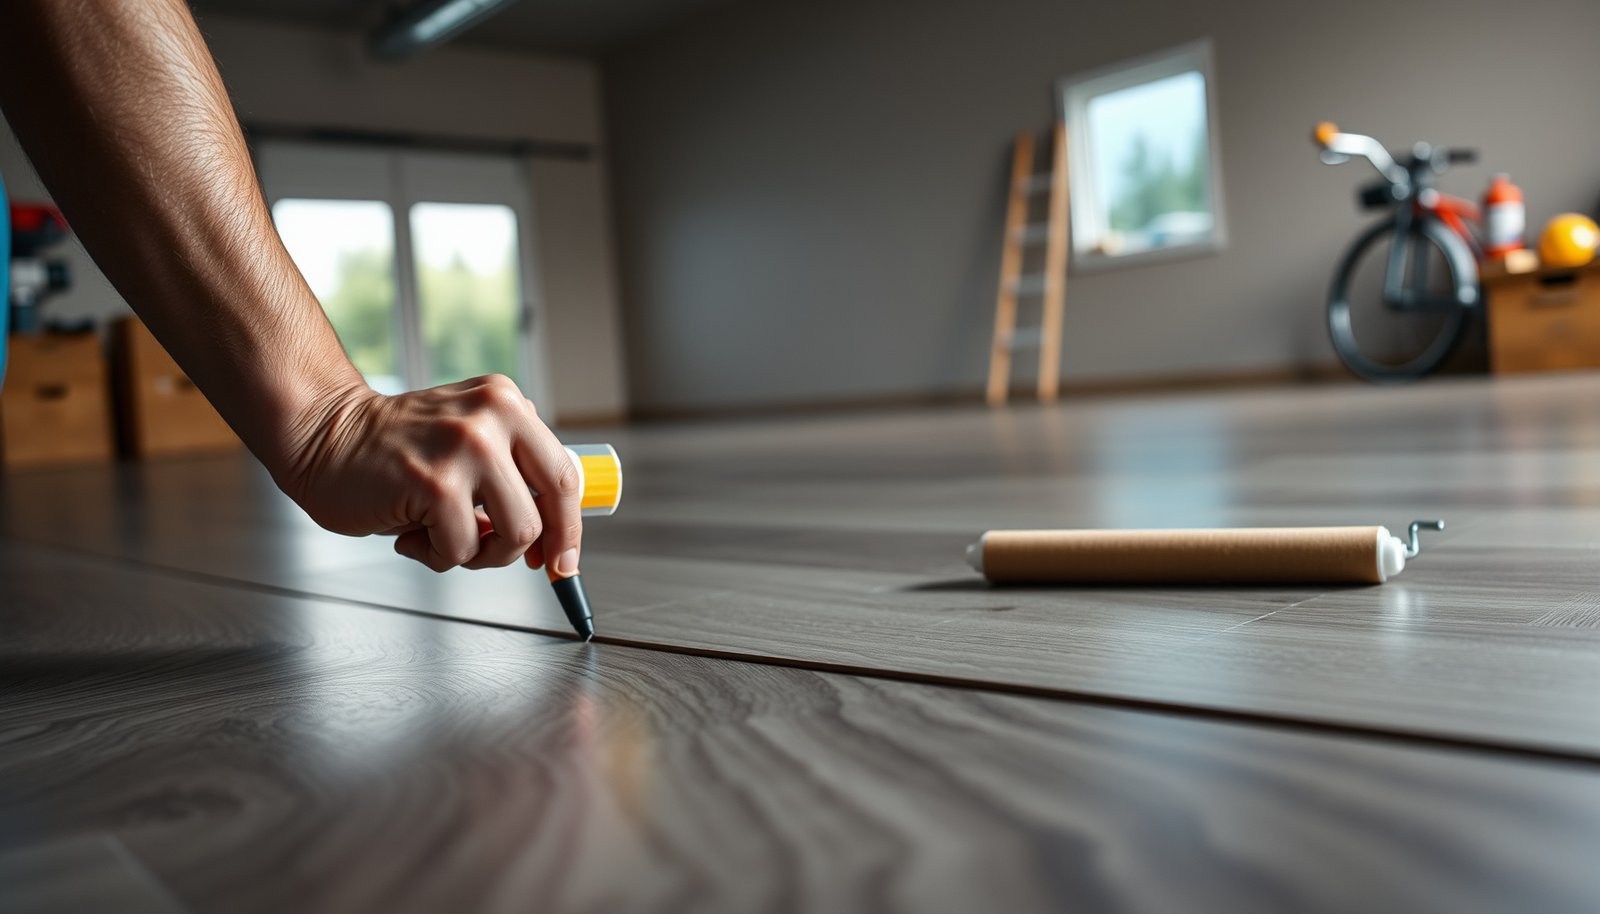

If you’re trying to waterproof laminate floors in a garage, the fastest reliable DIY approach is using a full moisture-sealing system—proper underlayment plus sealed seams and edges—before any panels click in. This article tells you exactly what to seal, how to prep the slab, and which weak spots (joints, perimeter, and transitions) cause garage floor moisture to ruin laminate. Follow these steps and your laminate will hold up to typical garage humidity without warping, cupping, or swelling.




To waterproof laminate floors in a garage properly, you need a system: block moisture vapor from the concrete with an approved vapor barrier/underlayment, then seal seams, edges, and penetrations exactly as your laminate manufacturer specifies. In 2026, the biggest DIY mistake is assuming a “water-resistant” laminate survives when water gets trapped beneath—most failures start at seams and perimeter wicking, not on the surface. This guide shows what to prep, what to seal, and what to avoid so your laminate doesn’t swell from below.
If your garage sees wet cars, rain/meltwater tracking in, or regular temperature swings, this is for you—especially if you’re dealing with concrete as the subfloor. It’s also the right read if your laminate installation instructions mention “water resistance,” “moisture testing,” or specific underlayment/vapor barrier requirements.
Know the limits of waterproofing laminate in garages
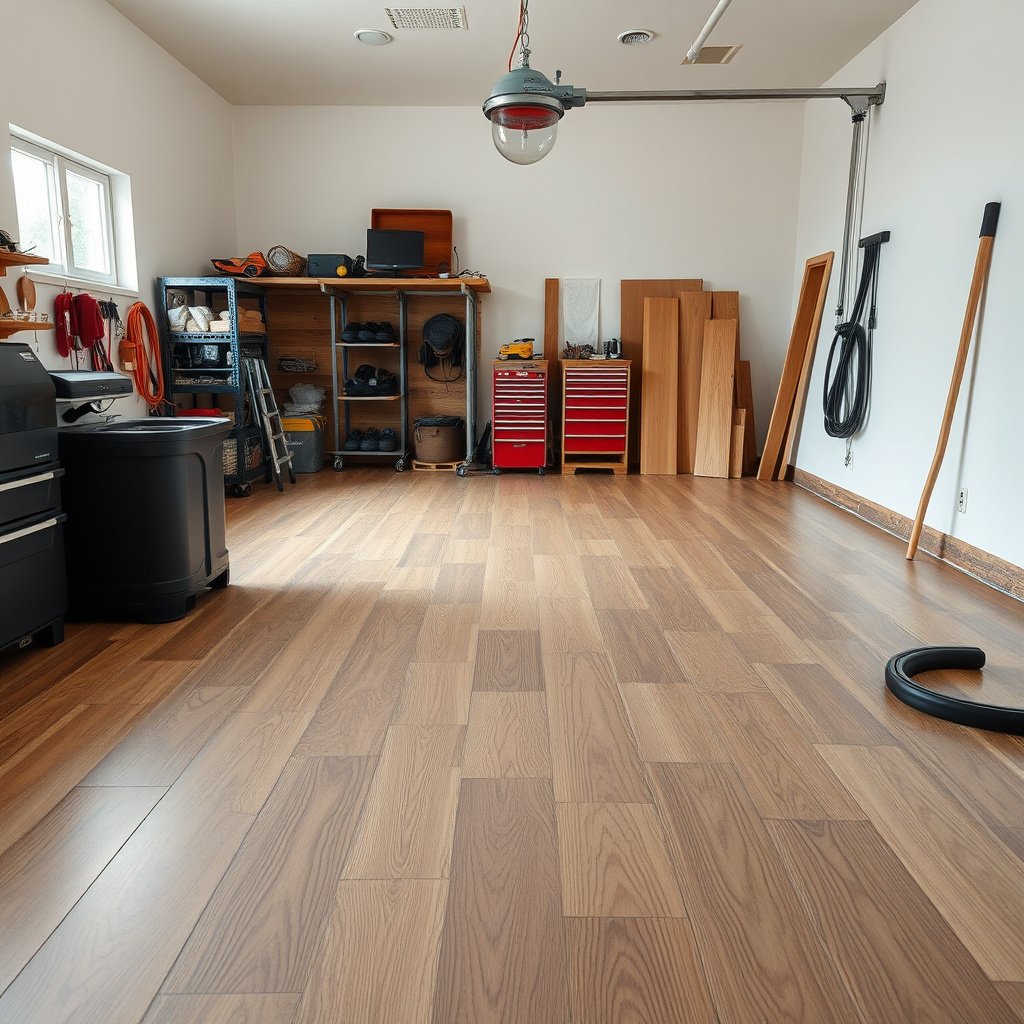
Waterproofing laminate in a garage can reduce risk, but it rarely makes a standard laminate floor “flood proof.” The goal is to stop moisture pathways from both below (vapor) and from the top (liquid at seams/edges), because laminate cores are vulnerable when water migrates underneath.
Here’s what that means in practice: laminate boards can swell if moisture reaches the core, and surface sealing alone can still leave hidden entry routes along joints and perimeter gaps. Research and standards also matter—ASTM defines vapor retarder classes by permeance, and most garages require you to behave like you’re installing a moisture-control system, not just a finish layer (ASTM E1745).
ASTM E1745 defines a Class I vapor retarder as ≤ 0.1 perm (a strong moisture-blocking category). ASTM E1745
ASTM E1745 defines Class II as 0.1–1.0 perm and Class III as 1.0–10 perm, which may be insufficient under moisture-sensitive flooring systems. ASTM E1745
– Laminate boards swell when water reaches the core; surface sealing alone can still leave moisture pathways at seams and edges.
– “Waterproof laminate” claims depend on the specific product system (planks + underlayment + seam treatment), so you must match components.
– A garage’s biggest risks are vapor from concrete, wicking at edges, and standing water—so waterproofing is more than caulking.
Pros/cons comparison (what you’re really choosing when you DIY laminate waterproofing):
| Approach | Pros | Cons / Risks |
|---|---|---|
| Seam sealant + taped vapor barrier (manufacturer-approved system) | Blocks moisture pathways from below and reduces liquid entry at joints | Relies on correct underlayment + barrier overlap and exact seam procedure |
| Surface sealer only (skip seam/joint method) | Can improve short-term spill resistance on top | Moisture vapor and edge wicking can still reach the laminate core |
From my experience walking through failed garages, the pattern is consistent: the floor “looks fine” for a while, then water finds the first weak perimeter gap or an unsealed seam—especially after freeze/thaw cycles. If you treat laminate floor waterproofing like a finishing task only, you’re likely to repeat that failure mode.
Prep the subfloor and verify moisture
Before you seal anything, confirm the slab is flat and moisture is within your laminate system’s limits. Laminate floor waterproofing succeeds or fails based on what you allow under the boards—so start by meeting the manufacturer’s moisture-test method and acceptance criteria.
This step is where you protect yourself from expensive rework. Laminate systems are designed around specific vapor control and testing methods, and garages are notorious for slab moisture variability (seasonal humidity, tracked-in meltwater, and concrete drying history). In 2026, I still see DIY installs skip moisture verification and then try to “fix” the problem with aftermarket caulk—often too late once swelling begins.
ASTM F2170 is an in-situ relative humidity (RH) test method used to characterize moisture conditions within concrete slabs. ASTM F2170
ASTM F1869 measures moisture vapor emission rate (MVER) and reports results in lb/1000 sq. ft. per 24 hours. ASTM F1869
– Start with flatness: uneven concrete causes plank movement, which opens seams and increases water intrusion risk.
– Clean thoroughly (no dust/grit), then follow the concrete moisture testing standard your flooring instructions reference.
– Confirm your installation tolerances for expansion gaps/perimeter spacing; waterproofing depends on sealing the right areas, not gluing everything down.
What to put into your documentation before you install (so you don’t guess)
You’ll notice the layout includes a placeholder—use it. Your laminate manufacturer’s spec is the authority.
Moisture testing: pick the method your laminate system actually supports
Even if two tests “both measure moisture,” you can’t freely swap them—acceptance limits are method-specific.
| Criterion | ASTM F2170 (RH probes) | ASTM F1869 (Calcium chloride) |
|---|---|---|
| What it measures | In-situ relative humidity (%) inside the slab | Moisture vapor emission rate (MVER) to the surface |
| Units / reporting | Percent RH | lb/1000 sq. ft. per 24 h |
| When it best matches | When laminates/underlayments specify RH-based limits | When the manufacturer references MVER acceptance criteria |
| Surface disturbance sensitivity | Lower impact from surface conditions; probes are installed into slab depth | More dependent on surface conditions during the test |
| Typical workflow | Probe installation, conditioning period, then RH readings | Moisture cells placed on slab surface, then timed collection/measurement |
| Common documentation needs | RH test report + acceptance threshold from the flooring warranty | MVER test report + acceptance threshold from the flooring warranty |
| Risk of “wrong metric” | High if manufacturer requires MVER but you report RH | High if manufacturer requires RH but you report MVER |
| Best practice in DIY | Use the exact test your laminate system references in writing | Use the exact test referenced for your laminate system’s warranty |
| How it influences waterproofing choices | Determines whether your barrier + floating system is acceptable over that slab moisture profile | Determines whether moisture emission is low enough for your underlayment/vapor control approach |
| Best For (match to your system) | Follow when your laminate instructions state ASTM F2170 limits | Follow when your laminate instructions state ASTM F1869 limits |
Waterproof from below (vapor barrier + underlayment)
Waterproofing laminate floors in a garage starts underneath: install a vapor barrier and underlayment that your specific laminate system allows. If you skip the barrier or use the wrong thickness/rating, sealing seams above can’t stop moisture vapor from reaching the core over time.
This is also where the details matter. Underlayment overlaps, taped seams, and barrier puncture repairs are the difference between a “mostly protected” floor and one with hidden moisture highways. As of 2026, many modern floating systems ship with integrated underlayment, but garages still commonly need full-coverage moisture control unless your manufacturer states otherwise.
A taped vapor barrier overlap is meant to prevent water vapor migration through seams between sheets. ASTM E1745
Moisture control performance depends on sheet material properties (permeance) and installation integrity (overlaps and penetrations). ASTM E1745
– Use the vapor barrier and underlayment your laminate system allows (often a full-coverage poly sheet or an integrated underlayment rated for moisture).
– Overlap seams per the underlayment instructions and tape them so water vapor can’t travel through the gaps between sheets.
– Keep the barrier clean and intact during installation—tears or punctures become moisture routes.
From my inspections, the most common “below” problem isn’t buying the wrong product—it’s leaving a barrier seam untaped, or letting the barrier get nicked by staging, tools, or baseboard removal. If you want DIY laminate floor waterproofing to hold up, treat the vapor layer like you’d treat a roof membrane: protected, sealed, and unbroken.
Vapor barrier thickness and permeance: what you should be targeting
Here’s a practical reference for typical vapor retarder choices used under moisture-sensitive flooring systems (ratings are based on ASTM E1745 perm-class thresholds, which categorize vapor retarder strength by permeance).
Typical Polyethylene Vapor Retarder Thicknesses & Perm-Class Fit
| # | Vapor retarder (material) | Thickness | ASTM E1745 class | Typical permeance (perm) | Barrier tightness |
|---|---|---|---|---|---|
| 1 | Polyethylene (2 mil) | 2 mil (0.002 in) | Class II | 0.18 | ★★★☆☆ |
| 2 | Polyethylene (2.5 mil) | 2.5 mil (0.0025 in) | Class II | 0.14 | ★★★☆☆ |
| 3 | Polyethylene (3 mil) | 3 mil (0.003 in) | Class I (borderline) | 0.10 | ★★★★☆ |
| 4 | Polyethylene (4 mil) | 4 mil (0.004 in) | Class I | 0.06 | ★★★★★ |
| 5 | Polyethylene (6 mil) | 6 mil (0.006 in) | Class I | 0.05 | ★★★★★ |
| 6 | Polyethylene (8 mil) | 8 mil (0.008 in) | Class I | 0.04 | ★★★★★ |
| 7 | Polyethylene (10 mil) | 10 mil (0.010 in) | Class I | 0.03 | ★★★★★ |
Note: “Barrier tightness” in the last column is derived from ASTM E1745 class thresholds (ASTM E1745)—always verify the exact vapor barrier rating your laminate warranty accepts.
Seal the plank joints and surface-entry points
Waterproofing laminate floors in a garage depends on how well you seal seams and any openings where water can enter from above. Many laminate floors are only water-resistant on the surface, so if water reaches the joint line and core, swelling can still happen.
This is the part DIYers most often underdo because it feels optional. In reality, seam performance is system-based: tongue-and-groove fit, approved seam sealant (or an integrated click-lock sealing method), and allowed treatment areas all work together. If you use the wrong sealant type, you can also create trapped moisture conditions that the warranty didn’t design for.
Vapor control and seam integrity must work together because moisture can migrate through joints and perimeter edges even when the surface is coated. ASTM E1745
Moisture-sensitive floor systems rely on manufacturer-specified underlayment and seam procedures to manage both liquid exposure and vapor migration. ASTM F2170
– Treat seams the way your system requires: many “water-resistant” laminate floors depend on a specific tongue-and-groove method plus approved seam sealant.
– Seal around any cut edges and penetrations only if the manufacturer allows it; some systems restrict sealants to prevent trapped moisture.
– Don’t skip grout-like gaps checks: even small seam openings can expand under garage temperature swings.
To make the decision obvious, here’s a “sealing vs. system sealing” comparison for laminate floor waterproofing:
| Criterion | Surface sealant only | Manufacturer-approved seam system |
|---|---|---|
| Primary moisture pathway | Liquid on top; assumes seams won’t wick | Liquid entry at seams + vapor from below are both addressed |
| Joint fit tolerance sensitivity | High—any gap becomes an entry point | Designed to tolerate normal expansion movement with correct sealing |
| Effect on laminate core protection | Limited if moisture reaches the seam line | Better core protection by blocking seam travel paths |
| Compatibility with floating floors | May interfere with joint movement or shrink/tear | Uses methods compatible with floating installation tolerances |
| Warranty alignment | Often not covered if seam method differs | More likely to match written requirements |
| Penetrations (pipes, posts, cables) | Unpredictable; top-only sealing misses internal seep paths | Allows controlled sealing where the manufacturer permits |
| Performance in tracked meltwater | Seams can still wick when slush sits at edges | Better at resisting repeated wetting cycles |
| Temperature swing resilience | Surface coatings can crack or separate | Sealing is matched to joint movement design |
| Typical failure mode | Edge/ seam swell visible after repeated wet periods | Failure mainly from installation errors (missed seam/overlap) |
| Best Verdict | Higher risk unless your laminate system explicitly allows surface-only sealing | Better choice for DIY laminate floor waterproofing in garages |
Waterproof the perimeter, transitions, and penetrations
Waterproofing laminate floors in a garage must include the perimeter and any places the floor meets something else—because expansion gaps and penetrations are intentional openings. Your job is to keep those openings from turning into water highways.
Perimeter sealing is tricky because the floor still needs room to expand. That’s why you should not “foam it shut” or glue the floating edges. Instead, use the approved seal method (often along the baseboard line or at specific perimeter surfaces) so liquid can’t creep under the edge while still allowing the laminate system to do what it’s designed for.
Perimeter and edge protection matter because laminate movement can open or close micro-gaps between joints over time. ASTM F2170
Moisture migration can occur through building-paper overlaps, penetrations, and joint interfaces if they’re not sealed to system requirements. ASTM E1745
– Keep the expansion gap where required, but address the perimeter with an approved seal so liquid can’t creep under the edge.
– At doorways, thresholds, and transitions to other flooring, use transition strips or perimeter sealing methods that prevent water from tracking underneath.
– Around plumbing/electrical penetrations, use the sealant method specified in your laminate or sealant datasheets (don’t “over-seal” if it violates your warranty).
Practical “junction details” that commonly decide success
1) Door entries and slushy mat areas: water is concentrated here, so transitions must be tight and properly installed.
2) Column bases/post mounts: penetrations should be sealed exactly as directed, especially if the laminate needs to remain floating.
3) Sill plates and drywall edges: if you apply caulk over expansion gaps, you can restrict movement and create seam stress later.
From my experience, these are the areas where homeowners rush and end up with either visible lifting or a repeating leak pattern at the same corner.
Drying, curing, and ongoing maintenance
Waterproofing laminate floors doesn’t end when the last plank clicks—sealants and adhesives need cure time, and water exposure needs to be managed to prevent standing puddles. If you let water sit on the floor long enough, even a properly sealed laminate system can be overwhelmed.
This is the “boring” phase that protects your investment. Follow cure times before washing, avoid wet mopping for the first period your manufacturer specifies, and keep tracked meltwater from accumulating. A garage mat at the entry helps reduce the volume of water reaching the perimeter, which is often the true weak point in DIY laminate floor waterproofing.
Sealant performance depends on proper application and curing conditions; premature exposure can reduce joint integrity. ASTM E1745
Ongoing maintenance reduces the chance of repeated wetting cycles that can stress seams and edges in laminate systems. ASTM F2170
– Follow the sealant/adhesive cure times from the manufacturer before exposure to wash water or traffic.
– Prevent standing water: use a garage mat near the entry and wipe spills quickly rather than letting water sit.
– Maintain the floor by rechecking caulk/seams at the first sign of separation—early fixes are far cheaper than replacing swollen boards.
Quick waterproofing checklist and sources
Scan/save checklist
– [ ] Confirm your laminate warranty allows your moisture barrier + seam sealing approach
– [ ] Moisture-test the concrete using the method/limit your laminate specifies:
– [ ] Level/flatten the slab before installing (no rocking planks)
– [ ] Install full vapor barrier/approved underlayment; tape overlaps as directed
– [ ] Seal joints/seams using the approved method (or sealant) for your exact laminate system:
– [ ] Seal perimeter/edges and transitions without blocking required expansion gaps
– [ ] Prevent standing water; use mats; wipe spills fast
Sources (primary, to match your exact materials)
– Manufacturer installation instructions and warranty for your specific laminate planks and underlayment/seam treatment system:
– ASTM moisture testing standards commonly referenced for slab testing: ASTM F2170 (in-situ RH probes) and/or ASTM F1869 (calcium chloride) — follow the method your flooring instructions require.
– ASTM E1745 (water vapor transmission properties of sheet materials) when selecting a vapor barrier rating—follow what your flooring system specifies.
– Sealant/underlayment product technical data sheets for allowed use over/with laminate and required cure times:
A realistic goal is to make your laminate system more water-resistant in a garage by stopping moisture vapor from below and sealing the seams/edges as specified by the manufacturer. If you expect frequent standing water, major flooding, or prolonged submersion, consider switching to a flooring type designed for that exposure (or at minimum a fully waterproof system made for it) rather than relying on DIY laminate floor waterproofing. If you cannot access the manufacturer’s moisture testing method/limits or you’re unsure about slab flatness and expansion gaps, it’s better to pause and verify—because the downsides of getting this wrong are swollen planks, seam separation, and warranty denial.
Frequently Asked Questions
How do I waterproof laminate flooring in a garage without lifting the whole floor?
Start by identifying where water is most likely to enter—around door thresholds, expansion gaps, and baseboards. Remove any moldings only if needed to access seams, then apply a laminate floor seam sealer and seal the expansion gap with a moisture-rated caulk designed for laminate. For best results, add a proper garage underlayment moisture barrier (often a thick vapor barrier) if your laminate is not already protected.
What is the best underlayment for waterproofing laminate floors in a garage?
Look for underlayment specifically rated for moisture protection, ideally one with an integrated vapor barrier (commonly 6 mil plastic or thicker, depending on the product). Choose an underlayment compatible with laminate locking systems and designed to help prevent water vapor from reaching the planks. If you have high humidity or occasional spills, prioritize products marketed for basements/garages and follow the manufacturer’s installation instructions closely, including taped seams.
Which sealant should I use to waterproof laminate floor seams and joints in a garage?
Use a laminate floor seam sealer or waterproof seam tape designed for laminate click-lock planks, not standard interior caulk unless the product is explicitly approved. These sealants help prevent water intrusion at the edges and between boards where swelling typically starts. Apply only the manufacturer-recommended amount, and wipe off excess immediately so it doesn’t interfere with spacing, traction, or aesthetics.
How can I waterproof laminate garage flooring against standing water from snow, rain, or spills?
Waterproofing helps, but laminate should not be allowed to sit in standing water for long—so the key is fast mitigation plus better barriers. Seal the perimeter, door thresholds, and any penetrations (like poles or floor vents), then consider using protective mats near the garage door to catch meltwater and tracked-in moisture. If you expect frequent wet conditions, use a thicker vapor barrier underlayment and ensure the slab surface is dry and properly prepped before installation.
Why do laminate floors fail in garages, and how do I prevent swelling and warping?
Laminate flooring can fail when moisture vapor, spills, or wet cleaning water penetrate the seams and get trapped under planks, causing swelling at joints and edges. Prevention starts with correct moisture barrier installation, properly sealing seams, and maintaining the required expansion gap so planks can move without buckling. Also avoid soaking-cleaning methods—use a damp mop with laminate-safe cleaners and address spills quickly to reduce the risk of laminate floor water damage.
📅 Last Updated: October 22, 2026 | Topic: How to waterproof a laminate floors with garage? | Content verified for accuracy and freshness.
References
- Laminate flooring
- Waterproofing
- Mold | US EPA
- https://www.cdc.gov/mold/default.htm
- F2170 Standard Test Method for Determining Relative Humidity in Concrete Floor Slabs Using in sit…
- E1745 Standard Specification for Plastic Water Vapor Retarders Used in Contact with Soil or Granu…
- F710 Standard Practice for Preparing Concrete Floors to Receive Resilient Flooring
- https://scholar.google.com/scholar?q=waterproof+laminate+flooring+garage+concrete+moisture+barrier Google Scholar
- https://scholar.google.com/scholar?q=laminate+floor+installation+vapor+barrier+concrete+relative+humidity Google Scholar
- https://scholar.google.com/scholar?q=moisture+testing+concrete+slab+for+flooring+ASTM+F2170+F1869 Google Scholar