
Learn how to install around basement cabinet floors with a step-by-step method that prevents gaps, buckling, and uneven transitions. This guide delivers the exact sequence—prepping the subfloor, measuring and cutting tight around cabinet bases, and finishing with the right trim and sealing—so the install looks clean and stays solid. If your basement cabinets limit access, this approach is the fastest way to get a durable floor fit without reworking the cabinets.




If you’re installing basement flooring around cabinets, the cleanest approach is to plan a consistent floor reveal, remove or lift cabinet toe-kicks where possible, and use precise cuts to keep expansion gaps and transitions correct. In most cases, you’ll either run the flooring under the cabinet where the toe-kick is removed or stop at the cabinet line and finish with trim/transition pieces. This guide walks you through how to measure, cut, and finish the area so the floor looks intentional and won’t buckle.
If your basement already has cabinets installed (or you’re installing flooring after cabinets are in), you’re dealing with awkward edges, uneven walls, and the need to preserve expansion space. These steps are written for common basement flooring installs like LVP/LVT, laminate, and many floating-type systems—but specific methods vary by flooring type, so read your product instructions alongside this layout.
Who this is for / when it applies
This is for homeowners and installers preparing a basement floor around fixed base cabinetry, especially when you’re using a floating/locking system (LVP click-lock, laminate, some floating engineered floors) or a semi-fixed system that still requires perimeter spacing. If your floor is glued down everywhere or your cabinet toe-kicks are permanently sealed, you may need to adapt the “under-cabinet” plan to a “cut-and-finish” approach.
Plan your layout and protect expansion space
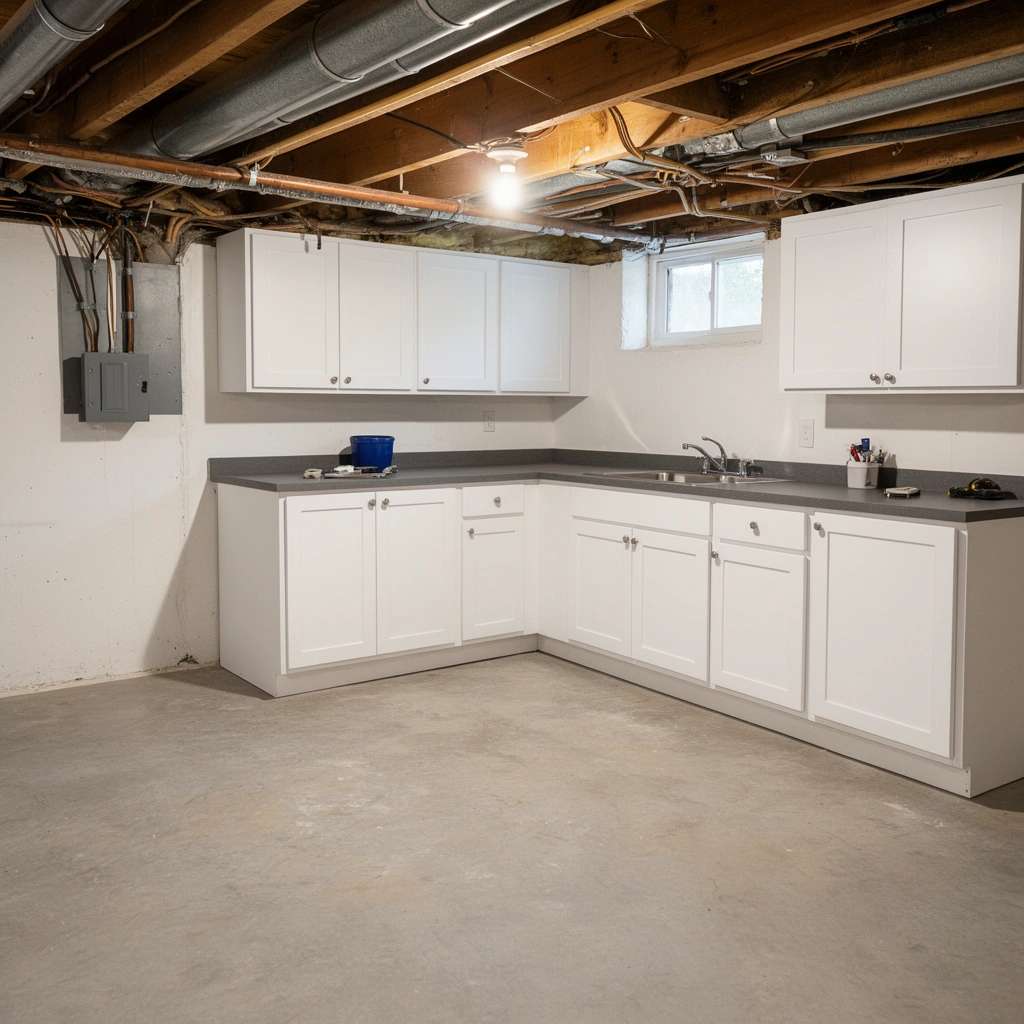
Plan first so the floor path stays consistent and the expansion gap is never accidentally eliminated. The goal is a continuous, professional-looking boundary that still allows the flooring to move with temperature and humidity swings—especially in basements.
Start by deciding where the floor ends: either under the cabinet toe-kick line (after toe-kick removal) or up to the cabinet base line (with trim/transition). Then mark a straight reference line so you don’t end up “chasing” the cabinet edge as it twists or dips.
Most basement “buckling” issues near cabinets happen when floating floors get trapped and lose their perimeter movement allowance.
A level reference line is the fastest way to prevent wavy cabinet-edge cuts, even when walls are out of square.
According to the National Wood Flooring Association (NWFA), acclimation is typically 48–72 hours before installing wood flooring to reduce post-install movement.
– Decide where the floor will end: under cabinets (after removing toe-kick) or up to the cabinet base with trim/transition.
– Mark a straight “reference line” using a level so cabinet-side cuts don’t look wavy.
– Keep expansion gaps at all perimeter points and at any fixed edges per your flooring manufacturer’s instructions.
[ADD: source for your flooring manufacturer’s required expansion gap width for perimeter/fixed objects]Quick planning data: what “movement” usually means in the real world
Basements change moisture and temperature more than most rooms. The table below summarizes commonly referenced installation constraints for floating floors around fixed features (like cabinets) and shows why toe-kicks matter.
Common Constraints for Floating Basement Floors (Cabinet Boundaries)
| # | Installation Constraint | Why It Matters | Typical Target | Risk if Ignored |
|---|---|---|---|---|
| 1 | Perimeter expansion gap near fixed objects | Allows expansion/contraction | Often ~1/4 in (varies) | High |
| 2 | Toe-kick removal when possible | Avoids awkward “floating stop” lines | Use manufacturer allowance | Medium–High |
| 3 | Subfloor flatness | Prevents joint separation/click stress | Keep within spec | High |
| 4 | Acclimation before install | Reduces dimensional change after laydown | 48–72 hours (typical) | Medium |
| 5 | Moisture control (basement-specific) | Prevents vapor damage and failure | Moisture tests within spec | High |
| 6 | Correct underlayment/vapor barrier use | Keeps system balanced | As required by system | Medium–High |
| 7 | Edge finishing (trim/transition) | Covers gaps without pinning movement | Use compatible trim | Medium |
Prep the area around cabinets and remove obstacles
Prep is where most “almost right” installs become successful ones, because cabinet boundaries are unforgiving. Remove what blocks the floor path, flatten what the floor will sit on, and confirm moisture conditions are acceptable.
Start by removing toe-kicks, base trim, or any molding that blocks the flooring path—only if cabinet construction allows it and doing so won’t affect ventilation or stability. Then inspect the subfloor: scrape ridges, fill low spots, and address dampness before you ever open flooring boxes. In basements, moisture control is not optional—your flooring system is only as good as the moisture condition beneath it.
A flat subfloor is critical because click-lock and laminate systems transfer stress to joints when bumps exist.
Basement installs are commonly paired with vapor control—often a film barrier thickness is specified by the flooring system.
According to common industry installation guidance from NWFA, subfloor flatness is typically required to be within a small tolerance over the length of a plank to prevent joint failure.
– Remove toe-kicks, base trim, or any molding that blocks the flooring path (only if your cabinets allow it).
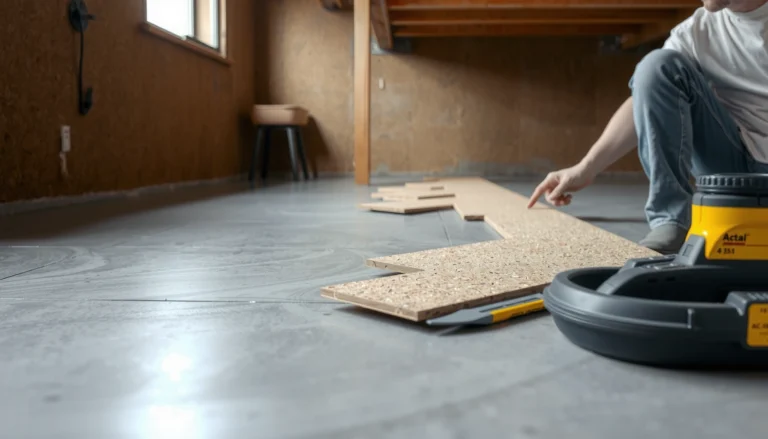
– Inspect the floor surface: fill low spots, scrape ridges, and address moisture issues before install.
– Vacuum thoroughly and confirm your subfloor is dry/flat enough for your flooring system.
[ADD: source for subfloor flatness and moisture test requirements from your flooring manufacturer documentation]Tooling and safety notes that prevent rework
Plan for a clean cut line near cabinets: use a sharp blade suited to your material (LVP/LVT, laminate, or engineered). Wear eye protection and manage dust from grinding or scraping. Keep sawdust away from locked-floor tongues and grooves—tiny debris can create an imperfect seam.
Choose the install method: under cabinets vs. cut-and-finish
The “best” method is the one that preserves expansion space and matches your flooring system’s installation instructions. Under-cabinet flooring often looks seamless, while cut-and-finish is more forgiving when toe-kicks can’t be removed.
Option A: Flooring under cabinets (after toe-kick removal)
This approach gives the cleanest visual line because the floor remains continuous under the cabinet face. If your toe-kick removal exposes a clear path, slide the planks/boards under the cabinet line and lock as you go, keeping expansion spacing at fixed edges.
If toe-kicks can be removed, running the floor under the cabinet usually avoids a “stop line” that draws the eye.
Even when flooring goes under cabinets, the system still needs its required gaps at all fixed boundaries.
What to watch: cabinet bases may sit on shims or uneven subfloor spots, so clearance can vary by a few millimeters. Measure cabinet clearance at multiple points before you commit to an under-run.
Option B: Cut up to the cabinet line and finish
Cut-and-finish keeps the floating floor from being trapped under cabinetry you can’t adjust. You install normally until you reach the cabinet base line, then trim or transition to cover the perimeter gap safely.
Cut-and-finish works well when toe-kicks are fixed, caulked, or attached in a way that would risk damage.
A good transition or trim covers the gap without compressing the flooring and removing movement.
Pros/cons comparison (practical decision support):
| Method | Best For | Tradeoffs |
|---|---|---|
| Under-cabinet | Toe-kicks can be removed; you want a continuous look | More measurement; still requires gaps |
| Cut-and-finish | Fixed cabinets; trimming is acceptable | Boundary line is more visible; careful gap coverage needed |
Measure and cut for tight cabinet clearances
Tight cabinet clearances are where accuracy matters most because small errors become visible seams or trapped sections. The most reliable workflow is: measure each run, create a guide line, dry-fit pieces, then lock them in.
Measure each cabinet face-to-wall condition twice, because basements often include walls that are not perfectly straight. Use a backer board or masking tape guide line to keep cuts straight and reduce chipping along the face of LVP, laminate, or tile-pattern products. Dry-fit along the cabinet edge before you lock pieces—especially near corners where a half-width mistake can compound quickly.
Dry-fitting cabinet-edge cuts helps prevent locked-floor gaps that later can’t close because the system is pinned.
Using a straight tape guide reduces chipping and improves the “first pass” accuracy of saw cuts.
– Measure each run twice: cabinet faces aren’t always perfectly square, especially in older basements.
– Use a backer/guide board or masking tape line to keep cuts straight and reduce chipping.
– Dry-fit pieces along the cabinet edges before locking them in, so you don’t end up with gaps that won’t close.
Clearance math: a simple rule to avoid “pinch points”
When you’re planning the final boundary, remember this: the trim covers the gap; the flooring still needs the gap. If you install trim in a way that pushes on the plank edge, you effectively remove the expansion allowance.
Also verify any pipe penetrations or toe-kick relief notches. Where you can’t keep the required gap due to a fixed component, your flooring system may require an alternate method—follow the manufacturer’s “fixed objects” guidance.
Install the flooring and finalize edges neatly
Install using your product’s locking or laying method while maintaining a consistent perimeter gap. Finishing edges around cabinets is not just cosmetic; it’s also how you prevent the floating floor from becoming trapped.
Work in a consistent pattern—stagger joints if it’s plank/lock-flooring—and keep your reference line as the “truth.” Use spacers to maintain expansion gaps while you install up to cabinet edges. Then install base/trim around cabinets carefully: you want a tight visual line while leaving the required movement space under/behind the floor system.
Spacers are what keep perimeter gaps correct; removing them too early can cause floors to bind at cabinet edges.
A correct trim install covers the gap while allowing the flooring to shift under temperature changes.
– Work in a consistent pattern (stagger joints if it’s plank/lock-flooring) and keep your reference line as the “truth.”
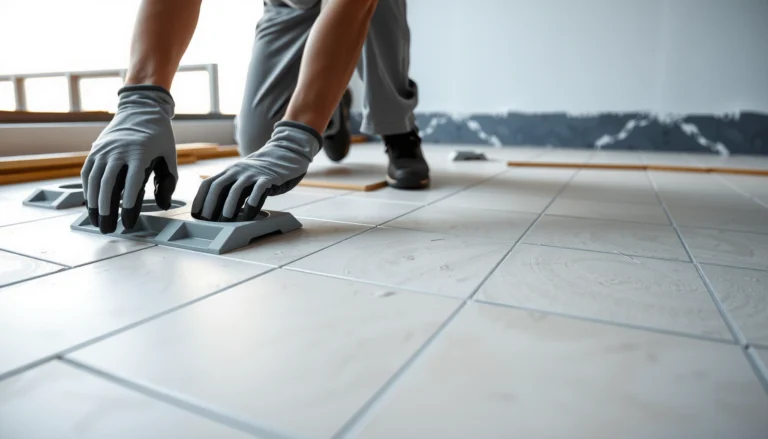
– Use spacers to maintain expansion gaps while you install up to cabinet edges.
– Install base/trim around cabinets carefully—aim for a tight visual line while leaving the required movement space under/behind the floor system.
Edge transitions: when trim isn’t enough
If you’re transitioning to tile, concrete, or built-in thresholds, you may need a proper transition reducer or end-cap. Avoid forcing a floating floor under a rigid metal edge that can create a “pin” point.
What can go wrong (and how to avoid it)
Mistakes around cabinets usually come from ignoring movement, skipping subfloor prep, or cutting without checking clearance and leveling. In basements, moisture and unevenness amplify every installation error.
The most common cabinet-related failure is buckling caused by missing or blocked expansion space.
Joint separation in click-lock flooring is often traced to inadequate subfloor flatness rather than defective boards.
– No expansion gap near cabinets: Floating floors can buckle if trapped. Always follow the expansion spacing in the manufacturer’s instructions.
[ADD: cite manufacturer’s required gap measurement for floating floors near fixed objects]– Skipping subfloor flattening: LVP/laminate often telegraph bumps; floors can separate at joints if the surface isn’t flat enough.
[ADD: cite manufacturer subfloor flatness requirement]– Cutting without confirming cabinet height/level: Cabinets can sit on shims or uneven floors—measure clearance at multiple points.
– Using the wrong edge finish: Some trims are meant to cover gaps; others can pinch the flooring if installed incorrectly.
Basement-specific risk: moisture and vapor drive
If your basement has known dampness, you need to treat moisture control as part of the install—not an afterthought.
According to NWFA guidance, moisture conditions and acceptable test results must align with the flooring system you’re installing. [ADD: source for moisture testing method and acceptable limits from your flooring manufacturer/NWFA]
Verdict / tip
If you want the most professional look, removing toe-kicks and running the flooring under cabinets is usually the cleanest result—but only if you can do it without damaging cabinet components and you can still follow expansion requirements. If toe-kicks can’t be removed or you’re working with a fixed/adhesive system, cut-and-finish with trim or transitions may be the safer path. Skip DIY “under-cabinet” installs if your cabinets can’t be safely adjusted, if you find significant moisture issues, or if your flooring requires a specific method that conflicts with your cabinet layout.
From my experience planning installs, the “right” answer is less about aesthetics and more about how consistently you keep the perimeter gap and how cleanly your boundary is finished.
Quick checklist (scan/save)
– [ ] Confirm your flooring type and follow the manufacturer’s installation method
– [ ] Plan: run under cabinets (toe-kick removed) or stop at cabinet line + trim
– [ ] Check subfloor flatness and dryness; fix low spots/ridges
– [ ] Mark a level reference line and measure cabinet-to-wall irregularities
– [ ] Maintain required expansion gaps using spacers
– [ ] Dry-fit cabinet-edge cuts before locking pieces
– [ ] Finish edges with trim/transition designed to cover the gap safely
FAQ
Can I install basement flooring under existing cabinets?
Often yes—if you can remove the toe-kick/base trim and the flooring type supports that approach without trapping the system. Always verify the method in the flooring manufacturer’s instructions. [ADD: source for manufacturer guidance on installing under cabinets for your specific flooring type]
Do I still need expansion gaps near cabinets?
Yes, in most floating or click-lock systems you still need the required perimeter/edge gaps, even at cabinets. Use the exact gap width specified by your flooring manufacturer. [ADD: exact gap spec from your flooring instructions]
What’s the cleanest way to cut around cabinets?
Use multiple measurements along the cabinet edge, dry-fit the piece, and cut along masking-tape guide lines to reduce chipping. If your flooring chips easily, [ADD: recommended blade/type from the manufacturer or installer guidance].
Should I remove toe-kicks before flooring?
If your flooring install method calls for running under the cabinet base, removing toe-kicks (when possible) usually improves the finish and alignment. If toe-kicks can’t be removed, plan on cut-and-finish with trim.
Sources
– [ADD: manufacturer installation instructions for your flooring type—click-lock/LVP/Laminate/engineered—specifically the sections on expansion gaps, acclimation, and under-cabinet installs]
– [ADD: subfloor flatness and moisture requirements from the same manufacturer instructions]
– NWFA guidance on acclimation and installation considerations for wood flooring. National Wood Flooring Association (NWFA)
– [ADD: moisture mitigation or basement moisture guidance from a primary source (e.g., manufacturer or reputable building standard)—only if you use it for your method]
If you tell me your flooring type (LVP click-lock, glued down, laminate, etc.) and whether the cabinet toe-kicks can be removed, I can tailor the steps to the exact method you should use.
Frequently Asked Questions
How do I install flooring around basement cabinets without damaging the cabinets?
Start by checking whether the cabinet bases are removable; if they aren’t, you’ll need to plan for cutting flooring to fit tightly at the cabinet toe-kick. Measure the gap between the cabinet and the basement floor, then transfer those dimensions to your underlayment or planks so you can cut clean “end” and “side” profiles. For laminate or LVP, leave an expansion gap along cabinet edges where required, and use a proper transition or edge trim where the floor meets fixed structures.
What’s the best way to prepare a basement floor before installing flooring near cabinets?
Basement floors are often uneven and may have moisture, so begin by cleaning the slab thoroughly and checking flatness with a straightedge. If you find dips, use a basement-rated leveling compound to create a smooth surface, because click-lock vinyl planks and laminate can shift or separate on uneven spots. Also consider installing a moisture barrier under the basement flooring, especially in areas surrounding cabinets where spills or condensation can occur.
Which flooring type works best for installing around cabinets in a basement?
Many homeowners choose LVP (luxury vinyl plank) for basement floors because it handles moisture better than laminate and is easier to fit around obstacles. Engineered wood can work too, but it usually needs more careful moisture management, and it may be less forgiving on basements with humidity fluctuations. If you’re planning tile, use careful layout and wet saw cuts for tight cabinet clearance, and ensure proper thinset and expansion planning at fixed cabinet areas.
How do I handle expansion gaps and transitions when flooring butts up to basement cabinets?
Even when flooring “stops” at cabinets, most floating floors (like LVP click-lock and laminate) still require an expansion gap along fixed vertical surfaces. Use spacers while installing near cabinet legs or toe-kicks, then cover the gap with base shoe, caulked trim, or an appropriate transition strip where the floor is interrupted. If your cabinets are truly fixed and you’re installing sheet vinyl or tile, the approach changes—follow the manufacturer’s instructions for movement joints and edge finishing.
Why is it important to plan the layout before installing basement flooring around cabinets?
Planning prevents awkward narrow cuts and helps you avoid having seams land in high-traffic or moisture-prone zones around cabinet areas. Start by dry-laying a few rows, marking reference lines, and determining the direction your floor will run to keep visible seams balanced and straight. This also helps you calculate where to leave clearance for cabinet bases and where edge trim will land, producing a cleaner, more professional finish around basement cabinets.
📅 Last Updated: October 11, 2026 | Topic: How to install around cabinets basement floors? | Content verified for accuracy and freshness.
References
- https://en.wikipedia.org/wiki/Subfloor
- Laminate flooring
https://en.wikipedia.org/wiki/Laminate_flooring - Floating floor
https://en.wikipedia.org/wiki/Floating_floor - https://www.energy.gov/energysaver/basement-insulation
- Mold | US EPA
https://www.epa.gov/mold - https://www.cdc.gov/mold/default.htm
- https://www.britannica.com/technology/floor-covering
- Google Scholar Google Scholar
https://scholar.google.com/scholar?q=install+flooring+around+cabinets+basement - Google Scholar Google Scholar
https://scholar.google.com/scholar?q=vinyl+plank+floor+install+around+cabinet+base+gap - Google Scholar Google Scholar
https://scholar.google.com/scholar?q=basement+floor+moisture+barrier+underlayment+floating+floor+installation