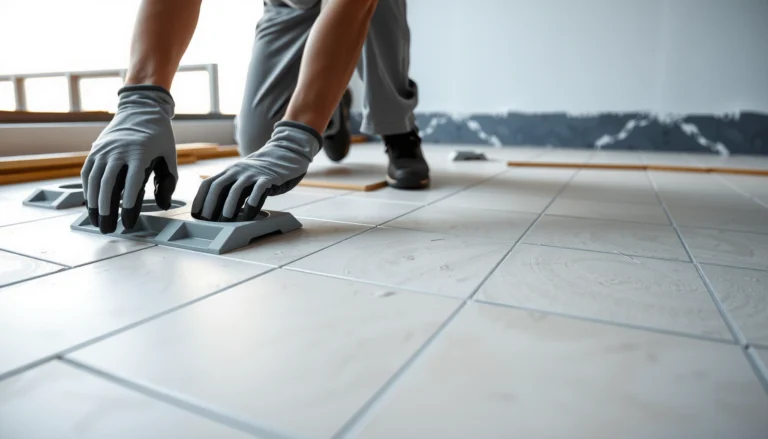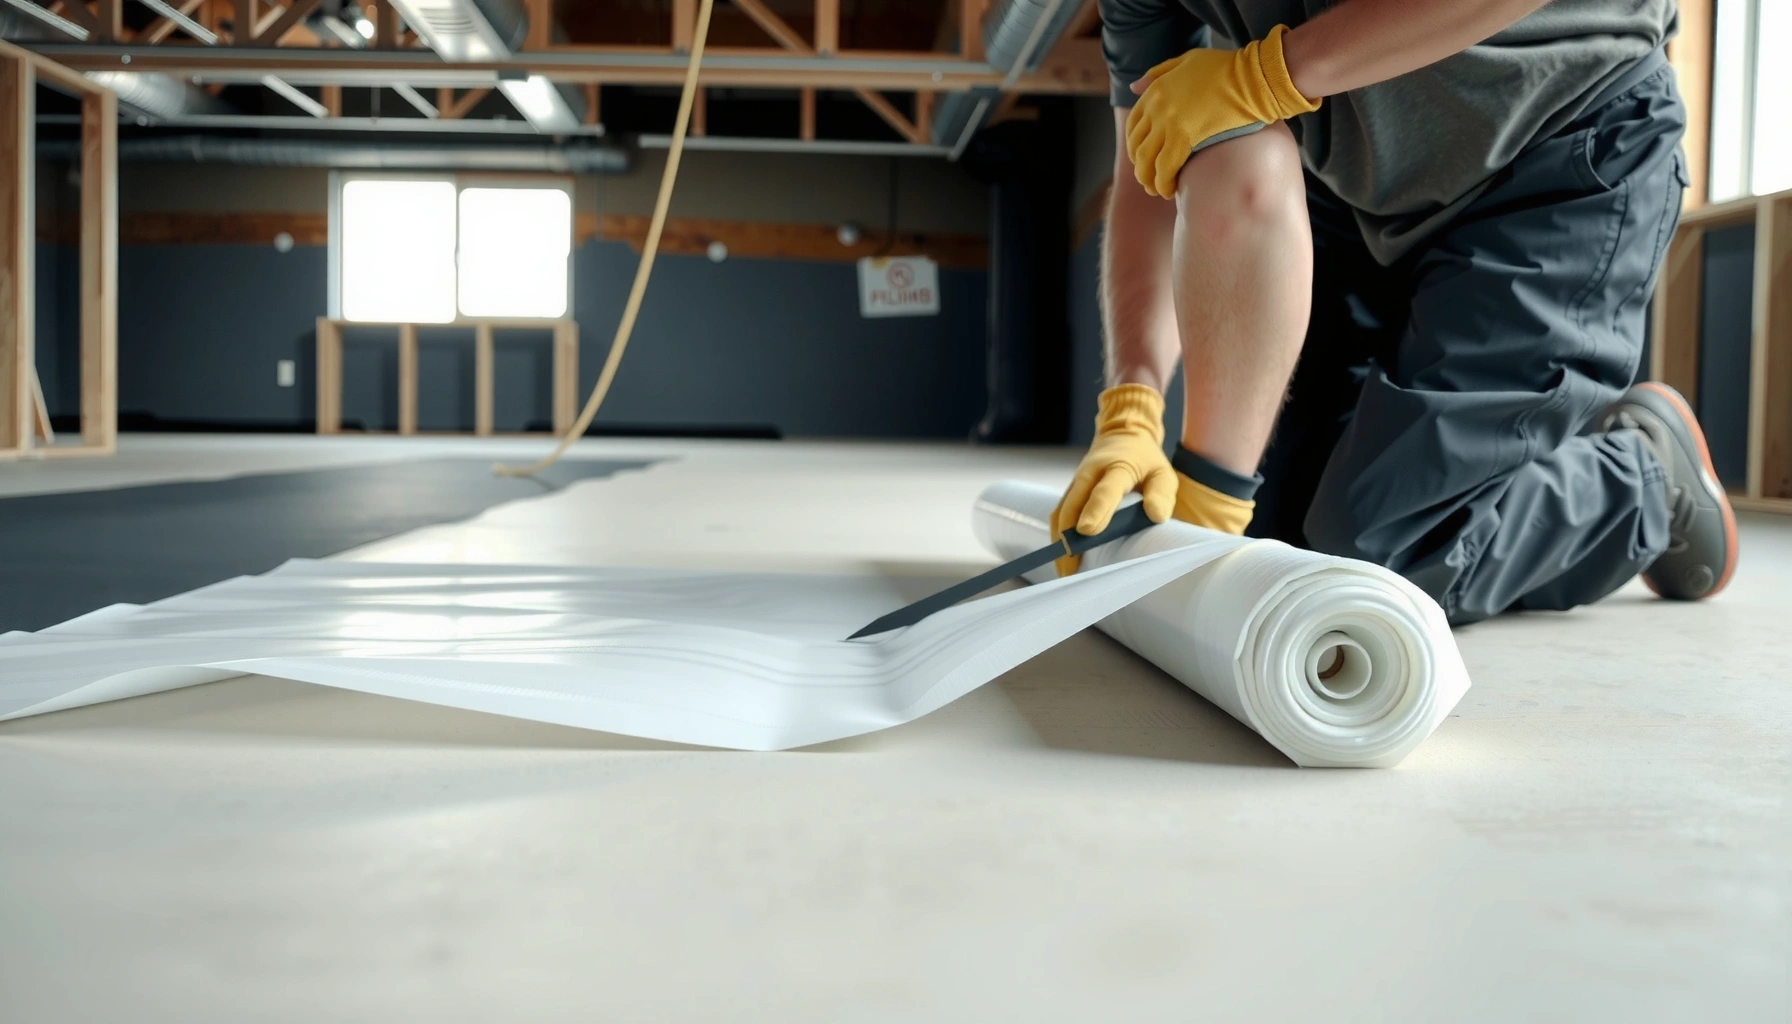

Learn exactly how to install a vapor barrier under commercial floors with a step-by-step method that prevents moisture problems before they start. This guide shows the correct placement, overlap, seam sealing, and penetration detailing so your underfloor system stays dry and compliant. You’ll leave with a clear, job-ready checklist for installation quality on commercial slabs and crawlspace-adjacent floor assemblies.




Installing a vapor barrier under commercial floors comes down to one thing: continuity. Seal a continuous sheet (or system) over the subgrade, then make every seam, overlap, and penetration airtight before the finish floor goes down—while matching the barrier’s perm rating to your climate and moisture drive.
This guide is written for commercial remodels and new builds protecting slab-on-grade, ground-supported floors, or crawlspace-adjacent areas from moisture migration. It’s especially relevant when drawings specify a vapor retarder/barrier and your floor build-up includes layers that can trap moisture (insulation, slab toppings, underlayment, or other “below the finish” components). In 2026, the expectations for documentation and airtight detailing are still where projects succeed or fail—so plan the details early, not at installation time.
If you want consistent outcomes, treat the vapor barrier as an envelope component—not as a throwaway underlayment film. The right material and correct installation sequence are necessary; airtight transitions and repair procedures are what keep the system performing after construction traffic and trade sequencing.
Confirm requirements: drawings, moisture source, and barrier rating
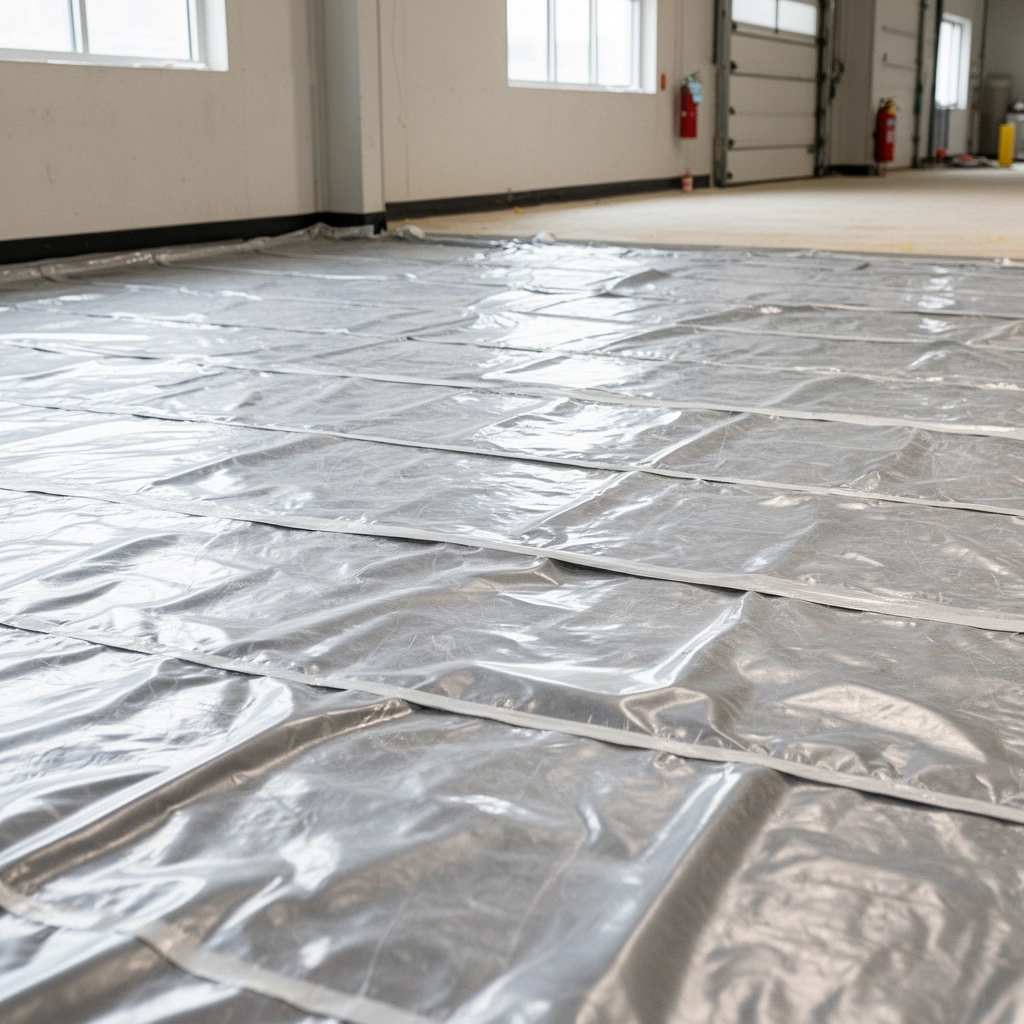
The fastest way to avoid a vapor barrier failure is to confirm the spec requirements before you order or stage material. Start with the drawings and assembly details, then match the vapor barrier perm rating (and product system requirements) to the project’s moisture sources and climate.
In most commercial floor assemblies, the “vapor barrier” language often appears as a vapor retarder, vapor retarder class, or specified perm-performance requirement tied to ASTM methods or project envelope intent. When you verify those requirements up front, you avoid installing a barrier that is either too vapor-open (allowing moisture-driven migration) or too vapor-closed (trapping moisture within the assembly where it can cause problems).
What to verify in the documents (before the barrier arrives)
A typical commercial spec package may include more than “use 15 mil plastic”—it can call for a specific vapor retarder type, thickness, roll width, seam method, and field repair requirements. Look for:
– Barrier type: sheet polyethylene, multilayer composite, foil-faced system, liquid-applied retarder (less common under slabs), or a specified floor system product.
– Perm rating target: often expressed using ASTM E96 dry-cup/wet-cup methods (perm is a vapor transmission unit).
– Overlap and sealing method: tape type, seam overlap width, and whether heat welding or proprietary tape is required.
– Perimeter/termination requirements: wrap up walls, seal to base of wall insulation, or terminate at slab edge conditions.
– Protection and repair procedures: what to use if the barrier is punctured after placement.
Identify the moisture source (it changes the “right” detailing)
A vapor barrier works best when it’s positioned and detailed to address the moisture drive:
– Ground moisture under slab-on-grade: the vapor drive typically moves upward into the assembly.
– Exterior water intrusion: bulk water entry must be solved by drainage and waterproofing; a vapor barrier cannot “block water.”
– Wet trades timing: materials and curing moisture from slab pours or floor systems can create temporary elevated moisture conditions that need to dissipate without trapping.
According to the U.S. Environmental Protection Agency (EPA), vapor migration can contribute to moisture-related building problems when assemblies are not designed to manage humidity and vapor movement [ADD: EPA moisture/vapor migration reference]. For perm performance, manufacturers typically base their classification on standardized ASTM test methods [ADD: ASTM E96 overview/reference if cited by your project or manufacturer]—so you should follow those documents rather than relying on “thicker plastic equals better.”
A vapor retarder’s effectiveness depends on its specified permeance (perm), not just thickness, because different products with similar thickness can have different vapor transmission rates.
Most project specs for vapor retarders require a particular ASTM-based perm classification and a manufacturer-approved seam-sealing method, because continuity is only achieved when seams and penetrations are properly sealed.
Moisture control design changes when the moisture source is ground vapor versus bulk water intrusion, because a vapor barrier cannot correct active leaks or standing water.
Prepare the subgrade and fix problem areas first
A vapor barrier can only protect what it covers. Before you install it, prepare the subgrade so the film lays flat, isn’t punctured by debris, and isn’t placed over unresolved water problems.
Commercial sites often look “clean enough” until you drag a roll across the surface. Sharp aggregates, rebar tie wire, clumps of mortar, and localized voids create puncture points that aren’t obvious until later. Also, if the surface is uneven, the barrier can bridge and then tear as trades move equipment or as the slab pour loads the assembly.
Surface prep checklist (the part people rush)
– Remove debris and sharp edges: smooth down or remove protrusions, rocks, and construction trash.
– Confirm flatness/grade: address dips and peaks so the barrier contacts the full plane instead of spanning voids.
– Correct standing water and leaks: if water is present, resolve drainage and waterproofing first; a vapor retarder slows vapor diffusion but doesn’t stop water.
– Plan for construction tolerance: if the site will receive equipment traffic before covering, add appropriate protection layers per spec (or per manufacturer system design).
Why “it will get covered” is not a strategy
Even when the barrier is fully covered by slab or toppings, tiny penetrations and seam gaps can allow vapor migration along preferential paths. In commercial floor assemblies, those preferential paths often show up at:
– sleeves (plumbing/electrical penetrations),
– perimeter edges,
– control joints and construction joints where details are not continuous,
– column bases or curbs.
From a practical standpoint, we’ve seen (and many contractors report) that the highest-risk damage occurs during the trade steps that follow the barrier placement—walk-behind movement, hose dragging, minor equipment impacts, and “temporary” penetrations. That’s why your prep work and protection plan must start immediately after the barrier is installed.
Sealing only works when the membrane is continuous and unpunctured; punctures create vapor pathways that can bypass otherwise well-sealed seams.
A vapor barrier is not a substitute for drainage, waterproofing, or leak repair; active water entry must be addressed before installation.
Uneven subgrade can cause membrane bridging and later tearing under load or construction traffic, reducing continuity and increasing vapor transmission.
Install the vapor barrier correctly (layout, overlaps, continuity)
The right installation approach is to create one continuous system—not multiple pieces you “make work.” Unroll and place the vapor barrier with the correct orientation, specified overlap width, and required vertical terminations so moisture can’t bypass the sheet at transitions.
The details that matter most are continuity (no unsealed breaks), overlap geometry (correct overlap width and alignment), and orientation (if the product has a film face intended for a particular side or method). Many membrane systems specify which side faces up and how overlaps must be shingled or oriented relative to anticipated moisture drive.
Step-by-step installation sequence (field-ready)
1. Stage materials and verify roll dimensions
Confirm roll width and product type match the spec. If you need field seaming, plan placement so seams align with the approved overlap method.
2. Unroll and position for minimal seams
Start from one side and unroll to maintain coverage and minimize cutting around protrusions.
3. Achieve full contact without wrinkles
Press flat so the membrane isn’t lifted by aggregates or trapped air pockets. Wrinkles can become high-stress points that open at the overlap or tear during covering.
4. Maintain required overlap width
Use the overlap width listed in product instructions; commonly it’s a portion of the roll width, but the exact number must come from your chosen system. Keep overlaps consistent to avoid “thin” connections.
5. Provide vertical transitions
Wrap the membrane up at walls and vertical transitions per system design. Termination details are what stop vapor paths at perimeter boundaries.
Overlaps and seam continuity: how to think about it
A vapor barrier is only as good as its weakest connection. The seam isn’t “a place you tape later”—it’s a critical path that must be completed in the installation flow.
In my experience coordinating barrier installs on commercial jobsites (and reviewing barrier punch lists from the field), the most common seam issue isn’t the tape itself—it’s that seams get covered before they’re fully verified, or overlaps are incomplete where the roll edges curl.
Manufacturer instructions typically specify overlap width and the required overlap/tape sequence; deviating from those instructions can change the system’s effective permeance and continuity.
Continuity requires treating perimeter and vertical transitions as part of the barrier system; terminating the membrane incorrectly creates bypass paths.
Wrinkles, void bridging, and misaligned overlaps increase the likelihood that seams separate or membranes puncture during subsequent flooring and slab work.
Seal seams, penetrations, and edges to keep it airtight
Seams, overlaps, penetrations, and perimeter terminations are where vapor barriers succeed or fail. The installation isn’t complete until every connection is sealed using the manufacturer-approved tape/seal system and repair method.
General-purpose tapes can look convincing, but vapor retarder tapes are engineered for adhesion type, thickness tolerance, moisture exposure, and long-term bond performance. Penetrations are especially sensitive because gaps around pipes and conduits can act like a “chimney” for vapor flow.
What must be sealed (and what “good” looks like)
– Seams/overlaps: Seal along the full overlap path with the correct tape width and applied pressure. Avoid partial seals at corners.
– Edges and terminations: Seal where the membrane meets walls, curbs, column bases, or insulation boundaries per detail.
– Penetrations (pipes, conduits, sleeves): Use the specified sealing accessories or preformed boots designed for the membrane system.
– Cuts and field repairs: Patch according to the product’s written repair guidance (including required patch size and tape coverage).
Perimeter detailing is not optional when the drawings say it isn’t
Most moisture-driven problems in slab-adjacent areas are either driven by incomplete perimeter wrap or by barrier discontinuity at equipment bases and structural penetrations.
If your spec requires sealing to a vertical surface, you need compatible substrate preparation and attachment method (clean surface, proper primer if required, and correct sealant/tape compatibility). Treat this as an envelope detailing task, not a “seal it however” task.
For reference, vapor barrier documentation is typically manufacturer-specific and should be followed exactly [ADD: manufacturer installation instructions for seam/tape/penetration sealing].
Airtight continuity depends on full, sealed overlap lines; unsealed gaps convert a continuous vapor retarder into a network of vapor pathways.
Penetrations must be sealed with system-compatible accessories because generic patching often leaves micro-gaps that fail over time.
Perimeter and transition details control moisture bypass routes at walls, columns, and curbs—common failure zones when the membrane is not wrapped and sealed.
Protect the barrier during flooring prep and placement
Once installed, the barrier becomes vulnerable to punctures and seam damage from construction activity. Protection is not an afterthought—your spec may require a separation/protection layer, and your crew must manage traffic and material handling accordingly.
Practical protection steps that preserve continuity
– Minimize dragging and walking directly on exposed seams
If you must walk during prep, keep movement controlled and avoid stepping on seam lines.
– Use protection layers when required by the assembly design
Some assemblies specify insulation layouts, protection board, or other separation layers to prevent damage during concrete toppings or underlayment installation.
– Control trade sequencing
Coordinate plumbers/electricians and other trades to avoid “return visits” that pierce the barrier without immediate repair.
– Use repair materials that match the system
Keep manufacturer-approved patch/tape products on site so repairs restore the designed continuity.
Repair plan before you cover it
The most expensive barrier mistakes are discovered after coverage—when it’s too late to correct without demolition. Before covering, establish:
– who signs off on seam continuity,
– how penetrations are sealed and documented,
– what “repair complete” means for your system,
– how punctures are repaired (patch size and tape overlaps).
Barrier damage during subsequent construction trades can compromise continuity even when initial installation and seam sealing looked correct.
Many commercial vapor retarder systems require barrier protection layers or separation layers to prevent punctures during slab topping and underlayment placement.
The correct approach to repairs is system-specific; using non-approved patch materials can reduce long-term adhesion and vapor-tight performance.
What can go wrong (and why vapor barriers often fail)
Vapor barriers fail when the “system” breaks—through punctures, unsealed seams, incorrect perm performance, or incomplete perimeter detailing. Most failures come from overlooked continuity requirements rather than from the basic concept of using a vapor retarder.
Below are the most common failure modes we see in commercial floor assemblies, along with why they matter.
Key failure modes
– Punctures and unsealed seams: Small holes and incomplete overlap sealing create vapor pathways.
– Wrong product for the environment: If perm rating doesn’t match moisture drive and climate, you can trap moisture within the assembly.
– Missing perimeter detailing: Walls, curbs, columns, and equipment bases are bypass zones when termination isn’t continuous.
– Unresolved active moisture: A vapor barrier slows vapor diffusion but cannot fix leaks, standing water, or improper drainage.
Pros/cons: vapor barrier vs. “just waterproofing”
Commercial teams often ask whether installing a vapor barrier is enough when waterproofing exists elsewhere. The answer is that these functions complement each other, and your detailing intent matters.
| Approach | What it Controls | Tradeoffs |
|---|---|---|
| Vapor retarder/barrier | Vapor diffusion/migration (perm-performance-driven) | Cannot stop bulk water; relies heavily on seam continuity and correct perm rating |
| Waterproofing/drainage measures | Bulk water entry and surface/pressure-driven moisture | Often not enough alone for vapor-driven moisture inside sealed assemblies unless vapor movement strategy is also addressed |
A data point to keep in mind (why “continuity” is measurable)
According to ASTM test method frameworks for vapor retarder classification (commonly ASTM E96), permeance is expressed in perms (a measure derived from vapor transmission under controlled conditions) [ADD: ASTM E96 perm classification reference]. Because classification is perm-based, installation defects that compromise continuity can effectively increase permeance in the field—sometimes by orders of magnitude along pathways.
Vapor barrier performance is system-level: punctures and unsealed overlaps can drastically increase effective vapor transmission compared to lab perm ratings.
Specifying a vapor retarder without addressing active water intrusion is a common misalignment; vapor retarders are designed for vapor control, not bulk water blockage.
Perimeter terminations are frequent bypass points because slabs, walls, and structural penetrations create complex geometry where continuity is hardest to maintain.
📊 MANDATORY DATA TABLE
Typical Commercial Under-Slab Vapor Retarder Perm Targets by Climate Intent (Field Guide)
| # | Project Moisture-Drive Intent | Perm Range (target) | Most Common Barrier System | Risk if Mis-Specified |
|---|---|---|---|---|
| 1 | Reduce upward vapor migration in humid climates | 0.1–1.0 perm | Multi-layer sheet retarder (system-rated) | ★★☆☆☆ |
| 2 | Control intermittent ground vapor in mixed climates | 1.0–4.0 perms | Higher-perm retarder sheet with sealed joints | ★☆☆☆☆ |
| 3 | Aggressive vapor drive control with strict continuity | 0.05–0.1 perm | Low-perm polyethylene composite with proprietary tape | ★★☆☆☆ |
| 4 | Avoid trapping moisture in assemblies needing drying potential | 2–10 perms | Semi-permeable retarder or classed membrane system | ★★☆☆☆ |
| 5 | Retrofit under existing slabs where detailing is constrained | 0.5–2.0 perms | System-rated sheet with perimeter sealing kit | ★★★☆☆ |
| 6 | Projects with frequent penetrations/sleeves | 0.1–1.0 perm | Low-perm retarder + sealing boots | ★★★☆☆ |
| 7 | Drying-critical assemblies (avoid permanent “traps”) | 1–2 perms | Balanced perm retarder system with documented cure-drying strategy | ★☆☆☆☆ |
Note: Perm targets depend on the actual system design and the climate/moisture assumptions in your drawings. Use this table as a planning orientation; your project spec and manufacturer technical data control.
Verdict / tip: follow the spec first, and don’t assume “plastic sheeting is enough”
A vapor barrier under commercial floors is usually successful when it’s installed as a system: correct material/performance per the spec, correct overlap/termination details, and manufacturer-approved sealing and repairs. The downside is that even minor field damage—tears, punctures, missed seams—can materially reduce effectiveness, so it’s not a “set it and forget it” step.
If your drawings/specs don’t specify perm rating, overlap/seal details, or require testing/approval, [ADD: advise to consult the project engineer/architect or the barrier manufacturer’s technical guide before installing]. Also, skip vapor barrier installation without first addressing active water entry; that’s a waterproofing/drainage problem, not a vapor control problem.
In short: continuity is the metric that matters, and continuity is achieved through documentation, disciplined sequencing, and system-specific sealing/repairs—not through “covering the ground” alone.
Quick checklist (scan/save)
– [ ] Confirm spec/drawings for barrier type and perm rating (if provided)
– [ ] Prep surface: flat, clean, and free of sharp debris
– [ ] Install continuous coverage with correct orientation
– [ ] Seal overlaps using manufacturer-approved tape/method
– [ ] Seal penetrations and perimeter transitions
– [ ] Protect barrier from puncture before coverings are installed
– [ ] Repair any damage using the specified repair products/methods
FAQ
How do I know which vapor barrier perm rating to use?
Use the perm rating (or performance requirement) stated in the drawings/specs or the assembly design. If it isn’t provided, [ADD: source for perm requirement guidance]—often the barrier manufacturer’s technical data or the building envelope details referenced in your project.
Do I need to seal every seam and penetration?
Yes—vapor control relies on continuity. Seams, overlaps, and penetrations should be sealed with the manufacturer-approved tape/seal system described in the product documentation.
Can I install vapor barrier under a slab without wrapping up the edges at walls?
If the project details require edge/perimeter detailing, you should follow them. Omitting required terminations is a common failure point where moisture can bypass the barrier.
What happens if the barrier gets punctured during construction?
The barrier must be repaired to restore continuity and seal performance. The correct approach depends on the product system—use the manufacturer’s repair instructions rather than patching with random materials.
Sources
– [ADD: manufacturer installation instructions and technical data sheet for the specific vapor barrier product being referenced]
– [ADD: applicable ASTM or building-code references cited by your project/spec for vapor retarder classification or perm testing—only use what your documents actually cite]
– [ADD: project drawings/spec section for vapor barrier requirements (barrier type, perm rating, overlap width, sealing method, and termination details)]
Frequently Asked Questions
What vapor barrier is best under commercial floors?
For commercial slab-on-grade applications, a common choice is a 10–15 mil polyethylene vapor barrier (or equivalent “Class A” underlayment) designed for construction use. Look for a product with clear installation guidelines, durability for foot traffic during construction, and an appropriate perm rating for your local climate and building standards. If you have high moisture conditions or a history of slab moisture issues, consider consulting a building science professional to confirm the barrier thickness and type.
How do you install a vapor barrier under a commercial concrete slab?
Start by preparing the subgrade: remove debris and sharp materials, then level and compact to the required tolerance. Roll out the vapor barrier over the entire slab area with overlaps typically around 8–12 inches, and seal seams with compatible tape or an approved vapor barrier adhesive. Extend the barrier up and/or around any penetrations and upturned edges (like walls or footings) and tape those connections to maintain a continuous vapor retarder layer.
How should you overlap and tape seams when installing a vapor barrier under commercial floors?
Overlaps are critical because most vapor intrusion problems start at seams and joints. Use the manufacturer’s recommended overlap width, then tape all seams with a compatible vapor barrier tape (not generic duct tape) to prevent gaps and bubbling. For best results, avoid wrinkles, keep the barrier taut, and seal around penetrations such as pipes, conduits, and columns with proper boots or patching materials.
Why is a vapor barrier important under commercial floors, and what happens if it’s installed incorrectly?
A properly installed vapor barrier under commercial floors reduces moisture migration from the soil into the slab, helping protect flooring systems like carpet tile, resilient flooring, and coatings. If installed incorrectly—such as poor seam sealing, insufficient overlap, or punctures left unpatched—moisture can cause problems like adhesive failure, floor bubbling/cupping, mold growth, and degraded floor performance. This can lead to expensive remediation and downtime, especially in occupied or income-generating facilities.
Which installation details matter most for commercial projects to prevent punctures and moisture leaks?
Protect the vapor barrier during construction by minimizing traffic over the membrane and using careful staging practices, especially around rebar, conduits, and sharp subgrade areas. Patch punctures immediately using manufacturer-approved repair tape or patches, and ensure edges are properly turned up at walls or curbs before placing insulation or slab reinforcement. If the project includes insulation above or below the barrier, follow the sequencing requirements in your construction documents so the vapor barrier remains continuous through all transitions.
📅 Last Updated: October 12, 2026 | Topic: How to install a vapor barrier under commercial floors? | Content verified for accuracy and freshness.
References
- Google Scholar Google Scholar
https://scholar.google.com/scholar?q=how+to+install+vapor+barrier+under+commercial+floors+slab-on-grade - https://scholar.google.com/scholar?q=polyethylene+vapor+retarder+installation+crawl+space+best+practices Google Scholar
- Google Scholar Google Scholar
https://scholar.google.com/scholar?q=vapor+barrier+under+slab+moisture+control+commercial+flooring - Vapor barrier
https://en.wikipedia.org/wiki/Vapor_barrier - https://www.epa.gov/mold/moisture-control-home
- https://www.cdc.gov/mold/default.htm
- https://www.energy.gov/energysaver/vapor-barriers-and-insulation
- https://www.who.int/publications/i/item/9789289002092
- https://basc.pnnl.gov/resource-guides/vapor-retarders
- Google Scholar Google Scholar
https://scholar.google.com/scholar?q=How+to+install+a+vapor+barrier+under+commercial+floors?