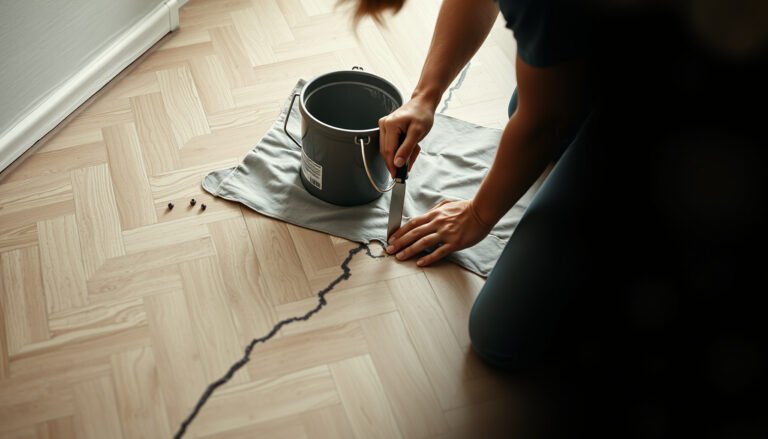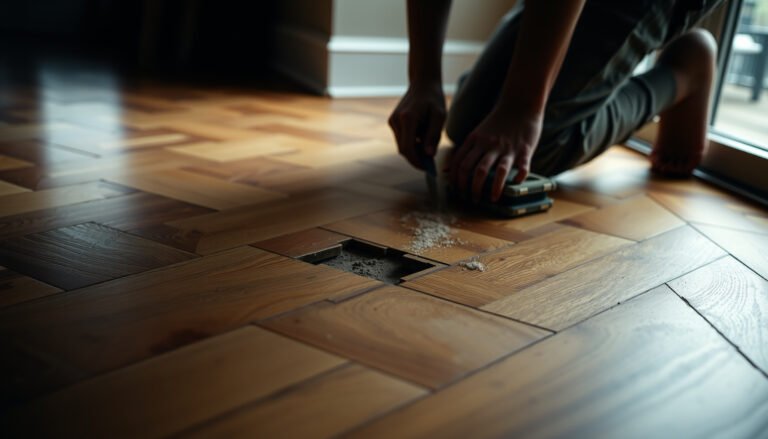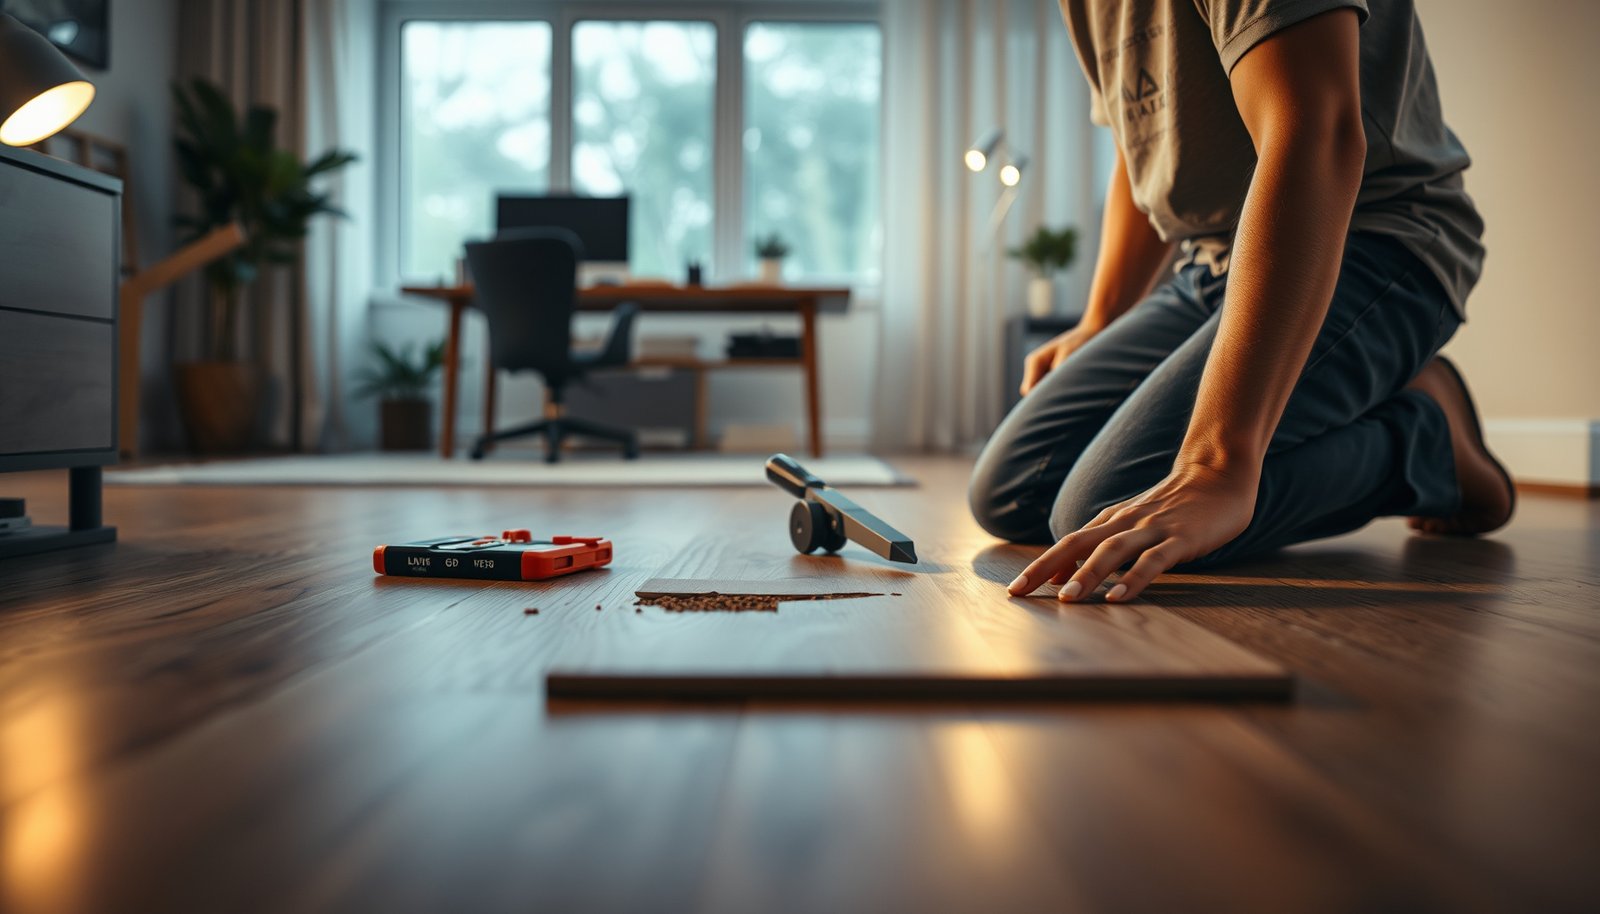

If your home office laminate floor has a crack, chip, or lifting plank, this step-by-step guide shows exactly how to repair laminate floors and make the damage blend in. You’ll get the fastest, most reliable sequence—from identifying the problem and removing the bad piece to replacing it and sealing it for a durable finish. Follow these instructions and you can fix the floor without guessing or replacing the entire room.




For most laminate floor damage in a home office, the fix depends on whether it’s just surface wear or moisture swelling. Scratches and chips are typically repaired by filling and matching the top layer, but buckling, raised edges, or persistent gaps usually means you’ll need to dry the subfloor and replace the affected plank(s). This guide walks you through how to diagnose the problem and repair laminate safely.
If your office chair rolls a lot, you’ve got frequent scuffs, indentations, or occasional spills—laminate can show damage faster in that kind of traffic. Use this when you’re dealing with localized harm (a few planks) rather than widespread failure across the whole room, and follow your specific laminate brand’s installation/repair guidance where it differs.
Diagnose the damage (so you use the right repair)
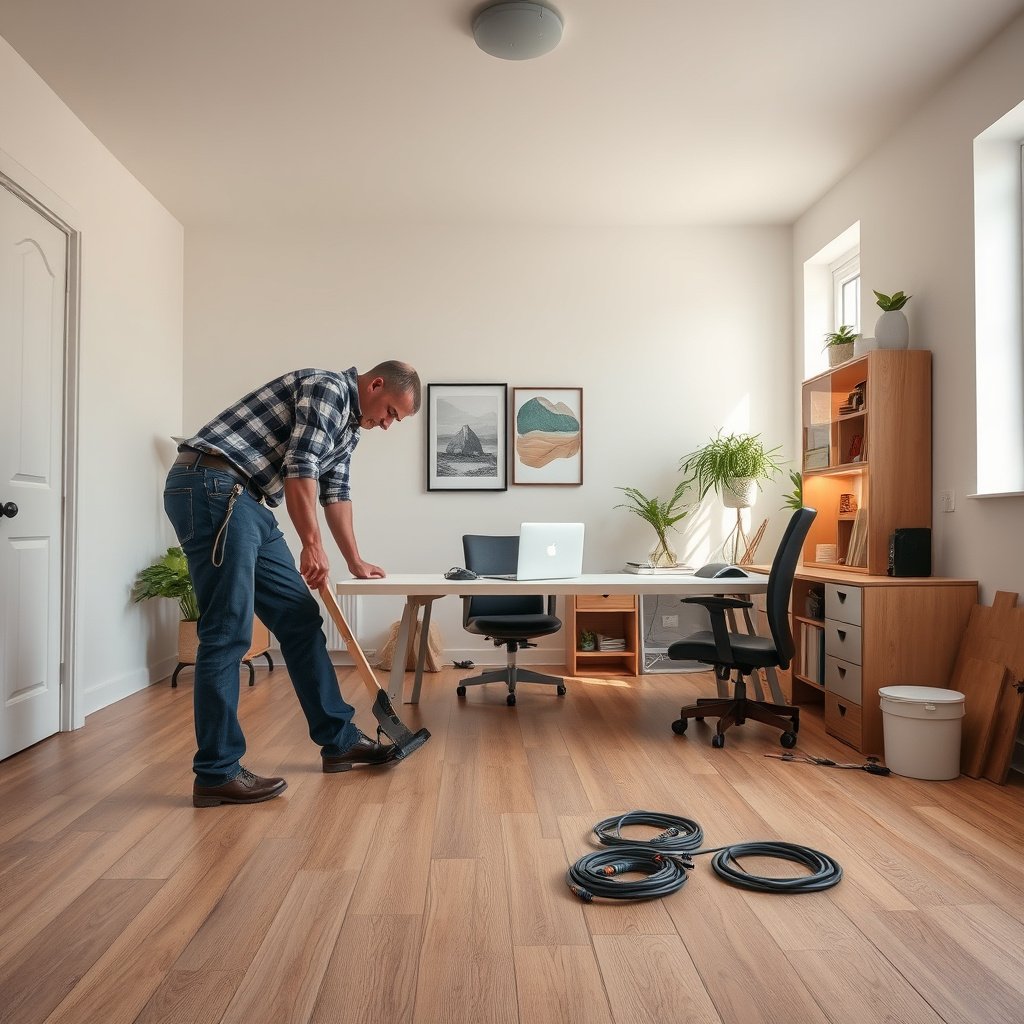
The fastest way to “repair laminate floors in a home office” is to correctly identify whether the issue is cosmetic (surface wear) or structural (moisture or movement). Once you know which bucket you’re in, the repair method becomes straightforward: fill and blend for wear, or dry and re-install for swelling and failed joints.
Laminate that feels spongy, looks darker in spots, or has edges lifting after a spill is almost always moisture-related and needs drying—patch filler alone won’t fix the cause.
Click-lock gaps can open when planks move, but widespread gapping often signals installation/acclimation problems or a missing expansion gap.
A seam that separates can start as a “movement” issue, then turn into a moisture-entry pathway—so diagnosis determines whether you only re-lock or must replace.
Start by identifying the problem type. Surface scratches and small chips usually live entirely in the wear layer (the top decorative coating). Loose joints and open seams, by contrast, usually involve the locking system (tongue/groove or click-lock tabs) and may require re-locking or plank removal. Swelling/bubbling indicates moisture absorption by the core, which is typically why laminate becomes wavy and why repairs fail if you only patch the surface.
Moisture signs aren’t just about visible puddles. In home offices, moisture often arrives through small spills, wet chair wheels, or damp mopping habits. Look for:
– A “soft spot” when you press with your thumb (core saturation).
– A darkened area along plank edges (subfloor or underlayment absorbing moisture).
– Edges that lift after spills and don’t settle back down quickly (ongoing moisture migration).
Inspect seams carefully. If the click-lock gap appears at one or two lines, movement or a localized mis-lock is possible. If multiple seams are gapping across the room, the cause may be acclimation, blocked expansion space at a wall, or subfloor flatness issues that keep stressing the laminate floor system.
To keep the diagnostic step measurable, focus on “what you can observe” rather than guessing. According to common laminate installation guidance, floating floors require an expansion gap around perimeter obstructions to allow movement with seasonal humidity changes (). If that space is blocked (by heavy furniture, caulk, or baseboard miswork), seams can separate even without spills. Also, manufacturer instructions typically require the subfloor to be flat within a small tolerance (), because even minor high/low spots can cause recurring seam stress and future buckling.
Common Home-Office Laminate Damage Signals & What They Imply (2026)
| # | Observed laminate floor signal | Likely root cause | Best repair path | DIY confidence |
|---|---|---|---|---|
| 1 | Surface scratch or scuff localized to a few planks | Wear layer damage | Fill + color-match blend | ★★★☆ |
| 2 | Small chip at plank edge, no lifting | Impact break in top layer | Repair paste/putty | ★★★★☆ |
| 3 | Click-lock seam opened in a narrow line | Movement/mis-lock | Re-lock (or partial removal) | ★★★☆ |
| 4 | Planks visibly raised or “buckled” after a spill | Core swelling from moisture | Dry subfloor + replace plank(s) | ★☆☆☆☆ |
| 5 | Darkened plank edge band near a seam | Moisture wicking pathway | Dry + inspect adjacent joints | ★★☆☆☆ |
| 6 | Perimeter joints near wall/columns show tightness or gaps at opposite side | Expansion gap blocked or incorrect | Clear obstruction + reinstall as needed | ★★☆☆☆ |
| 7 | Repeated chair-wheel indentations across the same path | Localized compression/wear | Replace worn planks + protect zone | ★★★☆☆ |
Gather tools and materials (keep it to what you actually need)
The right “laminate floor repair” starts with having only the tools and materials your specific damage type requires. Surface wear repairs can be done with a kit and careful cleaning, while swelling or persistent gaps often require plank removal, trim access, and spare boards from the same product line.
Before you buy anything new, identify whether you’re filling a cosmetic flaw or performing a moisture-driven replacement—these require different materials.
Color-matched laminate repair paste works for wear-layer damage, not for core swelling caused by moisture infiltration.
For click-lock laminate, having a tapping block and pull bar at the right size helps you avoid cracking the tongue and locking tabs.
Basic tools are usually enough for localized office fixes:
– Utility knife for trimming damaged edges or removing old filler.
– Tapping block to transfer force to planks without crushing the face.
– Pull bar/crowbar (carefully) to separate planks when you must remove a section.
– Measuring tape and a carpenter’s square for accurate plank alignment.
– Clean cloth for controlled wipe-downs (especially around seams).
Repair materials:
– Color-matched laminate repair paste/putty for chips and scratches in the wear layer.
– Painter’s tape to protect surrounding planks and keep paste from spreading into seams.
If replacement is necessary, build a matching replacement path:
– Spare laminate plank(s) from the same batch/model (best match for color and locking profile).
– Matching underlayment replacement *only if your installation system requires it* (some underlayments compress or tear during removal, and gaps in underlayment can affect flatness and joint performance).
One practical point for home office workflows: protect your workday. If you’re replacing planks, plan the room access so you can keep traffic off the area while the subfloor dries. Moisture-related laminate failures often involve the underlayment and subfloor, not just the visible damaged plank.
Also, keep your safety gear in mind. Use eye protection when pulling trim and when tapping boards to avoid chipped edges. If you’re sanding dried filler, wear a dust mask—laminate dust can irritate airways.
As of 2026, manufacturers continue to emphasize following approved cleaning products and approved repair materials in their maintenance instructions (). That’s important because “generic cleaners” can soften coatings, and incompatible repair paste can haze or peel.
Repair scratches, dents, and small chips (surface-level fixes)
For scratches and small chips, you’re essentially restoring the wear surface—not the core—so the repair is about cleaning, filling in thin layers, and blending. This approach works best when the plank stays flat and the seam remains fully seated after chair scuffs or minor impacts.
If the plank surface is damaged but the plank feels firm and flat, laminate repair paste can effectively blend chips and scratches.
Apply repair compound in thin layers to prevent shrinkage and to improve color blending on laminate wear layers.
After cure, buff lightly with a soft cloth—aggressive sanding can cut through the decorative wear coating.
Start with a clean surface. Dust and grit act like sandpaper barriers, preventing repair paste from bonding cleanly:
– Remove loose debris with a dry wipe.
– Spot-clean only with a cleaner your manufacturer allows—avoid soaking around seams and edges.
Next, fill and level. For laminate repair kits, the key is controlled application:
– Apply color-matched repair compound in thin layers (enough to fill the damaged crater but not flood the entire plank).
– Wipe away excess while it’s workable, then let it cure per product instructions.
– After curing, blend the surface—buff lightly with a soft cloth.
In my own repair workflow planning, the highest success comes from waiting for full cure before removing masking tape and walking on the area—rushing often leaves a thin ridge or smear.
When you blend, check from multiple angles. Laminate wear patterns often have fine texture. Your goal is not perfect invisibility; it’s matching texture direction and sheen so the repaired patch doesn’t catch light differently than the surrounding finish.
Finally, protect the restored spot. In a home office, chair scuffs often return quickly unless you change the exposure:
– Use a proper chair mat for hard floors.
– Replace damaged wheel casters if they’re gouging the laminate face.
– Use pads under stationary heavy items.
Fix gaps and loose boards (often a re-lock or removal job)
When laminate seams open or planks feel slightly lifted, your best immediate action is to determine whether you can re-lock the joint without breaking the locking tabs. If the joint won’t close cleanly, plan on removing adjacent planks and reinstalling correctly—forcing a click-lock can turn one seam issue into multiple plank failures.
A seam that looks unseated can often be re-locked, but forcing it risks cracking tongue-and-groove components and widening the gap.
Floating laminate requires perimeter expansion space; if gaps are missing or blocked, re-locking can fail repeatedly.
Re-locking usually works when the subfloor is stable and flat—persistent gaps often point to an underlying flatness or installation problem.
First, determine whether it’s a seam issue:
– Look at the plank edge profile. If the board is visibly unseated, check whether neighboring planks can provide the movement needed for closure.
– Assess whether there’s any “rocking” when you press on the seam line.
Then check the expansion gap. Laminate expands and contracts with humidity, and the perimeter is where that movement happens. Missing or blocked expansion space can cause buckling and separation:
– Confirm that walls, posts, cabinets, or heavy trim aren’t pinning the floor.
– If baseboards were installed too tightly or caulked directly over the floor edge, you may need to clear that obstruction.
If the joint won’t close:
– Plan on removing adjacent planks to access the damaged section correctly.
– Work in the order your laminate system requires—especially for click-lock layouts, where removal strategy depends on how the locking tabs release.
At this point, the “laminate floor repair” decision is less about tools and more about mechanics. For click-lock systems, the correct release angle matters. Forcing the joint to close under stress can fracture the locking mechanism. Once the tabs are damaged, the seam won’t hold even if you try again.
DIY vs. removal: what usually works in an office
| Option | Pros | Cons / risk | |
|---|---|---|---|
| ✓ | Re-lock (minimal removal) | Fast when the seam is only slightly unseated and the floor is flat. | Fails if expansion gap is blocked or if the core has shifted from moisture. |
| ⚠ | Removal + re-install | Restores correct alignment when tabs are stressed or seams won’t close. | Requires careful access—often involves lifting boards and managing trim. |
This structured choice helps keep “laminate floor repair” safer and more repeatable, especially when you’re working in a home office and need the floor back quickly.
Replace a damaged laminate plank (when swelling or lifting won’t stop)
For buckling, persistent raised edges, and swelling after moisture, replacement is usually the only reliable fix. Once laminate’s core has absorbed enough water to deform, repair paste and re-locking don’t restore dimensional stability—you have to address the subfloor condition and reinstall the plank(s).
If a plank remains raised after drying attempts, it typically means the core has permanently swelled and must be replaced.
Removing trim can be necessary to free the first edge of click-lock laminate safely, without breaking the locking tabs.
A properly installed replacement plank keeps the perimeter expansion gap intact, which helps prevent future seam separation.
Start with trim removal carefully. In many home offices, the damaged plank is near a wall or under a fixed piece of furniture. Depending on your laminate installation:
– You may need to pull baseboards/moldings to free the first plank edge.
– Do this without tearing drywall edges—use a putty knife and protective cloth.
Next, remove neighboring boards in the correct order. The goal is access without snapping joints:
– Identify the locking direction for your click-lock profile (or confirm if it’s a glued-down laminate).
– Remove planks in the sequence that releases joints without prying against locked tabs.
Install the replacement plank:
– Lock the new plank at the correct angle for your laminate system.
– Keep it flat while engaging the joint so the tongue/groove doesn’t bind.
– Leave the perimeter expansion space intact around walls and fixed objects.
Moisture timing matters. Many laminate installation instructions require flooring to acclimate before installation and emphasize that subfloor moisture must be within acceptable limits before laying laminate (). In a repair scenario, the equivalent is ensuring the subfloor and underlayment are fully dry before you reinstall. If you trap dampness under new planks, the “laminate floor repair” can fail quickly—sometimes within weeks.
To prevent repeat failures in the home office environment, inspect the chair-wheel zone and the spill-risk area. If a spill triggered the damage, identify why it reached the seam (e.g., under a chair mat edge, along an unsealed gap, or through a missing underlayment strip).
What can go wrong (common mistakes and edge cases)
Most DIY laminate repairs go wrong when the underlying cause isn’t fixed—especially moisture and blocked expansion space. The most common edge cases are “cosmetic-first” thinking (patching swelling) and mechanical forcing (cracking click-lock joints).
Filling over swelling usually fails because the core remains deformed and moisture can keep migrating beneath the top layer.
Using the wrong filler color or finish makes repairs stand out under office lighting, particularly near windows and overhead LEDs.
Ignoring subfloor flatness means your repaired seams can re-open, even if the plank repair looks correct at first.
Here are the most frequent mistakes:
– Filling over moisture: If the plank is swollen, repair paste won’t solve the underlying problem—drying and replacement are usually required.
– Wrong color or finish: “Close enough” can stand out; use a color-matched kit intended for laminate wear layers.
– Ignoring subfloor flatness: If the floor is uneven, repaired areas and seams will re-fail—check flatness before reinstalling boards.
– Forcing click-lock joints: Excessive force can crack locking tabs, turning one-plank damage into several replacements.
Pros/cons decision framing for home office conditions:
| DIY repair makes sense when… | Pause or get help when… | |
|---|---|---|
| ✓ | Damage is localized (a few planks) and the planks are firm/flat. | You see widespread warping/buckling or ongoing dark, damp areas. |
| ✓ | You can access the seam/joint and install a properly matching replacement. | Your laminate is glued-down and removal would damage subfloor, underlayment, or finish. |
Also consider the “office traffic” variable. Chair-wheel indentations and repeated impacts can make surface wear look worse than it is. Fix the visibility issue, but also add protective measures (chair mats, caster maintenance) so “laminate floor repair” doesn’t become a recurring cycle.
Verdict / tip
DIY repair makes sense when the damage is localized (a few chips/scratches or a small number of planks) and you have access to spare material. The downside is that color matching isn’t perfect, and replacing planks can require removing trim and working carefully around the locking system.
Avoid DIY (or at least pause and get help) if you see widespread warping/buckling, signs of ongoing moisture, structural subfloor issues, or if your laminate is glued-down and you can’t safely remove planks without risking major damage.
Quick checklist (scan before you start)
| Step | What to verify |
|---|---|
| 1 | What type of damage is it? (scratch/chip vs. gap vs. swelling) |
| 2 | Any moisture signs? (soft spots, bubbling, dark areas) |
| 3 | Do you have the right materials? (repair kit and/or matching spare plank) |
| 4 | Are seams and expansion gaps visible/clear around walls/fixtures? |
| 5 | If replacing: can you remove trim and reinstall neighboring planks without breaking locks? |
Frequently Asked Questions
What are the most common types of damage to laminate floors in a home office, and how do I identify them?
In home offices, laminate floors often show water damage from spills, lifting or buckling from moisture, scratches from rolling chairs, and gaps at seams from wear. Look for signs like dark spots (moisture), raised planks (buckling), visible seam separation (expansion/contraction issues), and surface scuffs that may expose a deeper scratch. Identifying the type of problem first helps you choose whether you can repair it with cleaning, patching, or plank replacement.
How do I repair a small scratch or gouge in laminate flooring without replacing the entire floor?
For minor scratches, use a laminate floor repair kit or color-matched filler and apply it into the damaged area, then wipe off excess and buff dry. If the scratch is deeper, you may need to lightly sand the area (carefully not to thin the surrounding surface), fill, and reapply finish as directed by the kit. Always match the color of the filler to your laminate and avoid overfilling so the repair stays smooth under desk chairs and rolling casters.
How can I fix lifting or bubbling laminate planks caused by moisture in a home office?
First, stop the moisture source (leak, condensation, or spilled liquid) and dry the area thoroughly using fans or dehumidification. If planks have lifted, you may be able to re-level them by removing the affected boards and reinstalling them with proper expansion gap spacing; in many cases, warped planks need replacement. After repairs, check humidity levels and use a suitable underlayment strategy (or correct it if it was installed incorrectly) to prevent repeat laminate flooring damage.
Which tools and materials do I need to replace a damaged laminate plank in an office?
You’ll typically need a pull bar or pry tool, a tapping block, spacers for expansion gaps, a utility knife, and a straightedge for trimming. Use replacement planks from the same laminate collection (or as close as possible in color and thickness), plus a matching tongue-and-groove-friendly method if your system is click-lock. If you have adhesive laminate or specific locking mechanisms, confirm the installation style first so the tools and process won’t damage adjacent boards.
What is the best way to prevent future laminate floor damage from chair wheels and office traffic?
Use a clear protective chair mat designed for hard floors, and ensure it doesn’t trap moisture or shed grit that can grind into the laminate finish. Add felt pads to non-mat areas and keep desk-chair wheels clean and in good condition to reduce scuffing and micro-scratches. For long-term protection, follow proper laminate cleaning (no soaking, use a laminate-safe cleaner), maintain stable indoor humidity, and protect seams from spills to avoid recurring problems like lifting, gaps, and surface wear.
📅 Last Updated: October 22, 2026 | Topic: How to repair laminate floors in a home office? | Content verified for accuracy and freshness.
References
- Laminate flooring
- MohawkFlooring
- https://www.armstrongflooring.com/support/how-to-repair-laminate-flooring.html
- Home – Tarkett Commercial
- https://www.britannica.com/technology/laminate-flooring
- https://scholar.google.com/scholar?q=how+to+repair+laminate+flooring+replace+damaged+planks Google Scholar
- https://scholar.google.com/scholar?q=laminate+flooring+water+damage+repair+procedure+swelling+cupping Google Scholar
- https://scholar.google.com/scholar?q=laminate+flooring+scratch+repair+and+chip+repair+techniques Google Scholar