
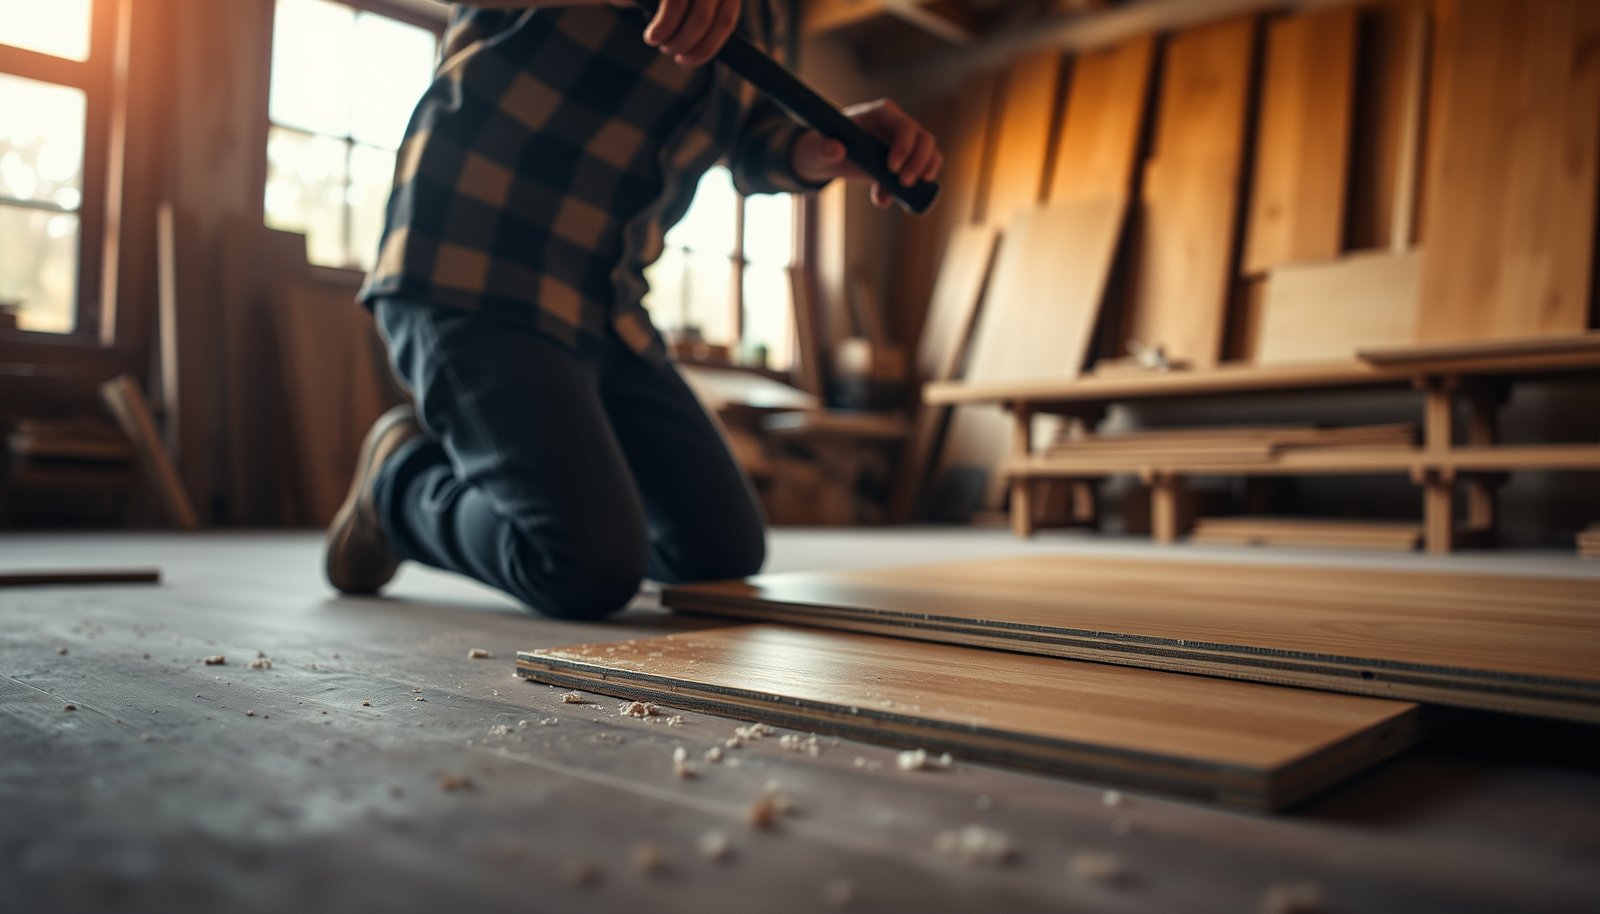

If you need to remove laminate floors from a workshop, follow this step-by-step process to get the job done cleanly without damaging the subfloor. You’ll learn the quickest way to pry up planks, handle underlayment and trim, and manage stubborn sections so the area is ready for the next install. Clear instructions, minimal guesswork, and the safest order of operations are included from start to finish.




If you want to remove laminate floors in a workshop, the fastest approach is to start at the baseboard/edge, lift the planks where the click-lock or seams allow, and remove underlayment as needed. Work slowly to keep boards as intact as possible—especially if you might re-use them or need to replace only part of the floor. Below, we’ll walk through preparation, tools, removal methods, and what can go wrong when laminate is glued down or trapped under cabinets.
This is for workshop owners and DIYers dealing with laminate in garages, sheds, or workrooms—especially where dust control and a clean, safe workspace matter. If your laminate is floating/click-lock (most common) you can often remove it in sections; if it’s glued or pinned, you’ll likely need more aggressive removal and extra surface cleanup.
Prep the workshop and protect what matters
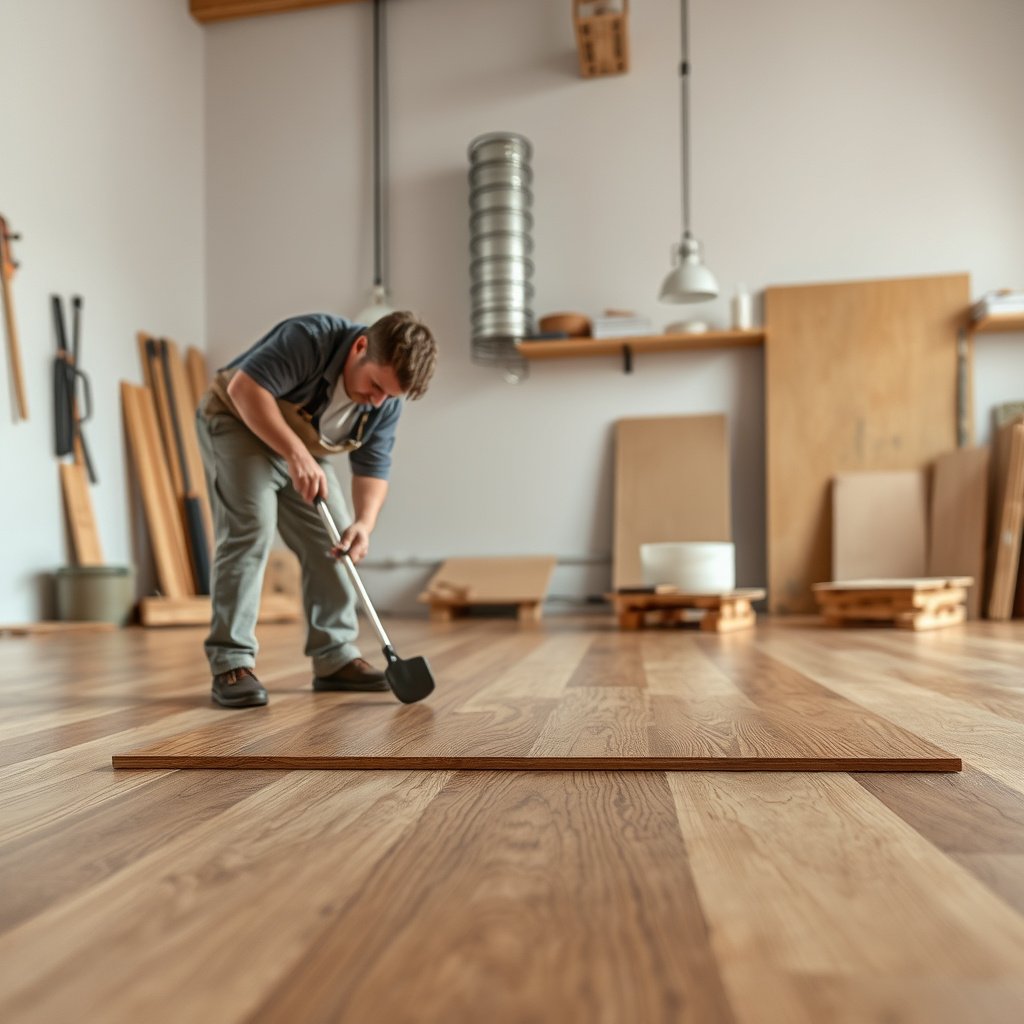
You’ll get cleaner results (and fewer surprises) by prepping the workshop before you touch a single plank: contain dust, identify what’s holding edges down, and plan how you’ll keep debris out of outlets and equipment. Do this first so your laminate removal stays controlled—especially if you’re working in a closed garage or shed where dust lingers.
When removing laminate, treat the work area as a dust-control zone and manage airflow and containment, because fine particulate can spread beyond the immediate floor area.
OSHA lists “particulates not otherwise regulated” exposure limits of 15 mg/m³ (total dust) and 5 mg/m³ (respirable fraction) as an 8-hour TWA benchmark for nuisance dust control planning (OSHA 29 CFR 1910.1000 Table Z-3).
Using HEPA filtration is a practical way to reduce airborne fine particles, since HEPA filters are defined to capture at least 99.97% of particles at 0.3 microns (U.S. EPA/HEPA filter performance guidance).
Dust containment and safety basics
Start by clearing the immediate floor: take off loose shop items, move tools and benches to one side, and cover anything that can’t be moved with plastic sheeting. Seal door gaps and protect wall outlets with plastic and painter’s tape. If you’re removing laminate in 2026, assume workshop dust management is not “optional”—it’s part of getting an actually safe, resumable cleanup.
Then turn off or cover sensitive systems (shop vac, heaters that circulate air, wall outlets, and any electrical junctions). Plan ventilation (open doors where practical) while still controlling where dust travels. The goal is to keep laminate dust from migrating into HVAC intakes or sensitive work surfaces.
Identify the “lock points” before removing anything
Before prying, identify what’s holding the perimeter down: baseboards, shoe molding, transition strips, thresholds, and any areas under fixed built-ins. Under many workshop setups, laminate is trapped at doorways or edges by trim that hides nails, staples, or adhesive strips. The best laminate flooring removal strategy starts with this identification, because it tells you where the first release should happen—and where forcing will crack planks.
As of 2026, one mistake I see repeatedly in workshop remodels is assuming only baseboards matter. In reality, transitions and thresholds often lock the first plank rows in ways you won’t see until you remove them.
Quick “what to check” before you start
– Are baseboards caulked or painted tight to the floor edge?
– Are there transitions at roll-up doors, between workshop rooms, or across concrete seams?
– Is there a finished subfloor below (e.g., epoxy coating), or is the goal to fully strip to bare material?
Gather the right tools (and plan for dust)
You can remove laminate faster and with fewer broken boards by assembling the right mix of pry tools, cutting tools, and dust control equipment before you begin. For workshop floors, dust planning matters as much as the pry bar—especially if you’ll reuse underlayment, do electrical work afterward, or need a clean substrate for reinstall.
For laminate removal, a pry bar or flooring pull bar and a utility knife are core tools because they help you work along seams and release locking joints without damaging tongues and grooves.
If you use a particulate respirator, NIOSH particulate filter classes are designed around measurable filtration efficiency targets (e.g., N95/P100 classes are defined by minimum filtration performance in federal testing standards) (42 CFR Part 84 (NIOSH respirator particulate filter performance)).
Maintaining dust containment during laminate removal reduces the likelihood that nuisance dust will spread across benches and tools, which can later contaminate finishes and adhesives.
Tool list for workshop laminate floor removal
Expect to use:
– A pry bar (or flooring pull bar) for lifting edges and tapping boards apart
– A utility knife for scoring seams, underlayment seams, and adhesive lines
– A hammer (for controlled tapping, not demolition)
– A tapping block (to protect plank edges when using light tapping)
– Pry wedges (to keep released gaps open without re-clamping joints)
– A floor scraper (for underlayment removal and leftover adhesive)
If you suspect glued-down laminate, you may also need additional scraping blades and possibly a heat gun (used carefully) to soften certain residues—however, confirm with your laminate/adhesive manufacturer guidance first.
Dust control that actually helps
For laminate removal in a workshop, plan for fine particulate. A shop vac helps, but filtration matters:
– Use a shop vac with a fine dust setup and, ideally, HEPA filtration where available.
– Wear eye protection and a dust mask/respirator.
– Bag or containerize waste promptly so debris doesn’t “re-aerosolize.”
Dust numbers matter for planning. OSHA’s 8-hour PEL benchmark for nuisance dust (15 mg/m³ total dust, 5 mg/m³ respirable) is not a “DIY pass/fail” test, but it’s a solid reason to treat workshop laminate removal as a controlled task, not a quick sweep-and-pry job (OSHA 29 CFR 1910.1000 Table Z-3).
Dust-Filtering Options for Laminate Removal (0.3 µm performance)
| # | Filter / PPE class | Benchmark @0.3 µm | Workshop-fit intent | Filtration rating |
|---|---|---|---|---|
| 1 | N95 (particulate respirator) | ≥95% efficiency (max ~5% penetration) | General laminate/wood dust | 95% ★★★☆☆ |
| 2 | P95 (oil-proof particulate respirator) | ≥95% efficiency (max ~5% penetration) | Dust with cutting oils | 95% ★★★☆☆ |
| 3 | R95 (oil-resistant particulate respirator) | ≥95% efficiency (max ~5% penetration) | Dust with mild oil exposure | 95% ★★★☆☆ |
| 4 | N99 (particulate respirator) | ≥99% efficiency (max ~1% penetration) | Longer/removal-intensive days | 99% ★★★★☆ |
| 5 | P99 (oil-proof particulate respirator) | ≥99% efficiency (max ~1% penetration) | Higher confidence with oily dust | 99% ★★★★☆ |
| 6 | P100 (particulate respirator) | ≥99.97% efficiency (max ~0.03% penetration) | Maximum particulate protection | 99.97% ★★★★★ |
| 7 | True HEPA / ULPA media (shop filtration) | HEPA ≥99.97% @0.3 µm; ULPA ~99.999% (higher efficiency) | Vac/room filtration during removal | HEPA ★★★★★ |
Remove trim, transitions, and the first rows
You should remove trim and transitions first because they’re the hidden “release points” that let laminate planks lift without breaking. Once the perimeter is free, floating/click-lock laminate can come up in sections; without this step, you end up prying against nails or trapped locks.
Baseboards and shoe molding cover perimeter edges, which are common places for nails, caulk beads, or sealed expansion gaps that affect laminate removal.
Transition strips and door thresholds often conceal the locking condition at room openings, so removing them can relieve tension before you pry boards.
Expansion gaps exist around most laminate perimeters, and breaking access to that gap is often what prevents planks from releasing.
Trim removal that prevents wall damage
Remove baseboards and other trim carefully so you don’t tear drywall or scrape paint. Work from the least noticeable edge first, and use painter’s tape to protect wall surfaces if you’re prying near finish lines. In workshop remodels, people often want to reuse baseboards—doing this slowly is what keeps them reusable.
Transitions and thresholds: the “hidden fastener” zone
Take off transition pieces (door thresholds, reducers, T-moldings) before lifting planks to relieve hidden locks. This is especially important when laminate meets:
– a doorway threshold,
– a different floor type,
– a raised platform or step,
– or a roll-up door transition into another area.
Find the release points
Locate expansion gaps and seam lines—your first break point is usually near a wall or under the edge of a transition. If the first edge won’t release, don’t assume the laminate is floating when it isn’t; check transitions and perimeter fasteners first.
Lift laminate boards: floating/click-lock method
You can usually remove click-lock laminate by starting at the loosened edge and working methodically to break the locking joint. The fastest approach is also the least destructive: lift at the correct angle, remove in manageable sections, and stop immediately when a plank resists.
Floating/click-lock laminate planks are designed to disengage by breaking the tongue-and-groove style locking joint rather than by prying flat against the board.
If a plank resists, it often indicates a missed perimeter fastener (baseboard nails) or an area where adhesive was used at the seam.
Removing laminate in sections reduces the chance of cracking long edges and helps you keep plank direction consistent for reassembly.
Break the locking joint correctly
Work from the starting edge and lift planks by breaking the locking joint (often by gently prying while lifting at the correct angle). Use wedges to keep freed sections from re-binding while you continue along the seam line.
Preserve plank integrity and order
Remove plank rows in manageable sections, keeping track of direction (some patterns lock differently depending on orientation). Place boards in order so you can re-install or replace partial sections later.
Stop early when something doesn’t match the “floating” assumption
If a plank resists, stop and check for missed fasteners (baseboard nails, tack points, or adhesive in one area). In workshop installs, it’s common to see partial glue dots or adhesive strips used only in certain zones (doorways, along equipment pads, or near wet areas).
Pros and cons: click-lock vs. glued behavior (quick decision support)
| Factor | Floating / click-lock laminate | Glues or pinned laminate |
|---|---|---|
| How planks release | Locks disengage at seams when lifted correctly | Locks won’t release; adhesive or fasteners hold them |
| Expected board reuse | Often better if you lift gently and in order | Typically limited due to broken edges during extraction |
| Subfloor risk | Lower risk when boards come up intact | Higher risk due to scraping and residue removal |
| Dust profile | Mostly particulate from underlayment and debris | Often more debris when scraping adhesive/underlayment |
| Tools needed | Pry bar, pull bar, tapping block, wedges | Adds heavier scraping blades and scoring technique |
| Removal speed | Usually faster in open areas | Slower due to resistance and cleanup |
| Best workshop outcome | Cleaner substrate and possible partial reuse | Mostly “strip to base” with residue cleanup plan |
If laminate is glued down: controlled demolition approach
If the laminate won’t separate at seams/locks, treat the job like a controlled demolition: score, remove smaller areas, and expect more subfloor cleanup. Glued laminate removal is slower and messier, but you can still keep damage to a minimum by changing techniques early instead of forcing planks apart.
When laminate planks won’t separate at seams/locks, adhesive or mechanical fastening is likely present and continued prying typically increases cracking and subfloor damage.
Scoring along seams before lifting helps localize removal and can reduce the amount of underlayment and subfloor material you inadvertently take with you.
Glued laminate removal usually ends with adhesive residue removal, so planning extra scraping time and disposal space is part of the method.
Score seams before you lift
If planks don’t separate at seams/locks, assume adhesive or mechanical fastening and switch to scraping and chunk removal. Score along seams with a utility knife, then lift in smaller areas to reduce damage to the subfloor.
Work in “zones,” not continuous strips
Work in zones so you can stop when resistance increases. This reduces the chance you’ll rip underlayment off in large sheets and embed debris into the substrate.
Expect underlayment remnants and residue cleanup
Plan for more cleanup (adhesive residue, underlayment remnants). If you’re reinstalling any flooring afterward, your new underlayment and planks must sit on a stable, flat surface—so residue cleanup becomes part of the laminate removal process rather than an optional extra.
What can go wrong (and how to avoid it)
Most problems come from treating glued laminate like click-lock, forcing locked joints, or underestimating how trapped edges behave under cabinets. If you follow the “stop and reassess” rule early—especially at transitions and under fixed equipment—you’ll avoid the majority of workshop-removal headaches.
Forcing locked click-joints commonly cracks tongues and grooves, which turns a planned reusable removal into broken boards and extra disposal.
Laminate trapped under cabinets or fixed built-ins may require localized cuts near fixed parts rather than full plank extraction.
Hidden adhesive under underlayment can prevent seam disengagement even after transitions are removed, which is why a technique switch should happen as soon as planks resist.
The most common failure modes
– Mistake: forcing locked planks. If the floor is floating and the lock is intact, forcing can crack tongues/grooves and waste boards.
– Edge case: laminate trapped under cabinets or built-ins. You may need to remove only accessible areas or cut planks close to fixed parts.
– Hidden adhesive under underlayment. Some installations have adhesive strips or full glue-down; if the planks won’t lift after transition removal, don’t keep prying.
A “glue suspicion” test you can run quickly
When laminate behaves like it should be floating (transitions and baseboards are removed) but still won’t release:
1. Try lifting at the seam angle only.
2. If it won’t move across multiple rows, stop and reassess for adhesive pockets.
3. Switch to scoring and small-zone removal immediately.
VS table: method choice for workshop laminate removal
| Criteria | Floating / click-lock removal | Glued laminate removal |
|---|---|---|
| Primary release mechanism | Lock joint disengages when lifted | Adhesive/fasteners prevent joint release |
| Best starting point | Expansion gap or loosened perimeter edge | Scored seams in accessible zones |
| Tool intensity | Pry bar + pull bar + wedges | Scraper blades + scoring knife + wedges |
| Expected plank breakage | Lower if you lift correctly | Higher during extraction |
| Subfloor damage risk | Lower with intact removal | Higher due to scraping and residue removal |
| Time predictability | More predictable in open areas | Variable based on adhesive coverage |
| Cleanup scope | Underlayment removal + light debris | Adhesive residue + underlayment remnants |
| Best use scenario | Partial reuse or replacement planning | Full strip-down to prep for new flooring |
| Dust control needs | Important, but usually less abrasive cleanup | More debris during scraping; stricter control recommended |
| Where to stop and reassess | At the first sign of adhesive/fasteners | When scoring fails to localize removal |
| Verdict | Choose when joints release with correct lift angle | Choose when planks won’t disengage after transitions are removed |
Verdict: which method to choose (and who should skip DIY)
If your laminate is floating/click-lock, removal is usually straightforward—just go slow at the first edge and keep boards aligned. If it’s glued down or mechanically fastened, DIY is still possible, but it’s slower, messier, and more likely to damage the subfloor—consider hiring help if you need a pristine base for refinishing.
Floating laminate typically comes up in sections when perimeter trim and transitions are removed before lifting plank rows.
Glued or mechanically fastened laminate generally requires scoring and controlled extraction, followed by thorough residue removal to support new flooring.
If you’re working in older workshops, dust-control and material safety checks should be treated as part of planning before any cutting or scraping begins.
Who should proceed with DIY
Proceed with DIY when:
– You confirm click-lock behavior (seams lift when you break the joint at the right angle).
– You can remove baseboards and transitions cleanly.
– You have room to bag debris and manage dust containment in the workshop.
Who should skip DIY (or get help)
Skip DIY (or at least get a professional) if you:
– suspect asbestos-containing materials in older workshops,
– must protect an existing finished subfloor coating,
– or need to remove large areas quickly under time pressure.
Quick reality check for workshop owners (2026)
Even in 2026, the biggest schedule risk isn’t lifting boards—it’s adhesive/residue cleanup and flatness prep for whatever goes down next. If that matters, budget extra time for substrate condition.
Quick scan checklist (save this)
– [ ] Remove baseboards/trim and transitions first
– [ ] Start at an expansion gap or loosened edge
– [ ] Try lifting at seams/locks before prying hard
– [ ] Keep a dust plan (shop vac + mask/eye protection)
– [ ] If glued: score seams and remove in small sections
– [ ] Clean up underlayment/residue before installing anything new
Sources
– OSHA 29 CFR 1910.1000 Table Z-3 (particulates not otherwise regulated exposure limits; nuisance dust benchmark)
– 42 CFR Part 84 (NIOSH respirator particulate filter classifications and performance testing requirements)
– U.S. EPA guidance on HEPA filtration (HEPA capture efficiency concept and definitions)
When you remove laminate flooring in a workshop, the winning approach is methodical: prep and control dust, remove trim/transitions, lift boards correctly if they’re floating, and switch to scoring + scraping if they’re glued. If you treat resistance as a signal to reassess (rather than something to muscle through), you’ll protect plank edges, reduce subfloor damage, and save time on the cleanup that actually determines how smoothly your next project goes.
Frequently Asked Questions
What tools do I need to remove laminate floors from a workshop?
For laminate floor removal, you’ll typically need a pry bar, floor scraper, hammer, utility knife, pull bar, and a rubber mallet to avoid damaging the subfloor. A circular saw or oscillating multi-tool helps cut under door jambs and quarter round without gouging the walls. If the laminate is glued down, have a heat gun or scraper attachment ready, and wear safety gear like gloves, eye protection, and a dust mask since laminate can create a lot of debris.
How do I remove laminate flooring without damaging the subfloor in a workshop?
Start by removing baseboards, quarter round, and any trim so you can lift the first rows. If the laminate is click-lock (floating), begin at a doorway or wall edge and pull up boards carefully while keeping tension even to prevent breakage. For glued laminate, score seams with a utility knife and use a floor scraper to lift sections gradually, stopping short of the subfloor and using a thinner blade to protect plywood or concrete.
How can I tell whether my laminate is floating or glued down before removal?
Look for a visible gap at baseboards or transitions—floating laminate often has slight movement and a consistent edge with an expansion gap. Check a small test area near a wall: if boards lift by prying the groove edge, it’s likely click-lock floating; if scraping is required and the laminate feels firmly bonded, it’s probably glued down. You can also inspect an old seam or corner—glued laminate usually has adhesive residue and doesn’t separate cleanly.
Why is moisture control important when removing laminate floors from a workshop?
Workshops often have temperature swings, humidity, and dust, which can cause laminate to warp or trap moisture against the subfloor. Before removal, check the area for dampness and ensure the workshop is dry and well ventilated to reduce the risk of mold and substrate damage. After you remove laminate, inspect the subfloor for swelling, adhesive moisture, and unevenness before installing new flooring or underlayment.
Which is the best removal method for laminate flooring installed over concrete in a workshop?
Over concrete, laminate may be either glued directly or installed as a floating floor over vapor barrier; the best method depends on adhesion type. For floating laminate, remove trim and lift rows starting from an edge or doorway, using a pry bar and pull bar to keep boards intact. For glued laminate, use an oscillating tool to cut through seams and then scrape with a heavy-duty floor scraper; plan for extra time and debris cleanup with a shop vacuum and dust control.
📅 Last Updated: October 24, 2026 | Topic: How to remove laminate floors from a workshop? | Content verified for accuracy and freshness.
References
- Laminate flooring
- Floating floor
- Asbestos | US EPA
- Asbestos – Overview | Occupational Safety and Health Administration
- https://www.cdc.gov/asbestos/
- https://www.cdc.gov/niosh/topics/asbestos/
- Asbestos – HSE
- https://scholar.google.com/scholar?q=how+to+remove+laminate+flooring+workshop Google Scholar
- https://scholar.google.com/scholar?q=remove+floating+click+lock+laminate+floor+disassembly Google Scholar
- https://scholar.google.com/scholar?q=laminate+floor+removal+techniques+tools+damage+prevention Google Scholar


[…] how to prepare laminate floors for a workshop with a step-by-step process that keeps the surface flat, protected, and ready for tools. Follow this direct checklist to […]