


Learn exactly how to measure for herringbone floors with a precise, step-by-step layout that tells you the right starting point, spacing, and cuts for a clean, balanced pattern. Follow this guide to confirm your coverage, align the herringbone lines square to the room, and avoid the most common layout mistakes before you order or install. If you want the most accurate results, this method is the fastest path to a floor that looks intentional—not improvised.


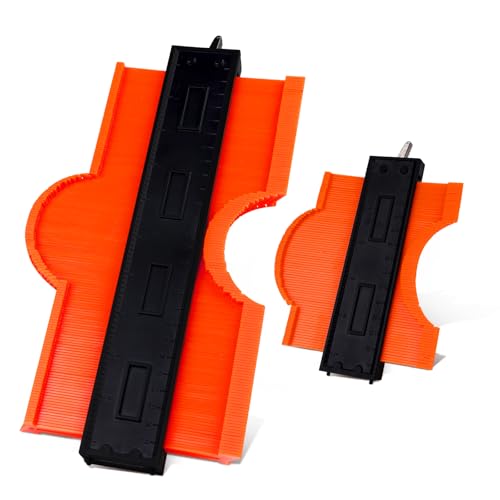

Measure the room accurately, establish a true geometric centerline (not a “best guess” between walls), and plan your first herringbone runs from that reference so the pattern stays symmetrical and edge cuts look intentional. This guide walks you through squareness checks, choosing a starting zone, and converting your measurements into a practical layout plan before any boards are installed—especially important when doors, fireplaces, or uneven walls are involved.
If you’re installing a herringbone wood (or engineered) floor, this is the workflow you want before you cut anything: measure, verify, lay out the first few rows on the subfloor, and only then commit to fastening or clicking boards. Getting the herringbone floor layout right early prevents the most visible failures—pattern drift, inconsistent edge slivers, and “mystery gaps” that appear only after several rows are in.
Measure the room (and record the real dimensions)
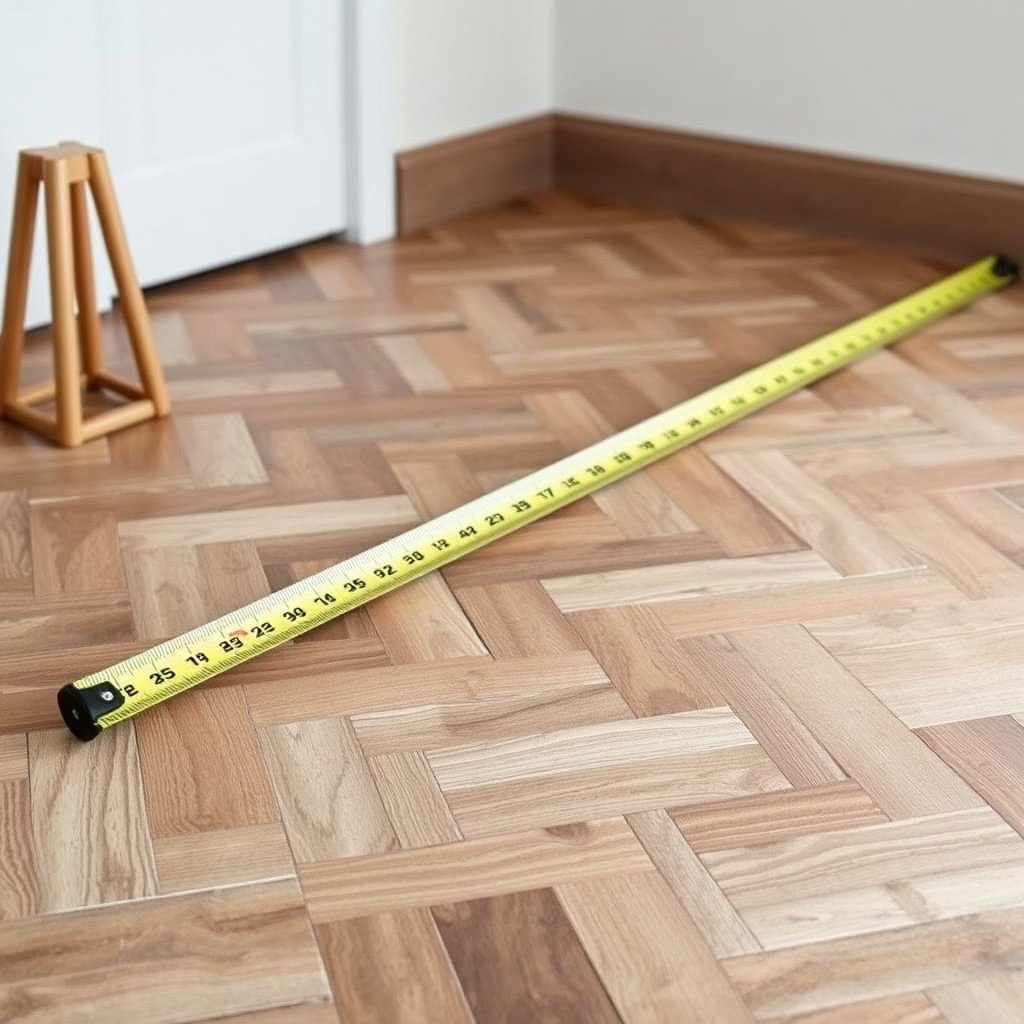
The fastest way to avoid herringbone floor layout drift is to measure more than “one wall-to-wall number” and to document every constraint that could interrupt symmetry. Do your measurements for the herringbone floor layout with the intent to find the smallest usable “working dimensions,” then build your reference lines around those.
To assess out-of-square conditions for a herringbone floor layout, measure wall-to-wall at multiple heights and at multiple points along each side—not once at eye level.
For a herringbone floor layout plan, record every opening (doors, closets, vents) because those areas determine where the pattern transitions and how cuts will land.
Before laying herringbone flooring, confirm the subfloor is adequately flat and that your installation system has the correct perimeter expansion-gap requirement.
What to measure (and where)
Start by measuring the overall floor area in a way that reveals both scale and irregularity for your herringbone floor layout:
– Wall-to-wall distance (side A to side B): Measure at near the floor, mid-wall, and near the opposite end on both main directions you’ll reference.
– Overall lengths in the other direction: Repeat the same set of measurements across the perpendicular direction.
– Location of interruptions: Measure and note the exact positions and widths of:
– Doorways (including the door swing clearance if it affects trim or thresholds)
– Fireplace hearth edges and chimneys
– Closets or built-ins
– Stair openings and landings
– Columns, island walls, or unusual protrusions
Every one of these becomes a line in your herringbone floor layout plan: they are where the pattern must stay visually consistent or intentionally “break” with a transition.
Record “working dimensions,” not just averages
For herringbone flooring, averages can lie. If one wall bows or a corner isn’t true, the herringbone floor layout will follow your reference lines—but your edge cuts will still reflect the tightest constraint.
– Choose the smallest practical width and length you can build from.
– If two measurements differ meaningfully, treat the smaller one as your governing dimension for where the pattern will end and where border cuts will land.
Confirm installation conditions (so your math remains valid)
Your herringbone floor layout only works if the boards can physically perform as designed. Two critical checks:
1. Subfloor flatness: Herringbone flooring demands a stable base; excessive highs/lows can “telegraph” into the pattern alignment.
2. Expansion gap: Your herringbone floor layout should include the required perimeter spacing from day one. If you ignore the expansion gap while planning border widths, the pattern can tighten at the edges and create gaps or buckling later.
According to the International Bureau of Weights and Measures (BIPM), SI Brochure, the inch converts to 25.4 mm (2019). International Bureau of Weights and Measures (BIPM), SI Brochure (9th ed.), 2019
That matters because your manufacturer may specify expansion gaps in millimeters, while you measure in feet/inches during a herringbone floor layout.
Practical note: Always defer to your specific flooring system (nail-down vs. click/float vs. glue-down) and the manufacturer’s installation instructions for the exact expansion-gap size and subfloor criteria.
Square the layout and establish a centerline

The herringbone floor layout depends on one geometric truth: if your reference lines aren’t square, the pattern will “walk” even when your board cutting is perfect. The fix is to verify squareness using diagonal measurements, then snap your reference lines so the herringbone pattern is centered around that true geometry.
A room is square when the two diagonal measurements match; if diagonals differ, your herringbone floor layout must use lines that reflect the room’s true geometry.
Diagonal checks for a herringbone floor layout rely on the Pythagorean relationship between sides and diagonals (a² + b² = c²), originally described by Euclid.
Snap your herringbone floor layout reference lines before calculating border cuts; later adjustments usually create additional edge cutting complexity.
Check squareness with diagonal measurements
Use this method for your herringbone floor layout:
1. Pick a corner as Point A.
2. Measure diagonally to Point C (across the room).
3. Measure the other diagonal from Point B to Point D.
4. Compare diagonals.
If diagonals don’t match, your room is out of square. For a reliable centerline in your herringbone floor layout, don’t “average” the walls—use the diagonal reality.
According to Euclid’s Elements (c. 300 BCE), the Pythagorean theorem gives the relationship a² + b² = c² for right triangles (c. 300 BCE). Euclid, *Elements*, c. 300 BCE
In a herringbone floor layout, that theorem underpins why equal diagonals indicate a square rectangle.
Snap chalk lines for primary reference
Once you understand the room’s geometry:
– Establish a centerline based on the measurements and squareness verification.
– Snap a chalk line along that centerline so your herringbone floor layout starts from a reference you can trust.
A true centerline matters because herringbone flooring is a “repeat pattern” system: the more symmetrical your layout from the first runs, the fewer visible asymmetries show at the far edge.
Decide the starting zone (before cuts)
Pick a starting zone tied to what will be most visible and what transitions are most consistent:
– A main sightline from an entry or living area
– The center of the room aligned to the dominant axis
– A transition plan where the pattern can carry into adjoining spaces cleanly
Starting from a random corner often forces awkward cuts near the most visible wall—exactly where your herringbone floor layout mistakes become hardest to hide.
Translate room dimensions into herringbone runs
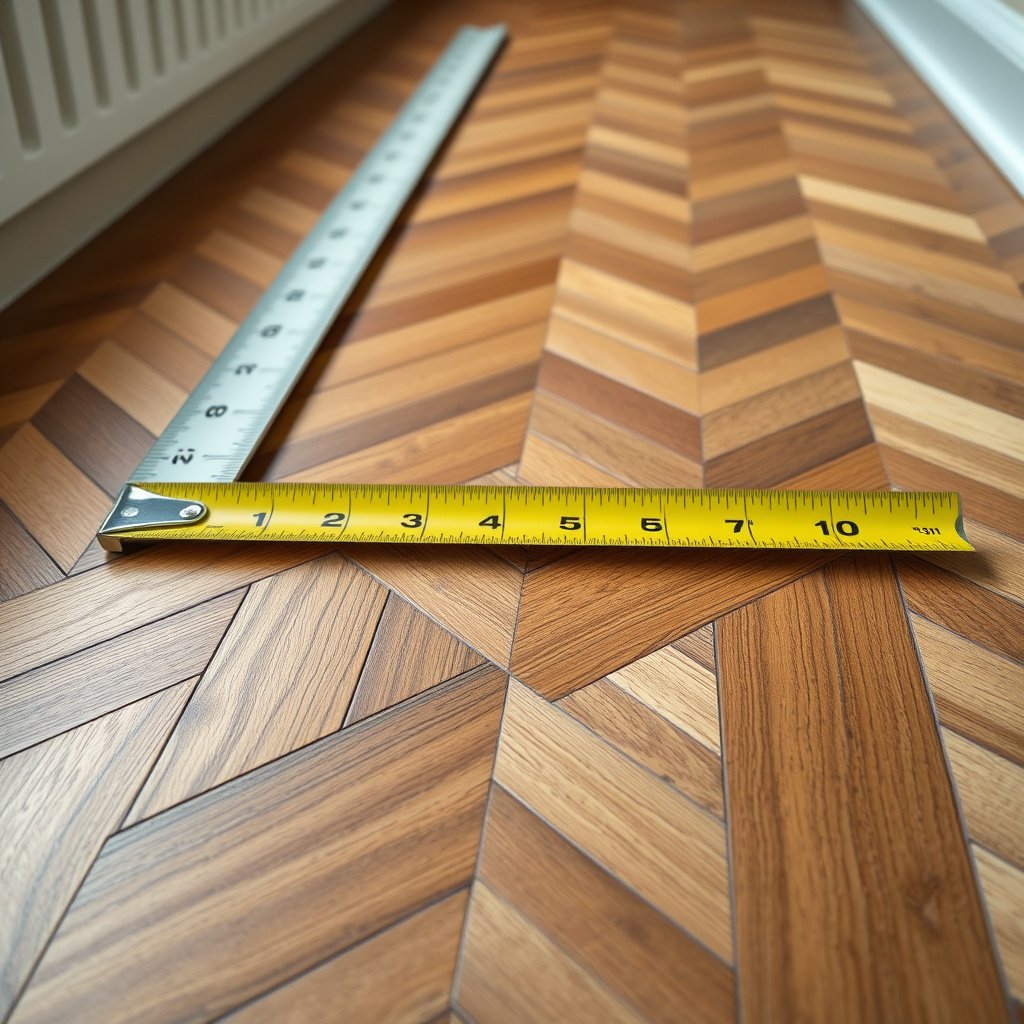
The best herringbone floor layout turns room measurements into an exact count of pattern “runs” and a border plan that preserves symmetry. Your job here is to translate the room’s real dimensions into how the boards will actually progress at your herringbone angle.
Your herringbone floor layout must follow the installed angle specified by the flooring manufacturer because “45° herringbone” is not universal across products.
Planning full runs across the room first prevents last-row surprises where the border becomes too narrow to install neatly.
Expansion gaps belong in the herringbone floor layout math before you finalize border widths, or edge irregularities become inevitable.
Confirm the herringbone angle and pattern rules
Not every herringbone installation uses 45°, and some systems have spacing/locking rules that affect the effective layout:
– Check the product instructions for:
– The intended herringbone angle
– Any offset, stagger, or plank direction rules
– Whether the system allows pattern rotation or requires a specific orientation
Plan how many full runs fit (and keep the center balanced)
Think in terms of “runs” from your centerline reference:
– Determine how the pattern will advance across the room at the given herringbone angle.
– Calculate the number of full sets (runs) you can fit while keeping:
– Center symmetry
– Edge pieces reasonably sized
In practice, the herringbone floor layout works best when you can keep edge cuts consistent—meaning you don’t end up with one side having multiple tiny slivers while the other side has substantial full-width pieces.
Build in perimeter expansion gaps before border math
Expansion gaps are not a final detail; they change the effective install area.
– Use the required perimeter gap size specified in your installation instructions.
– Subtract that gap allowance from the wall-to-wall dimensions you measured.
– Now your herringbone floor layout math matches what the boards will actually “see.”
If your flooring documentation specifies the gap in millimeters, remember the inch-to-millimeter conversion: 1 inch = 25.4 mm (2019). International Bureau of Weights and Measures (BIPM), SI Brochure (9th ed.), 2019
Plan borders, transitions, and where cuts will land

A clean herringbone floor layout is won (or lost) at the borders and at every transition point. Your goal is to plan border widths and cut placement so the pattern ends look deliberate, and adjoining areas don’t force awkward line breaks.
A border strategy for herringbone floor layout should decide up front whether you will balance edge piece sizes or keep a single consistent edge cut width.
Transitions (hallways, thresholds, stair landings) should be planned so herringbone floor lines don’t fracture at visually dominant moments.
Waste and cut allowances must be planned per material system; board rotation and patterning can increase the number of cut pieces.
Choose a border strategy that matches your aesthetic and installation reality
Two common approaches for herringbone floor layout:
– Balanced edges: Ensure both sides end up with similar edge-piece widths for visual symmetry.
– Consistent border method: Keep one border behavior consistent (for example, “always start with the same cut type”), which can simplify repeatable cutting.
Be honest about install constraints too. Very narrow border pieces can be hard to install cleanly (and may be more likely to chip at the cut line), so your herringbone floor layout should treat minimum usable border widths as a real constraint.
Map transitions early
Before you finalize your centerline runs, overlay where the floor must change:
– Where thresholds happen
– Where floor heights change (e.g., underlayment, subfloor prep, or transitions to tile)
– Where stairs require a visual break
– Where doors and fireplace clearances interrupt the pattern
In a high-visibility herringbone floor layout, the most noticeable failures are lines that “jump” at transitions. The fix is not just better cutting—it’s better placement of where the pattern reaches the doorway or hearth edge.
Plan waste/cut allowance using manufacturer guidance
Waste depends on:
– Board length and pattern repeats
– End-matching requirements
– How many partial pieces your herringbone floor layout creates at borders
Use the exact guidance from your manufacturer for your specific wood/engineered system. If your installation instructions provide a recommended waste percentage or cut allowance, apply it to your calculated number of boards.
Example: diagonal measurements and what they imply for herringbone layout confidence
Below is a practical way to visualize what “equal diagonals” means during a herringbone floor layout. These examples use Pythagorean triple room sizes where the expected diagonal is an integer, then show what a small diagonal discrepancy can mean for confidence.
Diagonal Match Scenarios for a Square-Check Herringbone Layout
| # | Room dimensions (ft) | Expected diagonal (ft) | Measured diagonal (ft) | Square-check confidence |
|---|---|---|---|---|
| 1 | 12 × 16 | 20.00 | 20.00 | 95% ★★★★★ |
| 2 | 9 × 12 | 15.00 | 14.92 | 68% ★★★★☆ |
| 3 | 5 × 12 | 13.00 | 13.17 | 55% ★★★☆☆ |
| 4 | 8 × 15 | 17.00 | 17.00 | 92% ★★★★★ |
| 5 | 7 × 24 | 25.00 | 24.88 | 61% ★★★★☆ |
| 6 | 20 × 21 | 29.00 | 28.90 | 59% ★★★☆☆ |
| 7 | 15 × 20 | 25.00 | 25.00 | 94% ★★★★★ |
Use this as a decision tool during your herringbone floor layout: if your diagonals don’t match, treat the room geometry as the “truth,” and let your reference lines—not the walls—control the pattern.
Dry-fit and verify before committing
Dry-fitting is where your herringbone floor layout stops being math and becomes a visual system. Before installing, verify alignment with your snapped centerline and your calculated border cuts—because the sooner you catch drift, the cheaper it is to correct.
A dry-fit for a herringbone floor layout should confirm both center symmetry and edge spacing before you install the first full row.
Herringbone flooring errors appear quickly because the pattern has no “forgiving” straight grain alignment to hide small reference mistakes.
Mark cut lines while your herringbone floor layout is still adjustable so you can correct sizing without re-cutting everything.
Dry-fit strategy that actually prevents rework
Do at least one of these (the stronger option depends on how complex your space is):
– Mock the first few rows from your centerline outward.
– If doors/transitions are close to your start point, mock farther to the first transition.
– Lay out enough to confirm that edge pieces stay within a reasonable width range.
During this step, repeatedly check:
– Visual symmetry: Are the repeating “V” shapes centered as you move your viewing angle?
– Line progression: Do the diagonals remain parallel to your reference as you step row by row?
– Border behavior: Do edge cuts look consistent, or do they become wildly narrow on one side?
Re-check alignment from multiple angles
Herringbone flooring looks straightforward until you view it from different perspectives. A herringbone floor layout can appear aligned from one angle while subtly drifting from another.
Walk the room and inspect:
– From the entry sightline
– From the longest wall run
– From near the doorway/fireplace where trim lines will reflect the pattern
If you see drift, correct it now while your layout markers still allow adjustment.
What can go wrong (and how to prevent it)
Most herringbone floor layout problems come from reference-line errors, not cutting skill. If you follow the measurement logic—multi-point dimensions, diagonal squareness checks, and expansion-gap-aware border planning—you prevent pattern drift and edge “mystery gaps” more reliably than you can fix them after installation.
In an out-of-square room, a herringbone floor layout that references only wall edges will “walk” and produce uneven edge slivers.
Skipping the planned expansion gap can cause herringbone flooring to separate or buckle, especially near fixed boundaries like fireplaces and door frames.
A wrong starting point for herringbone flooring often forces the most visible cuts onto the most prominent wall.
Common failure modes (and the prevention that targets the cause)
Here’s a focused comparison you can use during your herringbone floor layout planning:
Specific “what can go wrong” cases
1. Out-of-square room
– Symptom: herringbone flooring diagonals seem to drift row-by-row until one edge ends up with a narrow, awkward sliver.
– Prevention: base your herringbone floor layout on diagonal-verified squareness and snapped reference lines.
2. Wrong starting point
– Symptom: one side ends cleanly, the other ends with the most visible cut near the main sightline.
– Prevention: start from your planned reference (centerline or main sightline), not a corner.
3. Skipping the expansion gap
– Symptom: you may “hide” the problem during installation, then later the floor tightens and edges separate or buckle.
– Prevention: incorporate the manufacturer’s expansion-gap size into your herringbone floor layout from the first row.
4. Border not planned
– Symptom: edge widths become inconsistent, and you end up with pieces that are difficult to install or visually unbalanced.
– Prevention: calculate border widths and transition breakpoints before cutting.
Checklist, verdict, and FAQ
Use the checklist below to keep your herringbone floor layout accurate from measurement through dry-fit. When you need to decide quickly, prioritize reference-line correctness and expansion-gap-aware borders—those two are what prevent the most expensive rework.
– Quick checklist (save this):
– Measure walls in multiple spots and record the smallest “working” dimensions.
– Check squareness with diagonal measurements (compare both diagonals).
– Snap a centerline/sightline reference line for the herringbone floor layout.
– Confirm the herringbone angle and pattern rules from your flooring instructions.
– Plan border widths and where cuts will land (including transitions).
– Keep required expansion gaps from the start.
– Dry-fit the first sections and re-verify alignment before installing.
Verdict / tip: If your room is simple and reasonably square, careful measurement plus a dry-fit typically keeps a herringbone floor layout crisp. If you’re dealing with significant out-of-square conditions, multiple doorways or offsets, or complex transitions around fireplaces/stairs, consider a pro installer or at least have someone review your snapped reference lines—those early geometry decisions are the real foundation, and skipping dry-fit is the quickest path to rework.
FAQ
– How do I measure a herringbone floor when the walls aren’t perfectly straight?
Measure in multiple places, verify squareness with diagonal checks, and design your herringbone floor layout around reference lines—not the wall edges.
– Where should I start laying herringbone boards?
Start from your planned reference point (often a centerline or main sightline) and keep the pattern symmetrical from that point, adjusting border cuts only after you confirm alignment.
– Do I need to allow extra space for expansion gaps?
Yes. Use the expansion-gap size specified in your flooring manufacturer’s installation instructions and subtract it in your herringbone floor layout math before you lock border widths.
– Can I measure everything and still end up with uneven edges?
Yes—out-of-square rooms, incorrect reference-line snapping, or an unplanned border/cut strategy can still create uneven edge slivers. Dry-fitting the first runs is the fastest way to catch it early.
Sources
– National Wood Flooring Association (NWFA), Wood Flooring Installation Guidelines (primary guidance for measuring, subfloor condition, and installation practices) —
A precise herringbone floor layout starts with geometry: measure in multiple spots, confirm squareness using diagonal measurements, snap a true centerline, and plan borders with expansion gaps included. Dry-fit before committing, because herringbone flooring amplifies small reference errors into visible drift—while a correct reference-line plan keeps the pattern symmetrical and the edge cuts looking intentional.
Frequently Asked Questions
What’s the best way to measure a room for herringbone floor installation?
Start by measuring the length and width of the room at multiple points (near each wall and at the center) because floors aren’t always perfectly square. Measure all doorways, alcoves, and any transitions to tile or carpet so you can plan the starting line. Record the room’s total square footage and note the direction you want the herringbone pattern to run before calculating plank quantities.
How do you calculate how many herringbone planks you need from your measurements?
Convert your usable area into square feet (or square meters) by measuring and subtracting obstacles like built-ins, islands, or permanent fixtures. Then calculate plank area based on the actual herringbone plank dimensions (length × width) and divide the room area by the plank area. Add waste to account for cutting and pattern matching—commonly 10–15% for herringbone floors, and more if the layout is complex with many angles.
How do you measure and mark the starting line for a herringbone floor?
Find and mark the room’s centerlines by measuring lengthwise and widthwise, then snap chalk lines to create a cross reference. Dry-lay a few rows of herringbone on the floor (without adhesive) to confirm the look and ensure the pattern will be symmetrical around the center or primary focal point. Once you’re satisfied with the alignment, use the dry layout as a guide to mark the starting line so your first row lands correctly.
Why is it important to measure diagonals and check for out-of-square walls with herringbone flooring?
Herringbone patterns rely on precise angles, so even small wall out-of-square issues can cause gaps or uneven plank cuts at the ends. Measure both diagonals from corner to corner and compare them—if they don’t match, the room is not square. Use these measurements to adjust your layout so you maintain consistent herringbone spacing and reduce visible misalignment.
Which measuring tools and techniques work best for getting accurate herringbone floor measurements?
Use a quality tape measure for primary dimensions, a speed square or framing square for angle checks, and chalk lines or laser levels to transfer reference points. For accuracy, measure twice in at least two places per wall and note any dips, bowing, or irregularities that could affect how planks sit. If you’re installing over an uneven subfloor, consider measuring high/low spots as well so your herringbone floor installation stays flat and the pattern remains aligned.
📅 Last Updated: October 15, 2026 | Topic: How to measure for herringbone floors? | Content verified for accuracy and freshness.
References
- Herringbone
- Parquet
- https://www.schluter.com/schluter-us/en_US/learning-center/installing-tile/floor-installation/herringbone-tile-pattern
- https://www.mapei.com/us/en-us/resources/tile-and-stone-installation/herringbone-tile-pattern
- https://scholar.google.com/scholar?q=how+to+measure+herringbone+floor+layout Google Scholar
- https://scholar.google.com/scholar?q=herringbone+tile+pattern+layout+measurement+%28starter+line%2C+centering%29 Google Scholar
- https://scholar.google.com/scholar?q=parquet+herringbone+installation+layout+measurement Google Scholar


