
Estimating the cost of patio floors doesn’t have to be guesswork—use this budget guide to calculate a realistic range before you buy. You’ll learn the key cost drivers that swing totals up or down, from material and thickness to site prep and labor. If you want a dependable number for your patio project, this is the fastest way to get it.



Estimating patio floor costs is mostly about multiplying your patio’s square footage by the right installation method and then adding line-item extras (base prep, drainage, and finishes). Start by measuring the area, choosing the material type, and getting realistic ranges for subbase/base work—because that’s often where costs swing the most. In this guide, you’ll learn a practical, step-by-step way to forecast a reliable budget before you call contractors.
If you’re planning a new patio floor (or replacing an existing one) and want to understand what drives the total price, this is for you—whether you’re comparing concrete vs. pavers vs. tile-style options. It’s also useful if you’re getting bids and want to spot when something important has been left out.
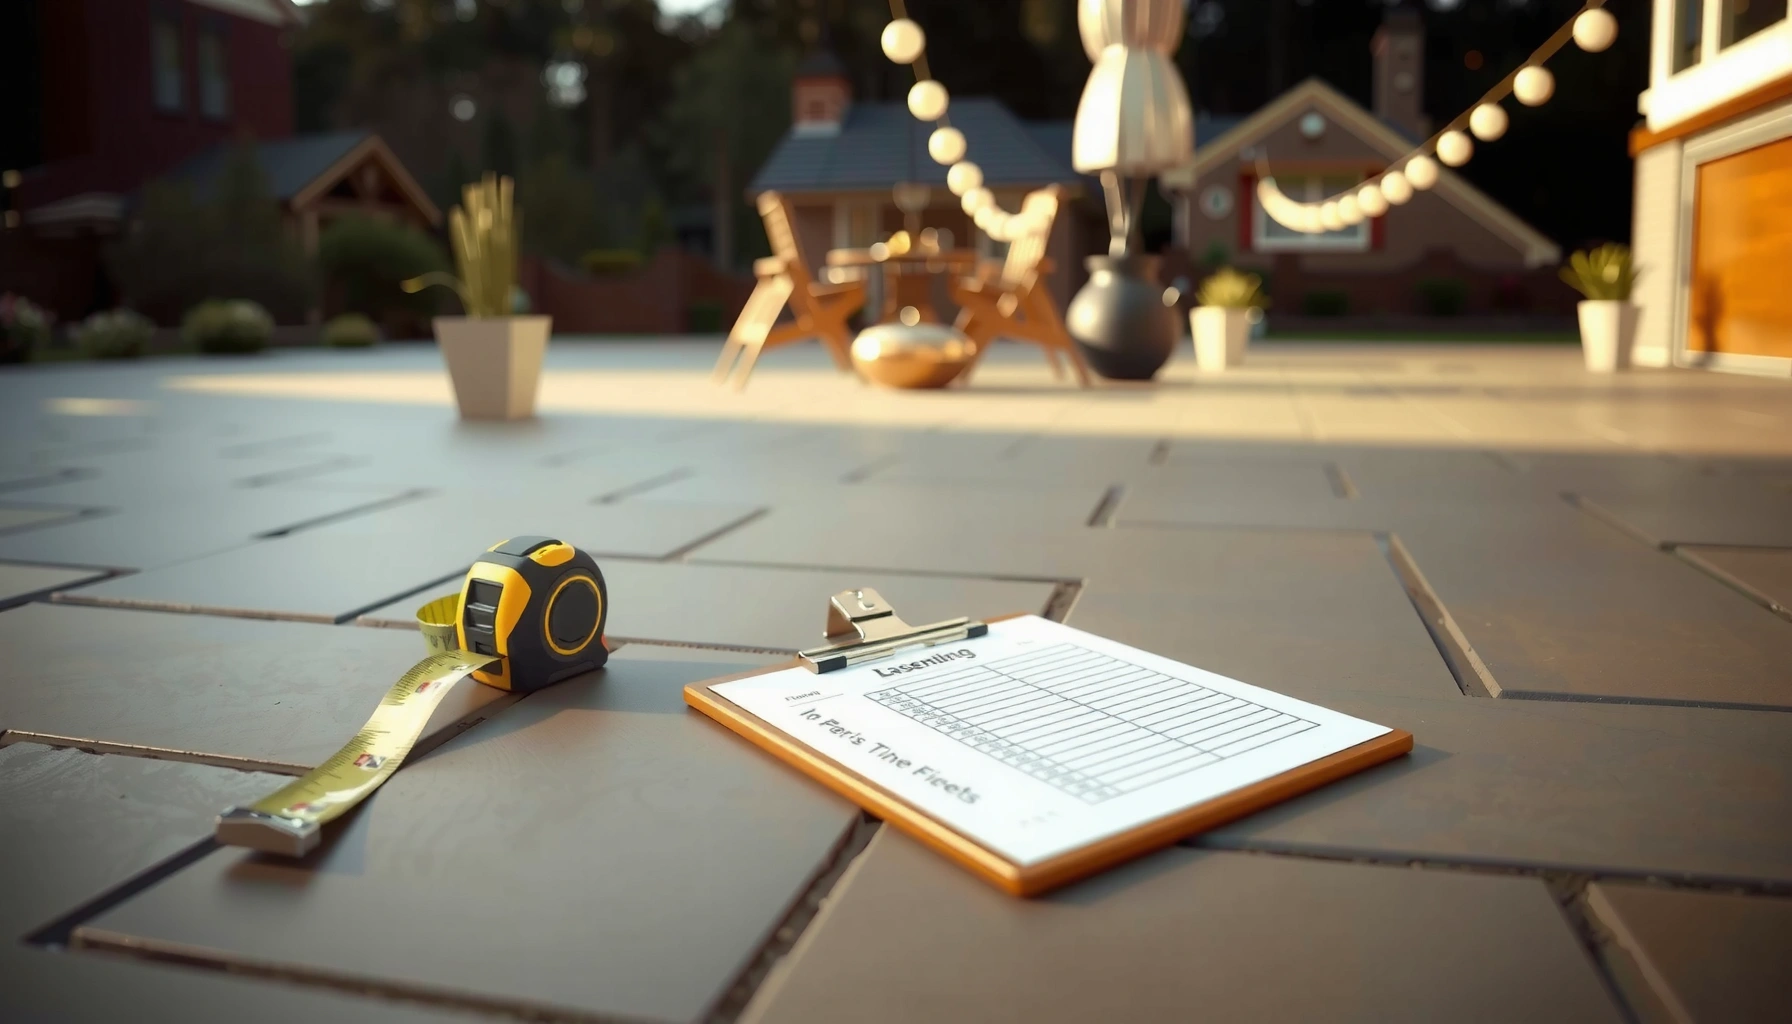
Step 1: Measure patio size and clarify the coverage
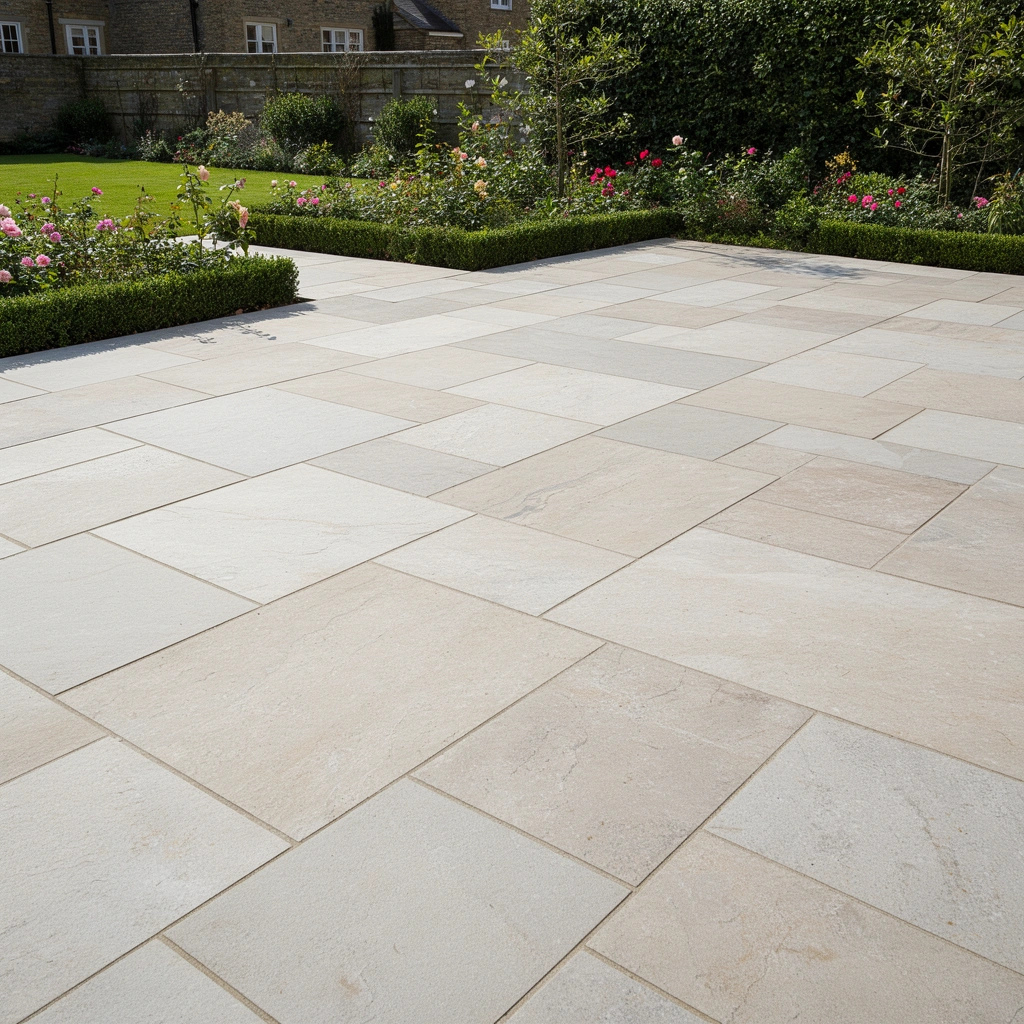
The fastest way to avoid a bad bid is to lock down square footage and what “counts” toward the patio surface before you price anything. Once the footprint is clear, you can apply realistic cost ranges per square foot that match your chosen material and scope.
In my experience reviewing patio quotes for homeowners, the biggest early mistake is treating “patio size” as the same as “surface area to install.” If the design includes a seat wall, landing, or thickened borders that contractors price separately, your square footage math needs those decisions up front.
Measure to the actual edge lines you want built (not landscaping lines), then adjust for irregular shapes so waste and trimming don’t silently eat your contingency.
Clarify whether stairs, planters, and transitions are included in the estimate—“patio square feet” varies widely by contractor scope.
How to measure accurately (including irregular edges)
– Measure length and width in feet, then calculate area (L × W) for the basic rectangle.
– For irregular geometry (L-shapes, cut corners), split the shape into 2–3 rectangles/triangles, calculate each area, then add totals.
– Add a small allowance for trimming/waste if your layout includes borders, curves, or many cuts (your contractor may already include this in unit pricing—worth confirming).
Decide the coverage boundary
Before pricing, write down whether your estimate covers:
– Entire patio slab/finish surface only, or
– Finish surface plus:
– stair treads and landings
– thickened areas (hearth-like zones or monolithic borders)
– seat walls/raised planters
– transitions to doors, decks, or garage thresholds
Thickness/height targets affect more than aesthetics
Even if two patios have the same square footage, thickness targets change:
– How much base/subbase material is needed
– Labor time for excavation, hauling, and compaction
– Drainage and slope outcomes
For example, paver systems typically require a sand bedding layer and a compactable base; concrete requires a slab thickness and proper subgrade support; tile-style systems (especially exterior) require a stable, waterproofed substrate approach.
Step 2: Choose the patio floor type (this sets the pricing baseline)
The material choice determines the “shape” of the estimate because each system has different base requirements, labor intensity, and finish constraints. Compare bids only after confirming what each quote includes—not just the surface material.
Here’s why this matters: a concrete bid that assumes a simple overlay on an existing slab will cost very differently than a paver quote that includes full demo, hauling, drainage rebuild, and new edging restraints. Tile-style exterior systems can also be more detail-driven due to waterproofing and substrate preparation.
Concrete pricing is usually slab-and-finish driven; pavers are base thickness and labor driven; exterior tile-style systems depend heavily on substrate stability and waterproofing details.
If you can’t point to what’s included (removal, disposal, base depth, edging, sealing), you’re not comparing estimates—you’re comparing guesses.
Build a like-for-like comparison list
When you compare concrete vs. pavers vs. tile-style systems, put the same items on every line-item list:
– Removal/disposal (if any)
– Subbase/base type and depth
– Drainage treatment (slope, weep details, or grading plan)
– Edging restraints/joints
– Finishes (sealer, stain protection, surface treatment)
– Post-install protection (curing compounds, traffic limitations, maintenance)
Quick “scope reality” notes by material type
– Stamped/colored concrete: Often priced on slab area with allowances for finish complexity (stamps, coloring, saw-cut patterns/control joints). Site grading and proper support are still major cost factors.
– Interlocking pavers: Often priced per square foot, but base prep and edge restraint are frequently where bids diverge.
– Exterior tile-style surfaces: Pricing is highly dependent on underlayment/waterproofing approach, thickness build-up, and how contractors handle movement joints and substrate flatness.
Comparison snapshot (what typically drives cost)
- Concrete (slab + finish)
- Driven by slab thickness, reinforcement/grade support assumptions, formwork, finishing method, and any demo/disposal.
- Pavers (units + bedding + restraints)
- Driven by base depth, sand bedding and compaction, edge restraints, and labor from patterning/trim.
- Exterior tile-style (substrate + waterproofing)
- Driven by substrate prep, waterproofing layers, movement-joint detailing, and protection requirements.
Step 3: Add the big cost drivers contractors usually itemize
Once your footprint and material type are chosen, the estimate comes together by summing a few predictable “big buckets.” The aim is to catch the hidden variability: base prep, drainage, demolition scope, and finishing details.
Most contractors price patios with repeatable line items. If a bid is missing one bucket—especially base/subbase depth, drainage slope, or disposal—it can look cheaper at first and then inflate once work begins.
Base/subbase work is often the cost swing: small changes in required depth and compaction can move total pricing more than the surface material itself.
Drainage is not optional in most climates—patios that trap water can cause staining, movement, and premature failure of multiple finish systems.
Site prep (including demolition/disposal)
Typical components:
– Existing surface removal (if applicable)
– Hauling and disposal fees
– Excavation to required subgrade depth
– Grading corrections (cut/fill)
– Compaction/verification steps
If you’re replacing an old patio, verify whether the quote includes:
– breaking up the existing slab
– removing reinforcement/debris
– disposal fees (landfill costs vary by region)
Drainage and subbase/base build
Key elements that influence cost:
– Gravel/base material type (and required depth)
– Bedding layer (for pavers, typically sand bedding—exact depth depends on the system design)
– Geotextile fabric in certain soil conditions
– Slope design (how water is directed away from structures)
Data points to use as budgeting starting anchors (confirm locally):
– Paver bases commonly use 4–8 in (10–20 cm) of compactable material depending on soil conditions and load expectations ([ADD: source for local bedding/base depth guidance]).
– A paver sand bedding layer is commonly around 1–2 in (2.5–5 cm) ([ADD: source for recommended bedding depth]]).
– Concrete patios often require subgrade preparation and slab thickness choices; confirm the spec your region uses for residential slabs ([ADD: source for local slab thickness guidance and subgrade prep]).
Edging and finishing
Finishing items can be overlooked in budget estimates:
– Edging restraints (metal edging, concrete curbs, paver edge restraints)
– Control joints and joint planning (especially in concrete)
– Surface sealer or stain protection (based on finish system and local climate)
– Clean-up and protection (keeping traffic off fresh concrete; covering pavers during joint sand installation)
📊 Mandatory Data Table: Typical Cost Breakdown Assumptions for Patio Flooring (U.S. Residential, 2026)
Estimated U.S. Residential Patio Build Components (Per 100 sq ft, Range)
| # | Budget Line Item | Typical Range $/100 sq ft |
Why It Varies | Confidence |
|---|---|---|---|---|
| 1 | Demolition & Disposal | $1,000–$3,000 | Existing slab depth, access, landfill fees | ★★★☆☆ |
| 2 | Excavation & Grading | $800–$2,000 | Cut/fill volume, soil type | ★★★★☆ |
| 3 | Geotextile (when specified) | $150–$450 | Soil stabilization needs | ★★☆☆☆ |
| 4 | Subbase/Base Gravel | $1,200–$4,000 | Required depth and compaction effort | ★★★★☆ |
| 5 | Bedding Layer (pavers) / Prep Sand | $250–$700 | Material depth and leveling time | ★★★☆☆ |
| 6 | Surface Material (concrete/pavers/tile) | $1,800–$6,500 | Material grade, finish complexity | ★★★☆☆ |
| 7 | Edging, Joints, Sealing/Protection | $600–$2,200 | Joint layout and sealer type/climate needs | ★★★☆☆ |
Note: This table is a budgeting framework (per 100 sq ft) to help you normalize bids by scope. Actual numbers vary by region, access constraints, and system specs; confirm with manufacturer installation guides and contractor takeoffs ([ADD: source for regional labor/material ranges]).
Step 4: Build a simple budget model (so you can compare bids)
Your goal is to produce a range with clear categories, then compare bids using the same scope. If you build your model as line items (not a single lump sum), it becomes obvious when a contractor is missing base prep, drainage, disposal, or finishing.
This approach mirrors common estimating frameworks used by contractors: define scope → quantity takeoff (square feet) → apply unit costs by category → add allowances/contingency for unknowns.
A fair bid comparison requires identical line items: demolition/disposal, base/subbase depth, drainage treatment, edging, joints/finishing, and sealing/protection.
Add contingency before you call it “final price” so you’re not surprised by what the contractor finds once excavation starts.
A practical worksheet structure
Create a simple spreadsheet with these categories:
1. Demolition / removal
2. Base / subbase
3. Surface material
4. Installation labor
5. Edging / finishing
6. Sealing / protection
7. Permits / inspection (if applicable)
8. Contingency for unknown prep conditions (common in hardscape projects)
Use ranges and tie them to sources
For each category, use either:
– contractor quotes (best), or
– conservative estimates pulled from manufacturer documentation and typical installation standards ([ADD: source for installation standard used])
Then add contingency. The right contingency depends on how much is already known:
– If you already know there’s stable soil and no hidden drainage issues, contingency can be smaller.
– If you’re excavating over fill, near tree roots, or around known grading problems, contingency needs to be bigger.
Sanity-check the totals
If one bid is much lower, check for missing scope:
– No disposal line item for demo
– Base depth “to be determined”
– No drainage slope detail
– Edging excluded
– Sealer excluded
What can go wrong (and why your estimate may come out too low)
An estimate comes out too low when key engineering variables—especially base depth, drainage, and removal scope—aren’t fully captured. When those details show up after excavation, the project cost often rises quickly.
The safest way to prevent budget drift is to treat base and drainage as “non-negotiable scopes,” then verify that every quote includes them at a defined depth and method.
Underestimating compaction and base depth can lead to settlement and cracking long before the finish fails—your patio may look fine at first and then move.
Ignoring drainage often creates the failure mode you’ll notice later: efflorescence, staining, and premature surface degradation.
Common pitfalls to watch for
– Skipping the base or compaction: leads to settlement, cracking, or movement (especially in freeze/thaw or wet climates).
– Ignoring drainage and slope: water pooling can stain concrete, lift pavers, or compromise certain tile-style assemblies.
– Underestimating removal: demolition and disposal can materially change totals; also confirm access and debris handling.
– Overlooking details: edging, transitions, stairs/ramps, and equipment access can add labor even when square footage is unchanged.
Verdict / tip: Use ranges, not one “magic number”
If you’re trying to decide whether a patio floor project is feasible, build a range and request bids that break out base/subbase, removal/disposal, and finishing. The downside of estimating without quotes is uncertainty—hidden site conditions can change costs quickly once prep begins—so don’t treat your estimate as a guaranteed final price.
Skip this approach (and lean on a professional site assessment) if you suspect major grading issues, drainage failures, or structural concerns, or if your project includes complex transitions to doors, decks, or sloped landscapes. In those scenarios, a detailed site evaluation is usually cheaper than paying for rework after the substrate is revealed.
Quick checklist to scan before you estimate
– [ ] Patio square footage calculated (L × W), including any irregular shapes
– [ ] Existing surface: keep, repair, or remove (and disposal assumed?)
– [ ] Patio floor type chosen (concrete / pavers / tile-style system)
– [ ] Base/subbase plan included (gravel/sand layers and compaction)
– [ ] Drainage and slope requirements noted
– [ ] Edging, joints, and finishing/sealing included
– [ ] Labor and cleanup included
– [ ] Contingency added for unknown prep conditions
FAQ
How do I estimate patio floor cost if my patio shape is irregular?
Measure each section (rectangles or approximate shapes), add the square foot totals, and keep any “odd corners” as a small allowance for waste/adjustments.
What’s usually the most expensive part of patio floor projects?
Often it’s the prep work (removal/grading/base build) and the labor required for a proper substrate—not just the surface material.
Should I include sealing in my estimate?
If your chosen finish system recommends or requires sealing (or common practice in your area), yes—include it. If you’re unsure, [ADD: source for whether sealing is required/recommended for your specific material/system] and follow the manufacturer guidance.
How can I compare contractor bids fairly?
Only compare quotes that include the same scope: removal/disposal, base/subbase depth, drainage treatment, edging, joints/finishing, and sealing/protection.
Do I need a permit to replace patio floors?
It depends on your location and the scope. Check your local permitting requirements; [ADD: source for your city/county permit rules or typical requirements].
Sources
– Manufacturer installation guides and specifications for your exact patio system (e.g., concrete finishing/sealing guidance, paver base requirements, tile underlayment/waterproofing documentation) — [ADD: source links/titles for your chosen product/system].
– Relevant ASTM/industry standards for concrete construction and masonry/paver practices (e.g., installation and curing guidance) — [ADD: exact standards you’re using].
– Local building department guidelines for patio-related permits and site work requirements — [ADD: jurisdiction-specific source].
Estimating patio floor costs becomes straightforward when you treat the project like a set of line items: quantify the footprint, select the system, then price the substrate, drainage, and finishing with comparable scope. Use ranges backed by manufacturer guidance and installation standards, and always request bids that explicitly break out base/subbase, removal/disposal, and protective finishes—because those are the categories most likely to swing your final total.
Frequently Asked Questions
How do I estimate the cost of patio floors by square footage?
Start by measuring the patio area in square feet (length × width) and add a 5–15% allowance for waste and uneven surfaces. Next, multiply square footage by your installed cost per square foot (materials + labor), which varies widely by surface type like concrete, pavers, stamped concrete, or tile. To get a more accurate estimate, add expected costs for site prep (grading, base material, hauling), edging, and finishing. Finally, include taxes, permit fees (if required), and any drainage adjustments that may affect the patio base thickness.
What patio floor materials typically cost the most and the least per square foot?
Typically, stamped or colored concrete and high-end natural stone can cost more due to premium materials and skilled labor, while basic broom-finished concrete often sits toward the lower end. Pavers can range from mid to high depending on thickness, pattern complexity, and whether you choose premium materials like porcelain pavers or travertine. Ceramic or porcelain outdoor tile may be competitive, but costs can rise when factoring for waterproofing and mortar systems. The best way to compare is to use an “installed cost per square foot” quote that includes excavation, base layers, leveling, and sealing.
How much should I budget for patio floor site preparation and base work?
Site prep is often one of the biggest drivers of total patio floor cost, especially if the existing ground is not level or drainage is poor. Budget for excavation, removing old material, compacting soil, and installing a proper base such as gravel or crushed stone, plus a layer of sand or leveling material depending on the system. If you need subgrade stabilization, geotextile fabric, or thicker base layers for freeze-thaw regions or heavy loads, the cost can increase. Getting a contractor to evaluate slope, drainage direction, and base depth can prevent expensive rework later.
Which additional costs should I include in a patio flooring estimate (sealing, permits, and repairs)?
Beyond materials and labor, include finishing steps like concrete sealing, paver joint sand, or grout/waterproofing for outdoor tile. Many homeowners also forget edging, which helps with appearance and prevents movement, and they should budget for expansion joints where needed. If your patio requires permits, utility mark-outs, or structural tie-ins (like steps or a connection to the house), add those line items early. If there are existing cracks or moisture issues in the subfloor or near foundation areas, plan for repairs that can raise the overall patio floor project price.
Why do patio floor estimates vary so much between contractors and what should I ask for?
Estimates vary because of differences in thickness, base depth, material grade, labor rates, and how each contractor handles site prep and drainage. Ask for a detailed breakdown that lists labor, materials, base specifications (gravel depth and compaction), and finish type (e.g., stamped concrete design, paver thickness, or tile slip rating). Also confirm whether the quote includes disposal/hauling, edging, jointing, sealing, and any warranty coverage. Request comparable scope terms so you can accurately evaluate “installed” costs rather than just the patio flooring material price.
📅 Last Updated: October 12, 2026 | Topic: How to estimate the cost of patio floors? | Content verified for accuracy and freshness.
References
- Google Scholar Google Scholar
https://scholar.google.com/scholar?q=patio+floor+cost+estimate+pavers+concrete+slab - Google Scholar Google Scholar
https://scholar.google.com/scholar?q=cost+estimating+unit+cost+concrete+slab+sitework+base+labor - Google Scholar Google Scholar
https://scholar.google.com/scholar?q=sidewalk+concrete+asphalt+cost+estimation+thickness+quantity+takeoff - GAO Cost Estimating and Assessment Guide: Best Practices for Developing and Managing Capital Prog…
https://www.gao.gov/products/gao-09-3sp - https://www.nist.gov/programs-projects/handbook-135-life-cycle-costing
- Producer Price Index Home : U.S. Bureau of Labor Statistics
https://www.bls.gov/ppi/ - CPI Home : U.S. Bureau of Labor Statistics
https://www.bls.gov/cpi/ - https://www.epa.gov/green-infrastructure/permeable-pavements
- American Cement Association
https://www.cement.org/ - https://www.asphaltpavement.org/