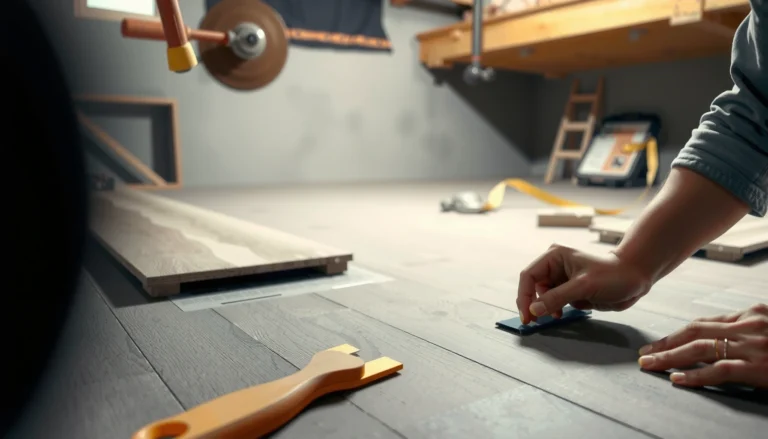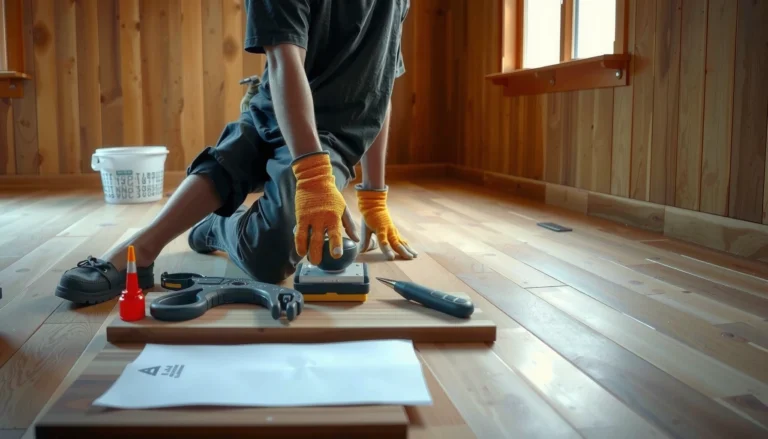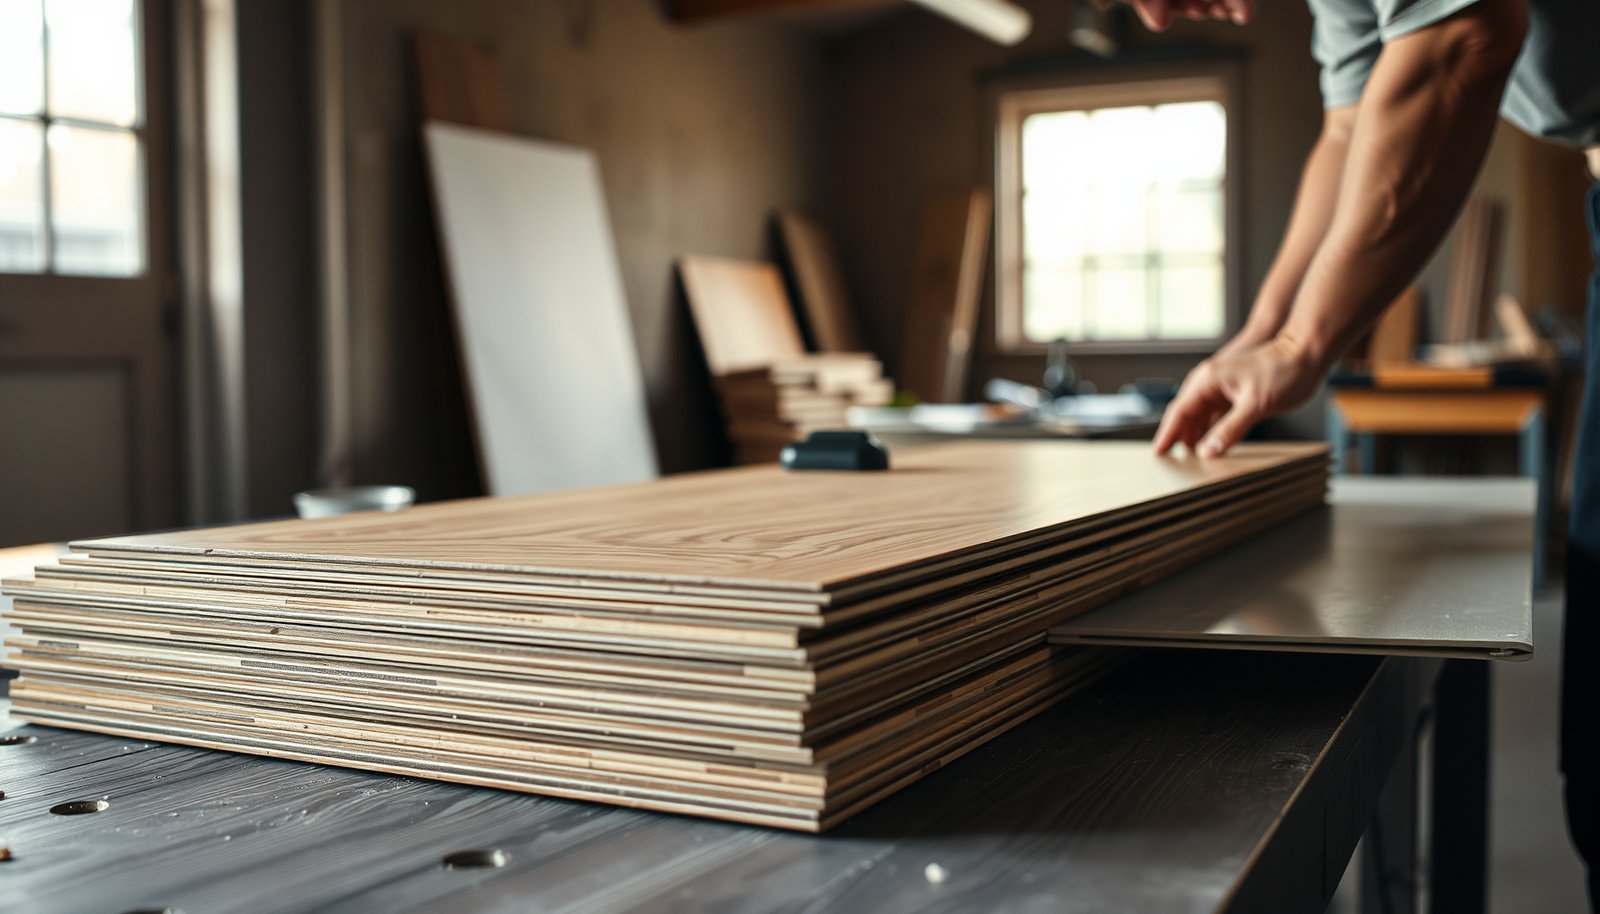

Learn how to prepare laminate floors for a workshop with a step-by-step process that keeps the surface flat, protected, and ready for tools. Follow this direct checklist to acclimate the planks, clean and level the subfloor, remove any damage, and lock in protection with the right underlayment and barrier. If you want the fastest path to a durable workshop-ready floor, this is the preparation order to use.




Prepare laminate floors for a workshop by cleaning thoroughly, acclimating the planks, ensuring the subfloor is flat, and then adding a moisture-safe barrier plus targeted floor protection in high-traffic zones. If you’re building (or renovating) a workshop on top of laminate floors, these steps prevent the two biggest failure points: seam/edge swelling from moisture and accelerated wear from grit and impact.
If you’re preparing laminate floors for a workshop, focus on protecting against moisture, grit, and heavy wear before you lay out tools or start building. You’ll want to fully clean and acclimate the planks, flatten the subfloor, and then use the right barrier and floor protection so sawdust and spills don’t damage seams or edges.
This guide is for anyone planning a DIY workshop area on (or around) laminate flooring—especially if you’ll be cutting, sanding, painting, or storing heavy equipment.
Clear and deep-clean the laminate surface

Start by removing everything that can scratch, lodge in seams, or block adhesion/installation materials—especially fine workshop dust. For laminate floors, a “clean enough” surface isn’t enough; you’re trying to eliminate grit that later works like sandpaper.
Vacuuming with a soft brush attachment is a low-scratch way to remove abrasive workshop dust from laminate floors before adding any protection.
Removing wax or residue matters because many surface cleaners leave films that can interfere with underlayment performance and later spot-cleaning.
What “deep-clean” means for laminate floors
Workshops generate fine particles (sawdust, drywall dust, metal filings) that settle into laminate edges and microgaps. Begin with dry removal (sweep) and then follow with vacuuming—aiming for corners, baseboards, and around doorways where debris accumulates.
– Remove dust, debris, and any residue (sweeping plus a vacuum with a soft attachment is usually safest).
Use a two-pass approach: first sweep to mobilize debris, then vacuum to capture it—especially along seam lines and where you’ll later place tool stations.
– Spot-check for wax/cleaner build-up; residue can interfere with protective layers and make future cleaning harder.
If your laminate floors were previously treated with “polish” products, residue can increase slipperiness and create a film layer that collects additional workshop dust.
– Make sure the floor is dry—don’t start prep until there’s no dampness in the area.
Laminate floors can tolerate normal indoor humidity, but excess moisture during cleaning is a common trigger for edge swelling and seam damage—particularly near walls where water can wick.
Acclimate laminate before you move or cover it
Acclimation is what keeps laminate floors from shifting after you start using the workshop. In practice, this means stabilizing temperature and humidity conditions before you load the space with tools, vibration, and airflow changes.
Acclimation reduces dimensional movement in laminate flooring by letting the planks equilibrate to the room’s temperature and humidity before installation or long-term covering.
Workshop airflow—space heaters, fans, and open doors—can change local humidity near laminate edges, so you want conditions to be stable before protection layers go down.
Stabilize workshop conditions (not just the air, but the swings)
Laminate floors react to changes. If your workshop runs intermittently, do a “pre-conditioning” period where heat and ventilation operate similarly to how you’ll run the shop.
– Let the laminate reach the room’s temperature and humidity so it doesn’t shift later.
Use the manufacturer’s acclimation guidance for your specific laminate. If you don’t have it, treat “time + stable conditions” as a combined requirement and avoid covering the floor too quickly.
– Plan around the room’s conditions—workshops often run with fluctuating airflow from fans or heating.
If you use fans to move dust during sanding, place them so they don’t continuously dry one edge of laminate floors more than the rest.
– If you’re installing new laminate, follow the manufacturer’s acclimation guidance exactly; if you’re preparing an existing floor, still ensure the environment is stable before long-term protection.
Even if you’re not installing new planks, stabilizing the environment before adding barrier materials helps prevent future micro-movement where seams meet protection edges.
Check the subfloor flatness and address low spots
Make sure the subfloor is flat enough that laminate floors can “float” without stressing seams. If the floor dips, laminate can click, flex, and fail prematurely—especially under workshop loads and dropped tools.
Laminate flooring longevity depends heavily on subfloor flatness; unevenness increases flex at joints, accelerating wear at seams.
Covering major subfloor defects with thick padding or rugs can hide the problem while still allowing movement that damages laminate floors.
How to evaluate flatness for a workshop build
In a workshop, the floor sees concentrated loads (tool benches, storage racks) and intermittent impacts (moving clamps, dropping parts). That’s why flatness checks matter more here than in a typical living room.
– Laminate can “click” and fail prematurely if the surface isn’t reasonably flat—focus on ridges, dips, and uneven patches.
Use a straightedge and measure noticeable high/low areas. If you see rocking, get specific before you add barriers or surface protection.
– Repair or level the area as needed before you add any barriers or load it with heavy workshop use.
Leveling is usually more effective than trying to “compensate” with softer underlayments on top of laminate floors.
– Avoid covering major problems with thick padding or rugs; it can hide issues and make them worse over time.
In workshop scenarios, trapped dust beneath coverings can also increase abrasion and friction at seam edges.
Control moisture with a proper barrier approach
Moisture control is the single most important protection step for laminate floors exposed to workshop spills or humidity swings. The goal is simple: keep water away from laminate edges and seams and avoid trapping moisture under coverings.Moisture barriers for flooring are judged by vapor permeance (perm), which describes how much water vapor passes through a material over time.
According to ASTM E96/E96M, vapor permeance is measured in perms (1 perm equals 1 grain of water per hour per square foot per inch of mercury).
Moisture management choices: barrier vs. spill control
If you’re installing new laminate in the workshop, follow your product’s recommended underlayment/barrier system. If you already have laminate floors down, focus on preventing water from reaching seam lines rather than sealing in unknown moisture.
– Keep water away from the laminate’s edges and seams; workshop activities increase spill risk.
Workshops create more realistic “edge threats” than standard rooms because spills happen during mixing, finishing, and cleanup—and then get wiped poorly around baseboards.
– If you’re installing laminate in the workshop area, use the correct underlayment/barrier recommended for your product (especially for moisture control).
Manufacturer requirements are the deciding factor because laminate floors aren’t all engineered the same way.
– If you’re not installing new laminate, prioritize spill management (mats, trays, and wipe-up procedures) rather than trapping moisture under coverings.
Trapping moisture under rugs, tarps, or poorly ventilated mats can keep seam edges damp longer than an occasional surface spill.
Quick comparison: workshop moisture-risk options (laminate floors)
| Approach | Best for | Main risk (if misused) |
|---|---|---|
| Manufacturer-approved underlayment/barrier | New laminate installations in higher-moisture zones | Using a non-matching barrier can undermine the laminate floors’ moisture design |
| Entrance mats + routine wipe-down | Daily grit control that indirectly reduces moisture exposure | If mats hold water and aren’t dried, seam edges can stay wet |
| Spill trays under finishing/mixing setups | Repeatable, predictable workshop liquids | Leaks past trays still threaten laminate edges if cleanup is delayed |
| Temporary coverings (poly sheets, tarps) | Short-duration protection during messy tasks | Trapping condensation under coverings can worsen moisture exposure |
Moisture & Vapor Benchmarks Used in Flooring Prep (Standards-Based)
| # | Measurement / Category | Numeric Output | Unit | Workshop Prep Value |
|---|---|---|---|---|
| 1 | Vapor permeance definition | 1 grain/(h·ft²·inHg) | perm | ★★★☆☆ |
| 2 | Class I vapor retarder | ≤ 0.1 | perm | ★★★★★ |
| 3 | Class II vapor retarder | 0.1–1 | perm | ★★★★☆ |
| 4 | Class III vapor retarder | 1–10 | perm | ★★☆☆☆ |
| 5 | Moisture vapor emission output (MVER) | Per 24 hours | lbs/1,000 ft²/24h | ★★★★☆ |
| 6 | Relative humidity probe output | In-situ reading | % RH | ★★★★★ |
| 7 | Temperature requirement for stable conditions | 18–27 | °C | ★★★☆☆ |
Protect the floor from workshop wear and grit
Protect laminate floors with physical coverage where tools and traffic are concentrated—then manage sawdust and micro-grit so it can’t abrade seams. This step is less about “making the floor unbreakable” and more about slowing down edge wear and keeping contamination from getting embedded.Fine grit from cutting and sanding is abrasive enough to scratch laminate surfaces and accelerate seam wear if it’s left to accumulate.
The safest approach in workshops is targeted floor covers plus fast cleanup, because laminate floors are not designed to be left damp under coverings.
Choose protection that doesn’t trap moisture
Not all floor protection materials behave the same when they get damp. Many workshops see intermittent spills, humidity, and condensation near heaters or power tools.
– Use a physical protection layer where the floor will take the most abuse (e.g., under benches, tool stations, and high-traffic routes).
Think in “paths” rather than “covering everything.” Tool wheels, rolling carts, and repeated standing zones do most of the damage.
– Choose materials that won’t trap moisture against the laminate; avoid rubber backing that can hold dampness.
If a protection layer stays in contact with the floor while moisture is present, it can keep edges wet longer than a quick spill wipe would.
– Minimize sharp grit: consider entrance mats to reduce sand/dust tracking and keep sawdust contained (and cleaned promptly).
Entrance mats reduce tracked grit; sanding controls reduce airborne dust that later settles into seam edges.
What can go wrong (and how to avoid it)
Skipping any one of these preparation steps can create problems that show up quickly in a workshop: lifting seams, dull scratching, or swelling near edges after spills. Most failures aren’t mysterious—they’re predictable consequences of trapped grit or unmanaged moisture.
Laminate floors fail faster in workshops when grit is trapped at seams, because abrasive particles keep grinding joints even when the finish looks intact.
Temperature and humidity swings can cause laminate floors to move after prep, increasing the chance of gaps and edge lift.
– Leaving the floor dirty: trapped grit can scratch the surface and wear through protective coatings faster.
In workshop conditions, dust isn’t just visible debris—it’s the abrasive layer that keeps reappearing as you move tools.
– Skipping acclimation: temperature/humidity changes can cause gaps, edge lift, or movement.
This is especially common when a heater/fan runs daily and the workshop is intermittently occupied.
– Using the wrong underlayment or covering: some products retain moisture or don’t match laminate requirements—always match to the laminate manufacturer’s specs.
Even if a barrier “feels waterproof,” it might not meet the laminate floors’ moisture design.
– Big spills left to sit: laminate doesn’t handle prolonged moisture well; even if the top looks fine, edges and seams can swell.
With laminate floors, the damage often happens below the surface plane—at seams and the edges you can’t easily see.
Verdict: do this prep first—especially if you’re cutting or sanding
If your workshop will include dust-generating tasks (cutting, sanding) or spill-prone work (finishing, mixing liquids), the safest approach is thorough cleaning, correct acclimation/underlayment rules (for your specific laminate), flattening the surface if needed, and adding targeted floor protection under heavy-use zones. Skip elaborate measures only if you’re doing light, clean work and can reliably keep the floor dry and debris-free—otherwise, expect faster wear at seams and edges.
Downsides to be aware of: the more you cover laminate floors, the more you must manage moisture ventilation and cleanup habits. If your workshop humidity is consistently high or you anticipate frequent liquid exposure, consider whether laminate is the right primary surface—or plan on more robust containment and faster spill response.
Scan-checklist (save this):
– [ ] Sweep + vacuum; remove residue; confirm the floor is fully dry
– [ ] Acclimate laminate (new installs) or stabilize room conditions (existing floors)
– [ ] Verify the subfloor is flat; fix dips/ridges before heavy use
– [ ] Use the manufacturer-approved underlayment/barrier for moisture control
– [ ] Add floor protection under benches and tool stations
– [ ] Plan for sawdust containment and fast clean-up after dusty tasks
Sources
For a workshop in 2026, the most reliable way to keep laminate floors looking good is to treat preparation like a system—cleanliness, flatness, moisture-safe layers, and practical protection paths for where sawdust and spills actually land.
Frequently Asked Questions
What steps should I follow to prepare my subfloor before installing laminate floors in a workshop?
Start by removing old flooring, staples, and debris, then thoroughly clean and level the subfloor. Laminate floor installation requires a flat surface, so check for dips or high spots and sand or patch as needed to meet the manufacturer’s flatness guidelines. If the workshop has moisture concerns, install the recommended underlayment and moisture barrier (especially over concrete) to protect the laminate. Finally, ensure the area is dry and the subfloor is fully cured before you begin laying laminate planks.
How do I acclimate laminate flooring for a workshop environment before installation?
Laminate planks should be acclimated to the workshop temperature and humidity where they will be installed, typically for 48–72 hours (or per the manufacturer’s instructions). Keep boards in the room, flat and unpacked only enough to allow airflow, so they can adjust without storing them near direct heat sources or damp areas. This reduces the risk of gaps, buckling, or contraction after installation. Maintain stable conditions during and after laminate floor installation for best results in workshops where temperatures can fluctuate.
Which underlayment is best for laminate floors in a workshop with heavy tools and traffic?
In a workshop, you’ll want an underlayment that provides a good balance of sound control, comfort, and moisture protection based on your subfloor type. Over concrete, choose an underlayment with an attached vapor barrier or add a separate moisture barrier if required by the laminate flooring warranty. For vibration and impact from tools, look for underlayment with adequate thickness and compression resistance so the floor stays stable. Always match the underlayment thickness and type to what the laminate manufacturer recommends.
Why is leveling and gap placement important when preparing laminate floors for a workshop?
Laminate flooring expands and contracts with temperature and humidity, which is why proper spacing around walls and fixed objects is critical. In a workshop, frequent opening of doors or changes in temperature can increase movement, making expansion gaps even more important. Leveling also matters because an uneven subfloor can cause clicking, creaking, and joint separation over time. Follow the recommended expansion gap (often around 1/4 inch) and avoid locking planks into walls or cabinets.
How should I prepare the workshop after installing laminate floors to prevent damage from dust, moisture, and tools?
Before regular workshop use, clean up sanding dust and debris so grit doesn’t scratch the laminate surface or work into seams. Use protective mats under rolling tool carts, and consider felt pads on equipment that contacts the floor to reduce impact and scuffs. Keep moisture under control by wiping spills quickly and ensuring airflow or humidity regulation, especially in basements or concrete slab workshops. Avoid flooding during cleaning—use a manufacturer-approved laminate cleaner and a damp (not wet) mop to protect the top wear layer.
📅 Last Updated: October 24, 2026 | Topic: How to prepare a laminate floors for workshop? | Content verified for accuracy and freshness.
References
- Laminate flooring
- Page Not Found – PERGO® Flooring
- MohawkFlooring
- https://www.armstrongflooring.com/support/installation-guides.html
- https://scholar.google.com/scholar?q=laminate+flooring+subfloor+preparation+moisture Google Scholar
- https://scholar.google.com/scholar?q=laminate+floor+acclimation+installation+instructions Google Scholar
- https://scholar.google.com/scholar?q=laminate+flooring+underlayment+vapour+barrier+installation Google Scholar