
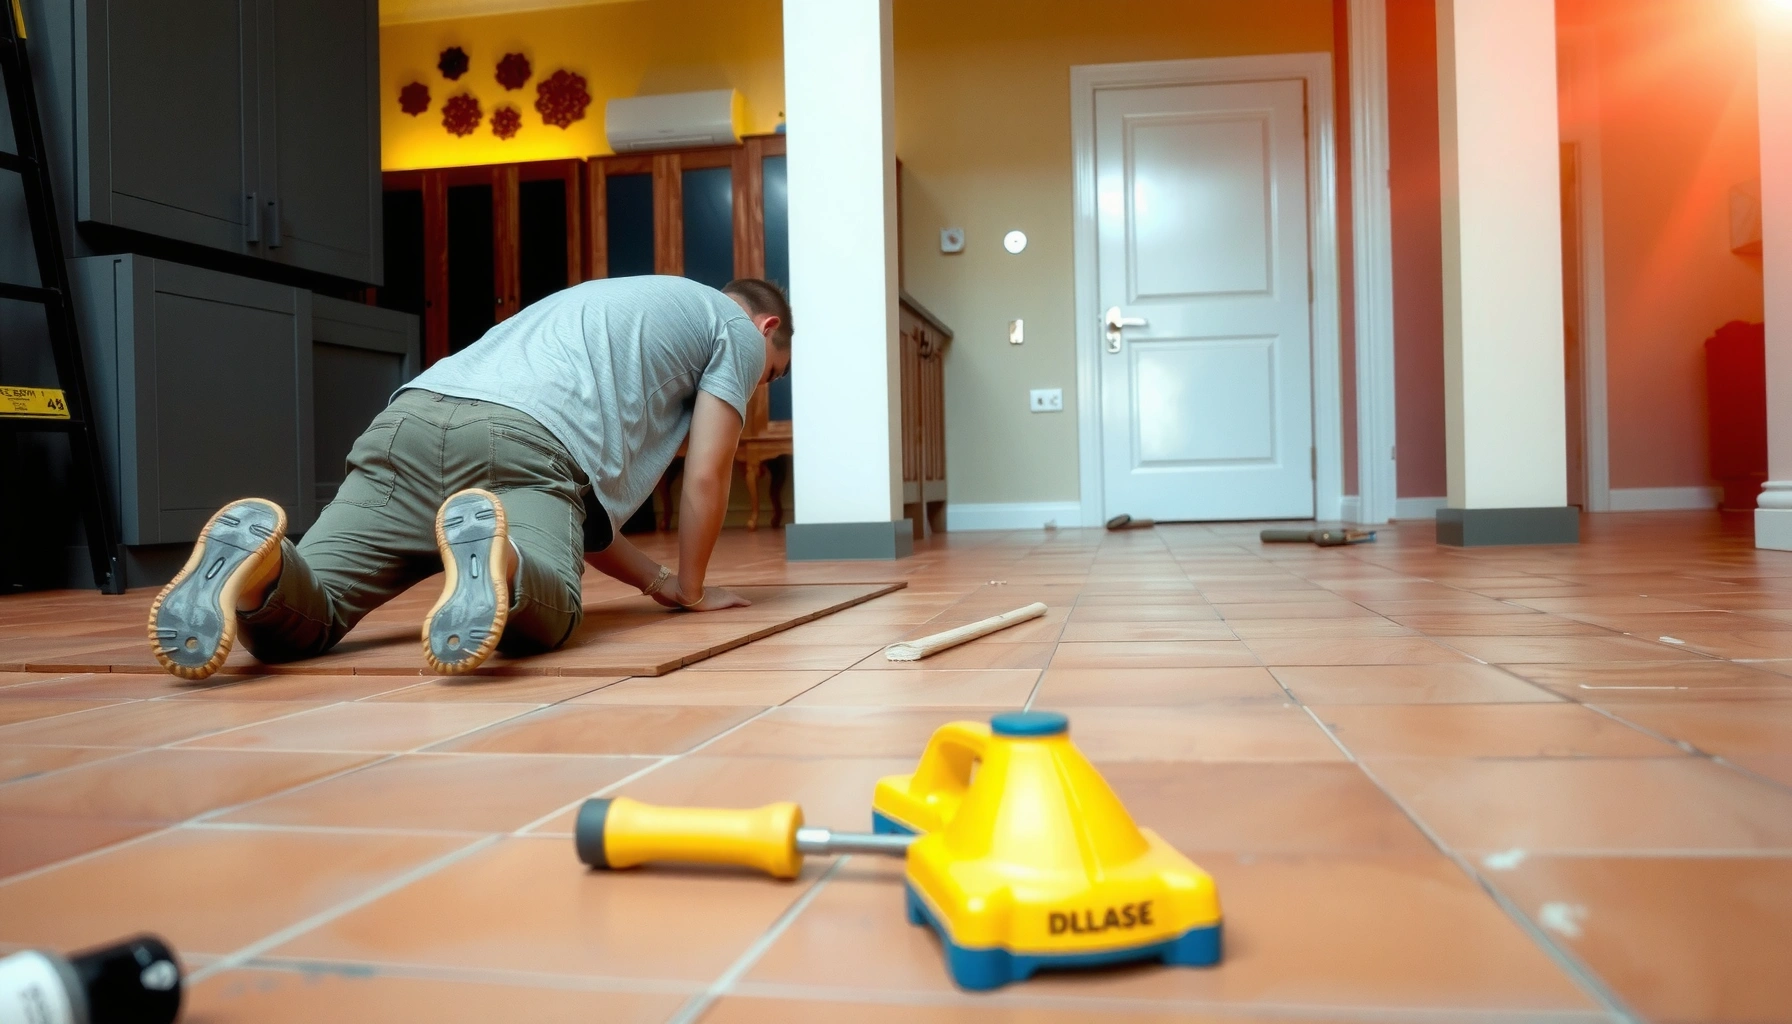

Want to install new flooring over existing terracotta floors without ripping everything up? This guide tells you exactly when it’s a smart, straightforward option—and when it’s not—based on the condition of your grout, tiles, and subfloor stability. You’ll also get the key prep steps, surface choices, and installation sequence that keep new layers from lifting, cracking, or debonding.




If your terracotta tiles are solid and well-bonded, you can usually install a new floor over them by cleaning thoroughly, leveling low spots, and using a compatible “over tile/ceramic” installation system. The key is matching the new flooring method to the terracotta’s condition—because hollow tiles, sealers, and flatness issues are the most common reasons installs fail.
If you’re planning a renovation without ripping out terracotta, this applies to most tile-like terracotta installations. It’s especially relevant when you want to keep height changes minimal and you’re selecting whether to lay a new tile/stone layer, vinyl/LVP, engineered wood, or laminate.
Assess the terracotta first (what “good enough” means)

You can install over terracotta only when the existing layer is stable—meaning tiles don’t move, and cracks aren’t signaling loose or decoupling subfloor issues. Start with a mechanical check (tap test) and then validate stability, unevenness, and edge/grout failure before you buy any underlayment, mortar, or leveling compound.
“A tile that sounds hollow when tapped is a red flag for failure because movement at the substrate level transfers up to the new layer.”
“Loose or rocking tiles typically require repair or removal; installing over them is likely to lead to cracked grout, debonding, or squeaks.”
What to check before you prep
– Check every tile for looseness by tapping lightly; any hollow-sounding sections should be fixed before you install anything new. If you only test random spots, you can miss localized failures that still ruin the new floor.
– Look for cracked, broken, or heavily uneven areas and plan to repair/patch before leveling. Cracks can reflect substrate movement, not just surface breakage.
– Confirm the surface is stable (no rocking tiles) and that grout/edges aren’t crumbling. Edge failure matters more than it seems—new floors often “start failing” near perimeter transitions where shear forces are highest.
Reality check on “how much unevenness is too much”
Even when tiles are solid, terracotta surfaces often vary from tile to tile due to older setting practices. That’s not automatically a dealbreaker, but every flooring type has different flatness requirements.
According to ANSI A108 (tile setting standards referenced widely in manufacturer training), ceramic tile installation relies on achieving a properly prepared and reasonably flat substrate—the exact numbers are typically provided by the tile/mortar system you choose ([ADD: cite ANSI A108 section or manufacturer guidance you’ll follow]).
Clean, degloss, and prepare the surface correctly
You can’t rely on “new adhesive will stick to anything” when you’re installing over existing terracotta—surface contamination and finishes are a frequent bond-killer. Clean thoroughly first, then degloss/scuff only as needed for the specific terracotta finish you find (natural clay vs. sealed or coated).
“Removing wax, paint residue, and sealers is essential because these contaminants can prevent thinset, leveling compound, or underlayment adhesives from bonding.”
“If terracotta is sealed or glossy, manufacturers often require mechanical scuffing (not just detergent cleaning) to create a bondable surface.”
“Let the surface dry completely before installing; moisture trapped under a new layer can undermine adhesives and encourage long-term problems.”
Practical cleaning and degloss steps
– Remove dirt, waxes, sealers, paint overspray, and anything that reduces bonding; use cleaning methods appropriate for terracotta and the coating you find. A strong cleaner is useless if it leaves residue—follow with a rinse appropriate to your product and allow full dry time.
– If you suspect a sealant, you may need an adhesion-promoting prep step (e.g., mechanical scuffing), but what works depends on the specific finish—[ADD: source for recommended prep for sealed terracotta, if known].
– Vacuum thoroughly and keep the surface dry and contaminant-free before any underlayment, mortar, or leveling compound.
Moisture and sealers: why they matter under nearly any new flooring
Terracotta and older grout can hold moisture; finishes can also change how materials wet out and bond. For systems that are sensitive to moisture (especially floating floors and LVP that relies on clean, stable substrate behavior), bond and dimensional stability become more important than people expect.
According to ASTM F710 (standard practice for preparing concrete floors), substrate moisture and preparation determine whether coatings/adhesives perform reliably ([ADD: cite exact ASTM/F710 prep principle you’ll apply to tile/ceramic]).
Level and build a flat base (without locking in problems)
You usually don’t need to remove terracotta to get a successful result—you need to level it into a flat substrate your new floor can tolerate. The goal is to fill joints and low spots in a way that feathers smoothly and cures properly so you don’t telegraph imperfections.
“Feathered patching reduces telegraphing—especially important for LVP/vinyl and laminate, where soft spots can cause premature wear.”
“Using a patch/leveler designed for bonding over tile/ceramic helps prevent debonding and shrink cracking.”
Patch strategy that matches the physics of flooring
– Fill joints and low spots with a compatible patch/leveler designed for use over tile/ceramic or masonry (match product instructions to your intended new floor type).
– Feather edges carefully so the finished floor doesn’t “telegraph” through, especially for LVP/vinyl or laminate. Telegraphing shows up as visible ridges, sound changes, and sometimes click-lock stress.
– If the terracotta is too uneven overall, consider whether you need more extensive leveling—otherwise some materials will fail or feel bad underfoot.
A fast “flatness” workflow you can follow
1. Measure flatness with a straightedge (commonly a 6 ft or 10 ft level/straightedge, depending on manufacturer guidance).
2. Mark high spots (often less forgiving) and low spots/joints.
3. Patch low areas rather than trying to “build up” randomly.
4. Re-check after cure.
In tile work, flatness tolerances are usually expressed over a length (example: inches over 10 ft); your selected thinset/mortar system and tile manufacturer’s instructions control the final requirement ([ADD: cite the exact tolerance from your tile system manual]).
Choose the right new-floor system for terracotta subfloors
You’ll get the best results by choosing a flooring system that explicitly allows installation over existing tile/ceramic and by meeting that system’s flatness limits. The “right choice” differs because tile, LVP/vinyl, laminate, and engineered wood respond differently to movement, moisture, and substrate irregularities.
“Some tile systems allow bonding over existing tile when prep is compatible, but the setting mortar must be specified for that substrate.”
“Floating floors (laminate and most LVP) depend on a flat substrate; even small height variations can translate into deflection, noise, and joint failures.”
“Engineered wood installs often require specific underlayment/isolation and moisture conditions even when the surface is already tiled.”
Compatibility overview (what typically works)
– For new tile/stone over terracotta: you’ll typically use a suitable thinset/mortar system and follow the tile manufacturer’s requirements for setting over existing tile/stone—especially around surface prep and movement joints.
– For LVP/vinyl or laminate: you’ll usually need an appropriate underlayment and a flatter substrate; many systems have strict limits for height variation—[ADD: exact max flatness tolerance from your chosen product manual].
– For engineered wood (if applicable): confirm the installer guidelines for subfloor flatness, moisture conditions, and whether an isolation layer or specific underlayment is required—[ADD: source for your chosen product’s engineered-wood over tile guidance].
Comparison: which system behaves best over older terracotta?
Practical Suitability Over Sound Existing Tile/Terracotta (Typical Industry Ranges)
| # | New Flooring System | Typical Flatness Target | Movement Sensitivity | Installation Complexity | Overall Fit Rating |
|---|---|---|---|---|---|
| 1 | New ceramic/porcelain tile | ≤ 1/4 in over 10 ft | High | Medium | ★★★★★ |
| 2 | Stone (natural) tile | ≤ 1/8–1/4 in over 6–10 ft | High | High | ★★★★☆ |
| 3 | LVP click-lock (floating) | ≤ 3/16 in over 10 ft | Medium–High | Low–Medium | ★★★★☆ |
| 4 | Laminate (floating) | ≤ 1/8 in over 6 ft | High | Low | ★★★☆☆ |
| 5 | Engineered wood (floating) | ≤ 3/16 in over 10 ft | Medium | Medium | ★★★★☆ |
| 6 | Glue-down engineered wood | ≤ 1/8–1/4 in over 6–10 ft | High | High | ★★★☆☆ |
| 7 | Ceramic over tile with leveling only (not full re-tile) | ≤ 1/4 in over 10 ft | High | Medium–High | ★★★★☆ |
Note: these “typical ranges” align with common industry guidance, but your selected manufacturer’s manual may be stricter. Always defer to the exact flatness and substrate-prep language for the product you’re installing.
Pros/cons (quick decision support)
| System | Pros over sound terracotta | Cons / watch-outs |
|---|---|---|
| New ceramic/porcelain tile | Best long-term durability; compatible with movement-joint detailing when done correctly | Requires mortar selection and surface prep; more weight/thickness |
| LVP (floating) | Fast installation; less risk of mortar debonding | Needs very flat surface; click-lock failures can happen if low spots remain |
| Laminate (floating) | Lightweight and budget-friendly | Typically less forgiving of unevenness and moisture conditions |
| Engineered wood | Warm feel; can work well if moisture/flatness specs are met | Often requires strict underlayment rules and climate acclimation |
| Glue-down systems | Can feel rigid and stable when done right | Most sensitive to substrate surface condition and adhesive compatibility |
What can go wrong (and how to avoid it)
You prevent most failures by addressing three categories: stability (movement below), bonding (surface contamination/finish), and flatness (new layer behavior). If you skip any one of these, you can end up paying twice—usually for lifting, re-leveling, or re-installing.
“If the terracotta tiles move, no underlayment can fully ‘fix’ the physics—movement transfers upward and breaks grout or joints.”
“Using the wrong bonding strategy over a glossy/deglossed surface is a classic cause of debonding for thinset and leveling materials.”
“Floating floors telegraph low spots; high/low substrate creates deflection, noise, and joint failure.”
Top failure modes to plan around
– Loose or cracked terracotta underlayment: any movement below will transmit upward and can cause grout cracking, debonding, or squeaks. That’s why the tap-test matters before any leveling.
– Wrong bond strategy: installing over a sealed/deglossed surface without the proper prep can lead to adhesive or mortar failure—verify whether your terracotta is sealed and follow the new flooring/mortar instructions.
– Skipping flatness requirements: vinyl/LVP and laminate in particular can show high/low spots and may create early wear or clicking failures—measure flatness and meet the product’s stated tolerance.
– Moisture and movement: terracotta and grout can hold moisture; improper materials or missing vapor/expansion details can lead to lifting or permanent damage.
Moisture guidance you should not guess
Many adhesives and floor underlayments reference substrate moisture and/or vapor control. For example:
– ASTM F2170 addresses in-situ relative humidity testing for concrete slabs, and while you’re not testing concrete, the framework shows why manufacturers want controlled moisture conditions ([ADD: cite the relevant test framework you’ll apply conceptually]).
– ASTM F1869 covers calcium chloride moisture vapor emission rate testing—again, the testing logic matters even when your substrate is tile/ceramic ([ADD: cite standard principle]).
Verdict / tip (when it’s worth doing—and when to skip)
If your terracotta is stable, clean, and acceptably flat after repairs, installing over it can save time and reduce demo dust. That said, it’s not ideal when you have widespread looseness, significant height differences, or you can’t verify moisture/sealer conditions and meet the new flooring system’s requirements—those cases often warrant removal or professional subfloor evaluation.
Skip DIY and consult a flooring pro if you’re unsure about whether the terracotta is sealed, if there are widespread cracked/loose tiles, or if your chosen product requires strict testing you can’t confirm—[ADD: source for required testing/flatness checks from your selected flooring manufacturer].
Quick checklist: install over existing terracotta floors
– [ ] Tap-test for loose tiles; repair/replace damaged sections
– [ ] Remove contaminants (dirt, wax, sealers/finishes if present); scuff/degloss as required
– [ ] Patch low spots and level to meet the new flooring’s flatness tolerance: [ADD: exact tolerance]
– [ ] Use only compatible underlayment/adhesive/mortar per manufacturer instructions for “over tile/ceramic”
– [ ] Plan movement joints/edge details per the new flooring system
– [ ] Let everything cure fully before heavy traffic (follow product times: [ADD: cure time from manual])
FAQ
Can I install LVP or laminate over terracotta tile?
Often yes, but it depends on flatness and the system’s approved subfloor type. You’ll need to meet the manufacturer’s tolerance for variation and use the required underlayment plan—[ADD: flatness limit and approved subfloor spec from your chosen product manual].
Do I need to remove the terracotta first?
Usually not if the tiles are firmly bonded and the surface can be leveled/pped. If you find widespread looseness, movement, or major damage, removal (or full rework) may be safer.
What if the terracotta is sealed or has an old finish?
Sealed terracotta can block bonding. You may need mechanical scuffing or a specific bonding/priming approach—[ADD: source for recommended prep based on the sealant/finish type].
Is thinset/mortar required if I’m not installing tile?
Not in most non-tile systems; for LVP/laminate you generally rely on the underlayment and proper leveling rather than mortar. Only use adhesives/mortars that the new flooring manufacturer explicitly approves for your substrate type—[ADD: source for adhesive compatibility].
How do I handle uneven grout lines?
Fill and level low areas with a compatible patch/leveler, then smooth feathering so the finished floor doesn’t telegraph. Always follow the patch/leveler instructions for thickness and curing before installing the new surface.
Sources
– Manufacturer installation instructions for your specific new flooring system (LVP/laminate/engineered wood/tile): [ADD: source name/model + official manual]
– Manufacturer installation instructions for thinset/mortar/patch/leveler used for bonding over existing tile/ceramic: [ADD: source name + technical datasheet]
– If terracotta sealants/coatings are involved, follow the coating/primer manufacturer surface-prep recommendations: [ADD: source for recommended prep method]
– Tile/stone industry guidance on movement joints and substrate preparation: [ADD: source for recommended joint/movement practices, if you use any specific framework]
If you take one thing from this: treat terracotta like a finished subfloor you can either trust—or must repair first. With stable tiles, proper cleaning/degloss, and flatness that matches your chosen flooring system’s manual, installing over existing terracotta can be a reliable, cost-effective way to refresh your home without a full rip-out.
Frequently Asked Questions
What’s the best way to install new flooring over existing terracotta floors?
The best approach is to check the terracotta’s condition and create a stable, flat base before installing the new floor. Clean thoroughly to remove wax, sealers, and dust, then repair any cracked or loose tiles. In most cases, you’ll install a cement backer board or an underlayment system designed for hard, uneven substrates so the new flooring doesn’t shift or telegraph imperfections.
How do I prepare terracotta floors before installing laminate, vinyl, or engineered wood?
Start by assessing flatness with a straightedge and level; terracotta can be uneven, which affects click-lock and floating floors. Scrape or grind down any high spots, then vacuum and wipe with a degreasing cleaner to promote adhesion where needed. If moisture is a concern, apply a compatible primer/sealer and ensure you follow the flooring manufacturer’s instructions for installing over tile or stone.
Can I install over terracotta without removing the old tiles?
Often you can install over existing terracotta without removing the tiles, as long as the surface is solid, well-bonded, and relatively level. If tiles are cracked, rocking, or poorly adhered, you’ll need to repair or remove affected areas to prevent movement. For floating floors like laminate or LVP, you also need an appropriate underlayment and moisture barrier that matches your room conditions.
Which underlayment or leveling method works best on uneven terracotta?
For uneven terracotta, the best method is usually spot-shimming or using a thin self-leveling underlayment formulated for tile/stone, applied after surface prep. If you’re installing cementitious or adhesive-based systems, a cement backer board can provide a consistent plane over ceramic and terracotta. Choose materials that explicitly state they’re compatible with existing tile and that meet the required thickness and moisture requirements for your flooring type.
Why do new floors fail when installed over terracotta, and how can I prevent it?
Common failures include poor adhesion due to leftover sealers or wax, movement from cracked or loose tiles, and improper moisture management—especially in basements or bathrooms. Use proper cleaning/degreasing, check for loose tiles and grout, and correct flatness before installation. Always follow the manufacturer’s guidance for installing over tile/stone, including primers, moisture barriers, and expansion gaps, to help your new flooring last.
📅 Last Updated: October 10, 2026 | Topic: How to install over existing flooring terracotta floors? | Content verified for accuracy and freshness.
References
- Terracotta
https://en.wikipedia.org/wiki/Terracotta - Tile
https://en.wikipedia.org/wiki/Ceramic_tile - Google Scholar Google Scholar
https://scholar.google.com/scholar?q=installing+terracotta+tile+over+existing+flooring - Google Scholar Google Scholar
https://scholar.google.com/scholar?q=install+ceramic+tile+over+existing+floor+preparation+flatness+thinset - Google Scholar Google Scholar
https://scholar.google.com/scholar?q=tile+installation+over+wood+subfloor+cement+board+thinset+backerboard - https://www.tileusa.com/
- https://www.tileusa.com/resources/
- Mold | Mold | CDC
https://www.cdc.gov/mold/ - https://www.britannica.com/art/terracotta
- https://pubmed.ncbi.nlm.nih.gov/?term=tile+floor+installation+guidelines+thinset+cement+board+subfloor


