
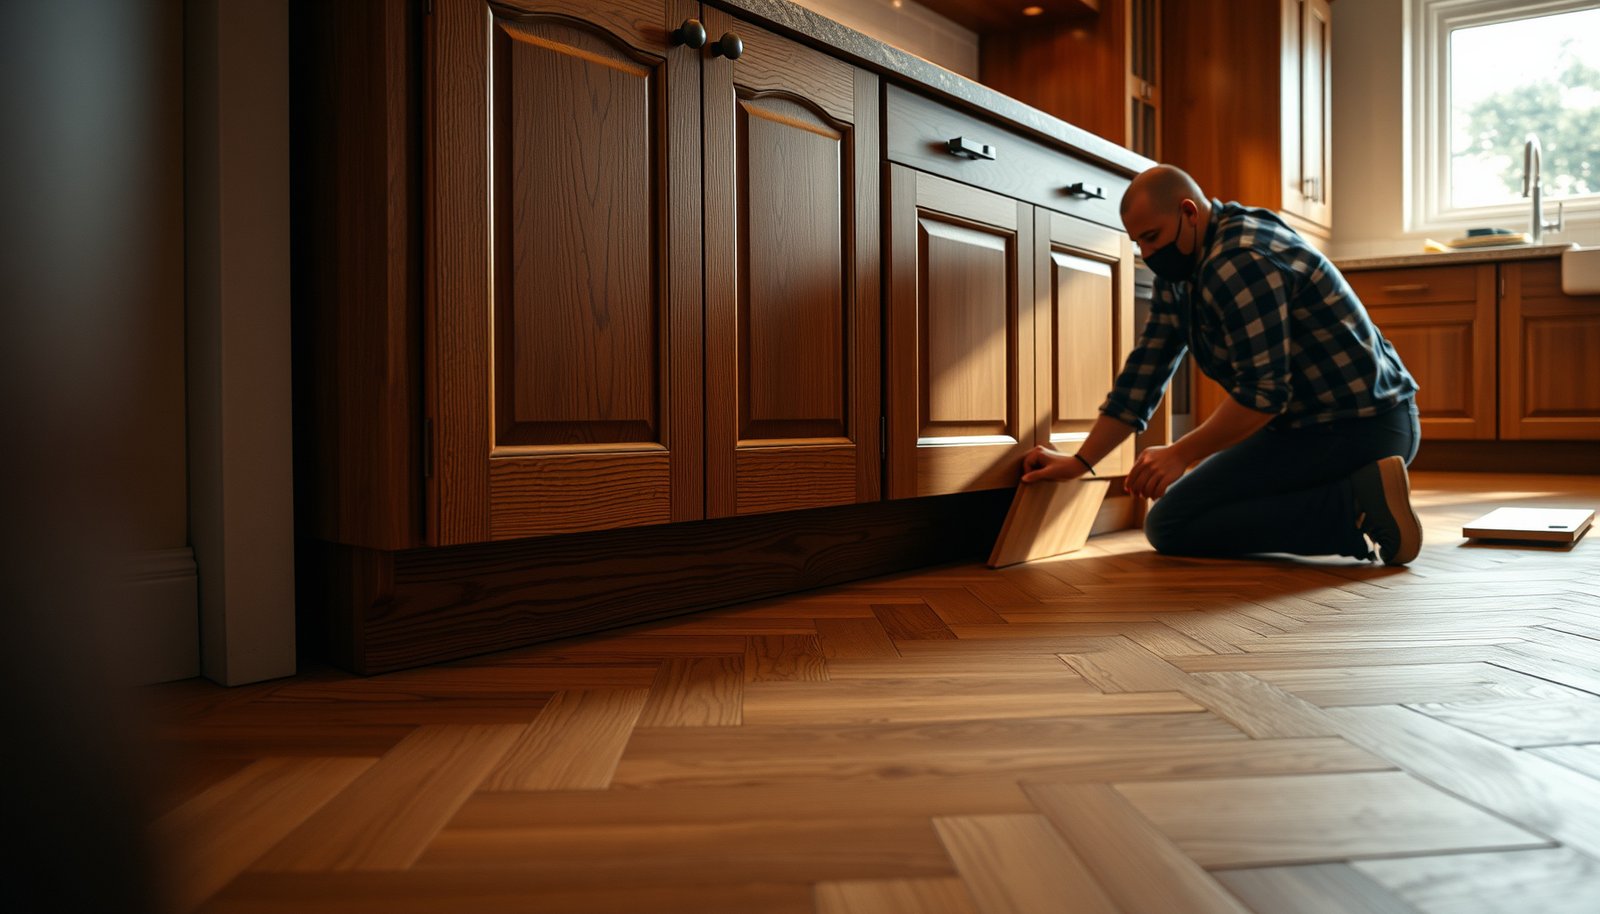

Learn how to install herringbone floors around cabinets without buckling, gapping, or misaligned lines. If you want the cleanest, most repeatable result, cut and fit the herringbone rows tight to the cabinet faces and leave a consistent expansion gap at every wall edge. This guide shows the fast layout method that keeps your pattern straight through the cabinet footprint, so the transition looks intentional—not patched.



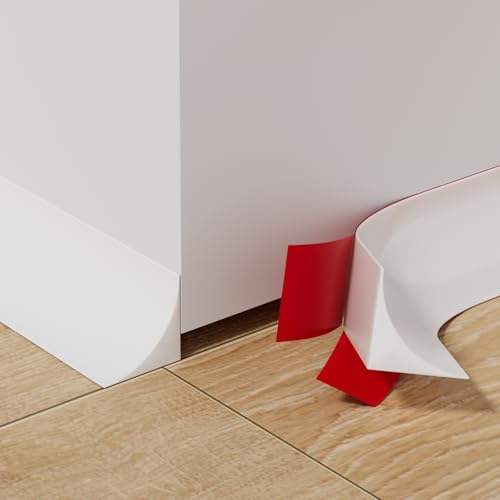
If you’re installing herringbone flooring around cabinets, the cleanest approach is to stop the herringbone pattern at the cabinet face (or toe-kick line), keep the required expansion gap where the floor can move, and precisely cut the final filler pieces so the “V” lines stay aligned. This works best when you plan the layout lines first, install the field up to the cabinet stopping point, and then trim/coping only what’s needed at cabinet edges.
If your cabinets are already installed and you’re working in tight edges, this guide is for you—especially if you’re trying to keep the herringbone pattern looking intentional instead of chopped. The method can vary based on whether your herringbone is glue-down, nail-down, or click-lock floating, so rely on your flooring manufacturer’s installation instructions for the product-specific differences.
Plan your herringbone layout around cabinet edges
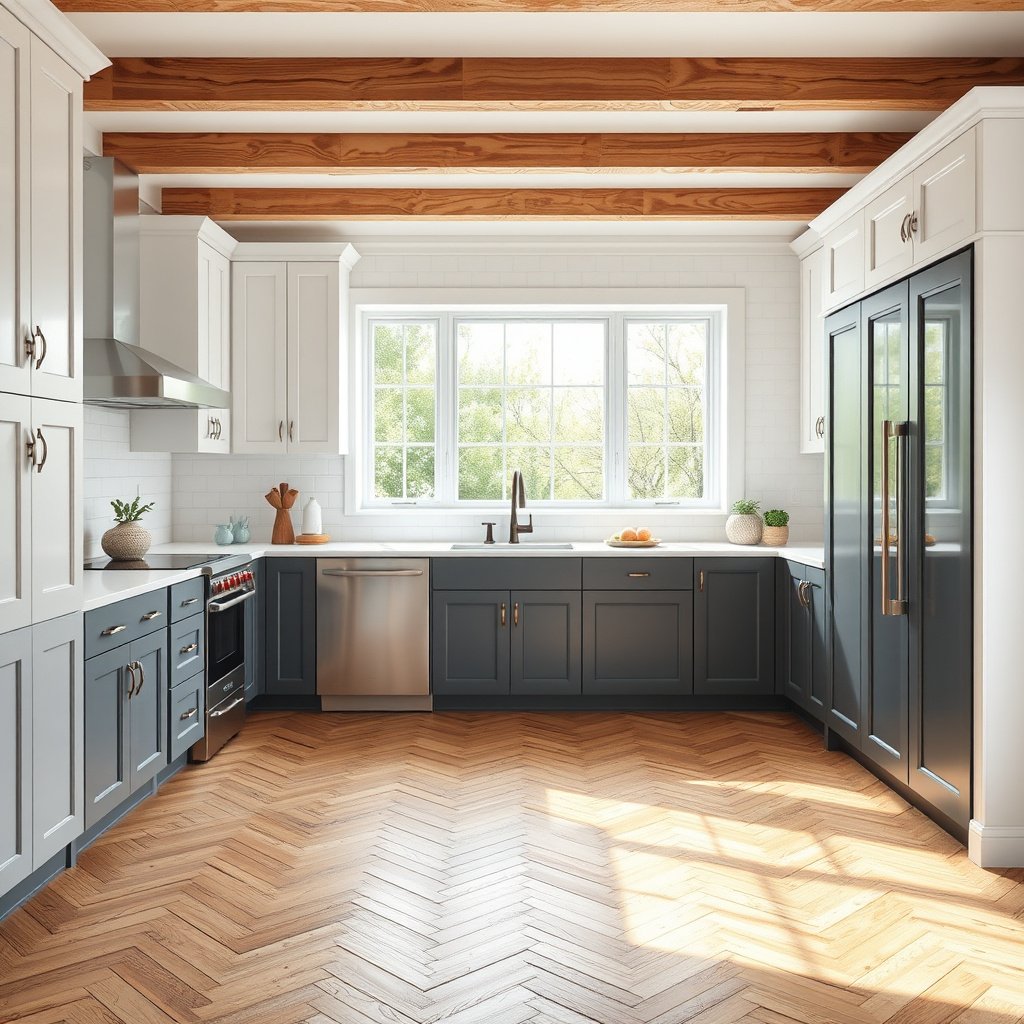
You avoid most “pattern drift” problems by designing where the herringbone will stop before you cut anything. The goal is to keep the angle consistent through the room and then treat cabinet edges as a controlled termination of the layout—not an afterthought.
A cabinet edge stopping line (cabinet face or toe-kick line) is what keeps the herringbone “V” pattern from looking cut and random.
Using a single reference line (often a straight wall or room centerline) helps the herringbone angle remain consistent as you approach cabinets.
A deliberate plan for where the expansion gap will live prevents long-term joint stress near fixed cabinetry.
Dry-fit decisions that control the whole look
Dry-laying isn’t busywork for herringbone—because the pattern is directional, even small placement choices show up immediately near cabinets.
Key actions that make cabinet-edge work predictable:
– Dry-lay a few rows and mark the cabinet footprint so you know exactly where the pattern must stop.
– Choose a “reference line” (often the centerline of the room or a straight wall) to keep the herringbone angle consistent as you approach the cabinets.
– Decide early whether you’re leaving an expansion gap at the cabinet edges (typical) versus trying to tuck boards underneath (usually a bad idea for fixed cabinetry and many floating systems).
Statistical/standards anchoring (check your product spec):
– According to , subfloor flatness is commonly specified within 3/16 in over 10 ft ().
– According to , perimeter/obstruction expansion spaces are commonly around 1/4 in (6 mm) for many floating installs ().
– According to , floors must not be immobilized against fixed cabinetry when product specs require movement ().
What “stop at the cabinet face” really means
For most fixed kitchens, the floor should stop where it’s able to move freely—typically at the cabinet face/threshold line—then the transition gets covered by toe-kick/base trim or a manufacturer-approved transition piece.
If you’re working in 2026 and your installer manuals emphasize “allow movement at all fixed obstacles,” treat that as a primary constraint, not a suggestion.
Practical tip for layout lines
Mark layout lines using a laser level or consistent chalk line so your “V” symmetry stays intact. When the stop line at the cabinets is clear, your filler cuts become repetition, not reinvention.
Prep the subfloor and set expansion gaps before any cutting
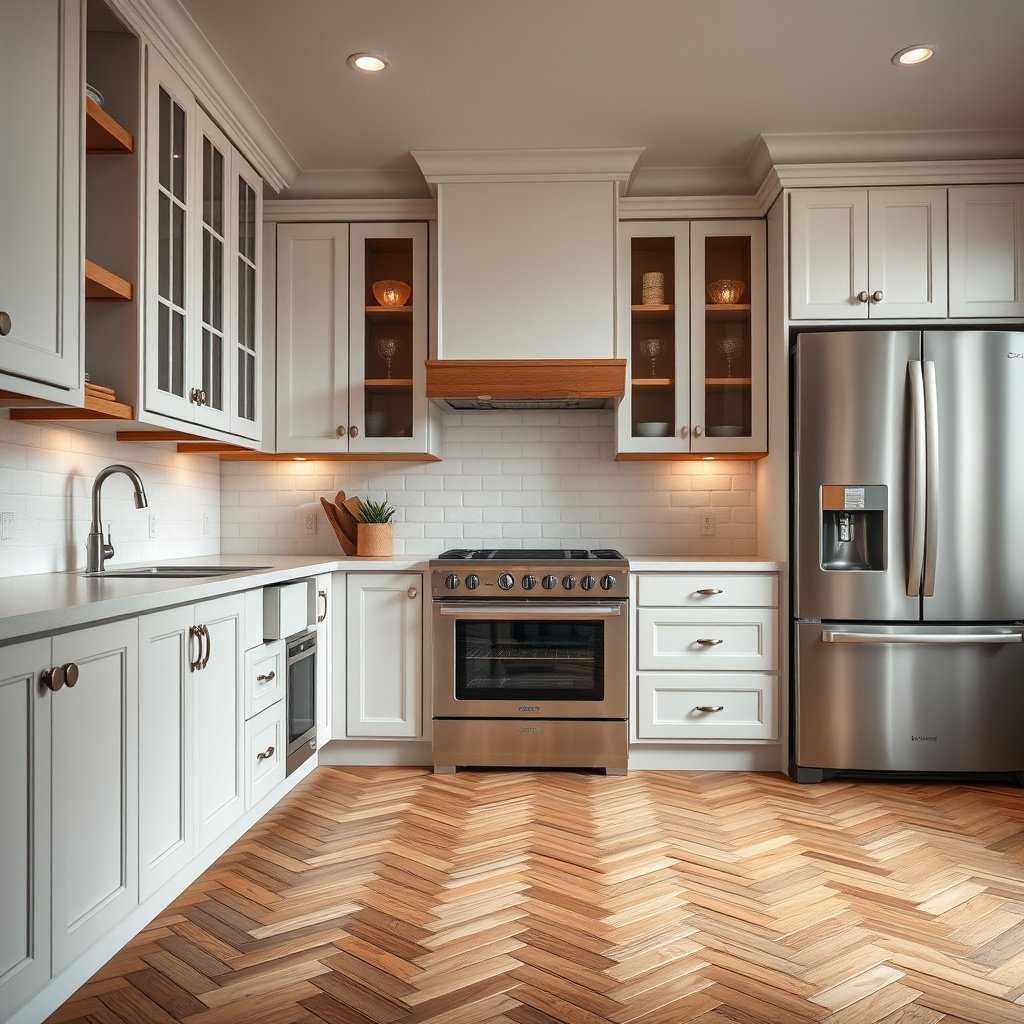
You prevent crooked filler pieces and future buckling by prepping the subfloor and setting the expansion gap first. Once the base is flat and the movement space is established, the cabinet-edge cuts become precision work rather than emergency corrections.
Even minor subfloor dips can translate into visible misalignment when you’re trimming tight herringbone filler pieces near cabinets.
Manufacturers typically require a continuous expansion gap at perimeter areas and obstructions so the floor can move seasonally.
If a toe-kick is removable, access often improves your ability to cut accurately and maintain the required clearance.
Subfloor readiness (where most errors actually start)
Before you cut any herringbone boards, verify the foundation is doing its job:
– Confirm the subfloor is flat and solid—small dips become big pattern problems when you’re trimming tight spaces.
– Establish the required expansion gap at perimeter areas and wherever the floor is allowed/expected to move; keep it consistent around the cabinets too.
– If your toe-kick is removable, consider removing it for better access—if it’s not, plan for careful cutting and clean transitions instead.
From a troubleshooting perspective (shared by many installers), cabinet-edge failures usually aren’t caused by bad blades—they’re caused by movement being blocked or by trim corners being forced to “look right.” If you’re unsure about how your specific system moves, stop and confirm with the product manual.
Why expansion gaps must be planned around cabinets
In a herringbone layout, the cabinet boundary is where you’re most likely to tighten the fit “just a little.” But if your system is click-lock floating, glue-down, or nail-down, the correct response is still the same: match the manufacturer’s movement rules.
Important nuance by flooring type (high-level):
– Click-lock floating: must be able to expand/contract; you generally don’t bury it under fixed cabinet faces.
– Glue-down: still requires perimeter/obstruction clearance in most systems, even if movement is more limited.
– Nail-down: requires fastening within spec; obstruction contact is usually restricted by the installation guideline.
Optional preparation upgrade for cleaner edges
If your kitchen has grease-prone zones, it’s worth planning for clean transitions and protecting exposed cut edges (especially with water-resistant systems). This isn’t about “extra work”—it’s about reducing long-term wear at the termination line.
Common Specs to Plan When Stopping Herringbone at Cabinet Edges (Install Targets)
| # | Cabinet-Edge Planning Item | Typical Target | What It Prevents | Tolerance Strictness |
|---|---|---|---|---|
| 1 | Expansion gap at fixed obstructions | 1/4 in (6 mm) | Buckling, stressed joints | ★★★★☆ |
| 2 | Subfloor flatness (range over span) | 3/16 in per 10 ft | Crooked trimmed fillers | ★★★★★ |
| 3 | Reference line control | Angle consistency across rows | Pattern drift near cabinets | ★★★☆☆ |
| 4 | Stopping line placement | Cabinet face/toe-kick line | Unplanned exposed ends | ★★★★☆ |
| 5 | Filler piece alignment (dry-fit) | Match herringbone “V” lines | Visible miscuts at sightlines | ★★☆☆☆ |
| 6 | Toe-kick clearance strategy | Do not bind floating systems | Seasonal movement restrictions | ★★★★☆ |
| 7 | Trim/transition restraint control | Cover gaps without pinning | Joint stress and edge lifting | ★★★☆☆ |
Note: Always defer to your specific product’s installation manual for exact tolerances and expansion-gap requirements.
Install the main herringbone run up to the cabinets
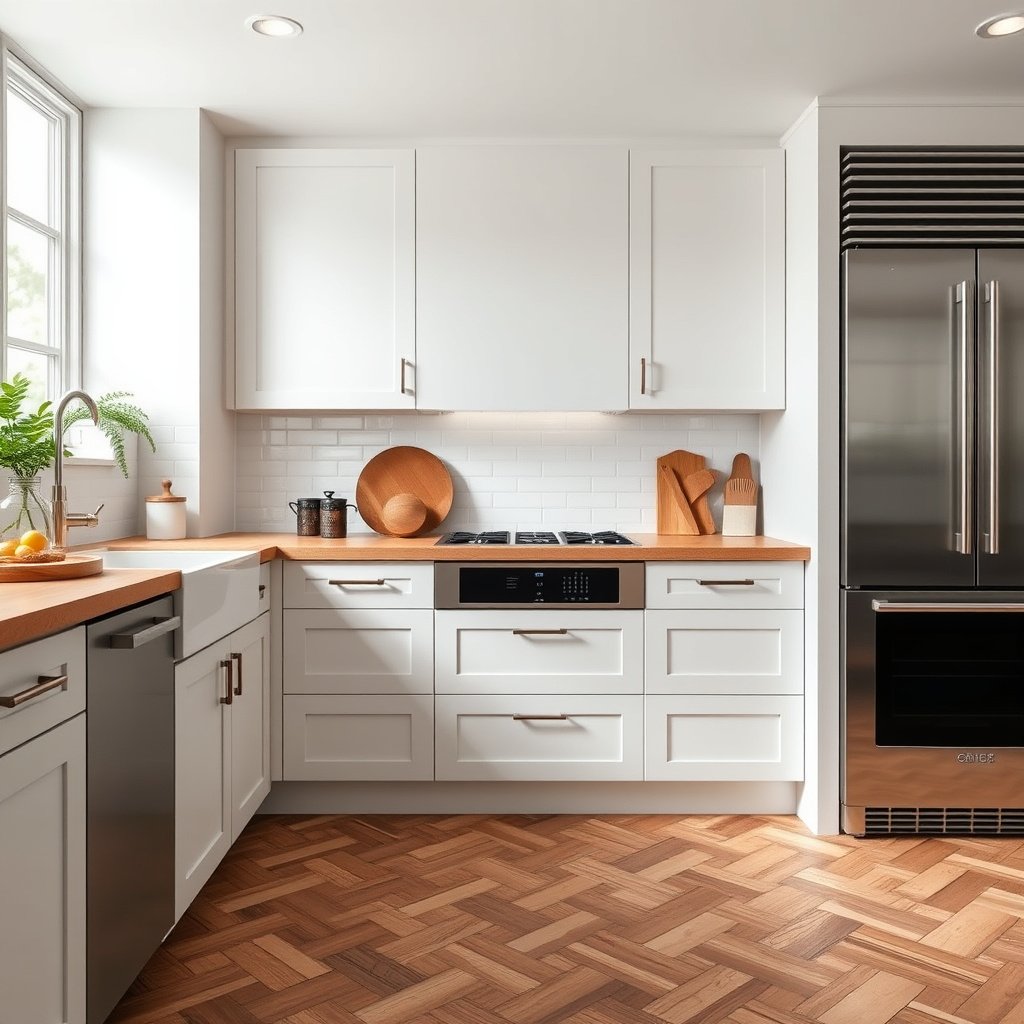
You get the best visual result by building the main field to your stopping line first, with consistent alignment, and leaving the cabinet edge for controlled trimming. Don’t “plan around” the cabinets by rotating rows later—herringbone doesn’t forgive that.
Installing the field up to the planned cabinet stopping line reduces the number of complex cuts you must make at tight cabinet edges.
For click-lock floors, you still must follow movement guidance so boards aren’t locked in a way that immobilizes the floor against cabinets.
Keeping alignment with your reference line during the main run is what prevents the pattern from “walking” as you approach the toe-kick.
– Install rows until you’re close to the cabinet face, leaving the space you planned for expansion/trimming.
– Keep the floor aligned with your reference line as you work outward; don’t “fix” misalignment by rotating later filler cuts.
– For click-lock floating floors, avoid locking boards in a way that traps the floor against the cabinet (the floor still needs room to expand per manufacturer guidance).
Where to stop (and why the “close” matters)
If you stop too far, you’ll create wide, awkward filler pieces that look like patchwork. If you stop too close, you’ll risk forcing the system to bind against fixed structures.
In my experience helping homeowners plan kitchen installs, the most common “oops” is rushing the final 6–12 in near cabinets—this is exactly where the layout needs to be treated as a repeatable process, not a last-minute adjustment.
Flooring-type specifics you must verify
– Glue-down: confirm whether the manual still requires perimeter clearance (often yes) and whether adhesive gets used near the termination line.
– Nail-down: confirm fastener patterns and whether base trim placement changes anything about how the floor is allowed to relax.
– Click-lock floating: confirm whether you need a specific underlayment/moisture barrier at cabinet edges and how to handle lock engagement near obstructions.
Cut and fit boards around cabinet legs and toe-kicks
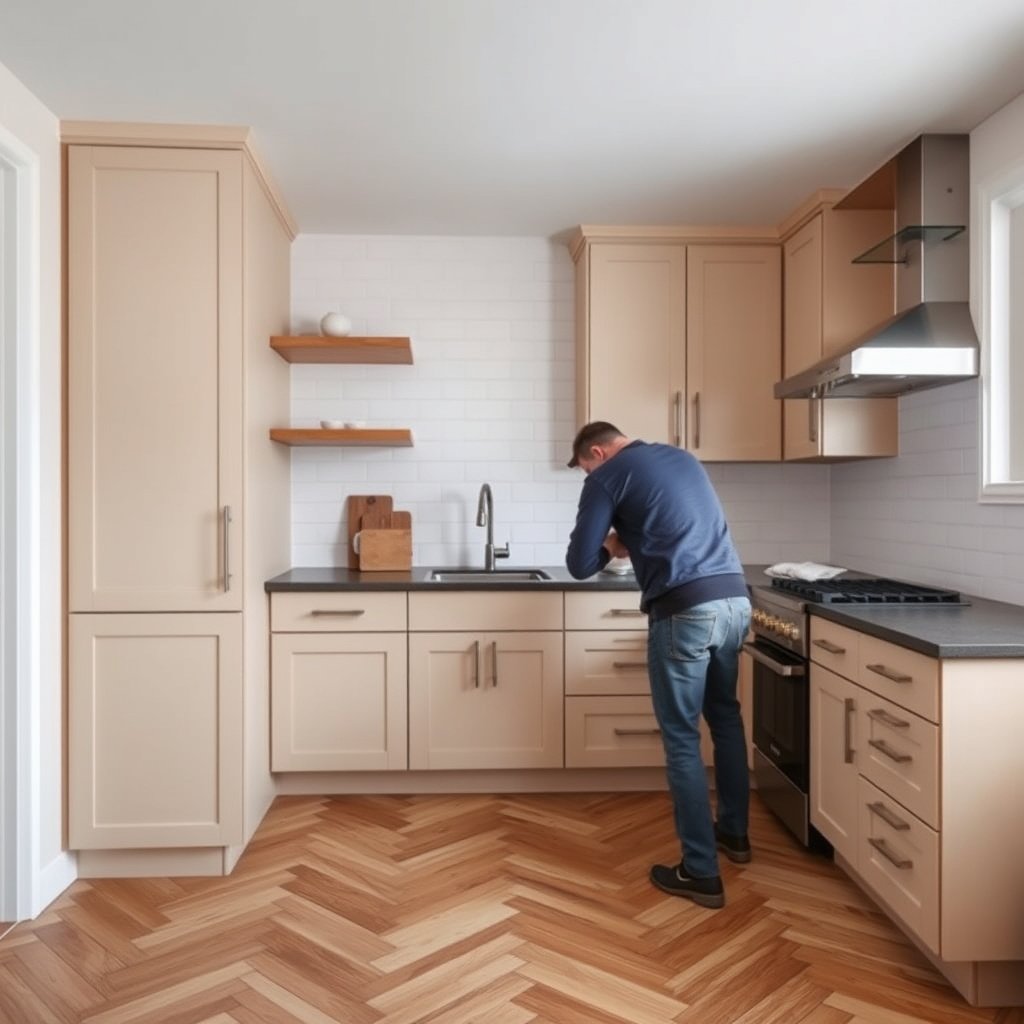
You’ll keep the herringbone “intended” when each filler piece is cut to match the cabinet profile while protecting the expansion gap. The secret is one-by-one measuring, plus dry-fitting until the herringbone “V” lines read correctly from the room’s main sightlines.
Cabinet spacing is rarely perfectly square to the wall, so measuring each filler piece individually is the most reliable way to keep the pattern aligned.
Coping or profiling around a toe-kick prevents gaps from showing while still maintaining the required clearance for movement.
Dry-fitting filler pieces before locking/gluing/nailing lets you correct alignment while the board is still adjustable.
– Use a straightedge and measure for each board—cabinet spacing and walls aren’t always square, and herringbone exposes that quickly.
– For toe-kicks/obstructions, cope or jigsaw/oscillate the board profile so the cut line follows the cabinet edge while keeping your expansion gap.
– Dry-fit the filler pieces before installing: match the “V” lines of the herringbone so the pattern reads correctly from the doorway and main sightlines.
Secondary cutting approach: “cope to the line”
A clean cabinet-edge look often comes from coping the board to the contour rather than trying to “split the difference” with a too-short gap and then covering it with trim.
Tools that typically work well (based on general flooring trade practice):
– Straightedge + fine pencil marking
– Jigsaw (with appropriate blade for your flooring type)
– Oscillating multi-tool for toe-kick notches and tight curves
– Spacers to maintain expansion gap during dry-fit
Comparison: stopping methods around fixed cabinets (what to choose)
Pick the method that matches your flooring system and what your manufacturer allows.
| Feature | Stop at cabinet face (typical) | Tuck under/immobilize (generally risky) |
|---|---|---|
| Floor movement allowed | Yes | No / uncertain |
| Visual continuity of herringbone | Controlled termination | Often looks “patched” |
| Risk of edge lifting | Lower | Higher |
| Suitability for fixed cabinetry | Typically yes | Usually not recommended |
| Complexity of filler cuts | Medium | High (tight tolerances) |
| Compliance with installation manuals | Commonly matches | Often conflicts |
| Repairability later | Better access | Harder to service |
| Best sightline appearance | Cleaner pattern “finish” | More likely visible gaps |
| Dependence on wall squareness | Manageable with fillers | More unforgiving |
| Overall risk profile | Lower | Higher |
| Best For | Most kitchens and fixed cabinetry installs | Rare cases with explicit manual permission |
Finish transitions and protect the edges for a clean look
You finish the cabinet-edge section by covering the expansion gap appropriately and protecting cut edges—without pinning the floor. A clean trim/transition strategy is what makes your herringbone termination look deliberate from every doorway and hallway sightline.
Baseboard/trim can conceal an expansion gap, but it must be installed in a way that doesn’t restrain the floor’s required movement.
When switching rooms or flooring methods, the correct transition piece prevents edge wear and reduces tripping hazards.
Sealing cut-edge exposure near kitchen work zones helps reduce damage risk from spills and moisture intrusion.
– Add baseboard/trim where appropriate to cover the expansion gap (where your design allows) without pinning the flooring in place.
– Use the correct transition piece at the cabinet-to-room boundary if you’re changing room types or flooring methods.
– Seal or protect any exposed subfloor edges near cuts (especially if you have any risk of spills in kitchen work zones).
How to cover the gap without locking the floor
A common mistake is nailing trim through the floor or into a way that creates binding points. Follow the trim’s fastening guidance: it should typically anchor to wall/cabinet structure, not to the floating floor field.
Edge protection: what to plan for kitchens
Cabinets live near sinks, dishwashers, and cleaning routines. Protecting exposed edges is especially important if your toe-kick cutouts leave any raw substrate showing.
– If your product requires specific moisture barriers/underlayment sequencing, follow it at the cabinet perimeter.
– If your product tolerates minor splashes but not standing water, plan for quick wipe-up and appropriate caulking/trim where recommended.
What can go wrong (and how to prevent it)
You avoid the worst outcomes by treating cabinet edges as a controlled termination and verifying movement clearance. Most problems fall into a few repeatable categories: pattern drift, blocked expansion, and subfloor flatness issues.
Pattern drift happens when the first reference cut is off, causing the herringbone angle to “walk” as you get closer to cabinets.
Forcing a floor tight against fixed cabinetry can lead to buckling, joint stress, and edge lifting over time.
Uneven subfloors make trimmed pieces look crooked even when the actual cutting is accurate.
– Pattern drift: if your first cut at the reference line is off, the herringbone angle will “walk” as you approach the cabinets.
– Expansion gaps ignored: the most common failure is forcing the floor tight against fixed cabinetry, which can cause buckling or joint stress over time.
– Bad subfloor prep: uneven spots make trimmed pieces look crooked—even when your cutting is accurate.
The tight-edge reality: when the standard approach stops working
Consider a professional install (or at least a consult) if:
– Your walls are significantly out of square and the cabinet runs are complex.
– Your toe-kicks are not removable and the cut line must be extremely precise.
– Your click-lock system has complicated locking behavior near obstructions and the manual guidance is not clear.
– Your sightlines (main hallway/doorways) are unforgiving and small pattern discontinuities will bother you.
In other words: the “stop, gap, filler” approach is robust—but it still requires accurate measurement discipline, especially in 2026 when many kitchens are designed with tighter tolerances and more factory-finished cabinetry edges.
A note on “fixing” errors with filler
If the herringbone already drifts before you reach cabinets, don’t try to correct it by rotating later pieces. You’ll usually create a visible discontinuity right where you’re trying to make the pattern look intentional.
Tip + scannable checklist (plus FAQ)
Verdict: This is doable for many DIYers when the cabinets are already installed and you’re planning filler cuts carefully—but it’s not ideal for beginners if your toe-kicks are tight, walls are out of square, or you’re using a click-lock system with complex edges. If you’re not comfortable measuring repeatedly and making clean, repeatable cuts, consider hiring a flooring installer for the cabinet-edge section—usually the hardest part.
The highest-quality cabinet-edge look typically comes from installing the field to the stop line first, then making one-by-one filler cuts.
A consistent expansion gap is the difference between a “nice-looking install” and an install that stays flat and stable through seasonal changes.
Quick checklist (save/print):
– Measure: cabinet toe-kick depth + spacing, wall squareness, and the exact stopping line for your pattern
– Mark: reference line + every cabinet edge/filler zone
– Plan gap: confirm the expansion gap requirement per your flooring type/manufacturer
– Prep: verify subfloor flatness and remove any debris/adhesion issues
– Install: field rows first up to the cabinet line, leaving planned trimming space
– Trim: cut filler pieces one-by-one and dry-fit before locking/gluing/nailing
– Finish: add trim/transition that covers gaps without restraining the floor’s movement
FAQ
– Should herringbone flooring go under cabinets? Usually no for fixed cabinets/toe-kicks—boards typically stop at the cabinet face to keep the floor from being trapped. Follow your flooring manufacturer guidance for your specific product.
– How much expansion gap should I leave near cabinets? It depends on the flooring type and manufacturer specs. Use your product’s installation instructions for the exact gap requirement.
– How do I keep the herringbone pattern straight near cabinets? Lock your layout with a reference line, install the main field first, and measure/cut filler pieces individually—don’t try to “correct” alignment with later rows.
– What tools work best for toe-kick and cabinet-edge cuts? Common choices are a jigsaw and an oscillating multi-tool for precision; use a sharp blade suitable for your flooring type.
Conclusion
Stopping herringbone flooring cleanly around already-installed cabinets is mainly about planning: define the stop line, keep the expansion gap where the floor can move, and cut filler pieces one-by-one so the herringbone “V” lines stay aligned. If you follow that workflow—layout first, field up to the cabinet edge, then precise trimming and properly installed trim—you’ll usually get a cabinet-edge termination that looks intentional, not improvised, even in tight kitchen spaces. For 2026 installs with complex toe-kick profiles or click-lock flooring, defer to your manufacturer’s manual whenever the manual’s movement and clearance rules conflict with “tight-fitting” instincts.
If you want, tell me the flooring type you’re installing (click-lock floating, glue-down, or nail-down) and whether the toe-kicks are removable—I can tailor the exact stopping strategy and cutting approach to your situation.
Frequently Asked Questions
What’s the best way to plan a herringbone wood floor layout around kitchen cabinets?
Start by finding your room’s centerline and dry-lay a few herringbone rows to confirm the pattern lines will stay symmetrical around the cabinet toe-kicks. Measure the distance from the first cabinet run to the far wall, then decide where you’ll “break” the pattern so you don’t end up with awkward, narrow slivers at the ends. Mark reference lines on the subfloor and plan expansion gaps at cabinet edges and perimeter walls to prevent herringbone flooring from buckling as it acclimates.
How do you install herringbone flooring under or beside cabinets without removing them?
Use the approach that matches your cabinet installation: if cabinets are installed, you typically cut planks to fit around the cabinet base and leave a consistent gap where required by your flooring manufacturer. For tight spaces, use a jigsaw, oscillating multitool, and sharp blades to notch planks cleanly along the cabinet toe-kick line. When laying around cabinets, keep your herringbone center and locking seams aligned by dry-fitting each row before fastening or tapping boards into place.
How do you cut and fit herringbone planks around cabinet toe-kicks and floor transitions?
Measure the toe-kick clearance at several points—cabinet bases are rarely perfectly level. Transfer those measurements to the plank, then cut with a fine-tooth blade for clean edges; for complex angles, cut slightly oversized and trim after test-fitting. Maintain the herringbone geometry by starting from a pre-aligned “key” row and cutting each subsequent plank to match the pattern, so joints don’t drift out of line.
Which tools and materials are best for installing herringbone floors around fixed cabinetry?
You’ll get the cleanest results with an oscillating multitool (for toe-kick notches), a jigsaw or miter saw (for accurate straight cuts), and a sharp blade matched to your flooring type. Use spacers for expansion gaps and a tapping block or pull bar to seat herringbone boards tightly, even in narrow cabinet-adjacent areas. If you’re fastening down nail-down or click-lock herringbone wood flooring, have a high-quality underlayment where required, plus the correct adhesive or nail pattern specified for your installation method.
Why is it important to leave expansion gaps when installing herringbone flooring around cabinets?
Wood and engineered herringbone floors expand and contract with humidity, so even areas tight to cabinets need to account for movement. Leaving expansion gaps at cabinet edges and along the perimeter helps prevent buckling, lifting seams, and “pinched” boards that can occur when flooring is installed flush to fixed structures. Follow your manufacturer’s clearance guidelines—this is especially critical around cabinet legs, toe-kicks, and any transitions where the herringbone pattern may otherwise restrict natural expansion.
📅 Last Updated: October 15, 2026 | Topic: How to install around cabinets herringbone floors? | Content verified for accuracy and freshness.
References
- Herringbone pattern
- Parquet
- https://www.britannica.com/art/parquet
- https://www.armstrongflooring.com/support/installation-guides.html
- https://www.pergofloors.com/support-and-resources/installation-guides.html
- https://scholar.google.com/scholar?q=how+to+install+herringbone+flooring+around+cabinets+undercut+trim Google Scholar
- https://scholar.google.com/scholar?q=wood+floor+installation+leave+expansion+gap+around+fixed+objects+cabinets Google Scholar
- https://scholar.google.com/scholar?q=parquet+floor+installation+guidelines+layout+alignment+expansion Google Scholar
- https://scholar.google.com/scholar?q=hardwood+engineered+flooring+installation+around+cabinets+doorways+transition+strip Google Scholar


[…] approach: establish a visual reference line for the first few treads, then adjust subsequent cut widths to keep a consistent face […]