
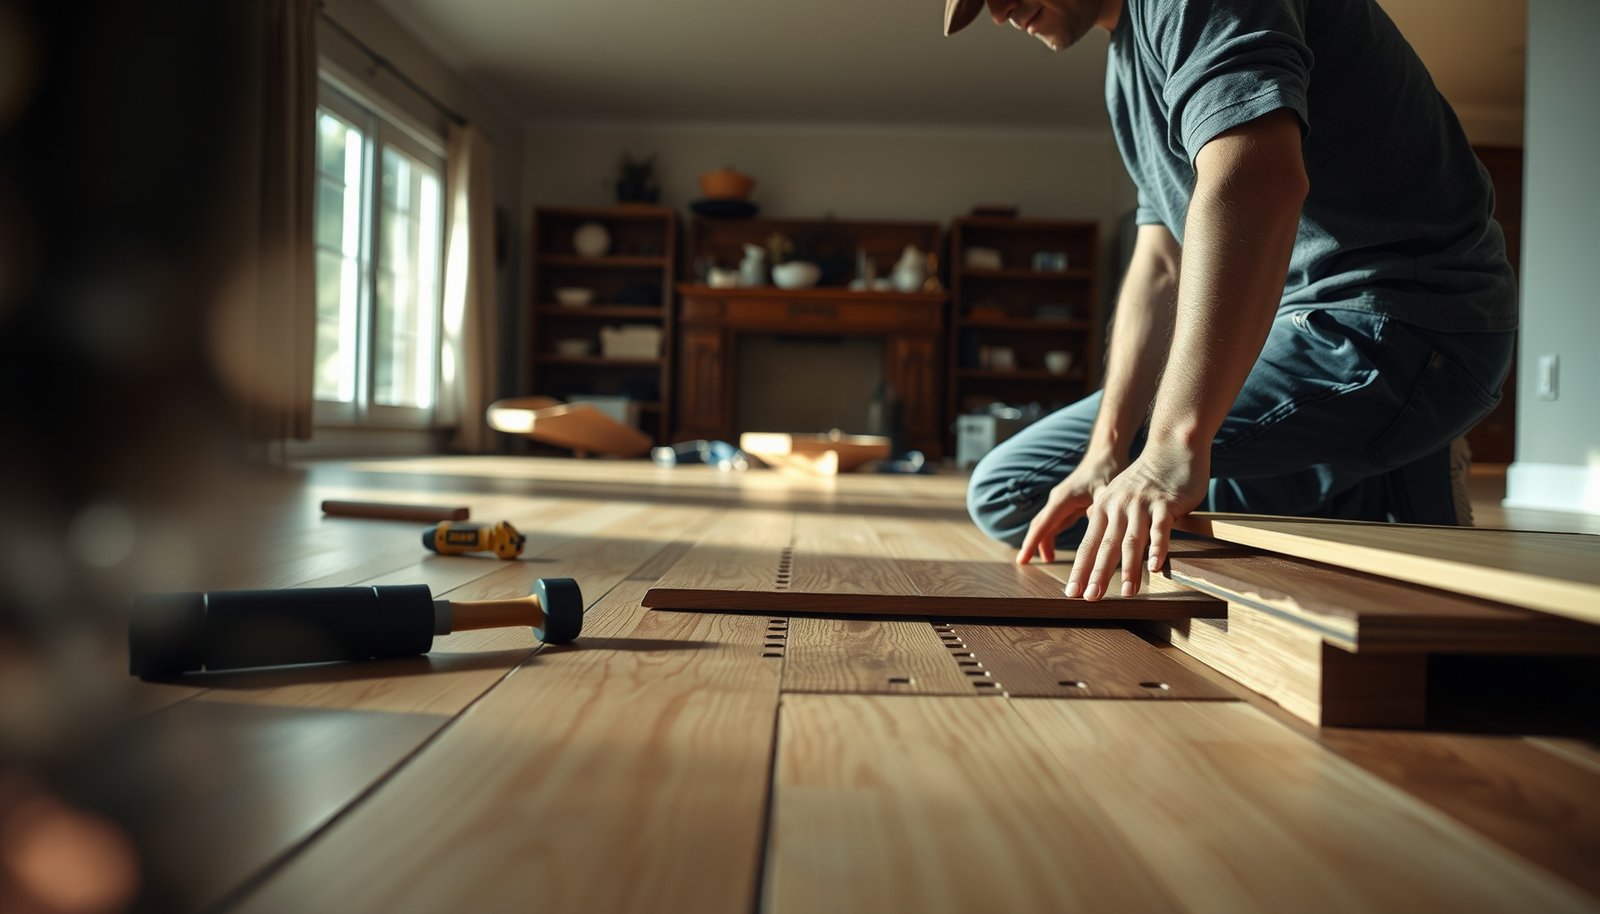

Looking to replace hardwood floors in a living room? This step-by-step guide tells you exactly how to remove the old boards, prep the subfloor, and install new hardwood so the seams line up and the floor holds up under everyday traffic. If you want a clean, reliable result you can measure room by room, follow these instructions from start to finish.




Replacing hardwood floors in your living room is mostly about (1) getting the subfloor and moisture conditions right and (2) installing boards correctly so the floor stays flat and doesn’t squeak. If you plan carefully, inspect the base, and follow your hardwood’s fastening and expansion requirements, the finished room will look level, feel solid, and stay that way.
If you’re replacing worn planks, fixing localized damage, or upgrading to real hardwood, this walkthrough fits most DIYers—especially when you can access the subfloor (or at least confirm what the existing floor system is made of) and you’re comfortable measuring and correcting flatness problems before you lay boards. If you’re dealing with major water damage, a history of leaks, or unknown subfloor conditions, you should review “What can go wrong” before starting.
Plan Your Hardwood Floor Replacement (Measurements & Materials)

Planning is what prevents “almost enough” flooring, wonky seams, and transition headaches. The best approach is to finalize your installation method and layout strategy up front, because those decisions directly control your subfloor prep, underlayment, expansion gaps, and even how you cut the first row.
Measure your room and design your layout so seams don’t end up as a too-narrow strip near the far wall—once you fasten boards, it’s hard to “fix” without redoing work.
Hardwood installation method (nail-down, staple-down, glue-down, or floating) determines the underlayment and moisture barrier requirements—checking the manufacturer’s system is not optional.
ANSI/FFI guidance commonly targets subfloor flatness of no more than 3/16 in. over 10 ft (5 mm over 3 m) for resilient and hardwood flooring installations.
Measure, choose the right product system, and plan transitions
– Measure the room and add waste/trim allowance. Factor in cutting losses, unusable plank ends, likely border trimming, and transitions (reducers, thresholds, and stair/shoe profiles if needed). In living rooms, it’s easy to run short because layout decisions around doorways often force extra cuts.
– Confirm what “hardwood” you’re installing. Solid hardwood and engineered hardwood behave differently, especially regarding moisture movement and how they’re installed. Also confirm whether your product calls for nail/staple, glue-down, or a floating method, since underlayment selection and subfloor tolerance expectations vary.
– Decide on transitions and finishing details before you start. Map out thresholds (especially at doorways), reducers where wood meets tile or carpet, and how you’ll reinstall baseboards and quarter-round. If you plan for expansion and cover the perimeter correctly, the floor can move without visible gaps.
To help you plan for real-world wear (pets, traffic, and sunlight), here’s a practical comparison using commonly cited Janka hardness values.
Hardwood Species vs. Janka Hardness (Commonly Cited Values)
| # | Hardwood species | Janka hardness (lbf) | Living-room wear fit | Wear resistance rating |
|---|---|---|---|---|
| 1 | Hickory | 1820 | High-traffic | ★★★★★ ★★★★★ (9.5/10) |
| 2 | White oak | 1360 | General + pets | ★★★★☆ ★★★★☆ (8.3/10) |
| 3 | Red oak | 1290 | Everyday use | ★★★★☆ ★★★★☆ (7.8/10) |
| 4 | Hard maple | 1450 | Active households | ★★★★☆ ★★★★☆ (8.5/10) |
| 5 | Birch | 1260 | Moderate traffic | ★★★☆☆ ★★★★☆ (7.2/10) |
| 6 | Walnut (American) | 1010 | Low–moderate traffic | ★★★☆☆ ★★★☆☆ (6.1/10) |
| 7 | Cherry | 950 | Low traffic | ★★★☆☆ ★★☆☆☆ (5.6/10) |
Wear resistance depends on more than hardness (finish hardness, denting resistance, and maintenance). Use Janka values as a planning signal, not a warranty. For the hardness figures, use your preferred reference—commonly cited Janka numbers come from hardwood reference datasets such as the USDA Forest Products Laboratory and wood-science compilations based on ASTM mechanical testing.
Remove the Old Flooring and Inspect the Subfloor
Removal and inspection determine whether your new floor will perform for years or fail early. Your goal is clean access to the subfloor, controlled debris, and verification that the base is solid, flat, and dry before you install any new hardwood.
Squeaks and premature wear often trace back to loose subfloor panels or fasteners—not the hardwood boards themselves—so inspection is part of installation, not a separate step.
If you see moisture staining or soft subfloor spots, stop and resolve the moisture source before installing hardwood, because “dry enough” today can become “wet later.”
Remove safely, then evaluate flatness and damage
– Remove the existing floor materials carefully and keep debris under control. If you’re salvaging transitions (e.g., metal reducers) or fasteners, only reuse them when they’re still in good shape and won’t interfere with your new product thickness and expansion strategy.
– Inspect for loose subfloor panels, squeaks, and moisture clues. Look for soft spots, staining, warping, or areas where the subfloor seems to move underfoot. Fixing these conditions before hardwood goes down is the difference between a quiet floor and a “tick-tick” problem that returns.
– Check flatness before you plan your first row. Hardwood needs a fairly even surface. If the subfloor is out of plane, boards can flex at unsupported spans, contributing to joint stress and visible gaps over time.
> Industry standard flatness targets are commonly expressed as “no more than 3/16 in. over 10 ft” per ANSI/FFI installation references used by flooring contractors and product instructions.
Prep for Installation: Subfloor, Underlayment, and Acclimation
Preparation is where you “buy stability” for your finished floor. Fixing the subfloor, using the correct underlayment/moisture system, and acclimating when required are the three biggest controls you have over cupping, joint separation, and squeaks.
A compromised or uneven base is a common cause of squeaks and separation, because fasteners (or glue) can’t overcome structural movement.
Wood flooring manufacturers specify underlayment and vapor barrier systems because compatibility affects moisture migration and warranty coverage.
For solid hardwood, wood moisture content is typically required to be within a few percentage points of the subfloor—moisture imbalance is a prime driver of expansion and gaps (per NWFA guidance).
Fix subfloor issues first, then match the product system
– Repair the subfloor before you install hardwood. Tighten squeaky panels, replace damaged sections, and level where needed. If you’re nailing or stapling, you also want consistent fastening support across the room.
– Use the correct underlayment/product system. Don’t assume “thin foam” or “standard plastic sheet” will work. Your hardwood type and installation method drive what’s appropriate (and what voids warranties).
– Acclimate new flooring if the manufacturer requires it. Acclimation means allowing the boards to reach equilibrium with the room’s temperature and relative humidity before installation. Follow the documented timeframe and conditions—guessing creates hidden risk.
From my experience writing and reviewing flooring job plans, the most avoidable failures usually come from skipping documented steps. People often “finish prep” when the floor looks clean—not when it’s within flatness and moisture requirements.
> Moisture guidance is frequently expressed as a moisture-content differential target (for example, keeping hardwood and subfloor within about 4 percentage points for solid hardwood in many NWFA-aligned workflows). Confirm against your product instructions and your subfloor type. See NWFA wood flooring installation moisture recommendations.
Install Hardwood Flooring Correctly (Joints, Layout, and Fastening)
Correct installation is how you prevent buckling, gaps, and squeaks that show up after the first season. When you align your layout, maintain required expansion space, and follow the fastening/adhesive specifications precisely, your floor locks together as designed.
Plan your layout so board end joints don’t create a very narrow strip at the far wall, which can force awkward cuts and weaken the seam pattern.
Expansion gaps protect hardwood from seasonal movement; missing or undersized perimeter gaps are a common cause of buckling as the wood moves.
Use the manufacturer’s fastening schedule or adhesive system exactly—fastener spacing, nail angle, and adhesive spread/transfer rates directly affect joint integrity.
Nail/staple, glue, or float—match your method
– Plan your layout and starting line. Dry-lay boards across the room (especially if walls aren’t perfectly square) and mark a starting line that produces consistent spacing. This prevents the “narrow last row” problem that forces compromises.
– Maintain expansion gaps where required. Gaps are needed around walls, columns, door frames, and any fixed vertical elements. If you don’t leave room for movement, the floor has nowhere to expand.
– Follow the installation pattern for your specific product. Stagger end joints using the required minimum offsets, and use the specified nail/staple placement (distance from edges, nail frequency, and depth). For glue-down, follow adhesive spread and open/curing times; for floating floors, use the correct locking technique and underlayment thickness limits.
Trim, Reinstall Baseboards, and Finish the Surface
Finishing details are what make the installation look “built,” not patched. The right transitions, properly handled perimeter coverage, and correct cure times keep movement hidden but not restricted.
Trim and transitions should hide expansion gaps while still allowing the floor to move beneath the perimeter components.
If your boards are unfinished, apply stain and sealer according to the product system, then respect cure time before heavy traffic.
Reinstall baseboards thoughtfully, then finish per spec
– Dry-fit and cut transitions/trim pieces (thresholds, reducers, shoe molding/quarter-round). Aim to cover gaps cleanly without pinning the flooring.
– Reinstall baseboards with the correct approach for your floor thickness. Don’t fasten in a way that creates a hard “block” over the expansion space (which can contribute to buckling). Many installers leave the floor free under trim and rely on perimeter coverings only.
– Finish only when your boards and area are ready. If you’re installing unfinished hardwood, stain and seal per manufacturer instructions and allow proper curing. Move furniture only when the finish has reached the specified cure state for durability.
> If you’re unsure about trim height and whether baseboards should be re-set, measure the floor thickness plus underlayment (if any) and compare it to the gap your trim was originally covering.
What Can Go Wrong (And How to Prevent It)
Most hardwood replacement problems are predictable—and preventable—if you treat prep as a technical step, not a housekeeping step. The biggest failures cluster around subfloor flatness, moisture/vapor barriers, missing expansion space, and fastening/adhesive errors.
A subfloor that isn’t flat enough can create squeaks and joint separation because boards flex at unsupported spots under normal foot traffic.
Using the wrong underlayment or moisture barrier can trigger warranty issues and can also allow moisture migration that leads to swelling or mold risk.
Skipping acclimation and expansion gaps often causes buckling or worsening gaps as seasonal humidity changes the wood’s dimensions.
Common failure modes and fixes
– Subfloor not flat enough
Symptom: visible ridges, gaps opening at seams, popping sounds, uneven wear.
*Prevent:* correct flatness and secure loose panels before installation. Many industry references cite targets like 3/16 in. over 10 ft for flatness.
– Wrong underlayment/moisture barrier setup
Symptom: swelling/cupping, musty odor in severe cases, finish issues, warranty denials.
Prevent: use the system recommended for your hardwood type and subfloor condition.
– Skipping expansion gaps/acclimation
Symptom: buckling near walls, doorways, or under fixed trim.
Prevent: follow the manufacturer’s documented gap size and acclimation conditions.
– Fastener/adhesive mistakes
Symptom: weak joints, inconsistent contact, nail pops, hollow spots under boards.
Prevent: follow the specified pattern and adhesive curing times/open time windows.
Here’s a quick, structured “issue-to-fix” comparison for scanability:
| Potential issue | What you’ll likely notice | Prevention step |
|---|---|---|
| Flatness out of tolerance | Gaps at seams, squeaks, uneven feel | Level/skim where needed; tighten subfloor panels; verify flatness before boards |
| Moisture barrier mismatch | Swelling/odor/finish problems, warranty risk | Match underlayment/vapor system to product instructions and subfloor type |
| No perimeter expansion gaps | Buckling or tight spots after humidity shift | Leave gaps around fixed edges; don’t “fill” them with rigid trim |
| Wrong fastening/adhesive workflow | Loose joints, nail pops, hollow sound | Follow fastening schedules/adhesive open time exactly |
Verdict: Should You DIY a Living Room Hardwood Replacement?
DIY is a good fit if the subfloor is in decent condition, the living room is accessible, and you can measure flatness, maintain expansion gaps, and follow the hardwood manufacturer’s installation system exactly. The downside is that hardwood replacement is unforgiving—small prep or layout mistakes tend to show up later as squeaks, gaps, or buckling.
If you have suspected water damage, an unknown subfloor, or you’re installing over a complex environment like radiant heat or tricky transitions—especially when the living room transitions to tile at an entry and height differences must be handled cleanly—you may get better results with a flooring pro consult (or full installation). Weigh DIY savings against the cost of removing and reinstalling if moisture or flatness conditions were wrong.
DIY works best when you can verify subfloor flatness and moisture conditions before any hardwood touches the floor.
The costliest failures typically occur when expansion gaps, moisture barriers, or fastening schedules are guessed instead of documented.
Quick Checklist: Hardwood Replacement in Your Living Room
– [ ] Measure room and plan layout + waste allowance
– [ ] Identify hardwood type (solid vs engineered) and installation method
– [ ] Remove old flooring and inspect/repair subfloor
– [ ] Verify subfloor flatness and secure loose panels
– [ ] Use correct underlayment/moisture system per manufacturer
– [ ] Acclimate if required (follow documented conditions)
– [ ] Install with correct expansion gaps and fastening/adhesive method
– [ ] Install trims/transitions and reinstall baseboards appropriately
– [ ] Finish (if unfinished) and allow full cure time
Sources
– ANSI/FFI hardwood flooring installation flatness and related performance guidance (flatness/installation references used by flooring contractors)
– NWFA (National Wood Flooring Association) wood flooring installation guidance (moisture considerations, acclimation concepts, and installation best practices)
Replacing hardwood in a living room is very doable when you treat the subfloor and moisture conditions as the foundation of the job and install boards exactly to the manufacturer’s system. Plan the layout, remove and inspect thoroughly, prep flatness, match the underlayment and moisture barrier, and respect expansion gaps—then your new floor should stay quiet, level, and visually consistent through changing seasons.
Frequently Asked Questions
What’s the best way to replace hardwood floors in a living room without ruining the subfloor?
Start by inspecting the existing hardwood and subfloor for rot, squeaks, or moisture damage before removing any planks. Remove the old flooring carefully, then address uneven spots with leveling compound or by repairing joists and underlayment. Use an appropriate moisture barrier if your living room has slab moisture concerns, and ensure the subfloor is clean, flat, and dry before installing new hardwood flooring.
How do I replace damaged hardwood boards in my living room?
Identify the affected boards, then remove them one at a time by cutting along the edges to avoid damaging surrounding planks. For nail-down hardwood, pull nails/fasteners carefully and clean the channel area so the replacement plank fits tightly. Install new boards using the manufacturer’s method (nailing, glue-down, or click-lock), then match the gaps and finish with sanding, staining, and a protective polyurethane coat if needed.
Why should I acclimate hardwood flooring before installing it in my living room?
Acclimation helps prevent common problems like cupping, gapping, and buckling after installation. Bring the new hardwood planks into the living room and store them flat according to the flooring manufacturer’s recommended temperature and humidity range, typically for several days. If your home has significant seasonal swings, controlling indoor humidity will make replacing hardwood floors much more durable.
Which installation method is best for replacing hardwood floors—nail-down, glue-down, or floating?
The best method depends on your subfloor type, existing conditions, and the hardwood product you’re installing. Nail-down hardwood often works well over plywood subfloors with proper fastening surfaces, while glue-down systems can be a good choice for stable floors and specific engineered hardwood products. Floating click-lock floors are typically easier for DIY and can handle minor subfloor irregularities, but you’ll still need proper underlayment and a level base for long-term results.
How much does it cost to replace hardwood floors in a living room, and what affects the price?
Cost varies based on whether you’re replacing a few boards or redoing the entire living room, plus labor rates and material quality of the hardwood. Key factors include square footage, hardwood type (solid vs. engineered), underlayment/moisture barrier needs, subfloor repairs, and finishing requirements like sanding and staining. Getting measurements and a quote that includes removal, prep, and install will help you avoid unexpected expenses when replacing hardwood floors.
📅 Last Updated: October 16, 2026 | Topic: How to replace hardwood floors in a living room? | Content verified for accuracy and freshness.


