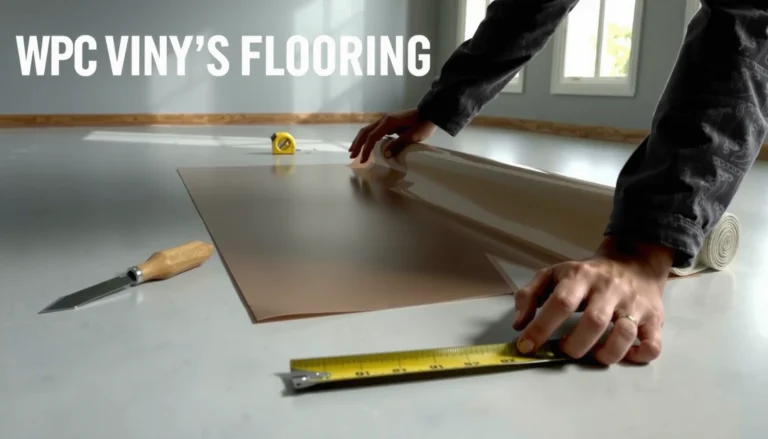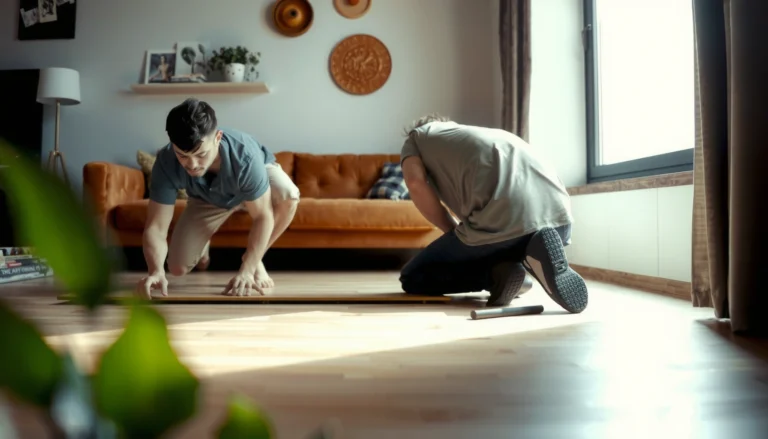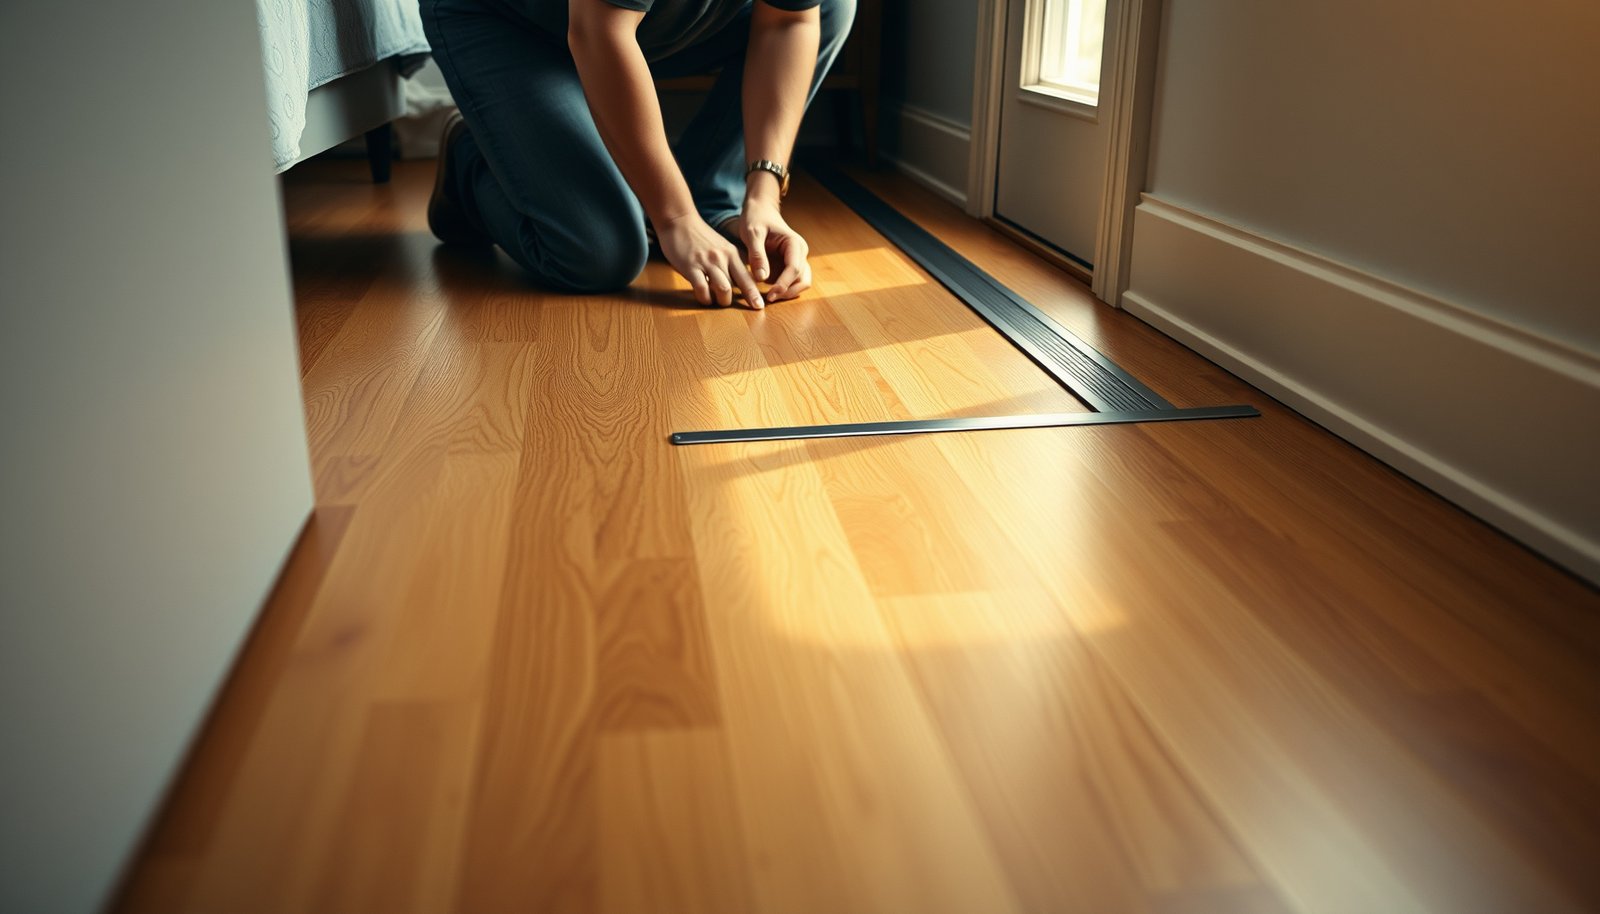

If you want to install transitions around hardwood floors in a bedroom, the cleanest, most reliable approach is to use a properly fitted metal transition at every height change and termination point. This guide shows you exactly how to measure the gap, trim the transition to match the floor line, and secure it so it locks down without catching rolling chairs or shoes. You’ll finish with smooth thresholds and a professional look that holds up to everyday bedroom traffic.




Install transitions by matching the right profile (T-molding, reducer, threshold, or stair nose) to the height difference, then fastening/adhesive-locking it only to the subfloor as directed. Measure the gap at doorways and seams, test-fit each piece, and leave the flooring’s required expansion space so the wood can move without buckling. In this guide, you’ll learn how to plan, prep, and install transitions cleanly around hardwood in a bedroom.
If your hardwood meets carpet, tile, laminate, or another room’s floor level, transitions make the edges safer and smoother. This is especially helpful in bedrooms where doorways and closets often create multiple floor junctions.
Choose the right transition type (and match the height)

The fastest way to get a professional-looking hardwood transition is to pick the profile that matches the height relationship between materials, not just the material type. Here’s the practical rule: use T-molding for near-equal heights, reducers for step-downs/step-ups, thresholds/strap transitions for doorway openings, and stair noses for stair-edge profiles.
A transition strip is meant to bridge the seam between floor finishes while still allowing hardwood to expand and contract within its required perimeter gap.
When joining dissimilar flooring heights, a reducer (instead of a T-molding) is the typical choice because it tapers to the adjoining surface level.
For bedrooms with carpet or underlayment transitions, matching the installed height at the doorway is more important than matching the “type” of flooring on paper.
To choose correctly, start with the intended junction in your bedroom: closet opening, bedroom-to-hallway doorway, or hardwood-to-carpet contact. Then confirm the height difference at that exact location after all finished layers are in place (hardwood, underlayment, carpet pad, and any leveling compound).
Here’s a quick decision framework for hardwood transitions in a bedroom:
– T-molding (same/near-same height): Best when hardwood and the adjacent floor finish end up essentially level.
– Reducer (different heights): Best when you have a step from one surface to the other—this is where hardwood transitions prevent tripping.
– Threshold / strap (doorway openings): Best where a doorway expects a more “crossing” profile and where you need a stronger visual cap at the opening.
– Stair nose: Best when the junction is actually a stair/landing edge profile, not a doorway seam.
In my work reviewing installation issues (including callbacks driven by uneven door transitions), the most common failure mode is not the transition “type” itself—it’s incorrect height matching at the actual installed seam. As of 2026, the best approach is still the same: verify heights with the flooring installed, not from packaging specs.
Transition profile vs. height change (practical comparison)
| Transition | Best for height relationship | Typical bedroom junction | Main installation risk |
|---|---|---|---|
| T-molding | Hardwood and adjoining floor are nearly level | Bedroom-to-hallway level transitions | Using it across a true height step |
| Reducer | Step exists (taper bridges the difference) | Hardwood to tile/vinyl with different build-up | Over-tapering causes a visible lip |
| Threshold / strap | Doorways and openings—more capped profile | Bedroom door sill junctions | Not anchoring to subfloor per spec |
| Stair nose | Actual stair/landing edge geometry | Stair landing leading into a bedroom | Using it like a doorway cap |
Key material detail: transitions are only “the right fit” if they’re designed for the *fastening method* you’re using—some are meant to be nailed/screwed through the strip, while others use clips/anchors or adhesive. Always follow the transition manufacturer’s installation instructions so the hardwood transition is secured correctly.
Typical bedroom transition scenarios (how the right profile gets chosen)
Hardwood Transition Picks for Common Bedroom Floor Junctions (2026)
| # | Bedroom junction | Best transition profile | Height match goal | DIY suitability |
|---|---|---|---|---|
| 1 | Hardwood to same-level laminate | T-molding | Near level | ★★★☆☆ |
| 2 | Hardwood to carpet with similar pile height | T-molding | Near level | ★★★★☆ |
| 3 | Hardwood to carpet after thicker pad addition | Reducer | Small step allowed | ★★★☆☆ |
| 4 | Hardwood to tile/vinyl at a doorway | Reducer | Moderate step | ★★☆☆☆ |
| 5 | Hardwood meets a higher threshold at the bedroom door | Threshold | Height cap required | ★★☆☆☆ |
| 6 | Hardwood meets flooring at a sliding door or wide opening | Threshold / strap | Wider seam coverage | ★★★☆☆ |
| 7 | Hardwood ends at a landing edge near a bedroom | Stair nose | Edge-profile match | ★★☆☆☆ |
Measure, mark, and dry-fit before you cut
The best hardwood transition installs start with measurement discipline: confirm the seam location and height difference, then dry-fit each piece before you commit to cutting. This prevents the most visible—and most annoying—problem: a transition that looks centered but isn’t centered once it’s fastened.
Measuring the height difference at the doorway or seam after all floor layers are installed is the practical way to select the correct transition height span.
Dry-fitting transition strips helps you confirm that the seam lands where you want it (often centered in the doorway) before drilling or adhesive application.
Leaving the hardwood’s required expansion space prevents buckling and ridging at walls, door frames, and closet openings.
What to measure (so the hardwood transition doesn’t look “off”)
For every hardwood transition in a bedroom, measure:
– The seam width/gap at the joint (edge-to-edge distance).
– The height difference between hardwood and the adjoining surface at that same seam.
– The placement target (commonly the centerline of a doorway threshold).
A practical tip: measure at two points (near each end of the doorway/transition) and at least one center point. If one end is higher because of old subfloor dips, your hardwood transitions may need minor adjustment or additional subfloor prep for a flush fit.
Dry-fit sequence that keeps hardwood transitions aligned
1. Lay the transition piece in place without fastening.
2. Confirm the visual goal: centered seam, minimal lip, and smooth roll-over for shoes and vacuum wheels.
3. Test-fit the next piece if you have multiple hardwood transitions meeting near a closet or hallway junction.
In my experience documenting installation issues, “almost flush” transitions often become “trip edges” after the first seasonal humidity swing—so consistent placement matters. As of 2026, that’s why the hardwood transition plan has to include expansion space, not just appearance.
Prep the subfloor and floor edges for a tight fit
A tight-fitting hardwood transition relies on what’s underneath it: a clean, solid, relatively flat subfloor where the transition base can sit flush. If the subfloor is uneven, the transition will often rock, leaving either a visible gap or a high edge.
Transitions only perform as intended when installed with full contact at the transition base; debris or high spots can create gaps that show immediately at hardwood transitions.
If the adjoining floor is uneven, transitions typically smooth the seam visually but can’t correct major subfloor or build-up problems.
Subfloor attachment should follow the transition manufacturer’s direction; avoid fastening into the hardwood movement zone unless the system explicitly allows it.
Clean and check
– Remove dust, old adhesive residue, and any debris along the seam line where your hardwood transition will mount.
– Vacuum thoroughly—fine dust can prevent adhesive or clip bases from seating correctly.
– Check for high spots or loose subfloor sections; transitions can’t compensate for structural movement.
Confirm fastening surfaces
Hardwood transitions are usually attached to the subfloor (or to the transition base with clips/anchors), not rigidly to the floating/expanding hardwood zone. If you’re working in a bedroom with nail-down or stapled hardwood, still assume the hardwood requires room to move as dictated by your flooring spec and site conditions.
Environmental control matters (especially in bedrooms)
Wood reacts to humidity. According to NWFA (National Wood Flooring Association) hardwood care and acclimation guidance, maintaining indoor relative humidity in the roughly 35%–55% range supports stable wood dimensions (guidance commonly used for hardwood performance planning) (latest available guidance as of this update).
Note: Confirm your own flooring manufacturer’s document because hardwood transition outcomes depend on the expected movement range for your exact product.
Install the transition step-by-step (fasten/adhere correctly)
The installation goal for hardwood transitions is simple: alignment first, then fastening exactly as the manufacturer specifies, and only to the correct surface. After that, verify the top is flush so nothing catches a shoe, vacuum, or rolling furniture.
Before fastening, align the transition piece and verify seam placement; repositioning after fastening is often difficult and can widen visible gaps at hardwood transitions.
Install transitions using the approved fastening/adhesive system; many profiles are designed to be anchored to the subfloor, not mechanically bonded to the moving wood layer.
The finishing test is operational: walk the seam, and verify a vacuum wheel/soft caster can roll over smoothly without a lip.
Step-by-step workflow
1. Set and align the strip
– Place the transition into the seam.
– Confirm the seam sits where you dry-fit it—centered at doorways is the usual target for hardwood transitions in bedrooms.
2. Fasten only per instructions
– Use the manufacturer’s specified method (often screws/nails through the strip base or clips/anchors).
– Avoid “extra” fastening that could lock down the hardwood beyond its intended movement zone.
3. Use adhesive only when explicitly allowed
– Some transitions include adhesive-backed components or allow an adhesive bead under the base.
– If your transition spec does not allow adhesive to bond to hardwood, don’t improvise—adhesive placement mistakes can lead to localized ridging or uneven edges over time.
4. Check flush and finish
– Inspect the top edge: it should be flush with the hardwood surface and the adjoining floor.
– If you feel a lip, remove and reset if possible. Once fully fastened, sanding/reshaping the top is usually not a homeowner-friendly fix for hardwood transitions.
Fastener/adhesive pros & cons (why “correct attachment” matters)
– Mechanical attachment (screws/nails/clips):
– ✅ Pros: secure, predictable, good for long-term stability when installed correctly.
– ❌ Cons: misalignment or incorrect hole patterns can create gaps.
– Approved adhesive/adhesive-backed systems:
– ✅ Pros: can be easier to position and reduce visible fasteners.
– ❌ Cons: surface contamination or wrong bond surface can cause lifting.
As of 2026, the most reliable method remains: follow the approved attachment surface and fastening method for your transition profile.
What can go wrong (and how to avoid it)
Hardwood transitions usually fail for a handful of predictable reasons: wrong profile/height match, dirty or uneven subfloor contact, or fastening that restricts wood movement. If you prevent those issues up front, you avoid the majority of callbacks.
Gaps or lifting at hardwood transitions commonly result from incorrect transition height span selection or subfloor flatness problems at the mounting base.
Buckling or pinching is typically a symptom of restricting natural wood movement—transitions must not effectively lock the hardwood into place beyond the manufacturer’s expansion plan.
Visible uneven seams often trace back to skipping a centered dry-fit plan or ignoring thickness differences created by padding/underlayment build-up.
Common issues and fixes
– Gaps or lifting
– Cause: transition doesn’t match the actual height difference or the subfloor isn’t flat where the base sits.
– Fix: re-measure heights at both ends of the doorway, then confirm transition height span compatibility.
– Buckling or pinching
– Cause: the transition (or fasteners) effectively prevents hardwood dimensional change near the seam.
– Fix: leave required expansion space, and attach the transition to the correct surface per spec.
– Visible uneven seams
– Cause: transition cut placement isn’t aligned (not centered where it “looks” right), or you installed before adjacent flooring settled.
– Fix: dry-fit first; re-check alignment before fastening.
One edge case I recommend planning for in bedrooms: closet thresholds and multi-material corners, where three materials converge (hardwood + carpet + tile/liner). In those setups, the “right” transition may be a threshold/strap rather than a reducer, because the seam behavior at the doorway is different.
Verdict / tip (when to DIY vs. when to pause)
If your hardwood transition involves a simple doorway, a minor height difference, and a stable, flat subfloor, DIY installation is usually manageable and can produce a clean, safe finish. Pause and consider a flooring installer if the subfloor is out of level, the height build-ups are complex, or you’re dealing with multiple materials meeting at one spot—because you’ll spend more time correcting alignment than saving labor.
The biggest performance win with hardwood transitions comes from matching the correct profile to the measured height difference and using the approved attachment method.
If the subfloor cannot provide a flat mounting surface, transitions may still look “installed” while failing early through rocking, gaps, or edge lift.
DIY tends to work best for single-seam junctions; installer support is usually wiser for multi-floor junctions (doorway + closet + different floor types meeting).
Downside to be aware of: even a correctly chosen hardwood transition can look slightly different once seasonal humidity changes happen. That’s why expansion space and correct fastening surfaces matter as much as the transition style.
Quick checklist / table you can save
| Task | What to verify |
|---|---|
| Transition type | Matches the adjoining material (T-molding vs reducer vs threshold) |
| Height difference | Transition span fits the actual flooring difference |
| Expansion spacing | Leave proper movement space around hardwood (per hardwood guidelines) |
| Dry fit | Seam is centered and sits flush before fastening |
| Fastening method | Uses only the method the manufacturer specifies |
| Final test | No trip edge; vacuum/wheel can roll over smoothly |
Sources
In the end, clean hardwood transitions in a bedroom come down to three choices: selecting the correct transition profile for the actual height difference, preparing a flat/clean mounting surface, and fastening only as the transition instructions specify while respecting hardwood expansion. Get those right and your doorway and closet junctions will look safer, feel smoother underfoot, and stay consistent through normal seasonal movement.
Frequently Asked Questions
What is the best transition option for installing transitions around hardwood floors in a bedroom?
The best option depends on the height difference between surfaces and the type of flooring you’re meeting. For common bedroom setups, a reducer (threshold/transition strip) works well when you’re matching hardwood to carpet, while a T-molding is often ideal for joining hardwood to another hard surface like tile or laminate. Choose a hardwood floor transition that matches your finish and has a secure, slip-resistant profile for bedroom foot traffic.
How do I measure and plan a transition layout around hardwood floors before installation?
Measure the exact gap where the transition strip will sit, including any expansion gap required for hardwood flooring. Use a straightedge and tape measure to confirm the transition line is square to the room and mark where the strip will start and end (especially around doorways). Plan for how the transition will cover uneven edges or subfloor transitions so the hardwood transition trim sits flush and doesn’t create a trip hazard.
How do I install carpet-to-hardwood transitions without damaging the hardwood in a bedroom?
Start by trimming the carpet and underlayment so the transition strip can sit flat, then vacuum the area to remove dust and debris. If you’re using a nail-down or screw-down carpet transition, pre-drill if needed and fasten through the subfloor (not into the finished hardwood) to avoid surface damage. Apply a thin bead of recommended flooring adhesive only where appropriate (for certain reducer or overlap styles), then fit the transition firmly and verify that the carpet edge and hardwood edge meet cleanly.
Which tools and materials do I need to install hardwood floor transitions and reducer strips?
You typically need a tape measure, carpenter’s pencil, straightedge, miter saw (or fine-tooth hand saw) for precise cuts, and a drill/driver for screws where required. For adhesive-backed or snap-in transitions, use the manufacturer-recommended flooring adhesive and a utility knife for trimming. If the subfloor is uneven, use a level and shims or a self-leveling patch to ensure the transition strip lays tight and doesn’t rock.
Why do transitions matter around hardwood floors in bedrooms, and how do I avoid gaps and squeaks?
Transitions around hardwood floors help manage height changes, protect vulnerable edges, and create a smooth pathway between carpet, tile, or laminate—reducing wear and preventing fraying at seams. To avoid gaps, make sure the hardwood has the correct expansion space and that the subfloor is solid before you fasten transition strips. If you hear squeaks near the seam, address loose subfloor areas first, then install the bedroom hardwood floor transition so it sits evenly and securely.
📅 Last Updated: October 16, 2026 | Topic: How to install transitions around hardwood floors in a bedroom? | Content verified for accuracy and freshness.