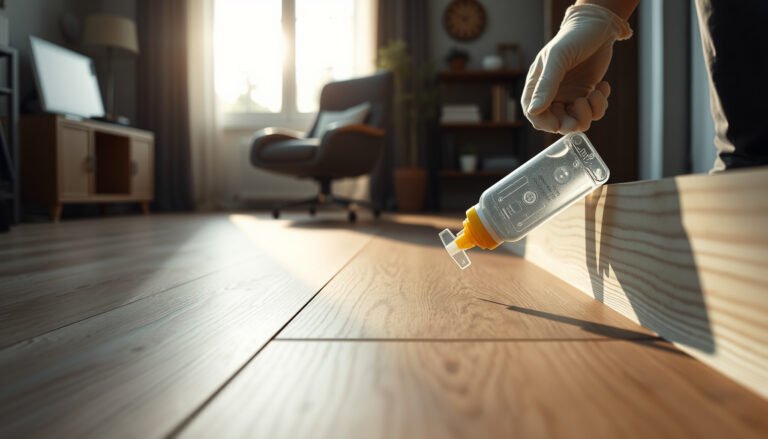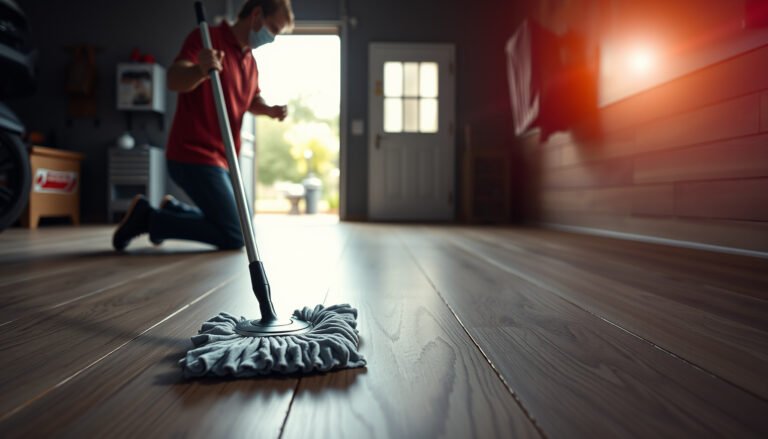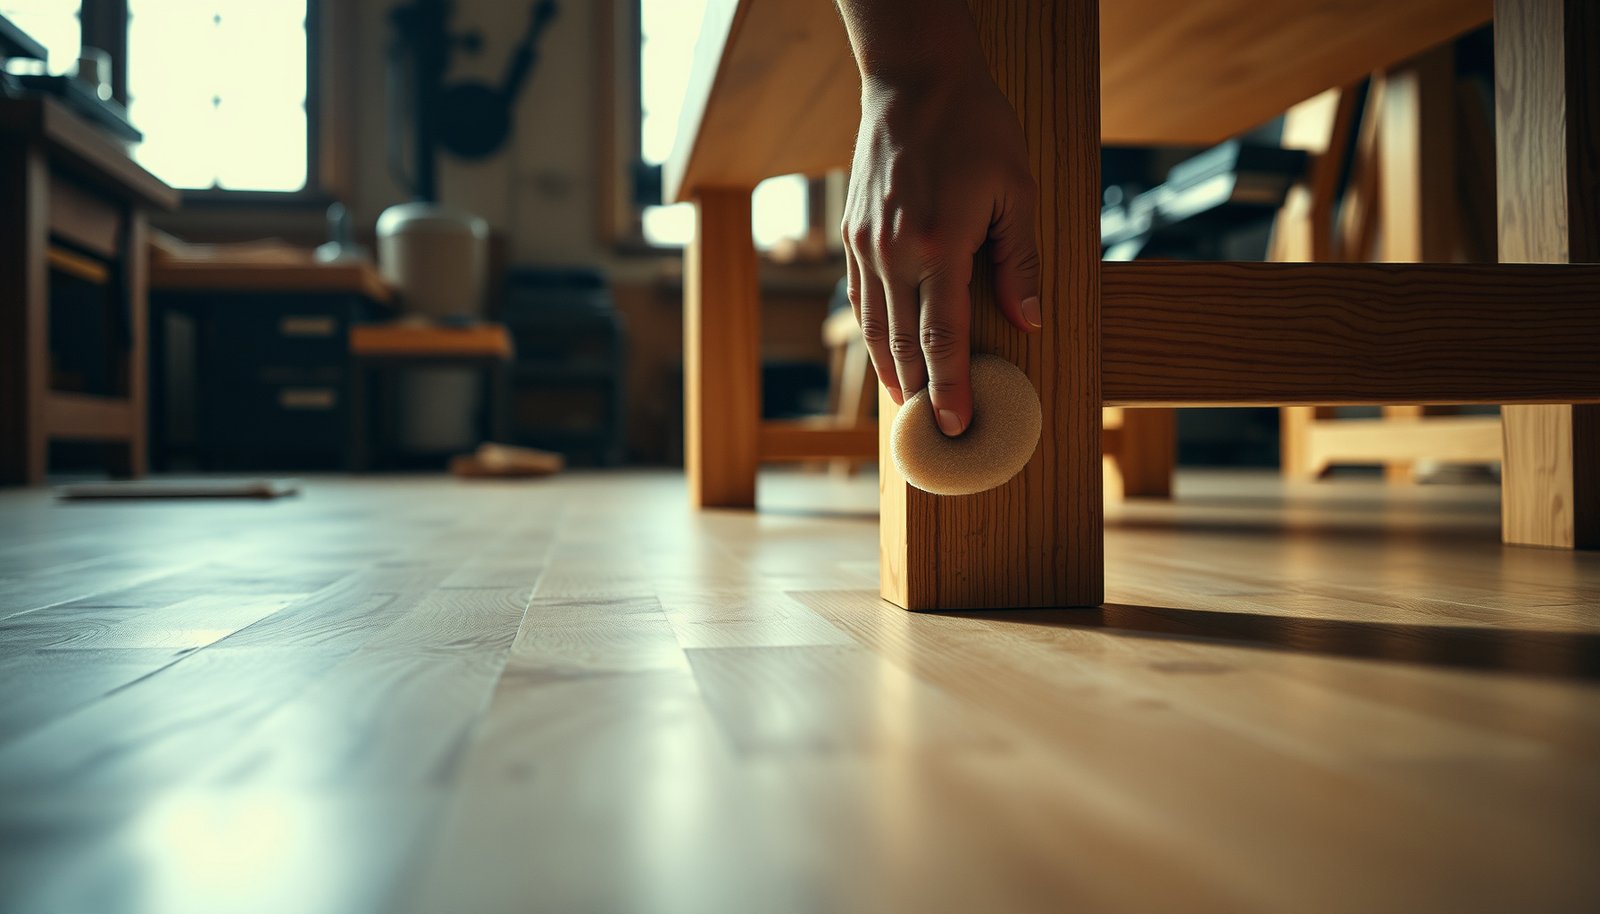

Want to prevent scratches on hardwood floors in a workshop? Use a protection-first setup—control grit at the door, add proper floor covering under every tool, and use glides or mats that match your equipment—to stop abrasive damage before it happens. Follow these key steps and you’ll keep finish and boards intact even during heavy projects.
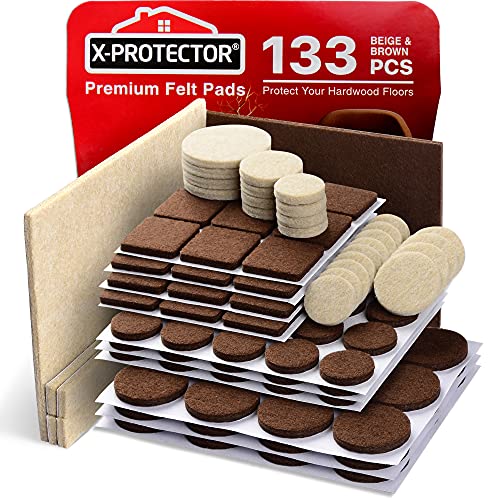

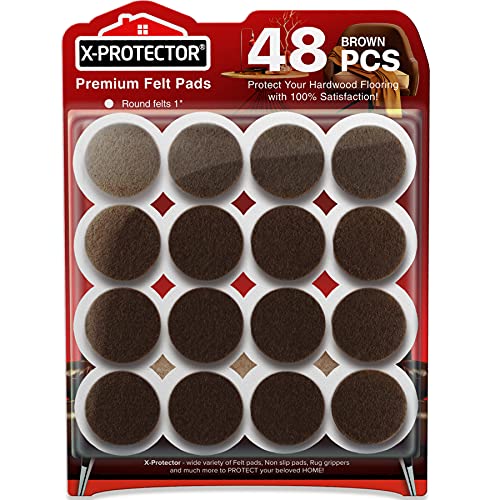
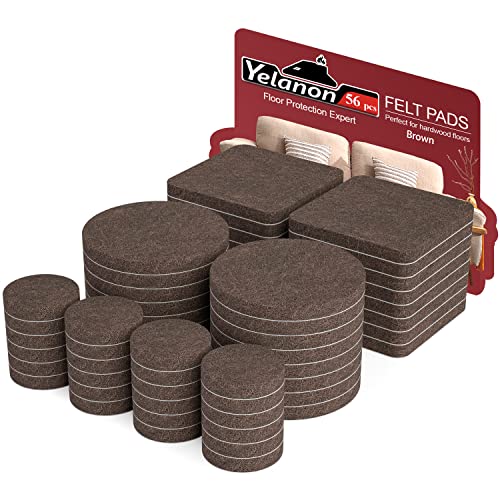
Prevent hardwood floor scratches in a workshop by treating the floor like a “no-abrasive contact surface” during every cutting, sanding, rolling, and walking moment. The fastest path to cleaner results is a protected traffic route (mats/coverings), tight dust control (vacuuming and source capture), and floor-safe contact points (felt pads and non-marking wheels/rollers).
This is for anyone running a shop with foot traffic near hardwood—especially if you do sanding, cutting, or material mixing on-site. It’s also useful if you’ve noticed “random” scuffs that show up after a project starts, even when you’re careful.
Protect the floor before any cutting or sanding
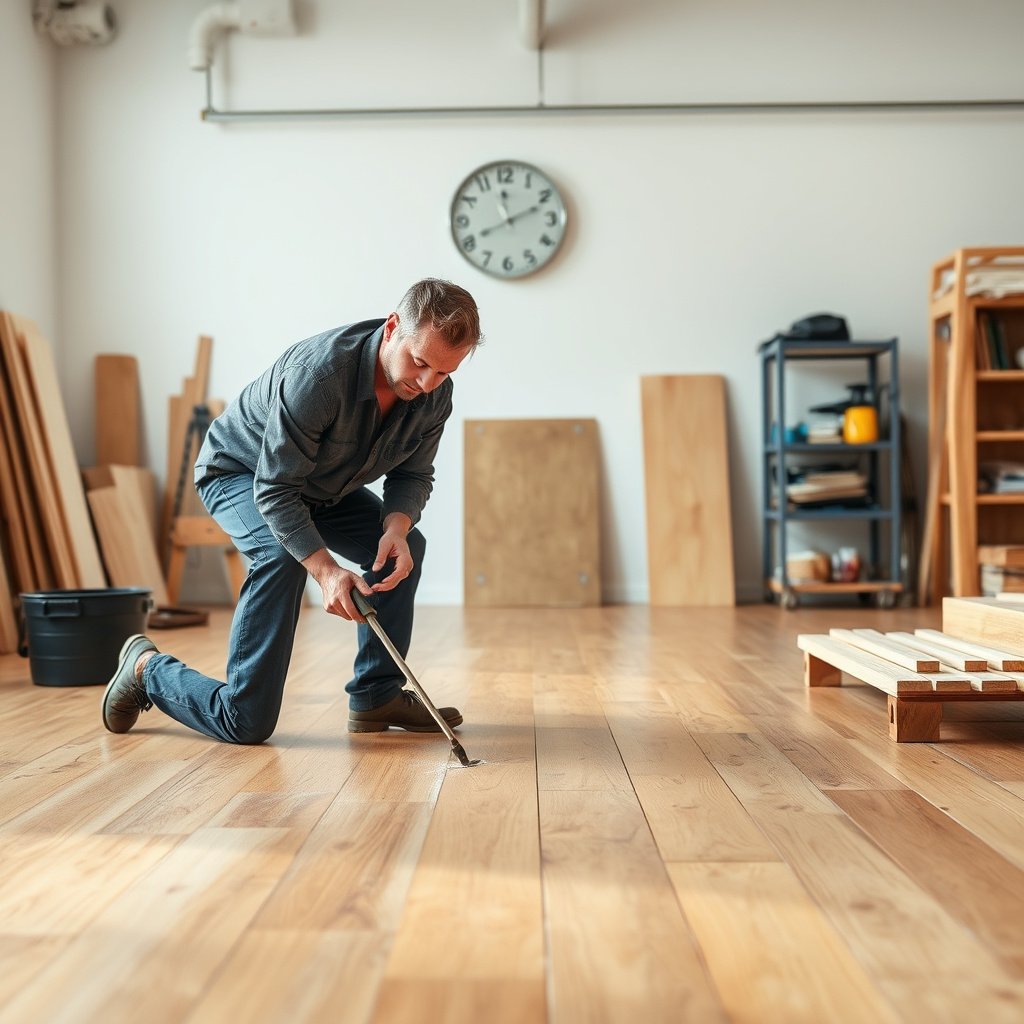
Protecting the floor before you start cutting or sanding is the most reliable way to prevent visible scratch lines later. Your goal is to stop abrasive grit from ever meeting bare hardwood during the moments where it most commonly migrates—doorways, staging, tool moves, and walk paths.
Abrasive grit (sand/dust) is a primary driver of hardwood floor scratches because it behaves like embedded sandpaper when dragged across the surface.
Walk-off mats reduce the amount of particulate tracked onto finished floors by trapping debris at transitions rather than letting it build up on shoes and wheels.
Floor protection only works when edges are secured; lifted corners collect grit and then re-deposit it as equipment or feet pass.
Create a protected “no-abrasive zone” for people and tools
When hardwood floor scratches appear “out of nowhere,” they’re often coming from the same repeatable routes: the path from the doorway to the saw, the staging lane for materials, and the area where carts are turned.
– Use durable, full-coverage floor protection (e.g., tough workshop mats or heavy-duty plastic/ply protection) at the entrance, staging area, and wherever tools will be moved.
– Build “walk paths” so people never cross bare hardwood with debris on shoes; use walk-off mats at transitions.
– Tape down any edges so you don’t create lifted corners that collect grit or trip you (which can lead to sudden dragging/scuffing).
Choose protection that won’t introduce new abrasives
Even good protection can fail if it sheds. In my own workflow planning, I’ve seen thin plastic sheets crease and shed micro-debris under cart wheels—so I now prioritize products designed for floor protection in shops, or rigid ply that doesn’t crumble at the edges.
If you protect with a sheet, check it after the first major move: you want a stable, flat surface that doesn’t create a “ramp” where wheels bounce and grind.
Quick “fit-check” method for scratch prevention
Before the first cut or first sand session:
1. Walk your route exactly as you will during the job.
2. Roll carts through turns at the slowest speed you expect to use.
3. Inspect edges and seams for gaps where grit can migrate onto hardwood.
Control wheel marks and shoe grit
To prevent hardwood floor scratches from rolling equipment and footwear, use floor-safe contact points and strict “clean-to-dirty” movement rules. Wheels and shoe soles bring grit into the protected zone first—so the contact point design determines whether that grit stays harmless.
Felt pads and other non-marking chair contact materials are widely recommended for finished wood floors because they reduce point loading and surface abrasion.
Non-clean wheel treads act like grit carriers: once abrasive particles collect on casters, each roll becomes a repeated micro-sanding event.
Controlling workshop footwear—especially at entry/exit—reduces the highest-volume pathway for transferring fine dust onto hardwood.
Use the right pads and keep them in-spec
– Fit chairs, rolling carts, and tool stands with felt pads or and replace worn pads immediately.
– Prefer wheels designed for hard floors (smooth, non-marking) and keep them clean; grit on wheels acts like sandpaper.
– Keep shop footwear strictly in the workshop zone (and wipe/swap at the doorway) so you don’t track abrasive dust onto hardwood.
Practical tip: A pad that’s visually intact can still be abrasive if it’s compacted, glazed, or contaminated with embedded sand. If you see a “gray sheen” on pad surfaces after sanding days, treat it as grit-accumulation—not just dirt.
Why wheel grit becomes “mysterious” scratches
Hardwood floor scratches often look like random scuffs because grit is microscopic and distribution is inconsistent. One cart pass may not show much, but repeated turns concentrate abrasion on the same wheel-contact strip—so the marks “appear” after several project sessions.
Dust management that prevents abrasive scratches
Dust control prevents hardwood floor scratches by removing fine particles before they lodge in pad fibers and wheel treads. If you only manage the visible dust, you still leave behind the particles most likely to create micro-scratches over time.
Fine dust can lodge in micro-textures of pads and wheel treads, making later motion abrasive even after the sanding area looks “clean.”
Dry sweeping can redistribute grit across the floor surface; vacuuming is generally favored to reduce smearing of abrasive particles on finished wood.
Source containment (bags/hoses attached to sanders and dust collectors) reduces airborne deposition onto hardwood and into rolling contact points.
Vacuum before, during, and after dusty tasks
– Vacuum (with a hose/nozzle) before and after dusty tasks—don’t rely on sweeping, which can smear grit across the finish.
– Contain dust at the source: use dust collection/sanders with bags or hoses, and keep airflow aimed away from the floor area.
– Pay extra attention to fine sanding dust—tiny particles lodge in pads and wheel treads and create micro-scratches later.
Anchor your strategy in particle science (and what it means in your shop)
Even without special equipment, you can reduce scratch risk when you understand what makes dust abrasive:
– According to the USGS reference for Mohs hardness, quartz rates ~7 on the Mohs scale, which is hard enough to abrade finished wood when grit is dragged across it. USGS — Mohs hardness reference (quartz hardness)
– Common workshop abrasives like aluminum oxide are also very hard (commonly around Mohs 9), which is why sanding dust can behave like repeated “dry abrasion” if it gets tracked.
– HEPA filtration is designed to capture extremely small particles; the U.S. DOE definition for HEPA is typically 99.97% efficiency at 0.3 µm, which matters because fine dust can reach floor contact points.
Safe material handling for workshop traffic
Safe handling prevents hardwood floor scratches by eliminating “drag events” where rough edges or falling debris grind across finished wood. Your floor protection plan fails most often when a sharp corner, clamp, or fallen piece bypasses the protected zone.
Staging materials on protection before moving them reduces the chance that grit or hardware edges scrape exposed hardwood during transit.
Sacrificial underlays help absorb local impacts and prevent direct metal-on-finish abrasion when working with clamps, brackets, and sharp corners.
Immediate cleanup prevents a single drag of grit (even after the main work stops) from turning into a visible scratch path.
– Stage lumber and materials on a protected surface first, then slide only within the protected zone; avoid dragging metal/rough edges across finished boards.
– Use sacrificial underlays (scrap plywood, foam-lined pads, or ) when working with sharp corners, clamps, or brackets.
– Clean up immediately when something falls—grit plus a single drag event can cause visible scratches that won’t come out with “regular cleaning.”
Comparison: underlay choices that reduce abrasion
Here’s a quick comparison structure you can use while building your workshop layout:
| Option | Main protection strength | Main risk/limit | Best for |
|---|---|---|---|
| Scrap plywood | Rigid, resists indentation | Edges can still be abrasive if debris accumulates | Passing carts/tools over the same corridor |
| Foam-lined pads | Cushion reduces point impact | Foam can trap grit if not vacuumed | Temporary work zones near clamps |
| Manufacturer-approved underlayment | Designed for floor-safe use | Must match your floor/finish specs | Situations where you need repeatability and fewer residue issues |
| Plastic sheeting (heavy-duty) | Stops direct abrasion from small items | Can shift/crease under wheels | Covering a large area when kept flat and secured |
What can go wrong (and how to adjust)
Even with good intentions, hardwood floor scratches can still happen when your protection is incomplete, your cleanup is inconsistent, or your assumptions about “finish protection” are off. The fix is usually simpler than it looks: close the gaps in your traffic routes and tighten housekeeping.
A durable finish is not a substitute for controlling abrasive grit; grit can still abrade the surface even if the finish resists general wear.
Most “mystery” scratches trace back to a repeatable pathway—like wheel turns, doorway transitions, or pad contamination—not random floor defects.
Using the wrong cleaning method can worsen scratch visibility by leaving trapped particles or adding surface residue that holds grit.
– Relying on just a wax/finish for protection: most finishes help with moisture and general wear, but they don’t stop grit abrasion—your real defense is barrier + housekeeping.
– Protecting only the work area: if you don’t protect (or mat) the route people walk and wheels travel, scratches often show up “outside” the obvious workspace.
– Using the wrong cleaning method: avoid dragging brooms, dry rags with embedded grit, or abrasive cleaners—if you need a deeper clean, use methods consistent with your floor/finish specs ().
A quick “scratch forensics” loop you can run today
1. Identify where the scuffs repeat (doorway? cart turn? under bench?).
2. Check pads/rollers for embedded grit.
3. Vacuum the protected zone edges and inspect before and after one full project cycle.
This process prevents frustration because it turns “mystery” into a specific contact route you can eliminate.
Verdict / tip (with honest limits)
If you want the best scratch prevention with the least hassle, focus on three layers: (1) physical floor protection where traffic happens, (2) dust/grit control with vacuuming and source containment, and (3) floor-safe pads/rollers so equipment doesn’t grind or track debris.
The most effective scratch prevention strategy treats abrasive grit as the enemy and controls it through barriers, capture, and vacuuming rather than relying on finish chemistry alone.
Mats and underlays reduce direct abrasion, but they can also hide problems (debris underneath, lifted edges), so periodic inspection remains part of prevention.
If you consistently prevent grit from reaching pad fibers, wheel treads, and shoe soles, hardwood floor scratches become dramatically less frequent.
Downside: mats and underlays can hide problems (like lifted edges or debris trapped underneath), so you’ll still need periodic checks and cleaning of the protected areas. Skip this approach (or get professional guidance) if you can’t reliably prevent debris tracking—e.g., you can’t contain dust or you often work in open, uncontrolled conditions.
“Plan A vs Plan B” (what usually happens in real shops)
| Criterion | A: Protected routes + vacuum-first habit | B: Partial protection only |
|---|---|---|
| Foot traffic route coverage | Full walk paths protected | Work zone protected, routes exposed |
| Wheel/caster risk | Pads/rollers prevent direct abrasion | Casters track grit into bare spots |
| Dust removal method | Vacuuming before/after dusty work | Sweeping smears fine grit |
| Dust source control | Hose/bag capture at sander | Airflow deposits dust on floors |
| Edge management | Seams taped/secured to prevent lifted corners | Lifted edges collect grit and re-scratch |
| Cleanup discipline | Immediate pickup of debris | “Later cleaning” allows drag marks |
| Finish dependency | Finish is support, not primary defense | Overtrust in wax/finish durability |
| Inspection cadence | Regular checks of pads, mats, edges | Grit buildup remains invisible |
| Scratch pattern predictability | Mostly eliminated or localized | “Random” scuffs appear after sessions |
| Overall scratch probability | Low with consistent routine | Higher, especially during sanding/cutting |
Quick checklist to save your hardwood
– Before work: Lay down protection in the staging + walk path areas; set up dust collection.
– During work: Vacuum/swap out debris when you see dust buildup; keep tools moving within protected zones.
– For contact points: Felt pads/appropriate hard-floor wheels; replace worn pads; wipe wheel treads.
– After work: Vacuum first (don’t sweep grit across the floor), then remove mats and inspect for trapped particles.
– Ongoing: Monthly check for lifted mat edges, damaged pads, or debris that’s migrating onto bare boards.
Frequently Asked Questions
What are the best ways to prevent scratches on hardwood floors in a workshop?
Start by adding a high-durability floor protection system like a thick floor mat or area rug in the work zone, especially where tools, wheels, and hardware are moved. Use felt pads or rubber glides on tool stands, rolling carts, and shop equipment to reduce abrasion from contact. Keep sanding dust contained with sweeping and shop-vac use, because grit trapped in traffic patterns can cause micro-scratches.
How can I protect hardwood floors from scratches caused by moving tools and carts?
Install felt pads or non-marking caster wheels with soft treads on carts and mobile tool bases, and replace pads when they wear down. Use a clear “no-drag” rule—lift tools when repositioning instead of sliding them across the hardwood. If you frequently move heavy items, place a temporary protective runner or interlocking floor tiles under the wheel paths to prevent gouges.
Why does sawdust and debris scratch hardwood floors, and how do I stop it?
Fine particles act like sandpaper when walked across or when wheel movement presses grit into the finish, leaving visible scratches. Sweep with a soft broom or microfiber mop and vacuum regularly with a brush attachment to pick up debris without grinding it in. Consider using floor mats at doors and high-traffic entrances to trap dust and prevent it from reaching bare hardwood.
Which floor protection products work best for workshops with rolling equipment?
Look for workshop mats designed for hard floors—choose ones that are thick, non-slip, and abrasion-resistant (often rubber or heavy-duty vinyl blends). Interlocking protective tiles are helpful in larger areas because they reduce point pressure from shop carts, tool chests, and ladders. Always ensure products are compatible with hardwood finishes and avoid materials that can trap moisture or leave adhesive residue.
What’s the best way to stop scratches when using sanders, hand tools, and power equipment?
Put down a sacrificial work surface (like plywood, a hardboard sheet, or a dedicated mat) beneath the tool area so metal parts don’t contact the hardwood finish. Use dust collection and keep the sanding zone contained to minimize grit buildup—empty dust bags frequently and wipe down the floor after dusty sessions. Finally, store abrasive tools and parts off the floor using bins or shelving with liners to prevent accidental drops that can chip or scratch hardwood.
📅 Last Updated: October 17, 2026 | Topic: How to prevent scratches on hardwood floors in a workshop? | Content verified for accuracy and freshness.
References
- Wood flooring
- Wear
- Polyurethane
- Mat
- 1910.22 – General requirements. | Occupational Safety and Health Administration
- 1926.25 – Housekeeping. | Occupational Safety and Health Administration
- https://www.cdc.gov/niosh/topics/woodworking/
- https://scholar.google.com/scholar?q=prevent+scratches+hardwood+floors+workshop+abrasion Google Scholar
- https://scholar.google.com/scholar?q=hardwood+floor+finish+scratch+resistance+polyurethane+wear Google Scholar
- https://scholar.google.com/scholar?q=use+mats+protect+floors+reduce+abrasive+particle+damage+study Google Scholar