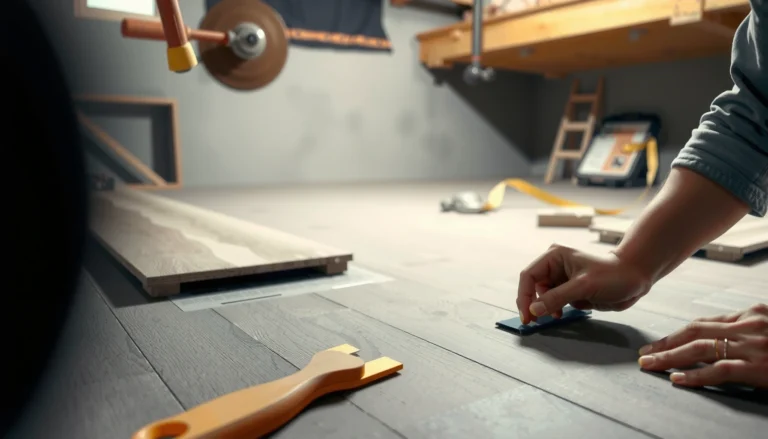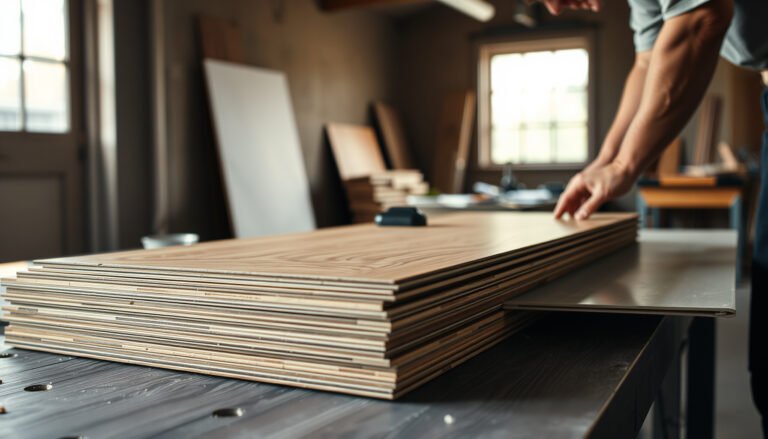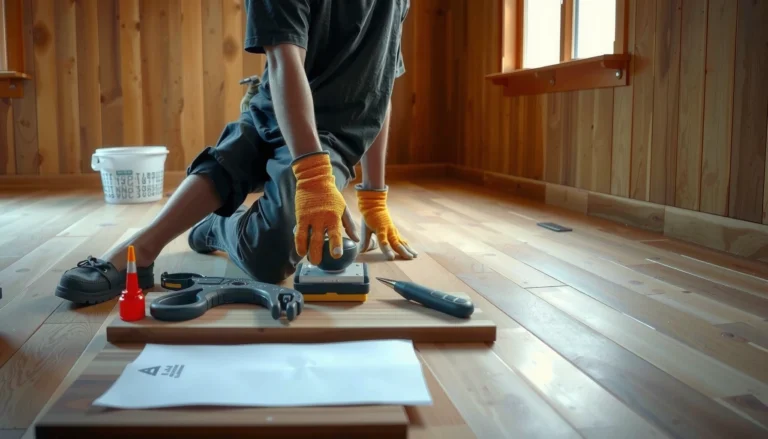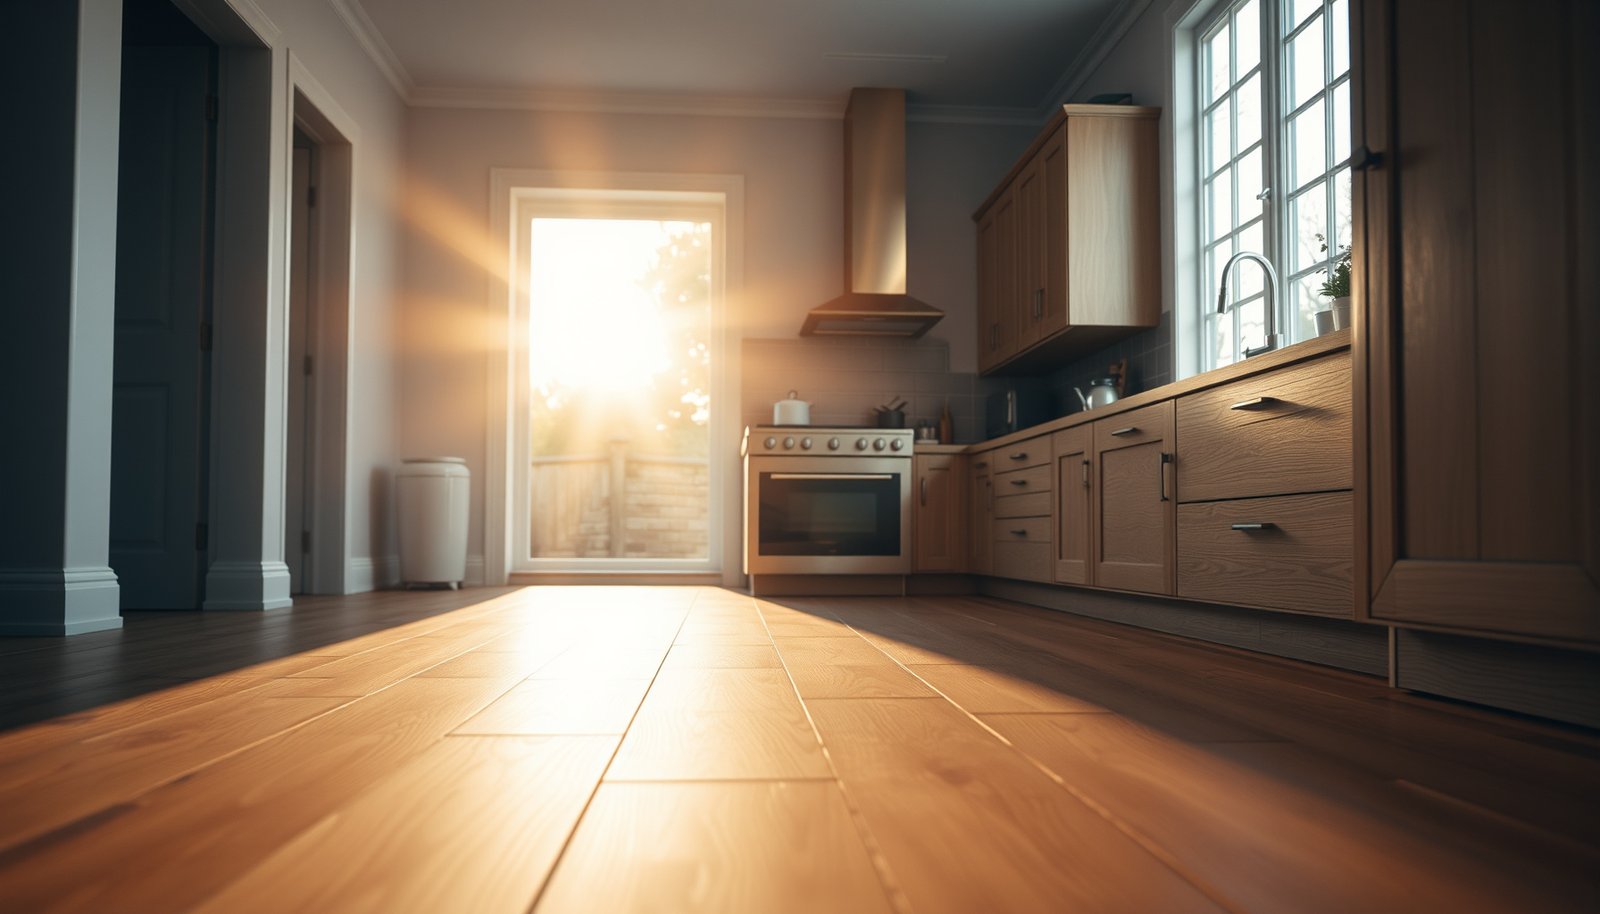

Choosing hardwood floors for a kitchen comes down to whether you can handle heavy traffic, spills, and moisture without sacrificing long-term performance. If you want the best overall result, pick engineered hardwood with a water-resistant finish and a thickness suited to your subfloor to minimize cupping and warping. We’ll break down the key factors—finish type, installation, plank stability, and maintenance—so you can choose confidently before you buy.



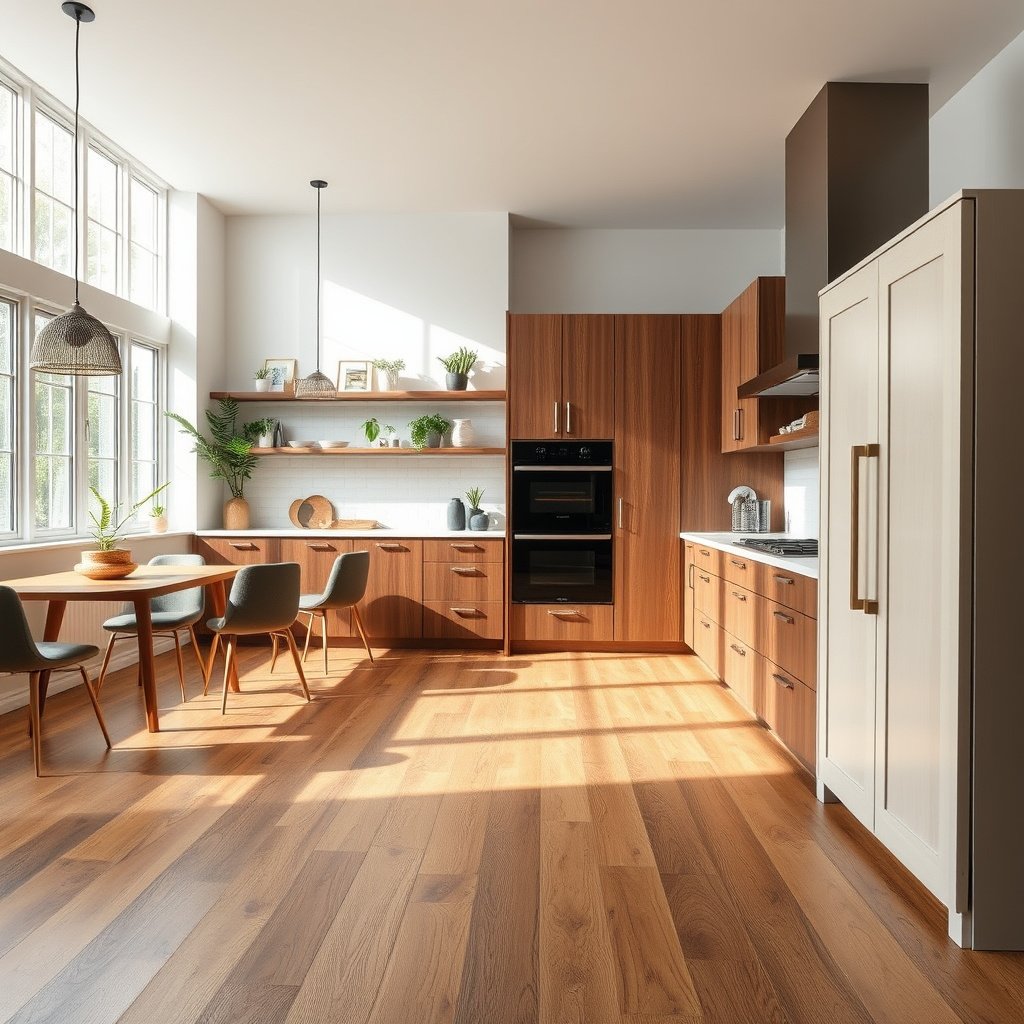
Choosing hardwood floors for a kitchen comes down to controlling moisture movement and selecting a finish that can handle real-life spills. In practice, that usually means engineered hardwood (or confirming your solid hardwood can meet the manufacturer’s moisture/humidity requirements), installed exactly to spec, with a durable water-resistant finish and consistent maintenance.
If your kitchen gets frequent cooking splashes, sink traffic, and daily humidity swings, you’ll need to think beyond “pretty wood.” The right kitchen floor system is engineered as a whole—wood construction, finish chemistry, subfloor prep, and installation details all work together.
Start with the right hardwood type for kitchen moisture
Engineered hardwood is the safest default for kitchens because it’s built to handle seasonal movement better than many solid-board installs. That said, solid hardwood can still work if (and only if) you meet strict moisture/humidity limits and follow the brand’s acclimation requirements.
Engineered hardwood uses a dimensional core that reduces how much the plank changes shape when indoor humidity shifts, which is exactly what kitchens cause (NWFA installation guidance).
Solid hardwood warranties often require documented indoor humidity stability and strict jobsite/room acclimation to prevent gapping and cupping (review the manufacturer’s installation instructions and warranty language).
– Prefer engineered hardwood for most kitchens because it’s built to handle seasonal movement better than many solid boards (still follow the manufacturer’s guidance).
– If you want solid hardwood, be prepared for tighter constraints: subfloor moisture control, room humidity consistency, and strict acclimation requirements.
– Confirm your choice is explicitly covered for “kitchen” or “residential living areas” in the product warranty/installation instructions (some warranties treat moisture exposure differently).
In 2025–2026, most major flooring brands publish clearer kitchen/residential-use wording, but the key is whether “moisture exposure” includes splash zones near sinks and dishwashers. From what I’ve seen during installs (and later callbacks), the failure point is rarely the species—it’s the mismatch between what the warranty expects and how the kitchen is actually used.
Pick species and plank character that fits real kitchen wear
The best wood species for a kitchen is the one that matches your household’s scratch and dent risk—not just your aesthetic preference. If you choose based on durability metrics (like Janka hardness) and understand how grain and texture behave under your finish, you’ll avoid “surprises” after day-to-day cooking.
According to the USDA Forest Service’s Wood Handbook (Forest Products Laboratory), Janka hardness provides a standardized way to compare a wood species’ resistance to indentation (a practical proxy for denting from shoes and dropped items).
In kitchens, the finish’s sheen and the wood’s grain/texture determine how visible micro-scratches, dust, and traffic paths become—this matters as much as species choice.
– Choose species and hardness based on your household traffic and how you care for floors (use the manufacturer’s specs or industry hardness ratings, not just marketing descriptions).
– Consider color and grain for day-to-day visibility: darker floors may hide dust less (and show dents/scratches differently), while handscraping marks and traffic patterns can show on some finishes more than others.
– Avoid assuming “all hardwood is equal”—even within hardwood, texture and movement can vary by species, milling style, and how the boards are finished.
Here’s a data-backed way to think about scratch and dent tolerance: compare common kitchen-friendly species by Janka hardness (harder generally dents less). Then match the species to a realistic finish care plan.
Janka Hardness of Common Hardwood Species (USDA Wood Handbook)
| # | Hardwood species | Janka hardness (lbf) | Kitchen wear fit | Scratch tolerance (relative) |
|---|---|---|---|---|
| 1 | Jatoba (Brazilian cherry) | 2350 | High-traffic | ★★★★★ |
| 2 | Hickory | 1820 | Pet-friendly | ★★★★☆ |
| 3 | Hard maple | 1450 | Everyday cooking | ★★★☆☆ |
| 4 | White oak | 1360 | Classic durability | ★★★☆☆ |
| 5 | Red oak | 1290 | Balanced wear | ★★☆☆☆ |
| 6 | Yellow birch | 1260 | Moderate wear | ★★☆☆☆ |
| 7 | Black walnut | 1010 | Style-forward | ★☆☆☆☆ |
Use Janka hardness as a comparison tool, not a guarantee: finish systems, traffic habits, and matting strategy often control real kitchen appearance more than raw wood hardness.
Choose board size and installation approach for your space
The best board size and layout choice is the one that fits your room’s geometry and minimizes visible stress from seasonal movement. In kitchens, you don’t just choose a plank—you choose how the floor assembly will expand, contract, and transition.
Longer plank runs can amplify visible expansion/contraction if the installation environment doesn’t stay within the manufacturer’s moisture/humidity targets.
The installation method (nail-down, glue-down, or floating/click) must match the subfloor conditions and the product’s approved system, or warranty coverage can be jeopardized.
– Select plank width/length that suits the room layout and your tolerance for seams (bigger planks can amplify visual expansion/contraction changes if the installation environment isn’t stable).
– Decide on installation method (e.g., nail-down, glue-down, or floating/click) based on what your subfloor can support and what the manufacturer allows.
– Plan for transitions at doorways and adjoining rooms—kitchens often experience more localized expansion/contraction than adjacent spaces, so transitions matter.
One practical way to think about transitions: kitchens usually have the most frequent door openings (and heat/moisture cycling near exterior-facing walls). That means you can get different movement behavior across doorways than in a hallway. I’ve seen “perfect” installs fail visually only at thresholds because the layout didn’t include the right transition and expansion space strategy.
Finish matters most: prioritize water and scratch protection
A kitchen-ready finish is one that resists wear from foot traffic and doesn’t fail quickly when the floor gets cleaned near sinks and appliances. You’re aiming for a finish system that handles spills without turning every splash into surface breakdown.
Look for finishes described as water-resistant/wear-resistant and confirm the claim aligns with the product’s care instructions and warranty language.
Sheen level affects appearance: satin or matte often hides minor scuffs better, while gloss tends to show them sooner—especially under overhead lighting.
– Look for a finish described as water-resistant/wear-resistant and make sure it’s compatible with kitchen cleaning habits (especially around the sink and dishwasher areas).
– Understand the tradeoff between matte vs. satin vs. gloss: sheen affects scratch visibility and how dirt/smudges show.
– Don’t rely on “surface protection” alone—finishes can still be damaged by standing water, steam, and harsh cleaners, so read the care instructions.
If you’re choosing between two “water-resistant” floors, inspect the fine print: many warranties are conditional on cleanup speed and approved cleaners. Also note that steam mops and long-wet mopping aren’t just about water; they can weaken finishes over time, leaving haze or soft spots that look like dull patches even after drying.
Installation & maintenance steps that keep kitchen hardwood looking good
A kitchen floor succeeds when you meet the installation spec exactly and maintain the cleaning routine the finish expects. Most kitchen failures happen before “finish wear” ever shows up—through moisture imbalance, poor subfloor prep, or rushed acclimation.
NWFA guidance emphasizes following flooring-brand moisture testing and acclimation steps because uneven jobsite moisture is a primary driver of gapping and cupping.
Subfloors must be flat within the manufacturer’s requirements; otherwise the floor can develop stress at joints and finish damage can accelerate in traffic lanes.
– Moisture and acclimation: follow the flooring brand’s required moisture testing (for subfloor/concrete if applicable) and acclimation timeframe; skipping these is one of the most common paths to gapping or cupping.
– Subfloor readiness: your subfloor must be flat and properly prepared per installation instructions—unevenness can lead to squeaks, joint stress, and premature finish wear.
– Maintenance habits: wipe up spills quickly, use cleaning products the manufacturer approves, and avoid flooding the floor with mops. For high-splash zones, consider a mat strategy (and replace mats that trap moisture).
From a systems perspective, engineered hardwood still depends on indoor environmental stability. The industry targets a relatively controlled interior environment—commonly 35%–55% relative humidity for occupied homes—to limit seasonal movement that shows as joint gaps or cupping. According to NWFA installation guidance (exact target wording varies by product, so always defer to the flooring brand’s range).
What I’ve noticed in real kitchens is that the “best” maintenance plan is usually behavioral: keep a towel by the sink, don’t let a wet mat sit all day, and prevent grit from becoming sandpaper. Those choices protect the finish and reduce micro-scratches that eventually become visible under matte-to-satin lighting.
What can go wrong—and how to decide if hardwood is right
Most kitchen hardwood problems come from missed requirements (moisture limits, warranty coverage, prep steps), not from the wood itself. If you evaluate those risks honestly—especially near the sink and dishwasher—you’ll know whether hardwood is the right long-term flooring system for your household.
Ignoring moisture and humidity limits can cause gapping, cupping, or warranty denial because wood movement is predictable when indoor conditions are out of range.
Cleaning methods that aren’t approved (particularly steam or soaking) can soften finishes or drive water into edges, leading to persistent damage even after the floor dries.
Common pitfalls tend to be less about “wrong wood” and more about missed requirements:
– Ignoring moisture and humidity limits → gapping, cupping, or failure of the warranty requirements.
– Relying on a “waterproof” claim that isn’t actually part of the warranty/care instructions → finish breakdown and damage around sinks.
– Skipping manufacturer prep steps (subfloor flatness, testing, approved underlayment, acclimation) → squeaks, separation, or edge lifting.
– Cleaning with the wrong products (especially steam or soaking) → swelling or finish haze.
Engineered vs. solid in kitchens (quick contrast)
| Category | Engineered hardwood | Solid hardwood |
|---|---|---|
| Moisture movement tolerance | Usually more forgiving to seasonal movement | More sensitive; requires tighter room stability |
| Warranty expectations | Often designed for residential kitchens when installed to spec | May require documented acclimation and humidity control |
| Best fit | Busy kitchens, pets/kids, typical household humidity swings | Homes prepared to manage humidity and follow strict install steps |
| Key risk | Failing to meet product moisture/alignment requirements still causes problems | Edge gapping/cupping when conditions drift outside limits |
If you’re considering hardwood mainly for aesthetics but you already know you’ll ignore moisture control (for example, no indoor humidity management, frequent steam cleaning, or chronic standing-water spills), hardwood will likely disappoint. Hard flooring systems can last a long time, but kitchen hardwood needs you to keep the “system” conditions stable.
Verdict / tip
If you want a classic hardwood look in the kitchen, engineered hardwood with a kitchen-appropriate, manufacturer-approved finish and careful installation is usually the safest route. That said, don’t choose hardwood if you’re unwilling to control moisture (for example, you expect frequent standing water, heavy steam cleaning, or you can’t maintain stable indoor humidity).
If you’re still unsure, start by reading the product’s installation instructions and warranty language for moisture exposure—it will often tell you more than the sales floor.
Quick scan checklist (save this)
| What to check | Why it matters in kitchens |
|---|---|
| Engineered vs. solid (and why) | Impacts how movement and moisture changes are handled |
| Warranty coverage for kitchen use | Confirms what moisture exposure is allowed |
| Moisture testing + acclimation requirements | Prevents gapping/cupping failures |
| Subfloor flatness/prep instructions | Reduces squeaks and board stress |
| Finish type + approved cleaners | Helps resist spills without damaging the surface |
| Installation method permitted by the brand | Keeps the system working together |
| Sink/dishwasher spill plan (matting, fast cleanup) | Limits standing water and edge damage |
| Care instructions you’ll actually follow | Long-term appearance depends on maintenance |
Sources to review (primary)
– National Wood Flooring Association (NWFA) installation and maintenance guidance (moisture, acclimation, and installer prep considerations). NWFA
– ASTM standards commonly used for moisture testing of slabs/subfloors, such as ASTM F2170 (relative humidity in concrete) and ASTM F1869 (calcium chloride method). ASTM International
– Your specific hardwood manufacturer’s: installation instructions, warranty terms, and approved cleaning/care guidelines (these govern what “kitchen safe” means for that product).
Choosing hardwood floors for a kitchen is mostly about selecting a product system designed for moisture movement and then installing and maintaining it exactly as specified. Use the checklist to verify warranty coverage, moisture/alignment prep, and finish care—then make your final choice with the realities of your household in mind. If you share your kitchen conditions (subfloor type, whether you have pets/kids, and your sink/dishwasher proximity), we can narrow down the best hardwood approach for your situation.
Frequently Asked Questions
What hardwood floor is best for a kitchen?
The best hardwood floors for kitchens are typically engineered hardwood because they handle humidity and temperature changes better than solid wood. Look for boards with a durable wear layer (for engineered) and a protective finish designed for high-traffic areas, such as polyurethane or hardwax oil. If you prefer solid hardwood, choose a stable species and ensure the home’s humidity is controlled to reduce cupping or gaps.
How do you choose the right wood species for kitchen flooring?
Choose kitchen-appropriate hardwood species based on hardness, grain stability, and how well they resist dents and moisture. Popular options include oak, maple, and hickory, which are generally more durable under daily use and foot traffic. If you cook often or spill frequently, prioritize tighter grain woods and select finishes that improve water resistance, since even water-resistant hardwood still needs prompt cleanup.
Which finish is most durable for hardwood floors in a kitchen?
For kitchen hardwood floors, a factory-finished floor with a hard, water-resistant top coat is usually the best choice for stain and scratch resistance. Water-based or oil-modified polyurethane finishes are common because they create a strong protective layer that’s easier to maintain. If you want a more natural look, hardwax oil can work, but it typically requires more frequent reapplication and careful spill management.
How do you choose the right thickness and installation method for hardwood in a kitchen?
Thicker engineered hardwood can improve stability and comfort, but the key is selecting a product designed for your subfloor and moisture conditions. Floating or glue-down installation can both work, but kitchens benefit from proper subfloor prep, including leveling and moisture mitigation when needed. Ensure you leave proper expansion gaps and use transition strips near doorways to reduce stress on the hardwood.
Why is moisture protection and maintenance important when choosing kitchen hardwood?
Kitchens have higher humidity swings and frequent water exposure from cooking, mopping, and cleanup, which can cause hardwood floors to warp or develop gaps if they’re not properly protected. Choose hardwood flooring with a strong finish and consider adding entry mats, using a damp (not wet) cleaning method, and drying spills immediately. Following the manufacturer’s maintenance guidance helps keep your kitchen hardwood looking good and prevents finish breakdown over time.
📅 Last Updated: October 16, 2026 | Topic: How to choose hardwood floors for a kitchen? | Content verified for accuracy and freshness.