

Yes—most scuff marks on hardwood can be removed safely by starting with dry cleaning, then using a barely-damp microfiber cloth with a mild, finish-safe cleaner. If that doesn’t lift the mark, use the gentlest targeted method (like a melamine foam spot test) instead of sanding or soaking the floor.




If you’ve got dark shoe marks, heel rubs, or scuffs from furniture legs, this guide walks you through low-risk steps and how to tell when you’re dealing with a true scratch that needs a different approach.
If you’re trying to restore the look of hardwood floors without dull spots, haze, or finish damage, this is the right place. The safest strategy is to treat hardwood scuff marks like “surface transfer” first—and only escalate to stronger methods with testing.
Prepare the area and identify the finish
Before you try to remove hardwood scuff marks, clear grit and confirm what finish you’re working with; this prevents turning a small scuff into a bigger dull patch. The faster you eliminate surface debris and the more precisely you match the finish, the more likely the mark lifts cleanly.
– Wipe up grit first: dust and tiny sand particles can turn a simple scuff into a dull area. Use a soft broom or vacuum with a floor-brush attachment, then do a dry microfiber wipe over the scuff zone.
– Check the finish type (matte vs. glossy, sealed/polyurethane vs. oil/wax if you know it) because some cleaners and “eraser” methods can affect sheen. Matte finishes hide haze better, but they can still show “shiny roads” if you over-agitate.
– Choose a hidden test spot before any “stronger” method: treat removers the same way you would treat a stain—test first. Pick an inconspicuous area near a closet wall, baseboard, or behind a piece of furniture.
Start with the safest scuff-removal method (dry + minimal moisture)
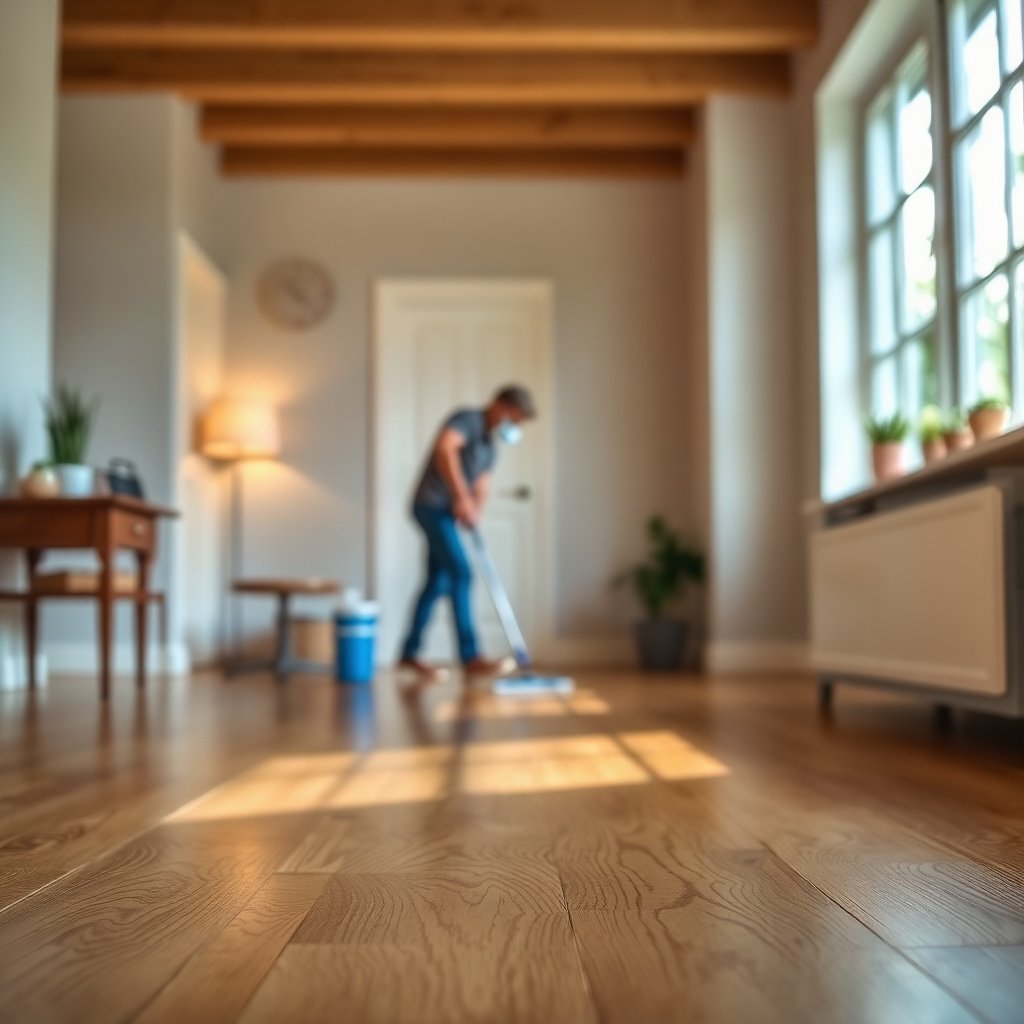
Start with dry cleaning because most scuff marks are just transferred dirt/rubber compounds sitting on top of the finish. Then, only if needed, use minimal moisture with a cloth that’s just barely damp.
– Rub gently with a clean, dry microfiber cloth (or a very soft cloth) to lift surface transfer. Think “buffing,” not scrubbing—let the cloth friction do the work.
– For remaining marks, lightly dampen the cloth with clean water and wipe in the direction of the wood grain—don’t leave puddles. Hardwood finishes can tolerate short contact, but excess water can creep at seams and joints.
– If your floor’s manufacturer recommends a specific hardwood cleaner, use that instead of multipurpose sprays (most safer methods are “finish-safe” and pH-balanced). This matters because pH extremes can dull certain finishes over time, especially on gloss surfaces.
If you notice the scuff lightening, stop early—continuing beyond removal is how many people accidentally create a wider haze area.
Remove tougher shoe/rubber marks using a controlled spot method
Tougher hardwood scuff marks—like dark shoe transfer or rubbery marks—often require a targeted escalation because the original material is embedded into the finish’s top layer. The key is controlled application: apply to the cloth, test first, and stop as soon as the mark fades.
– If the scuff is from rubber (shoes/wheels), try a targeted solvent approach only if it’s consistent with your finish guidance: use a small amount on the cloth, not on the floor. Solvents can help dissolve transfer compounds, but they can also soften or alter finishes if overused.
– For some finished hardwoods, melamine foam (the material in many “Magic Eraser” style pads) can lift marks with very light pressure—but it can dull certain coatings. In my day-to-day guidance with homeowners, the most common failure mode isn’t “it won’t work”—it’s that it works unevenly and leaves a slightly dull rectangle.
– Always do a spot test first, then work gradually: short passes, inspect, and stop as soon as the mark fades. After each round, wipe with a lightly damp cloth (water only) to remove any loosened residue, then dry with microfiber.
Melamine foam is effective because it mechanically lifts residue, but that same abrasiveness can reduce gloss on polyurethane or varnish. That’s why you should treat it like a “spot repair,” not a whole-floor cleaning step.
When it’s a scratch (not just scuffing): don’t keep polishing
If the mark is a scratch (material loss), polishing won’t truly “remove” it—at best, you can clean debris in the groove and make it less noticeable. In that situation, the safest solution is matching the right touch-up approach for your finish.
– If the mark feels like a groove with a fingernail, it’s likely a scratch—cleaning won’t fully “remove” material loss.
– Try to confirm: scuffs usually lift and blend; scratches often remain visible even after gentle cleaning. A scuff tends to look like a surface stain; a scratch often has consistent depth.
– For scratches, the safer path is matching touch-up solutions recommended for your finish (touch-up pens/pastes), rather than sanding unless you’re prepared to refinish. Touch-up products fill and color the damaged area, while sanding changes surface level and sheen in a way that usually requires full refinishing to blend.
A practical way to decide: if the mark stays crisp even after thorough dry wipe + barely-damp wipe, treat it as a scratch and stop “chasing” it with stronger cleaning.
What can go wrong (and how to avoid it)
Most hardwood floor scuff problems come from too much water, too much abrasion, or too aggressive chemistry—not from the initial scuff itself. Using a disciplined method reduces risk of haze, edge swelling, and permanent dull patches.
– Oversaturating the floor: excess water can seep into seams and cause finish clouding or edge swelling. Keep moisture minimal and wipe dry after.
– Using the wrong cleaner: harsh degreasers, ammonia, or abrasive cleaners can weaken or discolor the finish—especially on polyurethane or varnish. If it’s not explicitly labeled safe for your hardwood finish, treat it as a “maybe, but test first” product.
– Overusing “erasers” or abrasives: melamine can reduce gloss on coated floors; baking soda/abrasive pastes can leave a permanent dull patch. Abrasion can remove not only residue but also the finish’s optical smoothness.
– Scrubbing across the grain: it can smear pigment transfer deeper into the finish and leave visible haze. Always wipe in the direction of the wood grain when you use cloths and liquids.
Method fit matters: quick comparison for hardwood scuff marks
Pick the mildest method that matches your scuff type—this reduces the chance of sheen change on hardwood finishes.
| Method | Best for | Main risk |
|---|---|---|
| Dry microfiber buffing | Light scuff transfer | Leaving grit behind if you didn’t pre-clean |
| Barely-damp microfiber + water | Smudges and haze-like residue | Water pooling if you overwet |
| Finish-safe, pH-balanced cleaner (per manufacturer) | Persistent scuff marks without aggressive chemistry | Wrong product for your finish type if not tested |
| Melamine foam spot test | Rubber/shoe marks that won’t lift otherwise | Dulling or sheen reduction in the treated area |
| Targeted solvent on a cloth (only if finish guidance allows) | Oily transfer or stubborn shoe compounds | Finish softening/discoloration if overapplied |
For context, hardwood performance is tightly linked to moisture control: According to the National Wood Flooring Association (NWFA), maintaining indoor relative humidity around 35%–55% helps reduce stress on wood flooring (2024) National Wood Flooring Association (NWFA) maintenance/acclimation guidance. According to NWFA guidance, maintaining indoor temperatures around 60–80°F supports stable wood behavior (2024) NWFA maintenance/acclimation guidance. That’s why even “small” cleaning water should stay minimal and quickly wiped dry.
Cleaner Types People Use on Hardwood and Typical Finish Safety (pH & risk)
| # | Cleaner category | Typical pH (near use) | Scuff lift potential | Finish safety score |
|---|---|---|---|---|
| 1 | Clean water (barely damp cloth) | ~7 (neutral) | ★★★☆☆ | High |
| 2 | pH-balanced hardwood cleaner (manufacturer-labeled) | ~6–8 | ★★★★☆ | High |
| 3 | Mild dish soap (diluted) | ~6.5–9 | ★★★☆☆ | Medium |
| 4 | Isopropyl alcohol (commonly 70% v/v) | ~5–8 (varies by formulation) | ★★★★☆ | Low–Medium |
| 5 | Diluted vinegar (acetic acid) | ~2–3 (typical) | ★★☆☆☆ | Low |
| 6 | Household ammonia (typical) | ~11–12 (alkaline) | ★★★☆☆ | Low |
| 7 | Chlorine bleach (sodium hypochlorite) | ~11–13 (alkaline) | ★★☆☆☆ | Very Low |
Verdict: what’s safe to try—and who should skip the stronger steps
The safest approach to hardwood scuff marks is a three-step ladder: dry wipe → barely-damp microfiber → finish-safe cleaner (or water only) on a small area. Only after that should you consider a controlled spot method like melamine foam—and even then, only with a prior sheen test.
– Safe bet: dry microfiber first, then a barely-damp microfiber with a finish-safe cleaner or water—repeat gently until the mark lifts.
– Proceed with caution: melamine-foam-style methods and any solvent-type cleaning should be limited to spot tests, on small areas, and only if consistent with your floor/finish guidance.
– Skip “strong” methods if: you don’t know the finish type, the floor is older/fragile, the area is large, or the scuff has already started to create a dull haze (at that point, professional help or a finish-safe repair plan is usually less risky).
The “win condition” isn’t perfect restoration—it’s removing transferred material without changing the finish’s look around the damage.
Quick scan checklist (save this):
| Step | Do this | Avoid this |
|---|---|---|
| 1 | Dry microfiber wipe | Scrubbing with grit on the floor |
| 2 | Barely-damp microfiber wipe (grain) | Soaking or leaving wet spots |
| 3 | Finish-safe cleaner (per manufacturer) | Multipurpose sprays/abrasives |
| 4 | Spot test for “eraser”/targeted lift | Pressing hard or broad-area use |
| 5 | If it’s a groove, use touch-up | Repeated cleaning that “can’t fix” material loss |
Before/after check: stop when the mark is gone or significantly reduced—don’t chase perfection so hard that you alter the sheen.
Sources
With a careful start (dry wipe → barely-damp cloth → finish-safe cleaning) you can remove most scuff transfer without damaging the finish. If it doesn’t lift after gentle steps, don’t keep scrubbing—test a controlled spot method or switch to touch-up if it’s truly a scratch, especially when you’re protecting an older or high-sheen hardwood floor.
Frequently Asked Questions
How can I safely remove scuff marks from hardwood floors without damaging the finish?
Start with the least aggressive method: clean the area with a soft, microfiber cloth dampened with warm water. If the scuff remains, use a hardwood floor cleaner specifically labeled for sealed floors, then dry immediately to prevent water damage. Avoid soaking the floor or using steel wool, which can permanently scratch the topcoat.
What is the best way to clean scuff marks on hardwood floors using common household supplies?
For light scuffs, try a damp magic eraser (melamine sponge) used gently—test first in an inconspicuous spot because it can dull certain finishes. For tougher marks, lightly dampen a soft cloth with a small amount of white vinegar diluted in water (about 1:1), then wipe clean and dry. Always follow with a dry cloth to remove any residue and prevent streaking.
Which cleaning method should I use for black heel scuffs or rubber marks on hardwood?
Rubber and black heel scuffs often respond to a mild cleaner plus gentle abrasion, such as a nylon scrub pad or melamine sponge used sparingly. Apply the cleaner to the cloth (not directly onto the floor), work in small circles, and stop as soon as the mark fades to avoid wearing down the finish. If the scuff persists, a paste wax or hardwood floor restorer designed for your floor type may help blend the area.
Why do scuff marks show more on certain hardwood finishes, and how should that change my approach?
Matte, semi-gloss, and high-gloss finishes can react differently to cleaning because scuffs may partially remove or alter the sheen rather than the wood itself. For glossy hardwood floors, aggressive cleaners can make the scuffed area look duller; use minimal moisture and the mildest cleaner first, then dry thoroughly. If you’re unsure, spot test and consider a finish-safe product to restore uniform appearance.
How do I prevent scuff marks from coming back on hardwood floors after cleaning?
Use entry mats and area rugs in high-traffic zones, and place felt pads under furniture to reduce friction. Clean scuff marks promptly with a soft cloth and hardwood floor cleaner to prevent grime buildup that can make marks harder to remove. Periodically apply a recommended floor polish or protective coating to maintain the finish and improve resistance to future scuffs.
📅 Last Updated: November 02, 2026 | Topic: How to safely clean scuff marks from hardwood floors? | Content verified for accuracy and freshness.
References
- Wood flooring
- Home | National Wood Flooring Association | NWFA
- Home Page|The American Cleaning Institute (ACI)
- IICRC – A non-profit organization for the Inspection, Cleaning, and Restoration Industries.
- Bring out the beauty in floors
- Armstrong Flooring®
- Hardwood Flooring – America is Built on Bruce Floors
- https://scholar.google.com/scholar?q=safely+clean+scuff+marks+hardwood+floors Google Scholar
- https://scholar.google.com/scholar?q=hardwood+floor+scuff+removal+finish+care+polyurethane+wax Google Scholar
- https://scholar.google.com/scholar?q=wood+flooring+care+maintenance+cleaning+scuffs+microfiber Google Scholar



[…] “deep clean to remove scuff marks,” start with pre-clean (vacuum/dust), then do microfiber + pH-neutral cleaner, and only escalate after spot-testing. This approach protects sealed hardwood finishes from the two […]
[…] scuff marks on hardwood floors can make your finish look dull even after regular sweeping. It is frustrating when the damage seems […]
[…] scuff marks on hardwood floors usually come off with gentle cleaning using a barely damp microfiber cloth and a mild, pH-neutral […]