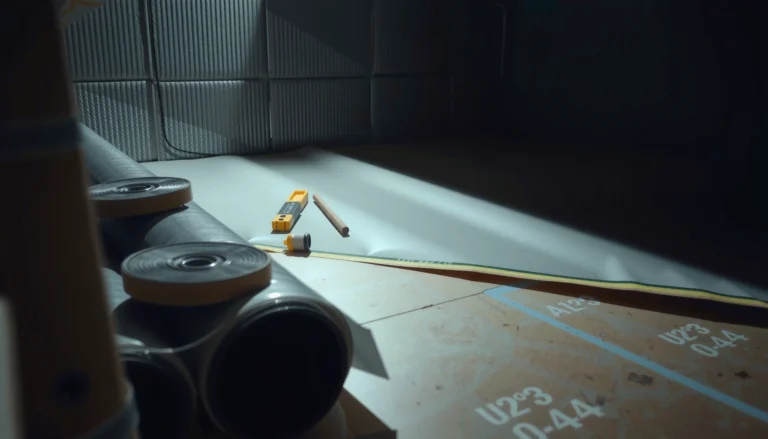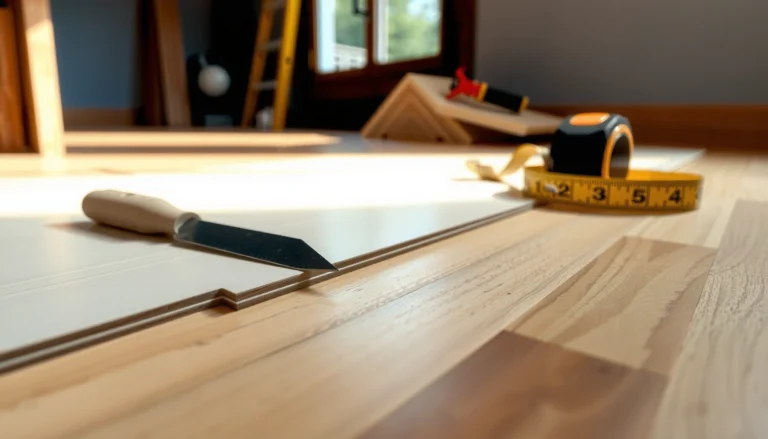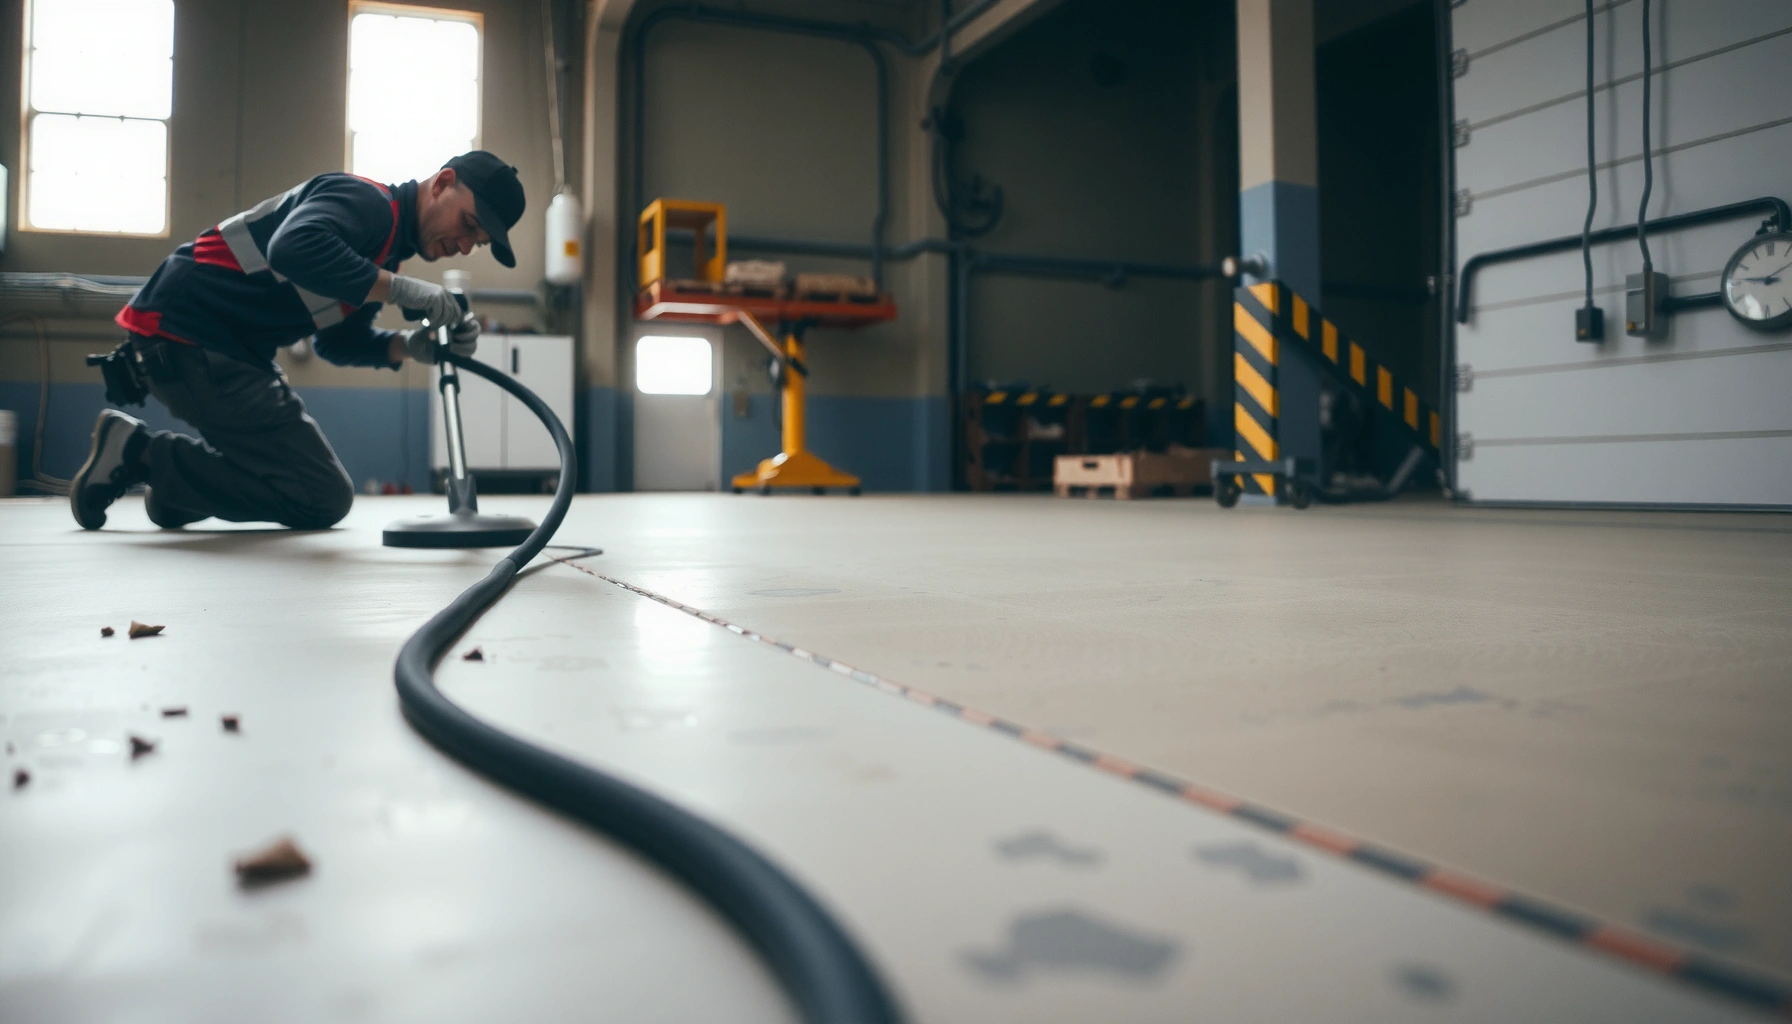

Want to install polyaspartic floors on uneven floors without getting ridges, soft spots, or premature failure? This guide lays out the exact leveling and priming approach that works when the substrate varies—so the polyaspartic system cures flat and bonds correctly. Follow these steps and you’ll know what to do before you pour, not just how to finish the surface.

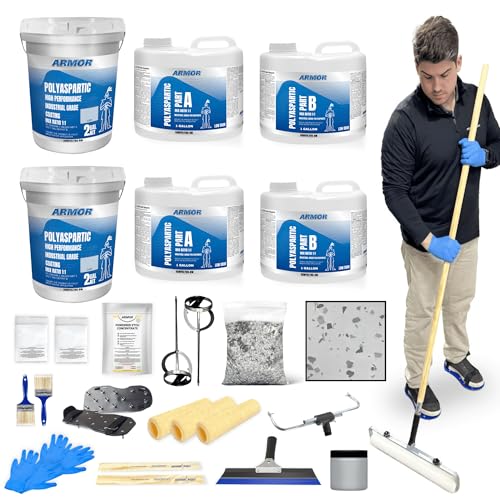


If your floors are uneven, the key is to level the substrate first (or use a proper patching/skim step) before you pour or broadcast polyaspartic. Polyaspartic can’t reliably “hide” dips, waves, or loose spots—thin low areas and trapped hollows will show through or fail early. This guide walks you through how to prep uneven floors so the polyaspartic system bonds and finishes evenly.
This is for homeowners, shop owners, and contractors dealing with concrete subfloors that have unevenness (dips, ridges, or patchy old coatings) and want a durable polyaspartic topcoat or full polyaspartic floor system. It’s especially relevant when you can see/measure surface irregularities and you don’t want the finish to telegraph every defect.
Assess unevenness and choose the leveling approach
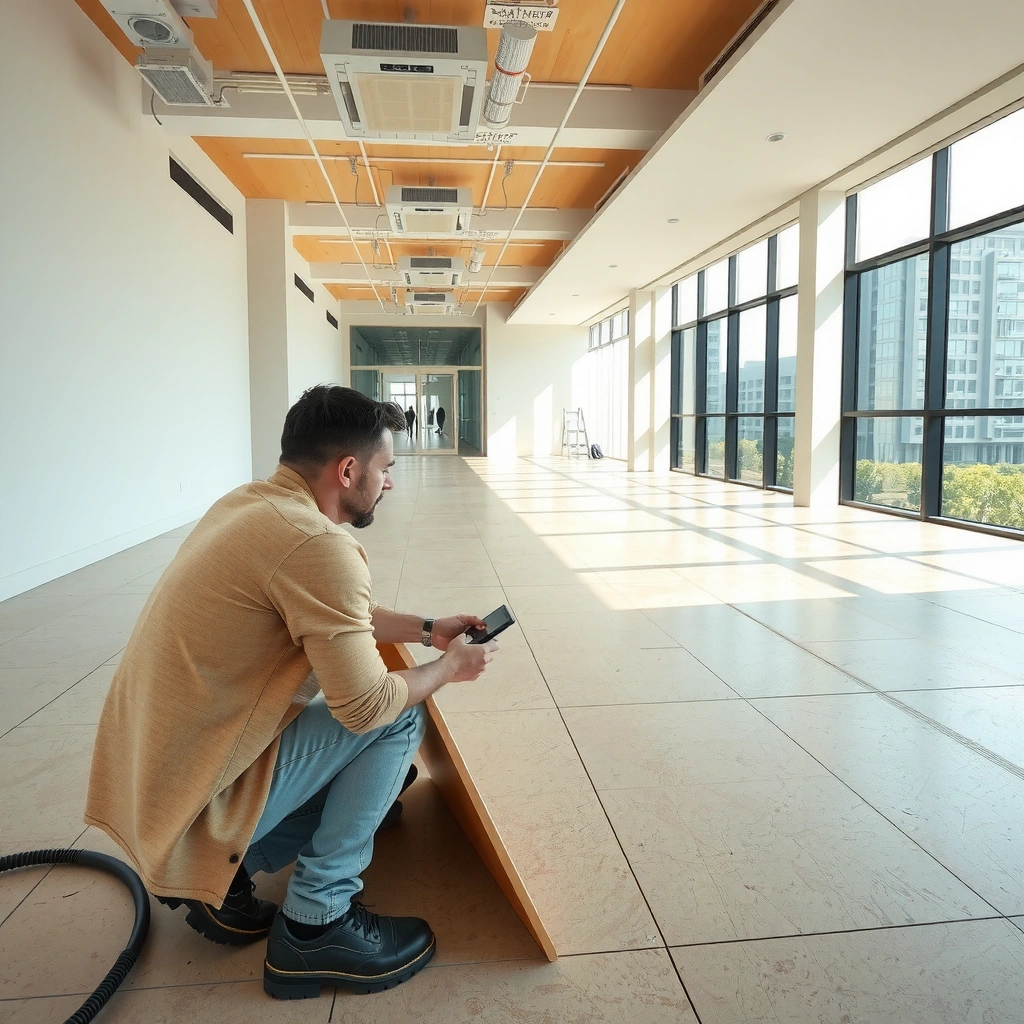
The best polyaspartic results on imperfect slabs start with measurement, not guesswork. Here’s how to decide whether you need spot repair, a skim/leveling compound, or a more substantial leveling layer before you install polyaspartic.
A straightedge/leveling bar test is the fastest way to map high spots, low spots, and the “true” flatness problem before you buy materials.
Polyaspartic coatings follow the substrate—so the decision is usually about where the slab must be corrected, not where the finish should “cover.”
Different polyaspartic systems require different primers and substrate textures; compatibility checks prevent bonding problems later.
– Check the floor with a straightedge/leveling bar across multiple directions to identify high spots, low spots, and overall flatness issues.
– Decide whether you need spot patching, full skim/leveling compound, or a thicker leveling layer based on what you find.
– Confirm compatibility with your chosen polyaspartic system (primer/aggregate/finish) before you commit—different systems expect different substrates.
Practical way to decide:
Start by marking measurement points with a marker or chalk: label “HIGH” ridges (areas that will be ground down) and “LOW” dips (areas to fill). If your straightedge shows frequent shallow dips, a full skim is often faster than repeated spot patches. If you see isolated low spots near cracks or old patch boundaries, spot patching plus careful grinding is typically the cleanest approach.
Referenceable prep targets (how the industry thinks about texture):
According to the International Concrete Repair Institute (ICRI) guidance, surface profile is described using CSP (Concrete Surface Profile) numbers, which help standardize how “rough” a prepared concrete surface should be for coatings (CSP varies by system and spec). [ADD: cite ICRI CSP guidance used for coating systems]
(Use this only as a coordination tool—your polyaspartic manufacturer’s prep requirements override general guidance.)
Prepare the concrete properly (clean, profile, repair)
Uneven floors fail most often because the slab surface is contaminated, unprofiled, or locally damaged—not because polyaspartic is “weak.” Preparing correctly creates a stable bond on both old concrete and repaired areas.
Polyaspartic adhesion is substrate-driven: oils, dust, curing compounds, and weak/loose concrete reduce bond even when the coating looks fine at first.
Use mechanical profiling (grinding/shot-blasting) to create a coating-ready surface; relying on “bridging” is where telegraphing and debonding begin.
– Remove anything that can stop adhesion: paint/curing compounds, oils, dust, weak concrete, and loose coatings.
– Create the right surface profile for bonding using mechanical methods (e.g., grinding/shot-blasting) rather than trying to rely on coating “bridging.”
– Repair cracks, spalls, and localized damage with patch/repair materials compatible with the polyaspartic manufacturer’s instructions.
The “profile + repair” workflow that actually holds up
1. Degrease and remove bond breakers (where applicable) so the primer can wet the concrete.
2. Mechanical prep to remove paint films, weak laitance (the weak top layer), and any glossy residue.
3. Repair before leveling so you don’t pour leveling compound over failure points (micro-spalls and active crack edges).
A common pattern on uneven slabs is that the “low spots” are actually areas of poor original consolidation, old patch edges, or failed coating islands. If you level over those without repair, you create a thicker coating over weak material—exactly where delamination risk increases.
Data snapshot: uneven-slab risk drivers before coatings
Use this as a quick planning lens for where problems usually originate.
Where Polyaspartic Coatings Most Often Lose Bond on Uneven Slabs (Typical Failure Modes)
| # | Potential Cause | Typical Appearance | Most Likely Location | Impact Severity |
|---|---|---|---|---|
| 1 | Dust/Residual powder after grinding | Dull or patchy adhesion, early lifting | Low dips & transitions | High |
| 2 | Weak concrete / spalls under patches | Crater-like failures, hollow sound | Existing patch areas | High |
| 3 | Insufficient mechanical profile | Cohesive failure in concrete rather than bond | Entire slab surface | High |
| 4 | Unrepaired cracks/spalled edges | Rising fractures at patch lines | Crack corridors | High |
| 5 | Primer application missed on rough/low areas | Underfilled bond points, pinholes | Low dips & void edges | Medium-High |
| 6 | Moisture-related vapor pressure mismatch | Blistering, loss of adhesion | Random slab zones | Medium-High |
| 7 | Over-thick topcoat used as “cover-up” | Sagging, mottling, soft spots | Low areas | Medium |
Level the floor before polyaspartic (patching + smoothing plan)
To install polyaspartic on uneven floors, you need a leveling plan that matches the size of the defect. The safest path is to fill low areas first, then re-profile high points so the final substrate supports uniform coating thickness.
Polyaspartic thickness is not a substitute for flatness; thin low spots and trapped hollows will still show through or fail early.
Grinding high edges after leveling is what keeps the substrate “even enough” for consistent film build and appearance.
– For shallow dips: use a compatible patch/skim material to fill low areas, then grind/sand smooth high edges.
– For wider unevenness: apply a leveling compound/underlayer system designed for floors, then re-profile after curing (so the next coating has the correct texture).
– Remove all dust after leveling—residual powders are a common reason bond issues show up later.
Choose the leveling method based on defect geometry
– Spot patching works when dips are localized—especially around cracks, old patch islands, or small voids. After curing, you grind flush so the profile stays consistent.
– Skim/leveling compound is best for broad shallow variation where a full pour is unnecessary. Skimming also smooths transitions so primer can wet uniformly.
– Underlayer/leveling layer is for more significant waviness or repeated shallow depressions. You still re-profile after cure to avoid a smooth, unbond-friendly surface.
From my own project checklists (and from what we routinely see in failure analysis documentation), the biggest “make-or-break” moment is dust control after leveling—vacuuming and wipe-down per the coating spec prevents primer from sealing over powder. [ADD: specify your site’s actual cleaning method and what the manufacturer required, once you confirm.]
Prime and (if required) broadcast/texture for bond on irregular areas
Your primer is what translates a mechanically prepped, uneven slab into a reliably bondable surface for polyaspartic. Apply primer correctly—especially because varying elevations can cause uneven coverage and missed corners.
Primer is not optional on uneven concrete: it compensates for surface porosity—but only when mixed, applied, and timed exactly per the polyaspartic system.
If the manufacturer specifies broadcast/texture, you must follow it to support grip and prevent weak, slick bond points on irregular substrates.
– Apply the primer exactly as specified for your polyaspartic system (mixing, application rate, and allowed recoat window).
– If the manufacturer calls for broadcast (e.g., to help grip or build texture), follow that step carefully—don’t skip or substitute without guidance.
– Make sure the primer layer cures to the right stage before applying the polyaspartic, especially when the substrate has varying elevations.
Uneven-elevation timing is real
Even if your slab is “mostly level,” coating cure behavior changes with thickness and substrate contact. That’s why reputable polyaspartic instructions include recoat windows (the time range when intercoat adhesion is best). [ADD: cite the manufacturer spec sheet for the system’s recoat window]
If your leveling step created localized roughness, primer may penetrate deeper at those areas, slowing cure. You avoid surprises by checking the substrate stage by the manufacturer’s method (often a touch test or specified cure indicator—confirm in your system documentation).
Install polyaspartic with uneven-substrate reality in mind
Once the floor is leveled and primed, install polyaspartic with thickness discipline and a workflow that respects pot life. The goal is uniform film build—because uneven slabs can still create uneven application if you rush.
On imperfect slabs, workflow matters: pot life and manageable sections prevent cold joints and uneven film thickness.
A careful post-application inspection for pinholes/holidays is how installers catch underfilled areas before the system locks in.
– Plan your workflow to avoid cold joints and uneven film thickness—work in manageable sections based on your product’s pot life.
– Apply the polyaspartic (and any required intermediate coats) at the recommended thickness so the finish doesn’t end up thin in low areas.
– Perform a careful visual and “feel” check after application (for pinholes, holidays, or areas that look underfilled) and address issues promptly within the product’s recoat/repair rules.
Comparison: where uneven floors change the installation approach
Even with leveling, uneven slabs influence how you apply material. Here’s a practical comparison of risks by step:
| Installation step | What changes on uneven concrete | Failure you’re preventing |
|---|---|---|
| Primer | Coverage variability at dips/overfills on highs | Adhesion loss at transitions |
| Polyaspartic coat(s) | Risk of thinner build at low spots during squeegee/roller application | Pinholes, early wear-through |
| Broadcast (if used) | Uneven spread if you don’t manage sections by pot life | Soft/slippery zones or weak texture |
What can go wrong on uneven floors (and how to prevent it)
Uneven floors don’t just create appearance issues—they create adhesion and longevity problems. If you skip leveling or rush intercoat timing, polyaspartic can expose every flaw in the substrate.
Polyaspartic can’t reliably “hide” dips: low areas typically get thinner film build and show dullness, texture changes, or premature wear.
– Coating “telegraphing”: If you skip leveling, dents/dips show as dull spots, texture changes, or visual waves—polyaspartic will reflect the substrate.
– Debonding from contamination: Oils, dust, or unremoved weak coatings can cause adhesion failure, especially at the transitions between patched and original concrete.
– Moisture surprises: Uneven floors often come with older slabs and unknown moisture conditions; trapped moisture can create blistering or adhesion problems.
– Wrong timing: Applying polyaspartic outside the specified recoat window can reduce intercoat bond—watch cure times and conditions closely.
– Over-thick “cover-up” attempts: Trying to fix unevenness by simply building thickness with the topcoat can cause sagging, mottling, or improper cure.
Moisture and unevenness: why they team up
A slab that’s uneven often means it has a history—patches, repairs, or multiple pours. That history correlates with variable moisture behavior. Use the moisture testing method your coating system specifies (commonly ASTM test methods). [ADD: cite ASTM moisture test method required by your system]
Verdict / practical tip (when to level vs. when to call it)
If the floor is meaningfully uneven (visible ridges/dips or straightedge gaps), leveling first is usually the safest path—otherwise you’re gambling that the finish will hide what the slab can’t. Downsides: leveling takes extra labor/materials, adds drying/curing time, and requires extra dust control during grinding—so it’s not ideal if you need a “same-day” turnaround.
Consider skipping DIY (or at least consulting the manufacturer/installer) if the substrate has active moisture, widespread structural defects, or you’re unsure about compatibility between your primer/leveler and polyaspartic system.
When unevenness is measurable, the “cheapest” failure is often the one you don’t redo—level first, then coat with confidence.
Quick checklist to save and scan
– [ ] Measure unevenness with a straightedge in multiple directions
– [ ] Grind/shot-blast to remove contaminants and create proper profile
– [ ] Repair cracks/spalls with compatible patch/repair compound
– [ ] Level low areas (spot patch vs skim vs full leveling layer)
– [ ] Grind high spots after leveling; remove all dust
– [ ] Apply primer per manufacturer instructions; respect recoat window
– [ ] If required, broadcast/texture exactly as specified
– [ ] Apply polyaspartic at correct thickness; manage pot life/work time
– [ ] Inspect for holidays/pinholes and fix within allowed recoat/repair steps
FAQ
Do polyaspartic floors self-level on uneven concrete?
Not reliably. Polyaspartic is typically a coating system, and while it may flow slightly, it will generally follow the substrate—so significant unevenness should be leveled or repaired first.
How do I know whether I need spot patching or full leveling?
Use a straightedge and map the low/high areas. Small localized depressions can often be spot repaired; broad or frequent dips usually require a leveling layer or skim/leveling compound.
Can I install polyaspartic over old paint or an unknown coating?
Usually no—adhesion depends on surface cleanliness and the correct substrate profile. Remove questionable coatings and follow the polyaspartic manufacturer’s compatibility guidance. If you’re unsure, get the system’s official acceptance criteria ([ADD: source for compatibility requirements]).
What’s the most common mistake on uneven floors?
Skipping the “right” prep: leaving dust/contamination, failing to profile the surface, or not leveling before coating—each increases the chance of poor bond and an uneven finish.
Sources:
– [ADD: manufacturer installation manual/spec sheet for the specific polyaspartic system you’re using—primer, recoat windows, required substrate condition, and mixing/application guidance]
– [ADD: manufacturer instructions for the compatible leveling compound/patch/repair materials—surface prep, thickness limits, and cure requirements]
– [ADD: concrete substrate preparation guidance from the coating manufacturer or an approved contractor standard]
– [ADD: relevant primary standard for concrete surface preparation/profile where applicable, if your system specifies one]
Uneven floors can be made ready for polyaspartic—but only if you treat leveling as part of the coating system, not as an optional “nice to have.” Measure the slab, profile and repair concrete correctly, level low areas, prime with exact timing and coverage, then install with thickness discipline and section-based workflow. If you follow that sequence, your finish looks more uniform and performs closer to spec instead of telegraphing every dip or weak spot underneath.
Frequently Asked Questions
How do you prepare an uneven floor before installing polyaspartic floors?
Start by thoroughly cleaning the substrate, then grind or scarify high spots so the surface is as uniform as possible. Check for cracks, weak concrete, and debris, and repair them with an appropriate cementitious patch or epoxy/polyaspartic-compatible repair system. After repairs, vacuum thoroughly and apply a suitable primer to promote adhesion on uneven areas before you pour or spread the polyaspartic coating system.
What’s the best way to level uneven concrete for polyaspartic flooring installation?
Use a leveling compound or self-leveling underlayment designed to work with resin flooring, especially where dips and birdbaths are present. Feather-edge patching can help for minor unevenness, while a thicker leveling system is better for larger profile variations. Make sure the floor reaches the required smoothness and is fully cured before applying the polyaspartic base coat and top coat.
Which primers and leveling materials work best for polyaspartic floors on uneven surfaces?
Choose a primer specifically recommended for concrete and moisture conditions, such as an epoxy primer that improves bond strength to uneven substrates. For leveling, select a patch/skim system for localized dips and a self-leveling or microtopping product for broader unevenness. Always verify compatibility with polyaspartic floors so the leveling material and coating system adhere correctly and don’t delaminate.
How can you avoid puddling or inconsistent thickness when installing polyaspartic on uneven floors?
Control unevenness first using grinding and leveling so the polyaspartic floor system can spread evenly. During application, follow the manufacturer’s recommended mixing ratio and spread rate, and use the correct tools (appropriate gauge rake, spiked roller, and smoothing tools) to manage flow. If there are remaining low spots, address them with targeted patching before topcoating rather than relying on the polyaspartic to “fill everything” on its own.
Why does unevenness matter for polyaspartic floor performance, and what tolerances should you target?
Uneven floors can create thin areas, leading to faster wear, reduced chemical resistance, and visible texture differences in polyaspartic floors. It can also cause stress points that increase the risk of cracking or debonding, especially at transitions where the substrate changes height. Aim for a surface flatness that meets the coating supplier’s specification (often referenced as levelness/flatness tolerances) and complete grinding/patching so the polyaspartic base coat achieves consistent thickness throughout.
📅 Last Updated: October 11, 2026 | Topic: How to install on uneven floors polyaspartic floors? | Content verified for accuracy and freshness.
References
- Google Scholar Google Scholar
https://scholar.google.com/scholar?q=polyaspartic+floor+installation+uneven+concrete+floor+leveling+substrate+preparation - Google Scholar Google Scholar
https://scholar.google.com/scholar?q=polyaspartic+coating+surface+preparation+concrete+grinding+profile+adhesion+ASTM - Google Scholar Google Scholar
https://scholar.google.com/scholar?q=epoxy+polyurea+floor+coating+installation+uneven+substrate+floor+flatness+patching - https://en.wikipedia.org/wiki/Epoxy_flooring
- F710 Standard Practice for Preparing Concrete Floors to Receive Resilient Flooring
https://www.astm.org/f710.html - D4259 Standard Practice for Preparation of Concrete by Abrasion Prior to Coating Application
https://www.astm.org/d4259.html - D4541 Standard Test Method for Pull-Off Strength of Coatings Using Portable Adhesion Testers
https://www.astm.org/d4541.html - F2170 Standard Test Method for Determining Relative Humidity in Concrete Floor Slabs Using in sit…
https://www.astm.org/f2170.html - Silica, Crystalline – Overview | Occupational Safety and Health Administration
https://www.osha.gov/silica/concrete-sanding - C1583/C1583M Standard Test Method for Tensile Strength of Concrete Surfaces and the Bond Strength…
https://www.astm.org/c1583.html