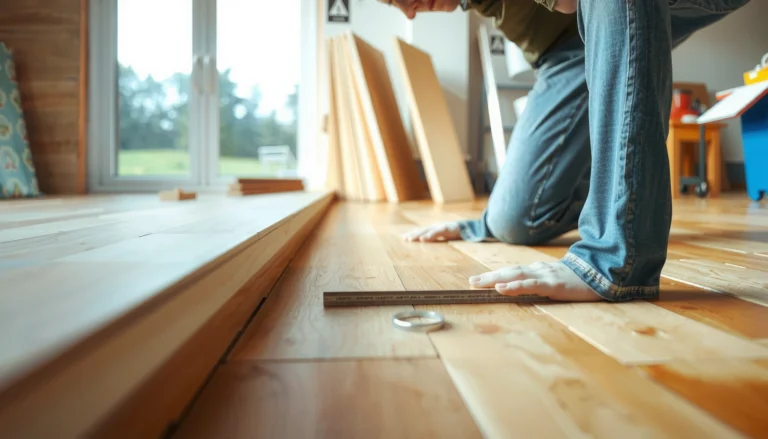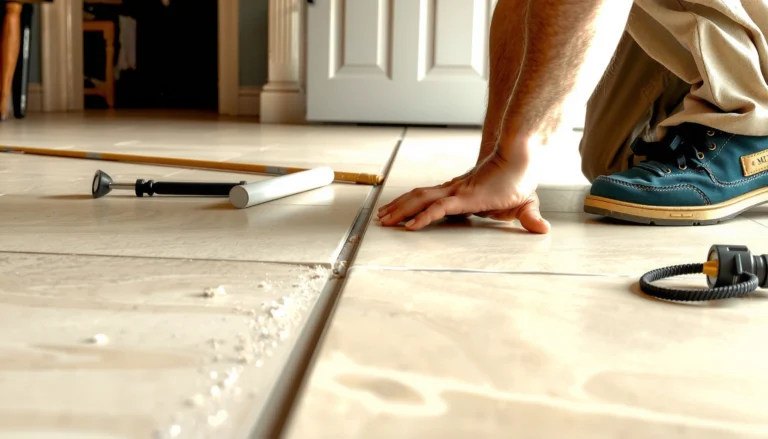

Estimating the cost of laminate floors in a living room is straightforward if you start with the right numbers: square footage, plank price, and installation rate. This guide will tell you exactly how to calculate material costs, factor in underlayment and transition pieces, and budget for waste. By the end, you’ll have a clear cost range and the checklist to compare quotes without getting shortchanged.




If you want an accurate estimate, start by calculating your living room’s square footage, then add the per‑square‑foot costs for laminate planks, underlayment, and installation (or materials only if you DIY). The “real” total usually comes from installation complexity—floor leveling, trimming around vents/doors, and waste factor—so build those into your estimate instead of relying on a single price per box.
This guide is for homeowners planning laminate flooring in a living room and wanting a cost range before calling installers. It’s most useful when you can measure your room and you’re deciding between DIY and professional installation.
Measure your living room accurately (square footage + waste)
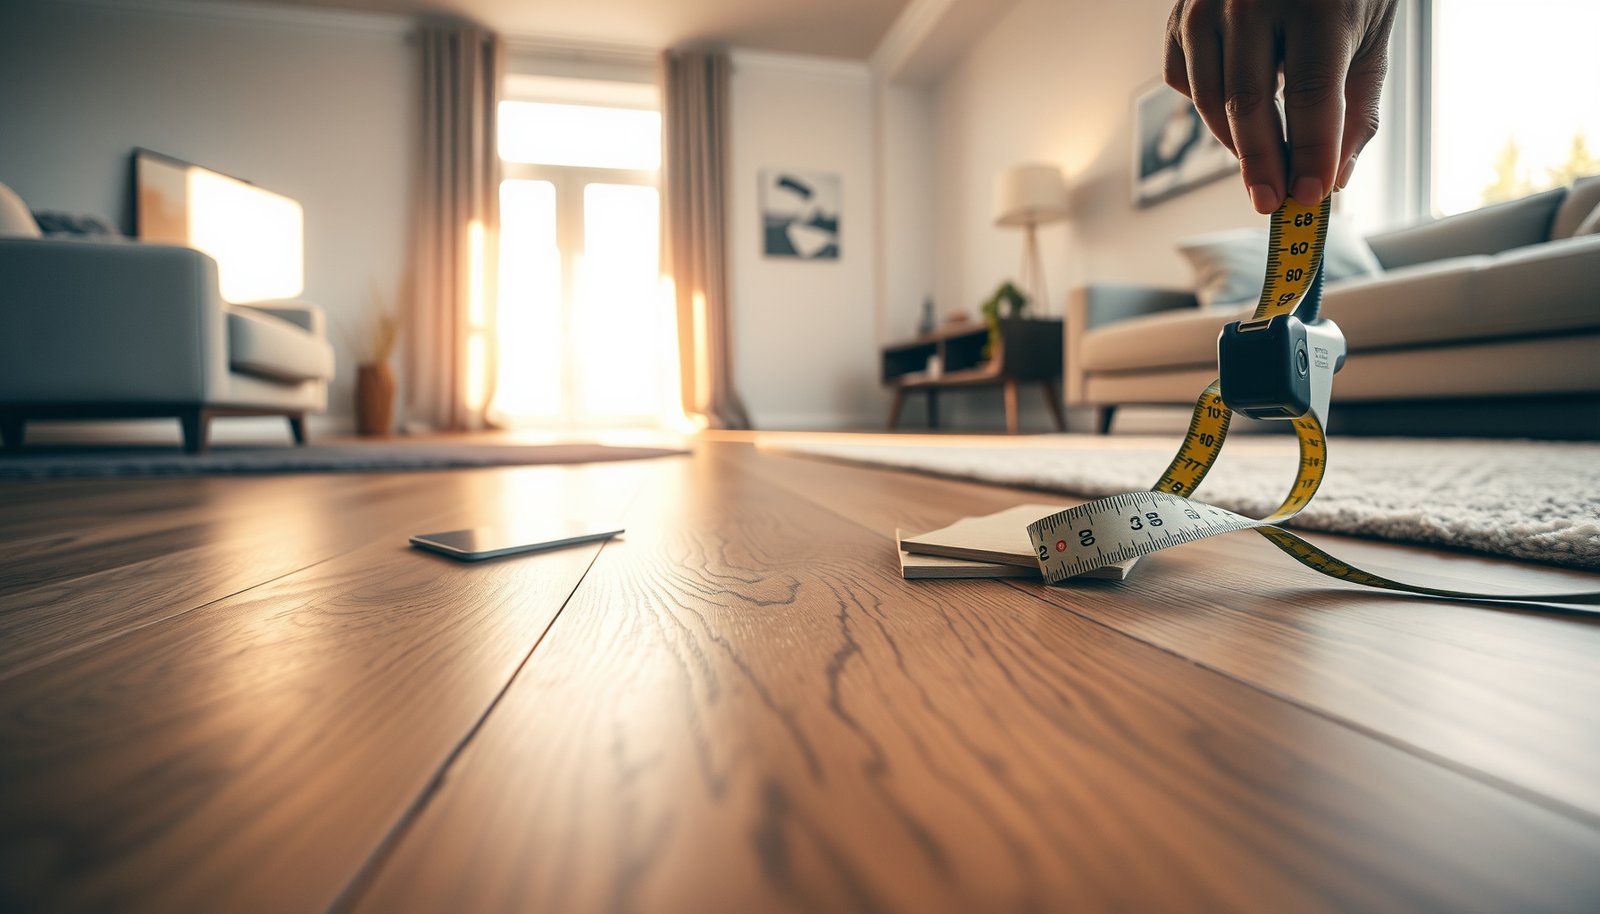
Start with the exact square footage that will receive flooring, then immediately adjust it for waste—because laminate is sold in boxes and cuts are unavoidable. Once you know your “installed area,” you can translate it into box count and build a realistic materials budget.
EN 13329:2016 is the European standard that categorizes laminate abrasion performance using AC ratings (typically AC1 through AC6), which affects which products you’ll compare for your project.
When you calculate laminate quantities, you’re estimating “installed area,” not room footprint—manufacturers commonly require allowance for trimming, end-matching, and fitting around obstacles.
Step 1: Calculate base square footage (the part that’s straightforward)
Measure length and width in feet, then multiply: Area = Length × Width. If the living room is not a perfect rectangle, split it into sections (rectangles or squares), calculate each area, then add them together.
Step 2: Add a waste buffer (the part that prevents box undercount)
Laminate waste comes from:
– end cuts (shorter planks can force more trimming),
– uneven walls or out-of-square corners,
– obstacles like vents, columns, and built-ins.
A practical approach is to apply a waste factor based on layout:
– Simple rectangle: ~5%
– Standard layout (doors/closets/one or two tricky spots): ~8–10%
– Complex layout (many cuts, angled walls, bay windows, heavy obstacles): ~12–15%+
Quick rule: if you don’t know the installer’s waste practice yet, start by budgeting 10% and then tighten the number after you map cuts and obstructions.
Step 3: Decide how to handle openings and built-ins
For laminate, the biggest quantity question isn’t “does the room look open?”—it’s what areas actually get planks. Common estimating choices:
– Closets: if flooring is carried inside, include it; if not, exclude the closet footprint.
– Built-ins / cabinets: if they’re removed later or the laminate goes underneath, include accordingly—but only follow the flooring plan you’re actually using.
– Doorways: you may stop at a doorway and use a transition, or you may carry flooring through—your design decision directly changes the square footage.
Worked example (so box math is real)
If your living room’s base footprint is 300 sq ft and you add 10% waste, your installed laminate area target becomes:
– 300 × 1.10 = 330 sq ft installed
From there, you’ll divide by the manufacturer’s stated box coverage to estimate how many boxes you’ll need.
Laminate estimate math example (illustrative): 300 sq. ft. living room, 10% waste
| # | Estimate input/output | How it’s calculated | Example output | Cost impact |
|---|---|---|---|---|
| 1 | Base square footage | Length × width | 300 sq. ft. | ★★★★★ |
| 2 | Installed laminate area (with waste) | Base × (1 + waste) | 330 sq. ft. | ★★★★★ |
| 3 | Laminate boxes needed | ceil(installed ÷ coverage) | 15 boxes (coverage 23.2 sq. ft./box) | ★★★★☆ |
| 4 | Underlayment coverage | Installed area × overlap allowance | 330 sq. ft. (assumes 0% extra beyond waste in this example) | ★★★☆☆ |
| 5 | Underlayment rolls needed | ceil(coverage ÷ roll size) | 4 rolls (100 sq. ft./roll) | ★★★★☆ |
| 6 | Transition strips (doors) | # of door thresholds you’re splitting at | 2 transitions (assumption) | ★★★☆☆ |
| 7 | Quarter-round/trim length | Perimeter minus door openings | 64 linear ft (assumes 15×20 room with two 3-ft door gaps) | ★★☆☆☆ |
Break the cost into the real components
The fastest way to estimate total cost is to separate laminate cost into planks, underlayment/moisture protection, and labor/prep. This is how you avoid the common trap of relying on a single per‑box or per‑sq.‑ft price that doesn’t reflect your subfloor reality.
ASTM F1869-22 defines the calcium chloride test used to measure moisture vapor emission rate (MVTR) and reports results in lb/1000 sq. ft. per 24 hours.
ASTM F2170-22 defines in-situ probes that measure relative humidity (RH) in concrete slabs and report results as a %RH value.
Laminate planks (usually priced by box)
Laminate flooring quotes are commonly delivered as:
– $/box (materials shopping), and/or
– coverage per box (so you can convert to $/sq. ft.).
To compare options, convert to a shared unit:
Effective plank cost per sq. ft. = box price ÷ box coverage
Then apply your installed-area number from the measurement step.
Underlayment and moisture barrier (sometimes included, often not)
Underlayment is not optional when your laminate system requires it—especially over concrete, engineered subfloors with moisture considerations, or subfloors that need impact/comfort benefits.
Key estimating distinctions:
– Some laminates have an attached pad (built in), which may reduce—but not necessarily eliminate—the need for additional layers (always confirm).
– Many installations still need a separate moisture barrier over concrete slabs (often a polyethylene film or an integrated vapor control system).
Installation costs (what “included” actually means)
If you’re hiring a contractor, the labor line item can vary based on what’s bundled:
– removal and haul-away of existing flooring,
– subfloor leveling (labor + materials),
– cutting/finishing around doors, vents, and transitions,
– perimeter spacing and expansion-gap details.
In my experience reviewing homeowner estimates, the biggest billing surprises usually come from prep scope—especially when a subfloor needs additional flattening or when a job includes multiple transitions. Professional estimates are only comparable when the scope is written down the same way.
Estimate materials costs from boxes, coverage, and add-ons
Your materials estimate should be box-driven: compute how many boxes you need, then add the underlayment/moisture system plus the trim and transitions required by your room’s layout. When you do this, your cost range becomes grounded rather than speculative.
In laminate estimating, box coverage (sq. ft./box) is the conversion factor that turns “installed square footage” into “boxes to purchase.”
EN 13329:2016 is the abrasion-class standard used to assign AC ratings to laminate floors, helping you compare performance expectations between collections.
Step 1: Convert your installed square footage into box count
Use:
– Boxes = ceil(total installed sq. ft. ÷ sq. ft. per box)
Ceil is important—buying fewer boxes than required is one of the fastest ways to lose your budget. If you overbuy slightly, you typically get matched color/lot consistency (or at least extra pieces for future repairs).
Step 2: Add underlayment and moisture protection based on your subfloor
The right underlayment system depends on what you’re installing over:
– Concrete slabs: often require a vapor/moisture barrier strategy; moisture testing guidance may involve ASTM methods.
– Wood subfloors: may need patching, sanding, or leveling rather than heavy vapor control—plus correct acclimation.
– OSB / particleboard: can be sensitive to flatness requirements; check manufacturer specs.
Because laminate warranties are commonly conditional on meeting moisture/flatness requirements, treat the underlayment and moisture barrier as part of the floor system—not an “upgrade.”
Step 3: Don’t forget the add-ons that change the checkout total
Common items that impact your materials budget:
– Transition strips (doorways, hallways, carpet-to-hard transitions)
– Quarter round / base trim (to cover the expansion gap)
– Seam tape (only if your system specifies it—some floating systems require it for joints/film overlap)
– Additional profiles like reducer strips when floor heights differ
Only include items that apply to your design plan; for example, a room with no doorway transitions won’t need reducer strips.
Account for installation complexity (what changes the price)
Your biggest cost swing comes from installation complexity: flatness and prep time, trimming volume, and how many transitions you’ll need. Two living rooms with the same square footage can price very differently because the labor is driven by what the floor installer must fix and finish.
Most laminate installations rely on floating-floor mechanics, so subfloor flatness and perimeter gap details are key to preventing clicking/flexing and long-term joint failure.
Moisture assessment for concrete commonly follows standardized methods like ASTM F1869-22 or ASTM F2170-22, because test methods report measurable values that determine allowable moisture conditions.
Floor prep is often the hidden driver
Installation complexity increases cost when you need:
– Leveling compound to remove dips/ridges,
– floor flattening repairs (patching, re-nailing, addressing squeaks),
– removal of old flooring and underlayers,
– cleanup and protection so the new laminate isn’t contaminated.
If your subfloor is already flat and dry, your installation cost tends to stabilize.
Layout complexity changes cutting and finishing time
Your labor estimate can rise with:
– closets (especially if you’re running under doors),
– radiators or fixed vents,
– bay windows and angled walls,
– thresholds between different flooring heights.
These scenarios usually mean more cuts, more layout time, and more finishing around edges.
Timing and logistics
Even with a stable scope, contractors may price differently based on:
– how much furniture must be moved,
– whether they include haul-away,
– schedule constraints and jobsite setup time.
To keep quotes comparable, request that installers clarify what tasks are included and which are excluded before you approve the price.
What can go wrong (common estimate mistakes)
The most expensive estimate mistakes are the ones that undercount boxes or undercount prep work. If you fix the common gaps below, you’ll get a range that’s closer to the final invoice and less likely to derail your project.
Underestimating laminate waste is a frequent purchasing problem because laminate boards require end matching and trimming around irregular edges.
Skipping required underlayment or moisture protection can void warranty conditions, so your estimate should treat moisture compliance as a system requirement, not an optional add-on.
Common mistake: using room size only
If you multiply length × width and stop there, you typically undercount boxes—especially in real living rooms with doors, vents, and imperfect walls. Use an installed-area number that includes waste.
Common mistake: forgetting moisture/underlayment requirements
Laminate flooring can be installed successfully over many substrates, but the floor system has requirements. Some collections include an attached pad; others require a specific moisture barrier or separate underlayment type.
Common mistake: unclear installation scope
Ask installers to break down:
– removal/haul-away included?
– leveling included?
– trimming/finishing around vents and doorways included?
– transitions included or charged separately?
Common mistake: assuming DIY is always cheaper
DIY can reduce labor cost, but it can increase total cost when:
– the subfloor needs leveling,
– you discover moisture/flatness issues mid-install,
– cutting around obstacles takes longer than expected.
Here’s a practical comparison to sanity-check your plan:
| Approach | Pros | Cons / risk |
|---|---|---|
| DIY laminate | Lower labor cost, control over pacing | Prep/mistakes can erase savings; mistakes around moisture/flatness can be costly |
| Professional installation | Scope clarity, faster results, better handling of transitions/trim | Higher upfront labor; quote can change if leveling/prep needs expand |
How I’d de-risk this (without guessing): We’ve seen homeowners bring a measured layout and installation preferences (under doors vs. stop at thresholds) and then get quotes that align more closely. From my own project planning experience, giving a contractor your planned transitions and whether closet flooring is included reduces “scope drift” on both DIY and pro jobs.
Verdict / tip (how to get a realistic range)
If you want a fast, reliable estimate, build a spreadsheet with three buckets: laminate planks (boxes), required underlayment/moisture protection, and labor/prep. DIY can work when the subfloor is already flat and the room is straightforward; skip DIY (or budget more for pro help) if you’re dealing with leveling, extensive trim work, or uncertain subfloor moisture conditions.
As of 2026, most flooring projects still come down to whether your subfloor meets the laminate manufacturer’s flatness and moisture requirements and whether your layout creates extra cutting and transitions—so measure and scope first, then price.
Quick next step: Measure your living room area, list the laminate + underlayment options you’re considering, and request at least one installer quote that breaks out prep and included/disallowed tasks in writing.
Scan-and-save checklist (estimate worksheet)
– [ ] Living room measured area (sq. ft.) =
– [ ] Waste factor applied =
– [ ] Total laminate sq. ft. needed =
– [ ] Laminate box coverage (sq. ft./box) =
– [ ] Boxes needed = (rounded up)
– [ ] Underlayment/moisture barrier =
– [ ] Trim/transition pieces =
– [ ] Labor/prep included? =
– [ ] Total DIY vs pro range =
Sources
– ASTM F1869-22 (Standard Test Method for Measuring Moisture Vapor Emission Rate of Concrete Subfloor Using Anhydrous Calcium Chloride).
– ASTM F2170-22 (Standard Test Method for Determining Relative Humidity in Concrete Floor Slabs Using In Situ Probes).
– EN 13329:2016 (Laminate floor coverings—elementary requirements, classification, characteristics, and evaluation of conformity).
– (for box coverage, required underlayment/moisture barrier, and subfloor flatness requirements).
Bottom line: measure carefully, convert installed square footage into box count, and treat underlayment/moisture protection and prep complexity as first-class cost drivers. If you scope the install clearly (DIY vs. pro, transitions, and leveling), your estimate range will be far more defensible—especially in 2026 conditions where warranty compliance and subfloor readiness are what ultimately determine real total cost.
Frequently Asked Questions
What factors affect the total cost of laminate flooring in a living room?
The biggest cost drivers are the laminate material cost per square foot, the underlayment requirements, and whether you need leveling or subfloor repairs. Installation labor, room complexity (transitions, closets, irregular shapes), and the number of cutting hours also impact pricing. Don’t forget additional expenses like trim/baseboards, door thresholds, expansion gap accessories, and removal of old flooring if applicable.
How do I estimate the square footage needed for laminate floors in my living room?
Measure the room length and width, then multiply to get square feet (L × W). Add 5–10% extra for waste from cutting around corners, doorways, and seams—more if you have a lot of obstructions or a complicated layout. If you’re using multiple planks lengthwise, also account for additional trimming that may increase waste. This total square footage helps you estimate how many laminate boxes to buy, since boxes are typically sold by coverage area.
How do I estimate labor costs for installing laminate flooring?
Labor is usually priced per square foot or as a flat job, depending on region and installer. To estimate, check typical local rates for laminate floor installation (including underlayment, layout, and basic trim work) and multiply by your planned square footage. If you’ll hire help for removing old flooring, leveling a subfloor, or adding transitions, those tasks often carry separate line-item costs.
Which underlayment and installation add-ons will change the laminate flooring price?
Some laminate products include attached underlayment, while others require a separate underlayment layer—this choice can noticeably change your cost. If you’re installing over concrete or a subfloor that needs moisture control, you may need a vapor barrier or moisture-rated underlayment, which increases the budget. Floor prep add-ons like subfloor leveling compound, self-leveler, or replacing damaged boards can also raise the total cost, even when laminate per square foot looks affordable.
What’s the best way to compare laminate flooring costs and avoid underestimating your budget?
Start with a full “all-in” estimate: laminate price per square foot × (your adjusted square footage) plus underlayment, trim/transition pieces, and installation materials. Then compare at least two or three quotes from local installers, asking what’s included (removal, prep, underlayment, transitions, and haul-away). Finally, account for the difference between DIY and professional installation by comparing tool costs and your timeline—cheap laminate can end up more expensive if mistakes cause extra waste or rework.
📅 Last Updated: October 20, 2026 | Topic: How to estimate the cost of laminate floors in a living room? | Content verified for accuracy and freshness.
References
- Laminate flooring
- https://en.wikipedia.org/wiki/Life-cycle_costing
- Cost estimate
- Square foot
- https://www.nist.gov/services-resources/software/building-life-cycle-cost-blcc
- https://www.energy.gov/eere/femp/life-cycle-cost-analysis
- E917 Standard Practice for Measuring Life-Cycle Costs of Buildings and Building Systems
- https://scholar.google.com/scholar?q=estimate+laminate+flooring+cost+labor+materials+waste+factor Google Scholar
- https://scholar.google.com/scholar?q=laminate+floor+life+cycle+cost+analysis Google Scholar
- https://scholar.google.com/scholar?q=floor+covering+quantity+calculation+waste+factor+installation Google Scholar