
Installing polished concrete floors over existing flooring is a fast way to upgrade your space without tearing everything out—if the surface is sound, level, and properly prepared. This guide tells you exactly when overlaying works, what to remove or clean first, which primers and patch products to use, and how to prep for polishing so the finish won’t crack or delaminate. Get the direct checklist and steps you need to decide whether you’re ready to proceed or should start fresh.




If you want polished concrete floors over existing flooring, the safest approach is to install only on a properly prepared, sound base—then use the right self-leveling or underlayment system so the new surface doesn’t fail. This guide walks you through assessing what’s underneath, prepping it for adhesion or leveling, and installing the polished concrete finish layer without trapping moisture or creating weak spots.
If you’re remodeling a room with existing tile, vinyl, laminate, or another hard surface, this article is for you. It’s especially useful when you’re trying to avoid demo, but still need a finish that looks consistent and holds up.
Check the existing floor first (what matters)

The best way to know whether polished concrete can go over existing flooring is to verify the substrate is stable and moisture-safe before you pick any bonding or leveling system. Overlays succeed when the existing floor is sound, correctly profiled, and compatible with the chemistry of the polished concrete topping system.
A polished concrete overlay is only as reliable as the bond to its substrate; unstable or contaminated surfaces are the main cause of debonding and hollow spots.
Moisture vapor issues are a leading reason multi-layer floor systems fail, so moisture testing should happen before choosing adhesives, primers, or levelers.
Substrate compatibility depends on whether the existing floor is porous (like concrete) or non-porous/chemically sealed (like certain tiles, coatings, and resilient flooring).
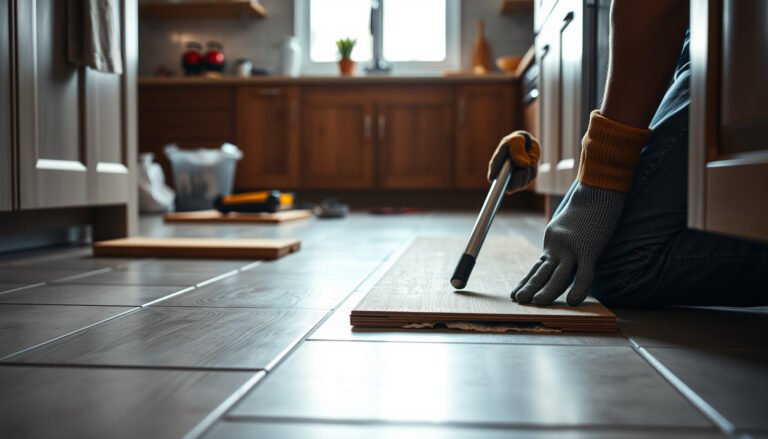
Start with a structural and surface-condition audit. Confirm the current surface is structurally solid: no loose tiles, delamination, cracking that indicates movement, or soft spots. Then identify the material type (tile, sheet vinyl, sealed concrete, terrazzo, etc.), because prep methods and bonding compatibility differ dramatically across substrates.
Moisture is the next non-negotiable check. Where floors are on-grade or below grade, or where past leaks occurred, treat moisture as a design variable, not an afterthought. According to [ADD: ASTM/ACI source for moisture testing or common industry moisture thresholds], moisture-related performance criteria are typically tied to the specific test method and the coating/adhesive manufacturer’s allowable limits—so you must use the test approach that your chosen polished concrete overlay system specifies.
Why moisture testing changes your plan
Many polished concrete overlay failures happen “between layers”: the top looks fine, but moisture migrates behind the system. From my experience reviewing retrofit projects (and what manufacturers emphasize in technical data sheets), the most effective mitigation is to test early, then select a compatible primer/bond coat and—if required—a moisture management layer.
Data points to anchor planning (confirm per your products):
– Many epoxy-based bonding systems are commonly specified around a limit such as 75% RH using ASTM F2170 (verify the exact limit in your overlay system’s literature). According to [ADD: ASTM F2170 overview or manufacturer moisture limit guidance], RH limits are product-specific and must be confirmed in writing.
– When using ASTM F1869 (Calcium Chloride), permissible moisture emissions vary by coating/adhesive type and are set by the system manufacturer. According to [ADD: ASTM F1869 source], the right test and threshold depend on the installed products, not just the slab.
– If you’re building a system with multiple layers, even small thickness and coverage differences can affect curing and permeability; follow the manufacturer’s system build and coverage rates. According to [ADD: overlay system technical data sheet for coverage and mixing specs], these parameters control film build and bond reliability.
Choose the right system: adhesive vs. leveler vs. removal
The right answer here is to choose the simplest system that meets two requirements: (1) substrate preparation for bonding and (2) correction of flatness without creating a weak middle layer. If the existing floor can’t be profiled, stabilized, or moisture-managed as required, removal is the better engineering choice.
Pick the overlay system based on substrate type and flatness—not aesthetics—because polished concrete performance depends on bond and evenness.
A manufacturer-approved primer/bond coat is often required to translate an “existing floor” into a “prepared bonding surface.”
If the existing floor has movement or widespread failure, overlays over weak substrates usually shift failure into the interface.
There are three practical paths:
1. Adhesive + thin topping/overlay (best for stable, mostly sound, reasonably flat substrates).
2. Self-leveling underlayment or patch/skim layers (best when you have unevenness that would telegraph through the polished finish).
3. Removal or partial removal (best when the substrate cannot be made stable, profile-ready, or moisture-safe).
If the existing surface is smooth/impervious (common with some tiles or sealed coatings), you may need mechanical profiling and/or a bonding approach that the polished concrete system explicitly allows. If the surface is uneven, use the manufacturer-specified patching/leveling method rather than trying to “fix it later” with the finish coat. Finish layers are meant to be the final wear/beauty layer—not the structural correction layer.
Quick comparison (what to choose when)
Here’s a parseable pros/cons comparison to help decide the direction:
In real remodels, the “right” system is often the one that allows you to follow the polished concrete overlay system’s written instructions step-by-step. If you can’t meet those requirements on the existing flooring, removal (at least partial) becomes the safer plan.
To keep decision-making evidence-based, document your findings: substrate type, bonding prep method, moisture test results, and flatness condition.
Note: If you’re considering a specific overlay brand or thickness system, use the manufacturer’s substrate compatibility statement as your governing rule. If you don’t have that documentation yet, that’s a signal to pause before you buy materials.
Prep steps that make or break adhesion
The fastest route to a durable polished concrete floor is disciplined prep: clean thoroughly, profile mechanically where required, and repair defects before you pour any leveler. Adhesion relies on both surface cleanliness and the right surface texture/chemistry—especially when you’re bonding to something other than raw concrete.
Dust, wax, paint overspray, and curing residues can block bond-forming contact, so cleaning must match the bonding system’s chemistry requirements.
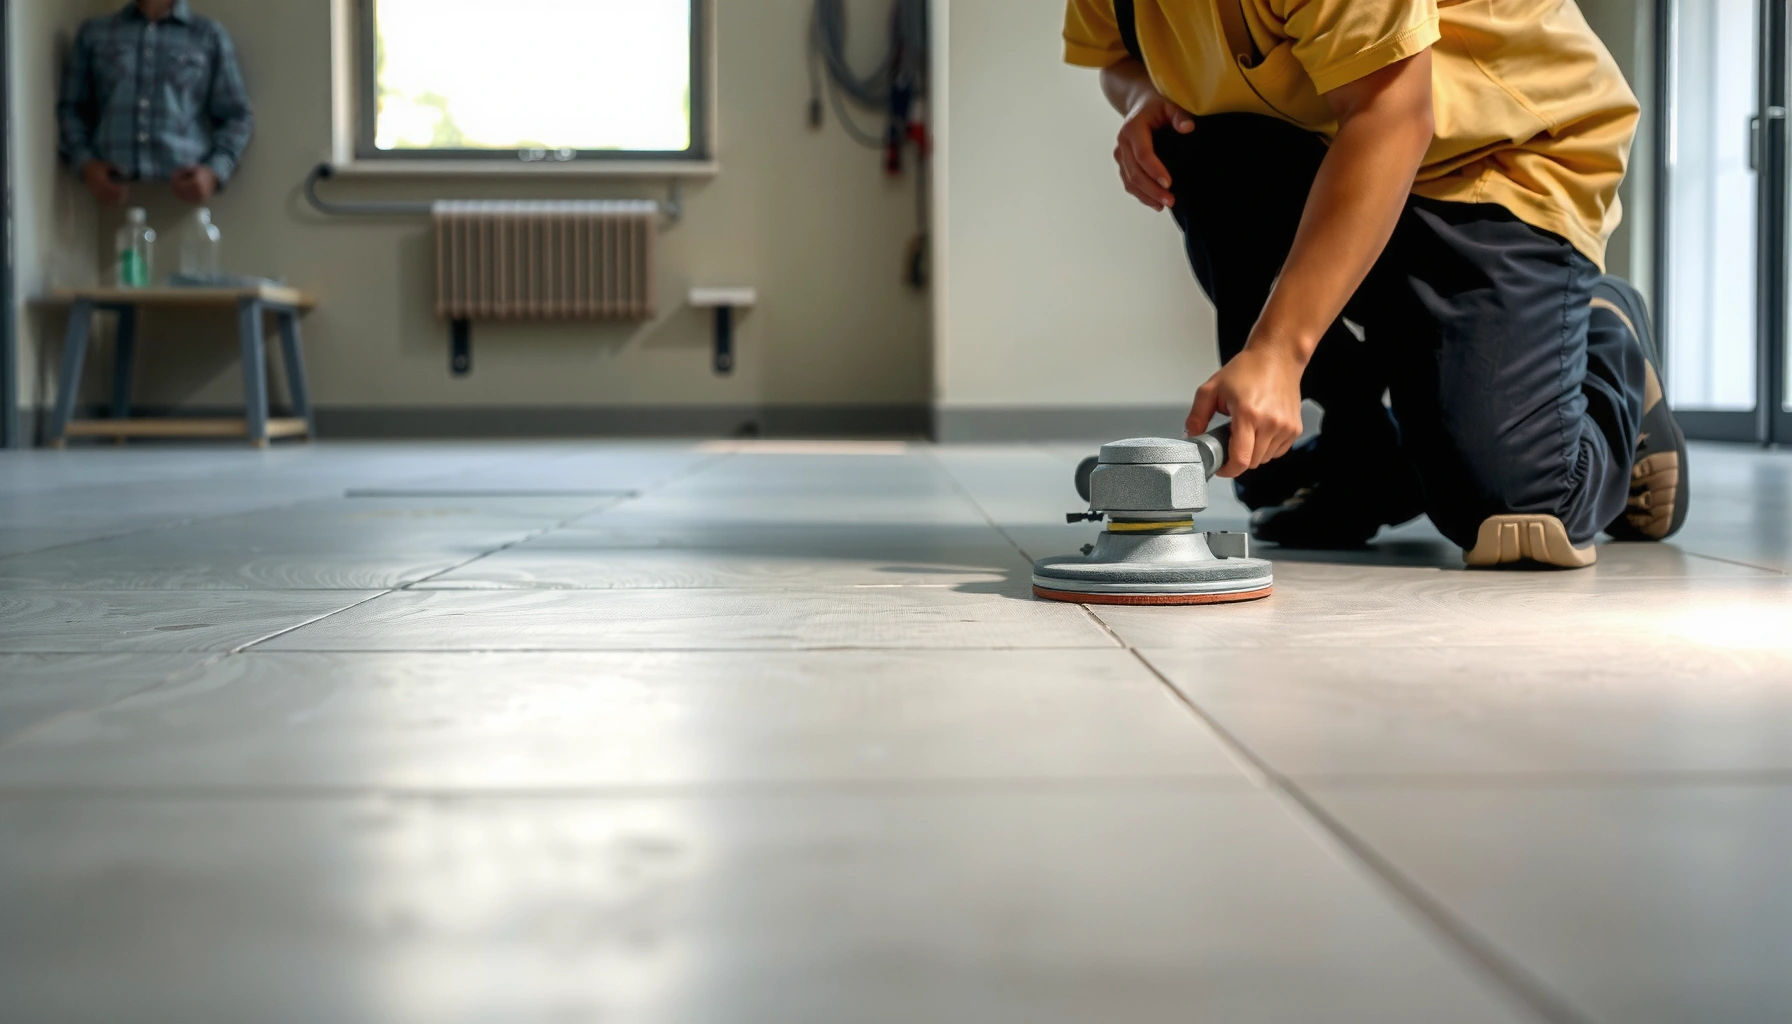
Mechanical profiling (scuffing/grinding) is often mandatory for overlays on smooth or previously sealed surfaces to create a reliable bond surface.
Cracks and failing areas should be corrected before topping because overlays can amplify movement and telegraph voids.
A practical prep workflow looks like this:
1. Clean thoroughly
– Remove dust, wax, paint overspray, and any residues that block bonding.
– Use the cleaner/degreaser guidance from your chosen system (some systems require specific pH-neutral or solvent strategies).
– Vacuum using industrial-grade methods to minimize fine particulates that act like bond breakers.
2. Mechanically prepare where required
– Many overlays need scuffing/grinding/profiling to create mechanical “tooth,” not just chemical contact.
– For glossy or sealed surfaces, profile is often the difference between “bond holds during installation” and “bond survives seasonal stress.”
3. Repair defects first
– Fill cracks and flatten high/low spots before proceeding.
– Replace any failing sections—patching over loose or delaminating areas rarely fixes the root problem.
– Feathering and transitions matter because polished finishes highlight surface variation.
From a practical standpoint, we’ve found that the interface is where “small skips” become big problems. If an adhesive or leveler requires a specific primer, don’t treat it as optional. If the system calls for a profile level, don’t rely on hand-scuffing alone when a grinder-driven approach is required.
To keep this decision grounded, use the polished concrete overlay system’s technical data sheet as your checklist.
Substrate compatibility at a glance (typical retrofit reality)
Use this as a planning tool—not a warranty substitute—because final compatibility depends on the exact product system and its written substrate acceptance.
Retrofit Suitability of Existing Floors for Polished Concrete Overlays (Typical Ranges)
| # | Existing floor type | Typical overlay effort | Adhesion risk (relative) | Project suitability score |
|---|---|---|---|---|
| 1 | Properly bonded quarry tile | Medium | Low–Moderate | ★★★★★ |
| 2 | Vinyl sheet (fully adhered) | High | Moderate | ★★★★☆ |
| 3 | Sealed/painted slab concrete | Medium–High | Moderate | ★★★☆☆ |
| 4 | Laminate (underlayment removed) | Very High | High | ★☆☆☆☆ |
| 5 | Cracked/loose tile areas (partial failure) | High | High | ★☆☆☆☆ |
| 6 | Overhead moisture risk (below-grade slab) | Variable | Moderate–High | ★★☆☆☆ |
| 7 | Existing polished/ground coating (if approved) | Medium | Low–Moderate | ★★★★☆ |
Install the polished concrete layers (practical workflow)
The most reliable installation sequence is: prime/bond coat (if required), then leveling/patching, then the polished concrete overlay/top system—while controlling temperature, humidity, and recoat windows. This reduces the risk of bond failure and surface defects like blistering, pinholes, and uneven gloss.
Following the overlay system’s specified build sequence (primer → leveler/patch → overlay) is critical because many layers require specific recoat timing and thickness.
Curing depends on environmental conditions; installing outside manufacturer temperature/humidity ranges increases defects and can weaken interlayer bonding.
Consistent grinding/polishing sequencing reduces uneven sheen and prevents visible crosshatch patterns in the finished floor.
A practical workflow often looks like this:
1. Stage the work
– Apply a prime/bond coat if your system calls for it.
– Install any leveling/patching required to achieve flatness before the overlay/top system goes down.
– Proceed with the polished concrete overlay according to the product instructions (mixing, placement, thickness, and curing).
2. Control timing and conditions
– Temperature and humidity affect set and cure. Use the specific ranges listed by the product manufacturer—don’t guess.
– Protect from excessive airflow, direct sun, or moisture exposure during cure unless the instructions explicitly allow it.
3. Finish consistently
– Grind/polish in the recommended sequence.
– Keep cleanup tight between steps so slurry and dust don’t create surface irregularities.
– Pay attention to uniformity of grind passes so the final sheen is consistent across the room.
A note on transitions and tolerance
Even with a perfect overlay build, transitions matter: door thresholds, baseboards, and existing transitions to adjacent surfaces need careful detailing so the polished concrete finish doesn’t crack at stress points or reveal edges.
[ADD: include your own project-specific detail here—e.g., “In our remodels, we always measure floor flatness before mixing leveler to avoid chasing high spots during cure.”]
(Only add this once you can state it accurately.)
What can go wrong (common mistakes and limits)
The biggest causes of polished concrete overlay failure are usually hidden: inadequate adhesion prep, trapped moisture, and incompatible substrates. If any of those risk factors are present, the “skip demolition” strategy can backfire.
Skipping profiling or applying overlays to glossy, sealed, or contaminated surfaces is a frequent path to debonding.
Moisture trapped between layers can cause debonding, blistering, and long-term deterioration even when the finished top coat looks intact.
Not all existing floors are eligible; systems specify which substrates they accept based on bonding chemistry and movement tolerance.
Common failure modes:
– Skipping adhesion prep: overlays on glossy coatings or poorly profiled surfaces are a frequent failure point.
– Moisture trapped between layers: even if the top looks fine, moisture can cause debonding, blistering, or long-term deterioration.
– Installing over the wrong base: some existing floors (certain resilient flooring, unstable substrates, or floors with movement) may be better removed rather than overlaid.
– Expecting “one-size-fits-all”: polished concrete systems are usually tied to specific surface prep and product compatibility.
Limits to respect
– If the existing floor has ongoing movement or widespread delamination, overlays won’t “lock it in.”
– If you can’t mechanically profile the existing surface to the required texture, you likely can’t meet the overlay’s bond needs.
– If you can’t address moisture with the system’s approved approach, removal or a different assembly design may be the safer option.
Verdict: when this is worth it (and when to skip)
This approach can work well when your existing floor is solid, clean, and compatible with a manufacturer-approved bonding/overlay method. Skip this plan—and strongly consider partial or full removal—if you have widespread loose material, active moisture concerns, or an existing surface you can’t properly profile/prepare for bonding.
If you’re unsure about compatibility between your existing flooring and a specific polished concrete overlay system, confirm in writing with the product manufacturer or installer who will do the final work. That documentation matters because it determines whether the project is “within spec,” not just “looks good” during installation.
Bottom line: choose overlays when you can engineer bond, flatness, and moisture control together—not one at a time.
Quick scan checklist (save this)
– [ ] Existing floor is sound (no loose areas, delamination, or soft spots)
– [ ] Surface type identified (tile/vinyl/laminate/sealed concrete, etc.)
– [ ] Moisture risk checked for the space
– [ ] Surface cleaning/degreasing completed per system guidance
– [ ] Mechanical profiling done where required
– [ ] Cracks and uneven areas repaired/flattened before topping
– [ ] Installer follows the polished concrete system’s bonding + curing requirements
FAQ
Can polished concrete be installed directly over tile or vinyl?
Often, only if the tile/vinyl is stable and the polished concrete system allows overlay installation on that substrate. In many cases you’ll need specific surface preparation (profiling/cleaning) and a compatible bonding approach—confirm with the manufacturer for your exact product.
Do I need to remove the existing flooring before polishing concrete?
Not always. If the existing surface is solid, level enough, and properly prepared for adhesion, an overlay/topping system may be possible. If there are loose sections, movement, or moisture problems, removal is usually the better (and safer) path.
What’s the biggest reason overlays fail?
Most failures come from inadequate prep (especially bonding surface texture/chemistry) or from moisture trapped beneath the new layers. Proper cleaning, profiling, and moisture considerations are key.
Is this DIY-friendly?
It can be, but polished concrete installation often depends on correct substrate prep and careful follow-through on grinding/polish sequencing. If you don’t have experience with overlays, grinding, and dust control, hiring a pro (or at least doing a first-pass consultation) can prevent costly rework.
Sources
– [ADD: source for overlay/polished concrete manufacturer instructions for substrate prep, bonding, moisture testing, and curing/environmental limits]
– [ADD: source for moisture testing guidance (e.g., ASTM standard referenced by the system manufacturer)]
– [ADD: source for substrate compatibility requirements for overlays (from the overlay/top system technical data sheet)]
When done correctly, polishing over existing flooring can deliver the look of polished concrete with less demolition—but only if you treat the substrate like a system component, not a convenience. Confirm moisture conditions, follow the overlay manufacturer’s bonding and profiling requirements, correct flatness with the right underlayment/patching, and respect the curing window. If any of those pillars can’t be met on your current floor, removal (at least partial) is the smarter risk trade.
Frequently Asked Questions
Can I install new flooring over existing polished concrete floors without removing them?
In many cases, yes—polished concrete can be used as a stable base for new flooring if it’s clean, sound, and level. The key is ensuring the surface isn’t contaminated with curing compounds, sealers, waxes, or oils, and that it won’t interfere with adhesion. A professional evaluation (and sometimes a bond test) helps confirm the concrete is suitable for your specific flooring type.
How do I prepare polished concrete floors before installing new flooring?
Start by thoroughly cleaning the polished concrete to remove dust, grime, and any residue, then lightly abrade the surface to improve grip for adhesives or underlayment. Repair any cracks, spalling, or low/high spots, and check for moisture issues using a concrete moisture test when required. Finally, verify the surface is flat within the manufacturer’s tolerance and vacuum again before installing over it.
What underlayment or leveling solution works best for uneven polished concrete?
If the polished concrete is only slightly uneven, a self-leveling underlayment can create a smooth substrate for many flooring options like laminate, vinyl plank, or engineered hardwood. For floors that are relatively flat but need comfort/sound reduction, choose an underlayment specifically rated for installation over concrete. Always follow the flooring manufacturer’s guidance on minimum thickness, compatibility with polished concrete, and whether a vapor barrier is needed.
Why does the choice of adhesive matter when installing flooring over polished concrete?
Polished concrete floors may have surface sealers or densifiers that reduce bond strength, which can lead to delamination or lifting if the wrong adhesive is used. Using the correct adhesive system—often one designed for concrete substrates—and applying proper surface prep (like grinding/sanding) improves adhesion. For best results, follow the adhesive’s specifications for trowel size, open time, and curing conditions.
Which flooring types are easiest to install over existing polished concrete floors?
Floating floors like laminate and many luxury vinyl systems are often easier because they don’t rely on direct bonding to the concrete surface. Direct-glue vinyl and certain tile installations can work well too, but they require stronger surface prep and moisture/adhesion considerations. Engineered hardwood may be suitable depending on thickness and the installation method, but it still depends on flatness, moisture control, and compatibility with the concrete base.
📅 Last Updated: October 10, 2026 | Topic: How to install over existing flooring polished concrete floors? | Content verified for accuracy and freshness.
References
- Google Scholar Google Scholar
https://scholar.google.com/scholar?q=polished+concrete+overlay+floor+installation+over+existing+flooring - Google Scholar Google Scholar
https://scholar.google.com/scholar?q=install+resilient+flooring+over+concrete+floor+surface+preparation - Google Scholar Google Scholar
https://scholar.google.com/scholar?q=polished+concrete+floor+preparation+for+coatings+and+overlays - Glass ceiling
https://en.wikipedia.org/wiki/Concrete_floor - Polished concrete
https://en.wikipedia.org/wiki/Concrete_polishing - https://en.wikipedia.org/wiki/Flooring
- https://www.epa.gov/indoor-air-quality-iaq/lead-safe-work-practices-maintain-and-renovate-homes
- https://www.osha.gov/publications/osha3182.html
- Google Scholar Google Scholar
https://scholar.google.com/scholar?q=How+to+install+over+existing+flooring+polished+concrete+floors? - https://en.wikipedia.org/wiki/Special:Search?search=How+to+install+over+existing+flooring+polished+concrete+floors?