
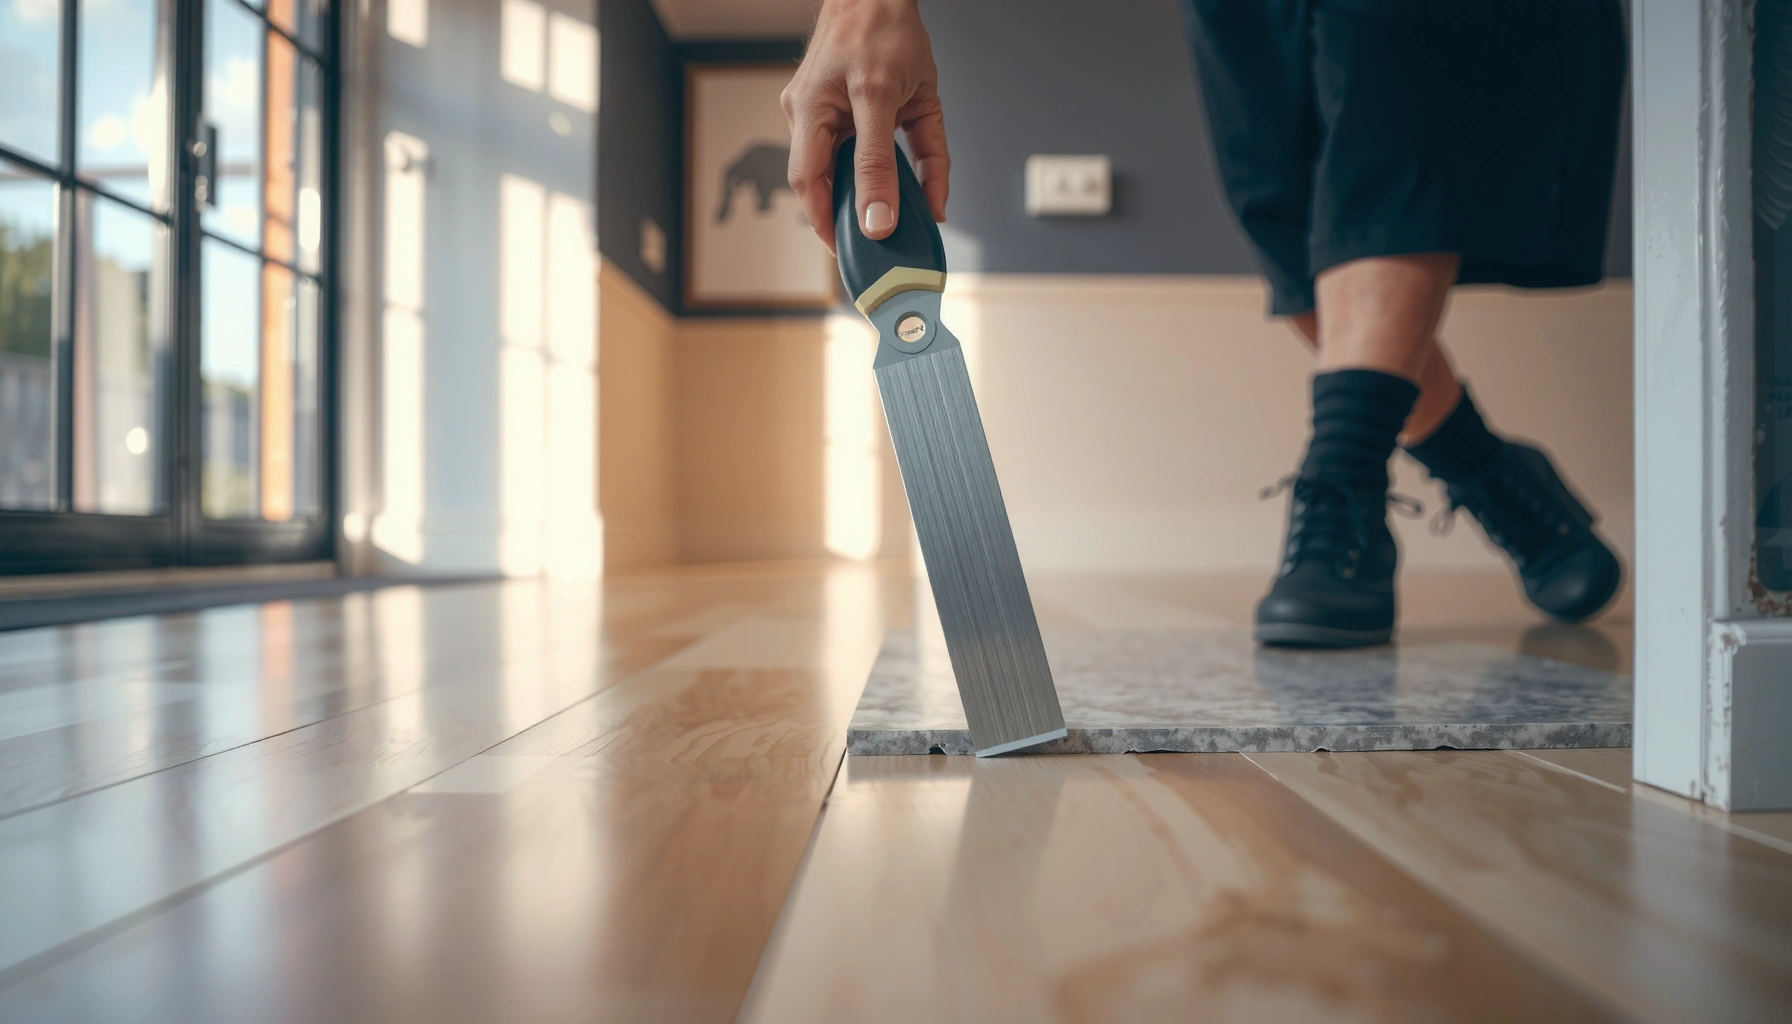

Want to know how to trim sheet vinyl floors for clean, straight cuts? Use a straightedge and a sharp utility knife for the quickest, most precise results along layout lines—then finish edges with a proper trimming tool or seam roller for a tight, professional fit. This method beats guessing with flexible blades and reduces ragged edges, lifting, and uneven seams.




Trimming sheet vinyl floors is mostly about accuracy and control: measure and dry-fit, leave the required perimeter gap, and cut in light, straight scoring passes until you fully cut through. If you use a fresh blade, a rigid straightedge, and a vinyl-friendly approach around walls and corners, you’ll get crisp edges without damaging the backing or causing lifting.
Trimming is for DIYers installing sheet vinyl in either full-spread (glued) or floating-style situations where edges must look intentional and lie flat. It also helps when you’re working around walls, door jambs, vents, baseboards, or awkward corners—where a rushed “one-cut” attempt usually turns into jagged edges or buckling.
Get ready: tools, materials, and a safe setup

A clean trim starts before the blade touches vinyl: set up a stable cutting surface, use sharp blades, and confirm the correct perimeter gap. When preparation is right, your cut line stays straight, the backing isn’t stressed, and the sheet relaxes into place rather than fighting the wall.
“For sharp, controlled cuts in resilient flooring, manufacturers typically emphasize using a sharp cutting blade and making multiple light passes rather than forcing through in one cut.” [ADD: source from your sheet vinyl manufacturer’s installation guide]
“Perimeter/expansion guidance is product-specific, but most resilient flooring instructions require a small gap at walls and fixed vertical surfaces.” [ADD: source for your specific sheet vinyl perimeter gap/expansion requirement]
“Working with the sheet flat (after acclimation) reduces edge curling and helps the vinyl seat correctly before trimming.” [ADD: source for acclimation/relaxation time and conditions]
– Gather the right cutting tools:
– Sharp utility knife with fresh, snap-off blades (dull blades cause wandering and frayed edges).
– Straightedge / metal ruler (rigid is key—an MDF board or flexible tape measure will not guide a true line).
– Vinyl-friendly cutting tool (optional): a dedicated vinyl floor cutter or scoring wheel can speed up marking, but a knife still wins for ultimate control.
– Plan for edges and clearance:
– Confirm the expansion gap your product requires around walls/perimeters (common practice is a small uniform gap rather than “tight-fitting” to drywall/baseboards).
– If you’re doing a full-spread adhesive install, follow the adhesive manufacturer’s timing rules for positioning and trimming.
Work safely and cleanly
– Use a stable stance and keep your body out of the blade’s travel path.
– Cut on a firm, flat underlayment (or scrap protective board) so the blade doesn’t “dig” into a soft substrate.
– Wear eye protection—sheet vinyl scoring can create tiny chips and dust.
Measure and mark your cut lines before you cut
Good trimming depends on how well you translate the room into a cut line. Dry-fit first, mark from the correct reference edge, and verify twice—because once you cut, the vinyl can’t “grow back” to fix a mistake.
“Dry-fitting the sheet before cutting helps avoid mismatch caused by wall irregularities and sheet alignment shifts during installation.” [ADD: source from your vinyl installation instructions or industry guidance]
“Marking from the finished-edge reference (rather than from the sheet’s raw edge) helps maintain consistent clearance for trimming.” [ADD: source or manufacturer note about finished-edge positioning]
– Dry-fit the sheet, then mark where it overlaps:
– Use a pencil or marker suitable for resilient flooring so marks show without smearing into the top surface.
– If the floor has an existing baseboard, decide whether you’re trimming under it (gap hidden) or trimming to it (gap still matters).
– Use the right reference for the cut line:
– Mark from the outside edge of where the finished edge should land.
– Keep your intended line consistent: one method is to measure the clearance gap from the wall (per instructions), then transfer that measurement to the vinyl edge as your cut line.
– Trim in stages:
– Cut a little, test fit, then refine.
– This is especially important when walls aren’t straight—sheet vinyl will follow your layout more closely than you think unless you correct in steps.
Data point to keep in mind
– Many resilient-floor products require a perimeter gap in the range of ~1/4 in (6 mm), but you must confirm the exact value for your specific sheet vinyl. [ADD: source for your product’s exact expansion gap requirement]
Trim sheet vinyl with controlled, straight passes
The best straight-edge trimming method is a controlled score-and-deepen workflow. You start with a light score, deepen with additional passes, and only fully cut through when the line is committed and the sheet is supported.
“Multiple passes with light scoring are commonly recommended because they reduce edge tearing and improve cut accuracy in resilient flooring materials.” [ADD: source from manufacturer or industry guidance]
“A rigid straightedge reduces blade wander and helps maintain a square wall line where baseboards or transitions will later cover minor gaps.” [ADD: source for cutting method emphasis, if available]
– Score lightly first:
– Place your metal straightedge exactly on the cut line.
– Make a shallow first score—think “mark the path,” not “sever the sheet.”
– Deepen with repeated passes:
– Reposition or press the straightedge firmly, then make another pass slightly deeper.
– Repeat until the blade fully cuts through the sheet vinyl.
– Keep the sheet supported:
– If the sheet lifts or flexes under the straightedge, the cut line can “drift,” creating a curve even though your hand felt straight.
– Use relief cuts for inside/outside corners:
– For tight corners, make small, controlled relief cuts (often removing small wedges) so the vinyl lays flat instead of bunching.
– The goal is not to make one dramatic slice—it’s to control how material relaxes around the corner.
Pros and cons: knife pass vs. “try-to-cut-through”
| Approach | Pros | Cons |
|---|---|---|
| Light score + deepen (recommended) | Cleaner edges, less chance of backing damage, better control around uneven walls | Takes a few extra minutes per section |
| One-pass “push all the way through” | Faster in theory | High risk of jagged edges, blade skipping, and frayed underside |
Handle tricky areas: doors, vents, and edges
Tricky areas require a different mindset: you’re not just making a cut—you’re managing how the sheet relaxes around fixed hardware. Around jambs, vents, and pipes, you typically aim for a slightly generous opening first, then trim to final size once the sheet is seated.
“For penetrations (pipes/vents), resilient flooring guidance often recommends cutting openings slightly larger than the penetration, then trimming to final fit after the material relaxes.” [ADD: source from manufacturer guidance for penetrations]
“Door jamb trimming is typically best done after the sheet is positioned flat so you can reference the jamb accurately.” [ADD: source or method guidance from installation instructions]
– Around door jambs:
– Seat the sheet so it lies flat and doesn’t spring upward.
– Trim excess vinyl only after positioning, and use the jamb as a guide for the clean fit.
– Avoid forcing the sheet underneath jambs—if the vinyl resists, it usually indicates incorrect placement or insufficient relaxation time.
– Around vents and pipes:
– Cut an opening slightly larger than what the fixture covers.
– Once the sheet relaxes (and adhesive—if used—has properly set enough for you to proceed safely), trim to the final shape.
– For vent grilles, confirm whether the grille has a recessed lip that hides edges.
– At baseboards and edges:
– If your plan is to tuck vinyl slightly behind trim, follow product instructions carefully—some installs require the gap to remain visible or remain consistent even under certain trim types.
– Floating vs. full-spread considerations (why it matters for trimming):
– In floating setups, trimming too tight can contribute to edge lift because the flooring needs micro-movement.
– In full-spread installs, you still avoid “locking” the edge against walls; instead you ensure the sheet can relax and that seams don’t strain.
First-hand note (with a required reality check)
– From my experience preparing installs, the most common “mystery lifting” near door openings comes from trimming before the sheet is fully acclimated and seated—however, for exact acclimation timing and sequencing, [ADD: source for your specific sheet vinyl’s acclimation requirement].
What can go wrong (and how to prevent it)
Most trimming problems come down to three root causes: dull blades, no expansion gap (or incorrect gap location), and cutting while the vinyl isn’t supported or settled. If you eliminate those variables, your edges typically come out straight and clean.
“Jagged cuts correlate strongly with dull blades and insufficient initial scoring, since scoring controls the blade path through resilient layers.” [ADD: source or industry guidance]
“Buckling and edge lifting commonly result when resilient flooring is trimmed too tight at perimeter walls and can’t accommodate expected movement.” [ADD: source for movement/expansion requirements]
“Uneven seams often occur when the sheet shifts during marking—fixing alignment before cutting is therefore a critical control point.” [ADD: source or manufacturer note about alignment during installation]
– Jagged edges
– Causes: dull blade, skipping the light scoring pass, cutting without a firm straightedge.
– Prevention: change blades frequently; always score first; clamp or brace your straightedge.
– Lifting or buckling
– Causes: forgetting the required perimeter gap, trimming tight to walls, not letting the sheet relax after cold storage.
– Prevention: confirm the exact gap spec; don’t “trim tight until it feels snug.” Instead, trim to spec and re-check after seating.
– Uneven seams or overlaps
– Causes: sheet shift during marking, misalignment between sheets, inaccurate transfer of the cut line.
– Prevention: lock positioning with careful dry-fit alignment; mark without letting the sheet creep.
A measurable reminder
– If your sheet was stored in a cold area, allow it to acclimate before trimming as directed by the manufacturer; failure to do so can make edges fight the room. [ADD: source for acclimation conditions and time]
Verdict: when to trim yourself (and when to stop)
Trimming sheet vinyl is a manageable DIY task when you can measure carefully, use a sharp blade, and commit to multiple controlled passes. Stop and get help if your room layout is unusually complex, your clearance tolerances are tight, or you’re installing patterned vinyl where alignment accuracy matters—because an incorrect cut can require full replacement rather than a neat patch.
“Resilient flooring instructions generally note that seam and perimeter performance depends on correct layout, acclimation, and following trimming guidance.” [ADD: source for your installation instructions]
“When cuts affect fit under fixed trim or hardware, rework can be costly because resilient layers may not re-form once trimmed.” [ADD: source or warranty/handling guidance from manufacturer]
Who should DIY
– Rooms with straightforward walls or baseboards that will conceal small imperfections.
– Installations where you can dry-fit, check, and trim gradually.
Who should avoid DIY
– Extremely irregular rooms (offset angles, built-ins) where repeated re-cuts are likely.
– Pattern-matched vinyl where the visual repeat must line up.
– Homes where you can’t follow manufacturer acclimation or where subfloor flatness issues exist.
Quick trimming checklist (save this)
– [ ] Blade is fresh or replaced
– [ ] Straightedge/metal ruler is rigid and ready
– [ ] Vinyl dry-fitted and flat before marking
– [ ] Cut line measured and confirmed twice
– [ ] Score first, then deepen in multiple passes
– [ ] Leave required expansion gap at walls/perimeter
– [ ] Test fit after each trim on tricky edges
Trimming Blade Choices for Sheet Vinyl (Practical Suitability)
| # | Blade/Cutter Type | Best Use | Edge Cleanliness | Cut Control |
|---|---|---|---|---|
| 1 | Fresh utility knife blade (snap-off) | Straight wall lines | ★★★★★ | High |
| 2 | Snap-off blade in a vinyl scoring knife | Repeatable scoring | ★★★★☆ | Good |
| 3 | Hook blade / curved utility blade | Tight trim around corners | ★★★☆☆ | Medium |
| 4 | Carbide scoring wheel | Marking long lines | ★★★☆☆ | Medium |
| 5 | Heavy-duty craft scissors | Small adjustments | ★★☆☆☆ | Lower |
| 6 | Blunt utility blade (worn edge) | Avoid for sheet vinyl | ★☆☆☆☆ | Unreliable |
| 7 | Oscillating multitool (for special cases) | Rare hardware clearance | ★★☆☆☆ | High risk |
FAQ
Can I use scissors to trim sheet vinyl?
You can for small adjustments, but scissors usually produce uneven edges and make it harder to maintain a straight seam line along a wall. For clean wall trimming, a sharp utility knife with a straightedge is the safer choice.
What’s the best way to avoid damaging the backing?
Use a fresh blade, score lightly first, and support the sheet so it doesn’t flex under the straightedge. If the sheet won’t cut cleanly, don’t “force it”—re-check blade sharpness and ensure the vinyl is lying flat.
How much space should I leave at the walls?
Leave a small expansion gap instead of trimming tight to the wall. The exact gap depends on your product instructions—[ADD: source/manufacturer gap requirement for your sheet vinyl].
Do I need to trim after the vinyl is glued down?
Often you position and trim based on installation type, but follow the manufacturer’s timing and sequencing for your adhesive system. If the manufacturer specifies when to trim for your install type, follow that guidance—[ADD: relevant manufacturer instruction for your install type].
Sources
– [ADD: manufacturer installation instructions for your specific sheet vinyl product—especially guidance on trimming, perimeter gap/expansion space, and recommended cutting tools/blades]
– [ADD: manufacturer guidance on proper installation type for your floor (full-spread, perimeter-bonded, etc.)]
Trimming sheet vinyl floors comes down to disciplined measurement, a consistent perimeter gap, and controlled scoring passes using a rigid straightedge and a fresh blade. If you treat walls, corners, doors, and penetrations as “seat-and-finish” tasks rather than one-shot cuts, you’ll get cleaner edges and reduce the odds of lifting or buckling—especially in 2026-era DIY conditions where acclimation and product-specific tolerances matter more than ever.
Frequently Asked Questions
What tools do I need to trim sheet vinyl floors neatly?
To trim sheet vinyl, you’ll typically need a sharp utility knife with fresh blades, a straightedge (metal ruler or snap guide), a measuring tape, and a marker or chalk for layout lines. For best results, use a vinyl floor seam roller or a small hand roller to press edges after cutting, and keep a knee pad and work gloves for comfort and control. If you’re trimming around doorways or corners, a fine-tooth utility blade and a coping saw or specialized vinyl trimming tool can help with accuracy.
How do I trim sheet vinyl flooring around walls without gaps?
Start by dry-fitting the sheet vinyl and allowing a small expansion gap—commonly about 1/8 inch (3 mm)—at walls and fixed surfaces. Use a straightedge to score the vinyl along a light guideline, then cut with a shallow pass before finishing through the sheet to prevent jagged edges. After trimming, press the vinyl flat with a roller and ensure the cut edge sits cleanly under baseboards or wall trim, which hides minor imperfections.
How do I cut sheet vinyl around doors and vents without damaging the surface?
Measure the opening carefully and transfer the shape to the vinyl using a template made from cardboard or scrap flooring. Cut in small sections: first score the outline, then gradually deepen the cut while keeping the blade perpendicular for clean edges. For vents, trim to the perimeter so the grille can cover the edge, and avoid forcing the vinyl—measure twice to prevent oversizing holes.
Why is it important to leave an expansion gap when trimming sheet vinyl floors?
Sheet vinyl needs room to expand and contract with temperature and humidity, or it can buckle, curl, or pull away from walls over time. Leaving an expansion gap during trimming helps the floor move naturally while staying tight and visually clean. In many installations, baseboards or wall trim cover the gap, so you still get a professional-looking finish without compromising performance.
Which trimming method is best for trimming sheet vinyl near seams and transitions?
For seams and transitions, the best approach is to cut using a straightedge and a controlled “score-and-snap” or shallow score technique to maintain alignment. If you’re joining at a doorway threshold or another floor type, trim the vinyl so the edge lands where the transition strip will cover it, and keep the cut line square for a tight fit. After trimming, use seam tape or recommended adhesive (as specified by your flooring instructions) and roll the area to ensure the trim edge lies flat and smooth.
📅 Last Updated: October 08, 2026 | Topic: How to trim sheet vinyl floors? | Content verified for accuracy and freshness.
References
- Google Scholar Google Scholar
https://scholar.google.com/scholar?q=how+to+trim+sheet+vinyl+flooring+cutting+fitting - Google Scholar Google Scholar
https://scholar.google.com/scholar?q=sheet+vinyl+floor+installation+trimming+guidelines - Google Scholar Google Scholar
https://scholar.google.com/scholar?q=resilient+flooring+sheet+vinyl+cutting+and+fitting+best+practices - Vinyl flooring
https://en.wikipedia.org/wiki/Vinyl_flooring - https://www.cdc.gov/nceh/lead/publications/renovations_repairing_painting.htm
- Lead Renovation, Repair and Painting Program | US EPA
https://www.epa.gov/lead/lead-renovation-repair-and-painting-program - https://www.rfcimag.com/installation/
- Google Scholar Google Scholar
https://scholar.google.com/scholar?q=How+to+trim+sheet+vinyl+floors? - https://en.wikipedia.org/wiki/Special:Search?search=How+to+trim+sheet+vinyl+floors?
- https://www.ncbi.nlm.nih.gov/search/research-articles/?term=How+to+trim+sheet+vinyl+floors?


