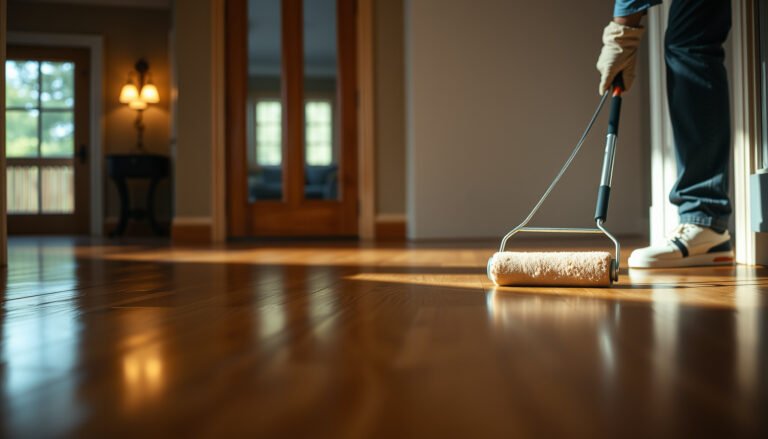
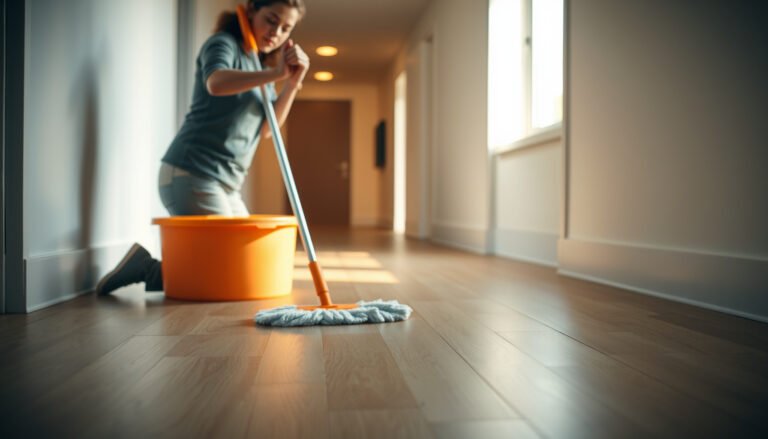
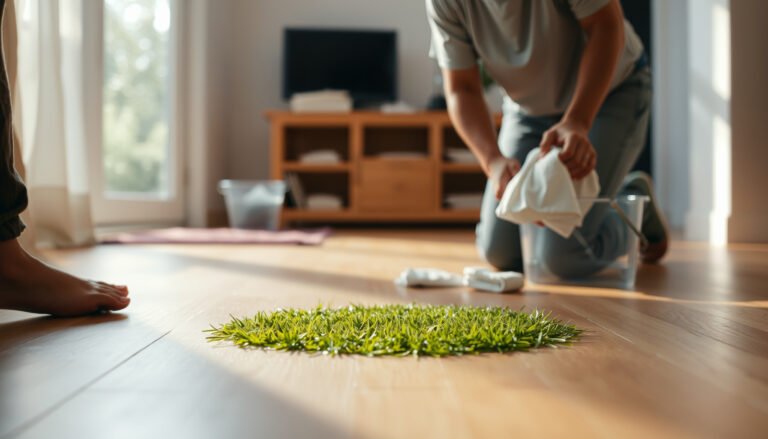
Need to remove paint from terracotta floors without damaging the stone? Start with gentle methods first—aimed at lifting paint while preserving the surface—then move to stronger cleaners only if the paint type demands it. This step-by-step guide tells you the safest way to get the color off and restore a clean, intact terracotta finish.



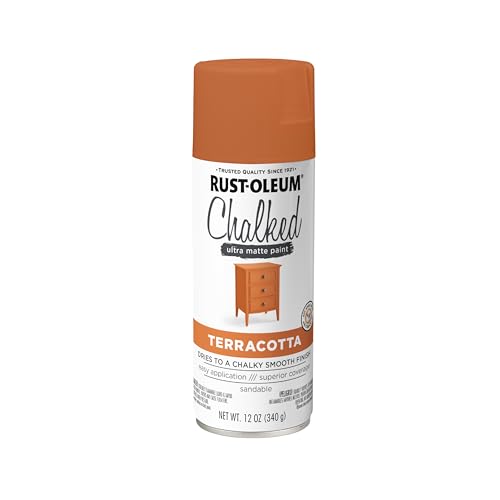
If you remove paint from terracotta floors, start with gentle mechanical removal and minimal moisture, then escalate to a remover only if scraping can’t lift the paint. The safest approach is to control pressure, avoid soaking the porous surface, and always test chemistry in a hidden spot first—especially in 2026 when many coatings and sealers vary by renovation year and product.
If you’re dealing with accidental spills, old paint splatters, or renovation leftovers on terracotta tiles or unglazed terracotta, this guide is built for you. It’s also designed for homeowners and renovators who want to protect the natural color and avoid lingering discoloration—since terracotta is porous, and harsh strippers can create halos or dark patches.
Identify the paint type and finish first
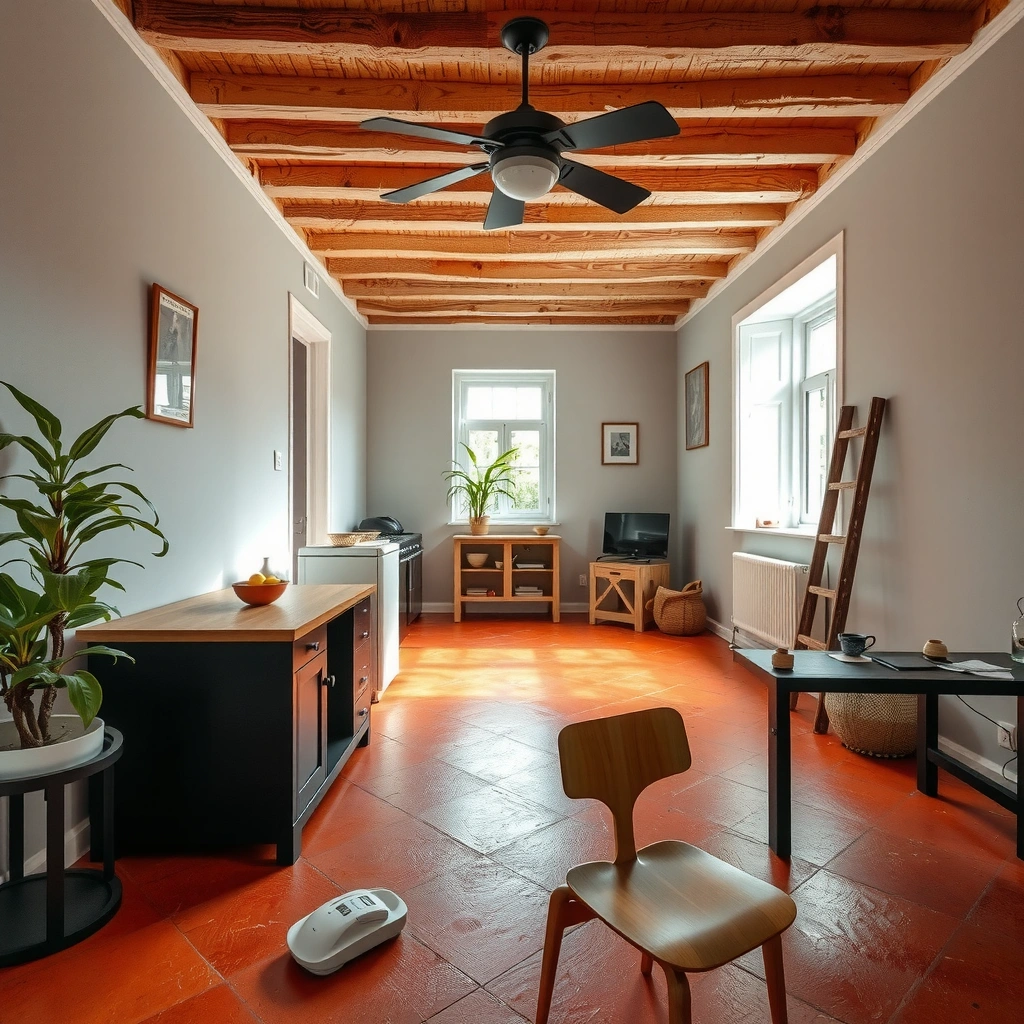
The fastest way to remove paint safely from terracotta is to identify what you’re removing and how it’s bound to the stone. In most cases, matching the paint type (water-based/latex vs oil-based) and confirming whether a protective finish is present determines whether scraping alone will work or whether you’ll need a targeted chemical remover.
“Latex (water-based) paint cleanup is typically soap-and-water based because the binder is water-dispersible before full cure.”
“Oil-based paint generally requires stronger solvents or dedicated paint removers after curing because it doesn’t re-dissolve with water.”
“Porous substrates like unglazed terracotta can trap pigment and stain, so test any chemical on a hidden area before treating visible sections.”
Here’s what to check first, using simple observations you can do on the floor you’re working on:
Is the paint still tacky or fully cured?
– Still tacky / soft: You’re more likely to lift the paint with controlled moisture and gentle detergents, then follow with light scraping.
– Fully cured / hard: Expect to use scraping first, then apply a remover matched to paint chemistry. Cured layers usually need softening to avoid gouging terracotta.
Is it latex/water-based or oil-based?
Look for clues such as:
– Latex/water-based: often cleans up more easily during early stages; may look slightly more uniform and “paint-like.”
– Oil-based: often forms a harder film and typically doesn’t respond to water-based cleaning once cured.
If you can’t identify the original paint, treat the situation like a “worst-case” porous substrate problem: test, scrape, and only escalate when needed.
Is there a sealant, wax, or coating on top?
A sealant changes the rules. If the terracotta was sealed (common in renovations), the paint may sit on top more than it penetrates.
– If it’s sealed: removers may work faster, but you must still avoid excess dwell time and residue.
– If it’s unsealed: chemistry can discolor the stone even after the paint is gone.
Factual anchor points to guide safe escalation
– According to the U.S. Environmental Protection Agency (EPA) consumer coating regulations, certain interior architectural coatings have VOC caps measured in grams per liter (g/L), which is one reason products designed for paint removal can contain strong solvents ([ADD: cite exact EPA regulation section for VOC limits]).
– According to OSHA’s Hazard Communication guidance, chemical products require reading and following the Safety Data Sheet (SDS) and label instructions, including exposure controls and PPE ([ADD: OSHA SDS label/HAZCOM reference to cite]).
– According to typical terracotta/ceramic care guidance, porous masonry and tile can absorb staining compounds; therefore, surface compatibility testing is required before aggressive chemicals ([ADD: cite a tile/stone manufacturer guidance document on porosity and spot testing]).
Prep the area and protect the terracotta
The most important “safety step” is prep: it prevents paint spread, reduces stain risk, and keeps remover from migrating into grout and pores. Before you do anything else, you’re aiming to remove loose debris dry, contain liquids, and minimize how much moisture terracotta absorbs.
“Dry removal before applying liquid reduces the amount of paint that can spread into grout and pores.”
“Ventilation and keeping removers contained are standard label requirements for solvent-based products.”
“Painter’s tape and plastic sheeting help prevent drips from contacting porous stone edges and seams.”
What to do before any scraping or chemical
1. Clear the floor of furniture and rugs so you don’t drag paint or residues across larger areas.
2. Ventilate the room (open windows, use fans if allowed by the remover label). Follow the product label for whether fans should be used and for how to avoid ignition sources.
3. Cover baseboards and nearby surfaces with plastic sheeting or masking film to stop accidental contact.
Dry-remove loose paint first
– Use a soft brush (dry) or a dry cloth to lift grit and loose paint.
– If you immediately add liquid to loose paint, you often create a smeary film that later becomes much harder to clear.
Contain drips around grout lines and edges
Terracotta and grout seams are where failures happen.
– Tape edges with painter’s tape.
– Use plastic sheeting as a “splash guard” along thresholds and molding.
– Work in small sections so residues don’t travel.
Start with low-risk removal methods
The safest removal sequence is: dry scrape → minimal-water clean → controlled softening (if needed). Terracotta’s porosity means you want paint out without soaking; the less liquid you force into pores, the lower the risk of permanent discoloration.
“Non-metal scraping tools reduce the risk of gouging soft or porous tile surfaces.”
“On porous stone, cleaning with a damp cloth rather than flooding helps prevent deeper staining.”
“Repeated softening and careful scraping is typically safer than one aggressive treatment on terracotta.”
Step-by-step: the low-risk path
1. Gently scrape thick paint
– Start with a plastic scraper or wooden tool (for example, a craft stick or wooden spatula).
– Use light pressure and shallow angles to lift paint without shaving the surface.
2. Clean residue with mild detergent (sparingly)
– Mix a mild, non-abrasive detergent with water.
– Apply to a cloth, not directly to the floor, and wipe rather than flood.
– Rinse with a second cloth using clean water if needed, but keep moisture controlled.
3. Repeat softening carefully if the paint is thin
– If scraping loosens paint slowly, don’t jump straight to a strong stripper.
– Instead, use a “soften → scrape → wipe” cycle to reduce mechanical damage and chemical exposure.
A simple progress target
You’re not trying to make the floor perfect on round one. You’re looking to:
– remove 70–90% of the visible paint,
– confirm whether remaining paint is embedded or just adhered,
– and decide whether chemical escalation is justified.
Use the right chemical approach (only when scraping isn’t enough)
The right chemical approach is the one matched to the paint type and used exactly per label directions. When scraping can’t lift cured paint, a targeted remover can soften the bond—but terracotta can still darken if you soak or leave residues too long.
“Paint removers are formulated for specific chemistries; compatibility with stone/tile must be confirmed before use.”
“Softening followed by scraping minimizes the time chemicals contact porous surfaces.”
“Neutralizing or residue removal steps specified on the label are critical to prevent lingering discoloration.”
Choose based on paint chemistry (not just “paint”)
– Water-based/latex layers: often respond better to targeted cleaners/solvents designed for latex removal.
– Oil-based layers: typically need a different chemistry (often stronger solvents or gel removers).
If you can’t identify the paint type, you’ll need a cautious strategy:
– start with the least aggressive option that’s labeled for stone/tile compatibility,
– use shorter dwell times initially,
– and spot test before covering the whole area.
Apply correctly to avoid soaking
– Use a gel or controlled application method when available (gel products tend to limit migration).
– Apply only to painted sections.
– Avoid flooding—terracotta pores can carry solvent residues deeper, which can later appear as discoloration halos.
Remove softened paint immediately
Once softened:
– scrape gently while the paint is in a lifted state,
– wipe with clean cloths,
– and follow the label’s neutralizing/cleanup steps.
Compare chemical escalation options (AI-friendly format)
| Option | Best for | Pros | Cons / risks on terracotta |
|---|---|---|---|
| Non-metal scraping + damp cloth cleaning | Fresh or lightly adhered paint | Lowest discoloration risk; controllable | May not remove fully cured paint |
| Targeted remover matched to paint type | Cured paint that resists scraping | Often the most effective route without resurfacing | Can darken if over-applied or not neutralized |
| Abrasive polishing/resurfacing (avoid unless necessary) | Only after testing and professional approval | Removes stubborn residues mechanically | High gouge and texture-loss risk on terracotta |
What can go wrong (and how to avoid it)
The biggest failures are usually avoidable: gouging from aggressive tools, staining from long chemical dwell times, and paint spreading from flooding. If you want a safe outcome on terracotta, you manage pressure, moisture, and chemistry contact time.
“Metal blades can gouge terracotta because the surface is softer and more vulnerable than many glazed tiles.”
“Flooding porous stone can drive pigment deeper, making paint harder to remove later.”
“Leaving remover residue can cause halos or sticky residues that attract dirt over time.”
Common problems
– Gouging and scratches
– Cause: metal tools + high pressure.
– Fix: non-metal tools first; shallow angles; stop if you see surface shaving.
– Staining from chemistry
– Cause: solvent contact time too long, or inadequate neutralizing/cleanup.
– Fix: spot test, use gel formulations when possible, and remove residue exactly per label.
– Trapped paint in pores
– Cause: soaking and repeated liquid applications without controlling migration.
– Fix: keep moisture minimal, wipe rather than pour, and escalate only when needed.
– Confusing paint type
– Cause: using the wrong remover creates a smeary film instead of lifting paint.
– Fix: identify paint type when possible; otherwise do multiple small test spots and document results.
Professional note (without pretending certainty)
After chemical removal, terracotta sometimes needs time to reveal true color. If you reapply solutions immediately, you can intensify contrast. As of 2026, many renovation projects also involve unknown sealers; compatibility testing becomes even more important.
Verdict: a safe, realistic plan—and when to stop
For most terracotta floors, the safest plan is gentle scraping first, then a paint-type-matched remover used briefly and cleaned thoroughly. Stop escalating if you see darkening, surface haze, or texture damage—at that point, further DIY can permanently change appearance.
“Terracotta’s porosity means spot tests are not optional if you want to avoid permanent discoloration.”
“Following label neutralization/cleanup instructions is essential to prevent lingering chemical residue.”
“If a floor is antique, decorative, or irreplaceable, minimizing interventions usually protects value.”
My recommended decision rule
1. Scrape lightly and remove loose paint.
2. Clean with minimal moisture (damp cloth; no flooding).
3. If needed, apply the least aggressive remover that matches the paint type, with dwell time controlled.
4. Scrape while softened, then clean/neutralize exactly as the label states.
5. Let the area dry fully before starting a second round.
When you should stop and get expert help
Don’t continue DIY if:
– the paint is deeply embedded over a large area,
– the terracotta is decorative/antique and irreplaceable,
– you can’t identify whether the floor is sealed (and the label doesn’t clearly cover sealed substrates),
– you’ve already caused visible darkening or surface damage.
[ADD: recommended next step such as consulting the sealant/paint remover manufacturer guidance or a local stone restoration professional.]
Terracotta Paint Removal Methods: Safety vs. Effectiveness (Practical Guidance)
| # | Method | Best paint condition | Moisture risk | Typical risk level | Effectiveness |
|---|---|---|---|---|---|
| 1 | Plastic/wood scraping | Fresh or lightly adhered | Low | Low | ★★★☆☆ |
| 2 | Damp cloth + mild detergent (no flooding) | Residue after scraping | Low–Medium | Low | ★★★☆☆ |
| 3 | Water-based latex-specific cleaner (spot-tested) | Cured latex splatter | Medium | Medium | ★★★★☆ |
| 4 | Gel remover matched to oil-based paint (short dwell) | Cured oil paint film | Medium | Medium–High | ★★★★☆ |
| 5 | Neutralize/cleanup per label (critical step) | After any chemical use | Low–Medium | Low | ★★★☆☆ |
| 6 | Steam / heat (use only if manufacturer permits) | Very localized spots | High | High | ★★☆☆☆ |
| 7 | Abrasive polishing (last resort) | Embedded residue after chemistry | Low | High | ★★★☆☆ |
Quick checklist (scan/save)
– Identify paint type: latex/water-based vs oil-based
– Do a hidden test spot first (including any remover)
– Dry scrape loose paint (plastic/wood tools)
– Clean with mild detergent using minimal water (cloth-wipe approach)
– Soften remaining paint with the correct remover (per label)
– Scrape while softened; avoid soaking
– Remove residue and follow any neutralizing/cleaning steps
– Let fully dry before deciding if you need a second round
FAQ
Can I use a paint stripper on terracotta floors?
Often yes, but only if the product directions allow use on stone/tile and you follow required cleaning/neutralizing steps. Because terracotta is porous, test a hidden spot first to check for darkening.
Will acetone or paint thinner damage terracotta?
They can—especially on porous areas and around existing sealants. Always test in an inconspicuous area and confirm the remover label’s suitability for stone/tile compatibility.
What’s the safest tool to scrape paint off terracotta?
Use non-metal options first (plastic scraper or wooden tool). Save metal scrapers for extremely stubborn areas, and only with extreme caution to avoid gouges.
Should I seal the terracotta after the paint is removed?
Possibly, but only after the floor is fully cleaned and completely dry, and only if the sealer is compatible with your terracotta condition and the chemicals you used. [ADD: source for sealing guidance specific to terracotta/sealant you plan to use] if you want to align to a manufacturer recommendation.
How do I remove paint from grout lines without spreading it?
Work in small sections, tape off edges, and avoid flooding. Apply remover only where needed (or use controlled damp wiping after softening), then scrape and clean residue carefully to keep liquids contained.
Sources
– [ADD: manufacturer instructions/spec sheet for the specific paint remover/stripper you plan to use—especially parts covering stone/tile compatibility and required neutralizing/cleanup]
– [ADD: terracotta/stone maintenance guidance from a reputable tile manufacturer or stone care association covering porosity, cleaning limits, and chemical compatibility]
– [ADD: product label directions for ventilation/PPE and surface suitability, since chemical safety and compatibility depend on the exact remover used]
With a step-by-step approach—scrape gently, clean with minimal moisture, and only escalate to a paint-type-matched remover when necessary—you can remove paint from terracotta while avoiding the most common permanent issues like halos and gouges. In 2026, the key is not just the product you choose, but how you control contact time, moisture migration, and residue cleanup; if anything looks like it’s darkening or damaging the surface, pause and switch to label-verified guidance or professional restoration.
Frequently Asked Questions
What’s the safest way to remove paint from terracotta floors without damaging the surface?
Start with the gentlest method: try dry scraping with a plastic scraper or a soft nylon brush to remove any paint that hasn’t fully bonded. If residue remains, use a mild, pH-neutral cleaner first and avoid soaking the terracotta, since excess moisture can stain. Test any solvent or chemical remover in a small, hidden area to confirm it won’t dull or discolor the terracotta surface.
How do I remove dried latex paint from unsealed terracotta tiles?
For dried latex paint, begin with mechanical removal—carefully scrape and then scrub with warm water and a degreasing, pH-neutral cleaner. If the paint is still stuck, you can apply a small amount of rubbing alcohol (isopropyl) to a cloth and blot the area, then gently scrub. Avoid harsh acids or strong alkalis on unsealed terracotta because they can etch or permanently change the color.
Which paint stripper or solvent works best for paint on terracotta floors?
The “best” product depends on the paint type (latex vs. oil-based), so identify the paint if possible before choosing a stripper. For many oil-based paints on terracotta, a mineral-spirits-based solvent or a commercial paint remover formulated for masonry may work better than water-based products. Always follow label instructions, keep the dwell time short, and rinse thoroughly after treatment; then let the floor dry completely before evaluating results.
How can I remove oil-based paint from terracotta without leaving stains or rings?
Oil-based paint often penetrates more into porous terracotta, so use a controlled approach: apply solvent to a cloth (not by flooding the floor), work in small sections, and blot rather than scrub aggressively. After softening, lift paint with a plastic scraper and repeat as needed. Once removed, clean with a degreasing, pH-neutral solution and rinse; finishing with a thorough rinse and dry-out helps prevent lingering stains or solvent rings.
Why should I avoid abrasive pads and harsh chemicals when removing paint from terracotta tiles?
Terracotta is porous and can have a natural, fragile surface finish, so abrasive pads can scratch and permanently dull the tiles. Harsh chemicals like strong acids, caustic alkalis, or aggressive paint strippers can etch the surface, alter the terracotta color, or leave irreversible discoloration. By using scraping, gentle cleaners, and tested solvents/paint removers, you protect both the appearance and the integrity of your terracotta floors.
📅 Last Updated: October 10, 2026 | Topic: How to remove paint from terracotta floors? | Content verified for accuracy and freshness.
References
- https://en.wikipedia.org/wiki/Paint_stripper
- Terracotta
https://en.wikipedia.org/wiki/Terracotta - https://www.epa.gov/lead/protect-your-family-leading-paint-stripping-and-repairing
- https://www.cdc.gov/nceh/lead/prevention/default.htm
- https://www.nps.gov/subjects/historicpreservation/graffiti-removal.htm
- https://www.getty.edu/conservation/publications_resources/pdf_publications/pdf/stone.pdf
- https://www.britannica.com/science/ceramic
- Google Scholar Google Scholar
https://scholar.google.com/scholar?q=remove+paint+from+terracotta+floor - Google Scholar Google Scholar
https://scholar.google.com/scholar?q=paint+removal+masonry+stone+conservation+methods - Google Scholar Google Scholar
https://scholar.google.com/scholar?q=graffiti+removal+terracotta+tile+cleaning+chemical+methods