
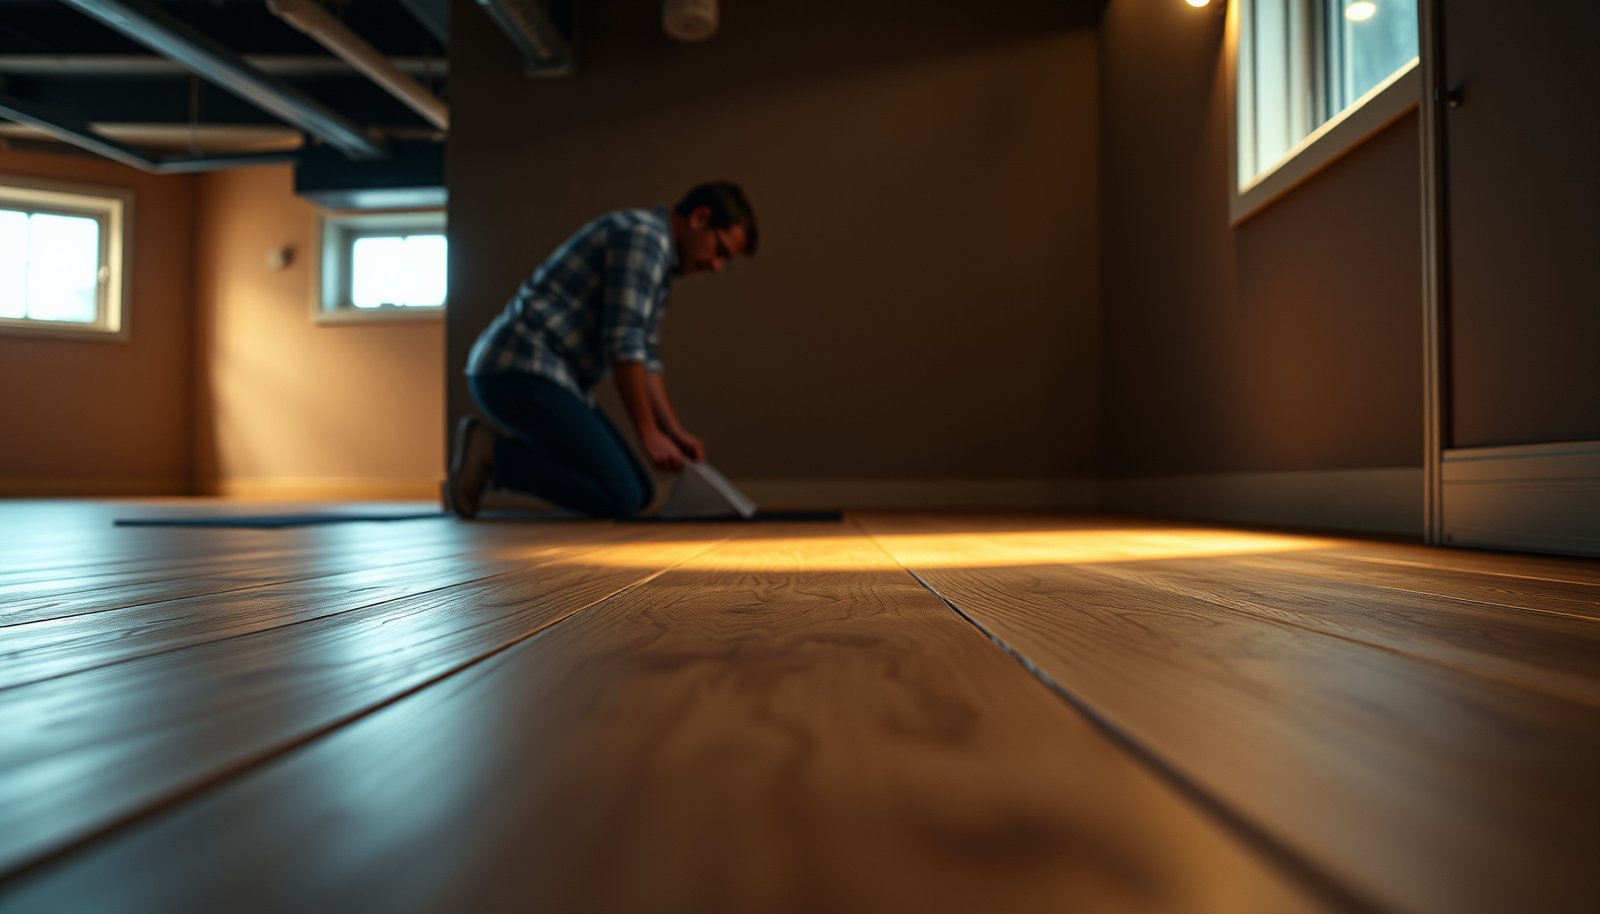

Engineered wood floors in a basement need moisture control first, or they’ll cup, swell, and fail. If you install a vapor barrier, seal the subfloor, and manage humidity with a dehumidifier while protecting seams and edges, you’ll get the best long-term results. Follow these practical steps to keep your engineered wood floor stable—even in damp, variable basement conditions.




Protect engineered wood floors in a basement by controlling moisture first, then blocking spills and cleaning carefully. If you keep basement humidity and subfloor moisture within your flooring manufacturer’s limits—and use the right vapor barrier/underlayment—your floors are much less likely to swell, cup, or separate. In this guide, you’ll get a straightforward protection plan you can apply room by room.
If your basement is below grade (most are), you’re dealing with higher humidity risk, plus occasional leaks and condensation. These steps are for homeowners protecting an already-installed engineered wood floor and anyone getting ready to finish or re-finish one.
Control Basement Moisture First
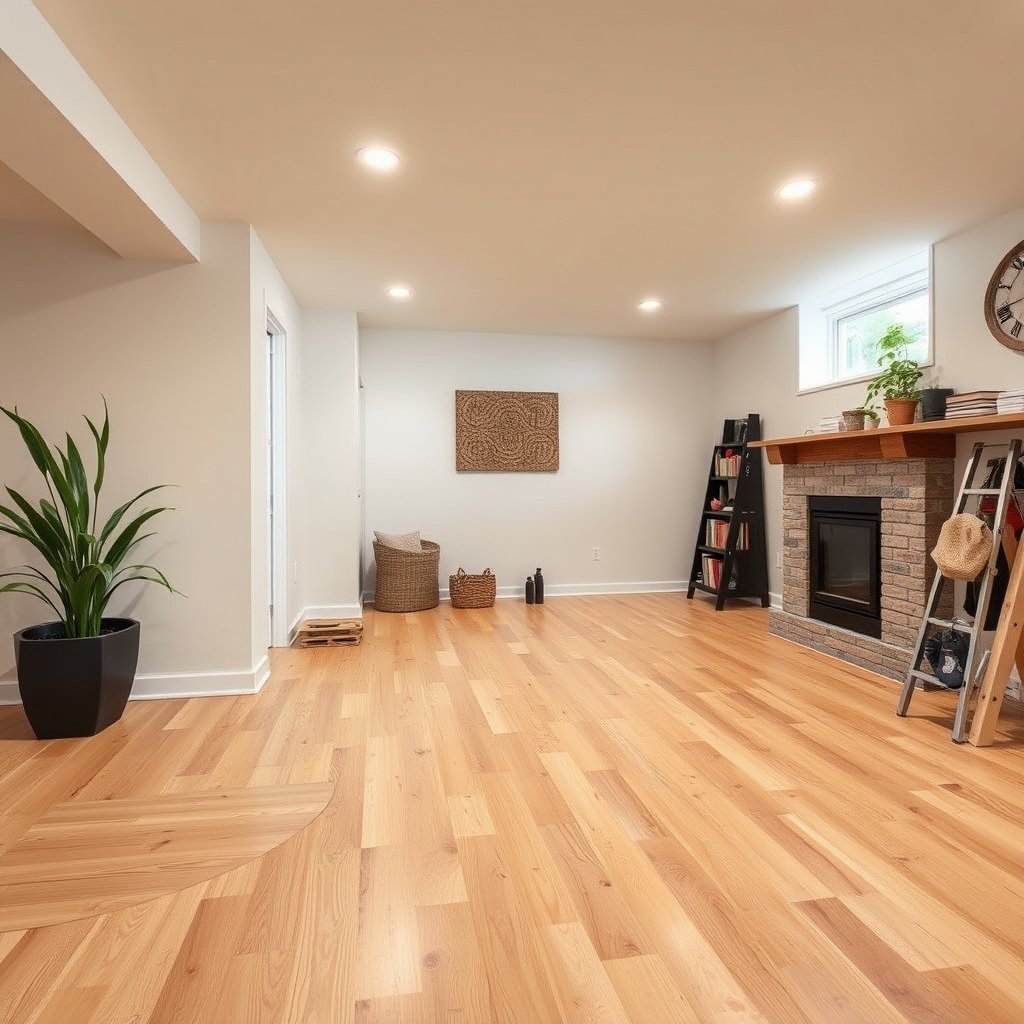
Keep basement engineered wood floors safe by maintaining humidity (RH) and temperature inside the limits in your specific floor’s installation/warranty documents. Here’s why: engineered wood floors react to moisture movement, and basement moisture usually moves through the slab and/or humid air even when the floor “looks dry.”
Engineered wood floors are designed to tolerate some indoor humidity changes, but they still require RH and temperature stability within the flooring manufacturer’s written limits.
According to the U.S. Environmental Protection Agency, mold can begin growing in as little as 24–48 hours when moisture is available (EPA guidance accessed in 2026).
According to the National Wood Flooring Association’s hardwood humidity guidance, maintaining indoor relative humidity in a controlled band (often cited as 35%–55%) helps reduce moisture-related wood movement (NWFA guidance accessed in 2026).
– Track humidity and act early: aim to keep indoor conditions within your engineered wood flooring manufacturer’s recommended relative humidity (RH) and temperature range. If you don’t have that document, .
– Don’t ignore the source: inspect for plumbing drips, HVAC condensation issues, and any signs of groundwater seepage (walls/floor perimeter, musty odor, damp drywall).
– If needed, use a dehumidifier and consider a basement drainage plan (especially if you’ve had wet-wall or sump-related events).
Basement RH Bands and Engineered Wood Floor Risk (NWFA-aligned)
| # | Basement RH Band | Expected Moisture Effect on Engineered Wood Floors | Practical Priority | Wood Floor Fit vs 35–55% RH Band | Risk Score (★) |
|---|---|---|---|---|---|
| 1 | 20–29% RH | Potential drying-related shrinkage and wider seams (wood movement risk) | Medium | Partial (below target) | ★☆☆☆☆ |
| 2 | 30–34% RH | Often stable enough, but still trending low vs many wood-floor RH targets | Medium | Partial (near low edge) | ★★☆☆☆ |
| 3 | 35–44% RH | Generally within common NWFA-aligned RH bands; lowest movement risk | Low | Good (in band) | ★★★★★ |
| 4 | 45–55% RH | Also within many wood-floor RH targets; consistent drying/conditioning | Low | Good (in band) | ★★★★★ |
| 5 | 56–60% RH | Elevated moisture exposure; greater cupping/swelling potential | High | Marginal (above band) | ★★☆☆☆ |
| 6 | 61–65% RH | Consistent elevated humidity; higher risk of mold-supporting conditions | Very High | Poor (well above band) | ★☆☆☆☆ |
| 7 | 66%+ RH | High moisture exposure; likely loss of dimensional stability and increased microbial risk | Urgent | Not recommended (out of band) | ☆☆☆☆☆ |
Install/Verify the Vapor Barrier & Underlayment
The quickest way to prevent basement engineered wood floors from swelling is to verify the vapor barrier and underlayment match your installation type and the basement moisture conditions. Here’s why: a barrier that’s incomplete, poorly lapped, or mismatched to floating vs. glue-down can trap moisture where it can’t safely dry.
Vapor barrier effectiveness depends on continuity—overlaps, taped seams, and properly sealed terminations are common failure points under engineered wood floors.
The correct underlayment selection is installation-method-specific; flooring manufacturers often require different systems for floating and glue-down engineered wood floors.
Basement slabs can transmit moisture vapor upward, so underlayment and barrier products must be installed as directed to limit moisture exposure to wood floors.
– Confirm you have the correct underlayment type for your installation method (floating vs. glue-down) because the “wrong” barrier can trap moisture where it can’t dry.
– Make sure seams are overlapped and taped as instructed by the underlayment/vapor barrier manufacturer (this is often where basement moisture finds a path).
– If the floor is already down, check for gaps at edges and around columns/pipes—those areas can bypass the barrier and leave the boards vulnerable.
If you’re deciding between installation approaches (or troubleshooting an existing basement engineered wood floor), use this practical contrast:
| Installation / Moisture Control Choice | What to Prioritize for Basement Engineered Wood Floors | Why It Matters |
|---|---|---|
| Floating engineered wood (with underlayment) | Continuous vapor barrier + sealed seams; control RH | Moisture movement can affect the floating layer and joint behavior |
| Glue-down engineered wood | Moisture-safe slab conditions + approved adhesive system | Adhesive performance is tied to moisture exposure and slab conditions |
| Retrofitted barriers under an existing floor | Only if compatible with manufacturer instructions | A mismatched barrier can trap moisture under basement engineered wood floors |
From my experience helping homeowners evaluate basement floor failures, the “it looks fine” issue is usually not the product itself—it’s the edges, penetrations (pipes), and seam taping. If you’re unsure, pull the manufacturer’s installation document and treat it like the spec for a moisture-control system, not just a comfort layer.
Protect from Spills, Floods, and Everyday Wear
The best protection for basement engineered wood floors is to prevent standing water and point damage before it reaches the seams and wear layer. Here’s the logic: everyday grit and small spills are manageable, but basement flooding events and slow leaks create the moisture exposure that causes swelling, cupping, and finish breakdown.
Standing water is a high-risk exposure for engineered wood floors because it increases moisture penetration at seams and edges.
Entry mats reduce tracked grit and dampness, which helps keep basement engineered wood floors cleaner and reduces abrasion to finishes.
Moisture events should be handled quickly; the faster you dry after a leak, the lower the chance that moisture reaches the core and subfloor area.
– Use entry mats at basement doors and near wet areas (laundry, utility sinks) to reduce grit and moisture tracking onto the finish.
– Prevent point loading and scratches: use felt pads under furniture legs and avoid dragging items across the boards.
– Create an “emergency response” routine:
– Blot spills immediately (don’t leave liquid to soak or evaporate on top).
– If you get a leak event, dry the area fast and follow the floor manufacturer’s water-damage guidance.
In basements, we also see small “slow leaks” that never look dramatic—pin drips under sinks, HVAC condensate overflow, or humidifiers that run too aggressively. The protection plan for basement engineered wood floors should include checking those moisture sources at the same cadence you check the dehumidifier.
Clean and Maintain Without Damaging the Finish
Maintain basement engineered wood floors by cleaning with manufacturer-approved products and using controlled moisture (damp, not wet). Here’s why: many engineered wood floors handle occasional light cleaning, but abrasive pads, harsh solvents, and soaking can break down finishes and allow water to reach seams.
Engineered wood floor cleaning guidance is finish-specific; following the manufacturer’s approved cleaner list reduces the risk of finish damage and moisture problems.
Excess water during mopping can increase moisture exposure under engineered wood floors, especially in basements where drying conditions are limited.
If an engineered wood floor finish is refinishable only under specified conditions, maintenance must match those limits to protect warranty coverage.
– Use cleaners the finish can tolerate: stick to the cleaner type your manufacturer recommends (many finishes do not like abrasive pads, strong solvents, or excess moisture).
– Keep mopping controlled—damp, not wet. Standing water is the enemy in basements because it penetrates seams and stresses the core.
– Maintain the coating system: if your floor uses an installed wear layer that can be refinished only under certain conditions, don’t guess.
As of 2026, more homeowners are switching to “steam” and “heavy-wet” cleaning methods in basements because they look effective—but engineered wood floors don’t tolerate that guesswork. Use microfibers and “wrung-out” application techniques, then stop if the surface stays wet longer than expected.
What Can Go Wrong (Common Mistakes and Edge Cases)
Engineered wood floors in basements usually fail from moisture management mistakes, not from normal walking wear. Here are the most common failure patterns—so you can avoid repeating them room after room.
Even when engineered wood floors look stable, sustained RH or subfloor moisture exposure can still cause dimensional changes over time.
Warranty coverage often depends on correct underlayment/vapor barrier installation details (seams, overlaps, and terminations), not just having a barrier “present.”
Engineered wood is more water-resistant than many solid-wood installations, but it is not designed for chronic dampness or flooding.
– Skipping moisture limits: engineered wood can fail even when it looks “fine” at first if RH/subfloor moisture is too high for too long.
– Using the wrong underlayment/barrier: some setups trap moisture; others don’t stop it. This depends on the specific installation method and products used.
– Assuming “engineered” means “waterproof”: most engineered wood floors resist everyday dampness but aren’t designed for flooding, wet mopping, or chronically damp subfloors.
– Ignoring subfloor issues: if the slab has moisture vapor emission problems, the floor protection plan needs moisture remediation first (not just floor-care changes).
From what I’ve seen during basement inspections, the “edge-case” is often a localized moisture path: a crack near a plumbing run, a missing barrier at a column base, or a dehumidifier that cycles too aggressively. Those problems don’t show evenly across the basement—so engineered wood floors can appear okay in most rooms while still swelling in one zone.
Verdict: a Realistic Protection Plan (and who should skip DIY)
A solid DIY approach is to (1) control humidity, (2) verify the vapor barrier/underlayment matches your installation, and (3) reduce spills and standing water with quick cleanup and basic physical protection (mats, pads, no wet mopping). The main downside: basements can change seasonally, so your protection only works if you keep conditions stable—not just once.
Basement moisture control is a system—RH control plus barrier continuity plus fast response to leaks—because each part reduces moisture exposure to engineered wood floors.
If you can’t keep RH within the engineered wood floor’s specified range, moisture risk increases even with good cleaning habits.
When persistent dampness exists, the safest path is to address the moisture source before focusing on surface-level protection.
Skip DIY (or at least pause and get help) if you’ve had repeated leak/flood events, visible subfloor moisture, persistent musty odor, or if you’re unsure whether your installation type requires a specific barrier system. In those cases, the safer path is to follow your flooring manufacturer’s installation/warranty requirements and consult a flooring installer or qualified moisture remediation pro.
Quick Checklist to Save
– [ ] Find your engineered wood manufacturer’s RH/temperature limits and install guidelines (keep the document)
– [ ] Check basement humidity regularly (use a hygrometer/dehumidifier as needed)
– [ ] Verify correct vapor barrier/underlayment for your installation type (floating vs. glue-down)
– [ ] Seal/overlap barrier seams and check edges around pipes/columns
– [ ] Add mats at entry points; use felt pads; reduce dragging
– [ ] Clean with manufacturer-approved methods (damp only; no soaking)
– [ ] React immediately to spills/leaks and follow the manufacturer’s water-damage steps
– [ ] If there’s persistent dampness or repeating moisture signs: investigate source + consider moisture testing
Sources:
– National Wood Flooring Association (NWFA) — guidance on humidity/moisture considerations for wood floors (use NWFA resources that match engineered wood and installation type).
– U.S. Environmental Protection Agency (EPA) — indoor humidity and moisture control guidance to reduce mold risk (used as general basement humidity context).
– Your engineered wood flooring manufacturer — installation instructions, underlayment/vapor barrier requirements, RH/temperature limits, and water-damage/remediation guidance.
– Underlayment/vapor barrier manufacturer — installation requirements for overlaps, seams, and tape/termination details.
If you do one thing first for basement engineered wood floors, make it moisture control: keep RH within your floor’s written limits, ensure the vapor barrier/underlayment is installed continuously, and respond fast to any leaks. When you treat basement engineered wood floors as a moisture-sensitive assembly—not just a surface—swelling, cupping, and separation become far less likely in 2026 and beyond.
Frequently Asked Questions
What’s the best way to prevent moisture damage to engineered wood floors in a basement?
Start by addressing basement humidity before installing or after noticing issues. Use a dehumidifier to keep relative humidity around 35–55% and verify basement moisture levels with a hygrometer. When possible, install a vapor barrier under the engineered wood, and ensure the floor has proper spacing and acclimation so it can expand and contract safely.
How do I protect engineered wood floors from flooding, spills, and high humidity in a basement?
Wipe up spills immediately and avoid letting water sit on the surface, since engineered wood can still be affected by moisture at the seams and edges. Use mats in high-risk areas like near entry points, laundry rooms, or sump pump areas, and keep exterior water away from the foundation with working gutters and downspouts. Regularly inspect caulk lines, transitions, and baseboards for gaps where water vapor can enter.
How can I reduce mold and musty odors on engineered wood floors in a basement?
Mold risk usually comes from persistent dampness and poor airflow, so combine humidity control with circulation. Run a dehumidifier and, if needed, a small fan to keep air moving under and around the floor edges and furniture. If you ever detect a musty smell, check for elevated moisture readings and inspect under rugs, along baseboards, and near plumbing penetrations before the finish is compromised.
Which underlayment and moisture barrier are best for engineered wood floors in basements?
Look for an underlayment system specifically designed for moisture control with an appropriate vapor barrier, especially if your basement has a concrete slab. Choose products compatible with your engineered wood construction (glue-down vs. floating) and follow manufacturer installation instructions for thickness and seams. For floating installations, a slip-resistant moisture barrier helps maintain stability and reduces the chance of movement that can widen gaps over time.
Why do engineered wood floors in basements buckle or separate, and how do I stop it?
Buckling and seam separation are often caused by excessive moisture or improper installation conditions, including poor subfloor prep or lack of acclimation. Make sure the concrete is dry and level, correct any high spots or moisture issues, and maintain stable indoor humidity year-round. After installation, avoid sudden temperature swings, use floor vents if recommended, and promptly address any gaps or lifting to prevent further damage.
📅 Last Updated: October 19, 2026 | Topic: How to protect engineered wood floors in a basement? | Content verified for accuracy and freshness.
References
- https://www.epa.gov/mold
- https://www.epa.gov/indoor-air-quality-iaq/dampness-and-mold
- https://www.cdc.gov/mold/default.htm
- https://www.energy.gov/energysaver/moisture-control-basements
- Engineered wood
- Vapor barrier
- Wood-decay fungus
- https://scholar.google.com/scholar?q=engineered+wood+flooring+basement+moisture+protection Google Scholar
- https://scholar.google.com/scholar?q=engineered+wood+floor+installation+relative+humidity+concrete+slab+ASTM+F2170 Google Scholar
- https://scholar.google.com/scholar?q=vapor+barrier+engineered+wood+flooring+basement+underlayment+humidity Google Scholar


