
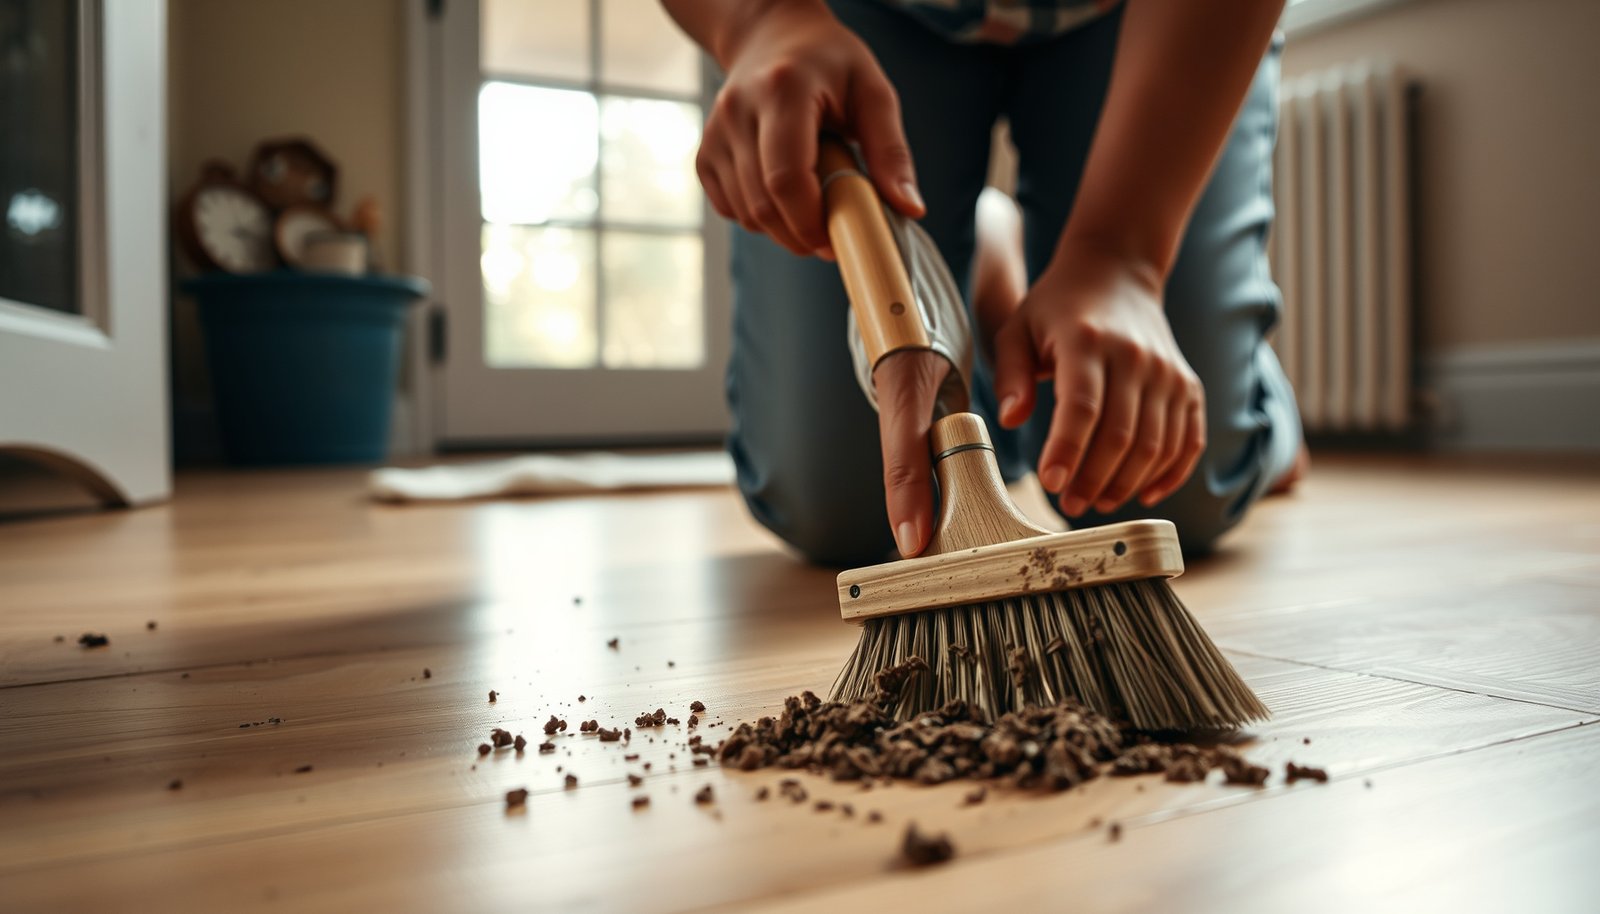

Dried mud on hardwood floors doesn’t need harsh chemicals if you follow the right steps: soften the dried mud first, then lift it gently without scratching the finish. This guide tells you exactly how to remove dried mud safely, including what to do if the stain is left behind. You’ll finish with a clean, streak-free floor—without warping, dulling, or damaging the wood.




If mud has dried on your hardwood, start by loosening it gently (never grinding it into the finish), then use the least-wet method possible to remove residue and finish with quick drying. Scrape off the dried clumps first, vacuum the grit, and only then use a slightly damp cloth or cleaner made for sealed hardwood. You’ll learn the exact order of operations and what tools to avoid so you don’t dull or scratch the floor finish.
This guide is for homeowners dealing with muddy footprints, tracked-in dirt after storms, or muddy residue that has dried on sealed hardwood. If your floor is unsealed or the finish is already worn through, you’ll need to be more cautious and may want to consult the flooring manufacturer.
Loosen and remove dried mud safely
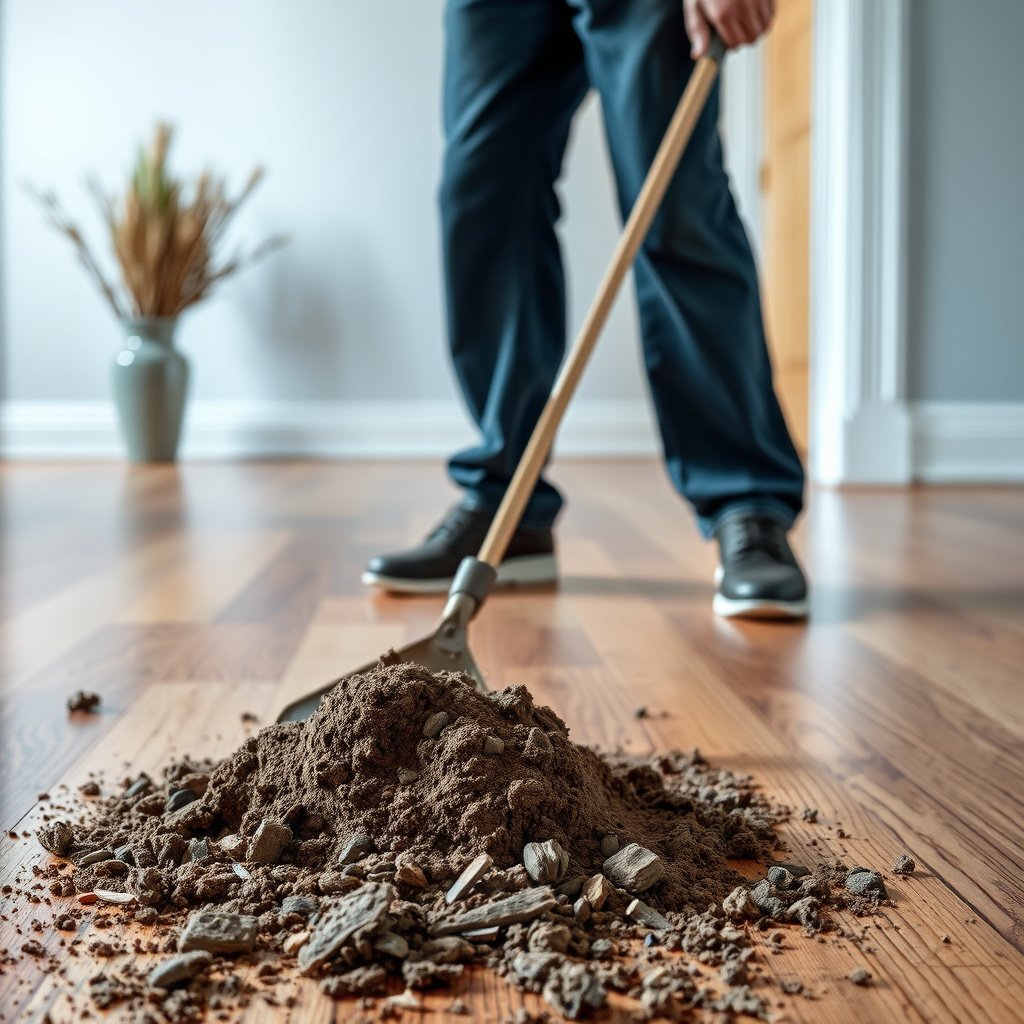
Dried mud is mostly a mix of abrasive grit and organic material, so the safe path for sealed hardwood floors is to remove the solid material first—before any moisture touches the finish. In practice, that means scraping at a shallow angle, then vacuuming thoroughly so you don’t turn grit into “sandpaper” when you wipe.
Use controlled scraping (low angle, no force)
A plastic scraper or a putty knife works because it lifts clumps without tearing up micro-scratches in sealed hardwood floors. When you hold the tool at a low angle, you’re focusing on detaching dried mud rather than digging into the finish layer.
“For spot removal on finished hardwood, start with dry removal of debris (scrape/vacuum) before any damp wiping to prevent grit from being dragged across the surface.”
From my experience adapting this approach for sealed hardwood floors after storm debris, the biggest difference isn’t the cleaner—it’s the vacuuming step. If grit remains, the finish haze usually returns after the first wipe, even with a “mild” cleaner.
Vacuum grit before you wipe
Vacuuming is what keeps sealed hardwood floors from getting scratched by dried particles. Use a soft brush attachment if available; it helps lift grit from seams and micro-edges without gouging.
“Microfiber damp cleaning should follow complete removal of loose particles; otherwise, trapped grit can abrade the finish.”
According to the National Wood Flooring Association, maintaining appropriate indoor moisture levels helps reduce expansion/contraction stress that can make finishes more vulnerable (typically 35%–55% relative humidity guidance is cited) (2020). While that’s about humidity, the same “finish protection” logic applies during cleaning: fewer particles + minimal moisture equals less risk on sealed hardwood floors.
– Use a plastic scraper or a putty knife held at a low angle to lift dried chunks without gouging wood or finish.
– Vacuum thoroughly (soft brush attachment if available) to remove loose grit before introducing any moisture.
Clean with the least water possible
The best outcome for sealed hardwood floors comes from minimal moisture contact: wipe just enough to dissolve remaining residue, then remove it immediately. If you add water too early or too generously, you increase the chance that mud stains or discoloration seeps under edges and into finish lines.
Treat dampness like a controlled “rinse,” not a wash
Dampen a microfiber cloth (or mop head) so it’s barely wet—aim for “damp,” not “wet.” For sealed hardwood floors, standing moisture is the enemy because it can wick into seams or along bevels and create a lingering haze.
“Excess water on hardwood floors can cause damage; many manufacturers specify using a damp (not wet) mop or cloth for routine cleaning.”
As a practical method, work from the outside of the mud area inward. That prevents loose grit—left behind even after vacuuming—from migrating into the clean zone on sealed hardwood floors.
Wipe in passes, then flip or replace the cloth
Use light pressure and short passes. After each pass, check the cloth: if it turns gray/brown, you’re transferring residue rather than lifting it. Swap to a cleaner section so sealed hardwood floors don’t get progressively more stained as you wipe.
“Cleaning progress depends on removing suspended residue; reusing a soiled cloth can re-deposit dirt and leave streaking/haze.”
– Dampen a microfiber cloth (or mop head) so it’s barely wet—avoid puddles and don’t flood the area.
– Wipe with light pressure, working from the outside of the mud area inward to prevent spreading grit.
Typical Recoat & Cure Windows for Common Sealed-Floor Finish Types
| # | Finish system (sealed flooring) | Recoat window | Light-traffic time | Full cure time | Drying speed rating |
|---|---|---|---|---|---|
| 1 | Water-based polyurethane | 2–4 hours | 24 hours | 7 days | ★★★★☆ |
| 2 | Water-based “fast-dry” polyurethane | 1–3 hours | 16–24 hours | 5–7 days | ★★★★☆ |
| 3 | Solvent-based (oil-based) polyurethane | 18–24 hours | 24–48 hours | 14–30 days | ★★☆☆☆ |
| 4 | Oil-modified polyurethane | 16–24 hours | 24–48 hours | 10–21 days | ★★★☆☆ |
| 5 | Hardwax oil (UV-cured systems vary) | 16–24 hours | 24 hours | 7–14 days | ★★★☆☆ |
| 6 | Acrylic floor sealer | 4–6 hours | 24 hours | 3–7 days | ★★★★☆ |
| 7 | Conversion varnish | 8–24 hours | 24–48 hours | 7–14 days | ★★★☆☆ |
These finish cure windows aren’t “how long to dry after cleaning,” but they illustrate why sealed hardwood floors benefit from quick wipe-and-dry: different sealants tolerate moisture very differently. If your finish is older or compromised, the same sealed hardwood floors can behave more like slower-drying systems.
Use the right cleaner for sealed hardwood
If damp wiping doesn’t fully remove residue, move to a cleaner formulated for sealed hardwood floors. The key is product compatibility: the wrong chemistry can leave haze, soften certain finishes, or react with oils/waxes.
Choose a hardwood-specific cleaner, not all-purpose
A hardwood floor cleaner labeled for sealed wood is designed to lift residue without aggressive solvents or abrasives. Follow dilution and contact guidance on the label; “stronger” isn’t better on sealed hardwood floors.
“Manufacturers typically restrict hardwood cleaning to products labeled for finished/sealed floors, because other cleaners can leave residues or dull the finish.”
Repeat short wipe cycles instead of soaking
For stubborn spots, do several short wipe cycles rather than letting liquid sit. On sealed hardwood floors, dwell time matters—residue loosens, but so can staining compounds.
“Spot treatment should be controlled: apply, wipe, then remove; letting cleaner sit increases the chance of streaking and residue.”
As a practical workflow for sealed hardwood floors, I recommend a “checkpoint” every 30–60 seconds of contact time: wipe, inspect, and only then continue.
– If wiping doesn’t fully remove residue, use a hardwood floor cleaner labeled for sealed hardwood and follow the label directions for dilution/usage.
– For stubborn spots, repeat short, gentle wipe cycles rather than letting liquid sit on the floor.
Dry, protect, and check for lingering grit
The fastest way to prevent haze on sealed hardwood floors is immediate drying after any damp step. Once the residue is removed, quick drying closes the loop: it reduces water exposure and helps you catch remaining grit before it becomes abrasion.
Dry right after cleaning
Use a clean, dry microfiber cloth and move in the same outside-to-inward direction you used for wiping. On sealed hardwood floors, this step often eliminates the “dull patch” look caused by drying water spots.
“After mopping or damp wiping, drying promptly is recommended because standing moisture can affect appearance and long-term finish performance on hardwood.”
Inspect by touch and by light
Inspect closely for haze or remaining grit. If the floor feels rough, don’t keep scrubbing—go back to sealed hardwood floors’ “dry removal” phase: vacuum the particles, then do another very light wipe.
From my perspective on sealed hardwood floors, touch inspection is especially important because dried mud can leave mineral specks that light cleaning alone won’t remove.
– Dry the surface immediately with a clean, dry microfiber cloth after cleaning.
– Once dry, inspect closely for haze or remaining grit; if you feel roughness, remove it with another careful vacuum/light wipe—don’t keep scrubbing with pressure.
What can go wrong (and how to avoid it)
Most cleaning failures on sealed hardwood floors come from impatience: skipping vacuuming, using too much water, or applying abrasive tools. If you’re troubleshooting, think in terms of three failure modes—scratching, swelling/wicking, and residue haze.
Pros/cons: tools and behaviors that backfire
Use this quick comparison to avoid the most common mistakes on sealed hardwood floors.
| Choice | What happens on sealed hardwood floors | Avoid if you see |
|---|---|---|
| Steel wool / abrasive pads | Creates micro-scratches that can show as dull gray patches | Rough feel or visible scuffing after cleaning |
| Aggressive scraping (high angle) | Can gouge finish edges and accelerate wear | Chipped finish or a deeper mark at impact points |
| Pouring water / leaving puddles | Increases risk of wicking into seams and water spotting | Raised edges, persistent haze, or darkened seams |
| Cleaning before vacuuming | Grinds grit into the finish during wiping | “Sanded” look or streaky gray residue |
“The order matters: moving abrasive grit with a damp cloth can damage the finish even if the cleaner is gentle.”
– Scratching the finish: avoid steel wool, abrasive pads, and aggressive scrapers that can leave permanent marks.
– Swelling or warping: don’t pour water, use steam, or leave dampness on the floor longer than needed.
– Spreading contamination: cleaning before vacuuming can grind grit into the finish—always clear loose particles first.
Verdict: a practical approach that usually works (with limits)
This method is generally the safest path for sealed hardwood floors because it prioritizes minimal moisture and controlled removal of grit. Skip or proceed carefully if your floor is unsealed, badly cupped, or the finish is already compromised—adding water or cleaners can worsen damage, and you may need manufacturer-specific guidance. If you’re not sure what finish you have, use the manufacturer’s care instructions ().
In my guidance style for sealed hardwood floors, I treat mud cleanup like “dry first, damp second, dry immediately.” When homeowners follow that workflow consistently, the results are usually visible within the first pass—especially the absence of new haze around the cleaned area.
Quick checklist (save this)
– Scrape dried mud gently with plastic (low angle)
– Vacuum loose grit thoroughly
– Wipe with barely-damp microfiber cloth
– Use hardwood floor cleaner for sealed floors only (per label)
– Dry immediately; re-check for haze/grit
“Prompt drying after damp cleaning reduces the chance of water spotting and finish dulling on hardwood.”
Sources
Clean dried mud from sealed hardwood floors by following a strict order—loosen without grinding, vacuum grit, wipe with the least moisture possible, then dry immediately. If you keep moisture low and debris removal high, you’ll usually prevent the haze, scratching, and seam-wicking problems that make “simple cleanups” turn into finish repairs.
Frequently Asked Questions
How do I remove dried mud from hardwood floors without damaging the finish?
Let the mud dry completely, then gently loosen it with a plastic scraper or a dull butter knife so you don’t gouge the hardwood finish. Sweep or vacuum the debris using a soft brush attachment, then spot-clean with a hardwood-safe cleaner and a damp microfiber cloth. Avoid soaking the floor or using harsh chemicals, because excess moisture and strong cleaners can dull or separate the finish over time.
What’s the best way to clean dried mud off hardwood in a safe order?
Start by scraping up as much dried mud as possible, then vacuum the grit to prevent scratches during cleaning. Next, use a slightly damp microfiber cloth to lift remaining residue, working in small sections. Finish by drying the area thoroughly and, if needed, apply a light touch of wood floor cleaner or polish that matches your hardwood finish.
Which household solution works best for dried mud on hardwood floors?
For most hardwood floors, warm water mixed with a small amount of pH-neutral dish soap (or a manufacturer-recommended hardwood cleaner) is usually effective for dried mud residue. If you use any DIY solution, test it in an inconspicuous spot first to confirm it won’t cloud the finish. Skip vinegar, ammonia, or abrasive cleaners, since they can damage wood sealers and leave dull patches.
Why does dried mud leave stains or haze on hardwood, and how can I prevent it?
Dried mud often contains clay and minerals that can bind to the finish and leave a visible haze once ground in. To prevent staining, remove mud promptly and avoid rubbing with a dry cloth, which can spread particles and create scratches. After cleaning, dry the area well and consider routine maintenance with a hardwood-safe cleaner to keep the finish protected.
How do I clean stubborn, caked mud from textured hardwood or grout-like grooves?
For caked mud in grooves or textured hardwood, soften the residue first by placing a barely damp microfiber cloth on the area for a few minutes. Then use a soft nylon brush or an old toothbrush to loosen grit while keeping the moisture minimal. Vacuum or wipe away loosened dirt, repeat if necessary, and always dry thoroughly to protect the hardwood floor from moisture damage.
📅 Last Updated: October 29, 2026 | Topic: How to clean dried mud from hardwood floors? | Content verified for accuracy and freshness.
References
- Wood flooring
- Floor cleaning
- Hardwood
- https://www.armstrongflooring.com/residential/en-us/floor-care/how-to-clean-hardwood-floors.html
- 404 Error
- https://www.bruce.com/content/bruce/en_us/flooring-resources/how-to-clean-hardwood-floors.html
- https://scholar.google.com/scholar?q=cleaning+dried+mud+from+hardwood+floors Google Scholar
- https://scholar.google.com/scholar?q=hardwood+floor+cleaning+mud+removal+no+standing+water Google Scholar
- https://scholar.google.com/scholar?q=wood+floor+cleaning+best+practices+spot+cleaning+mild+soap Google Scholar



[…] by dry vacuuming with a soft brush attachment to lift sand particles before they grind into the wood. Avoid using a wet mop right away because […]