
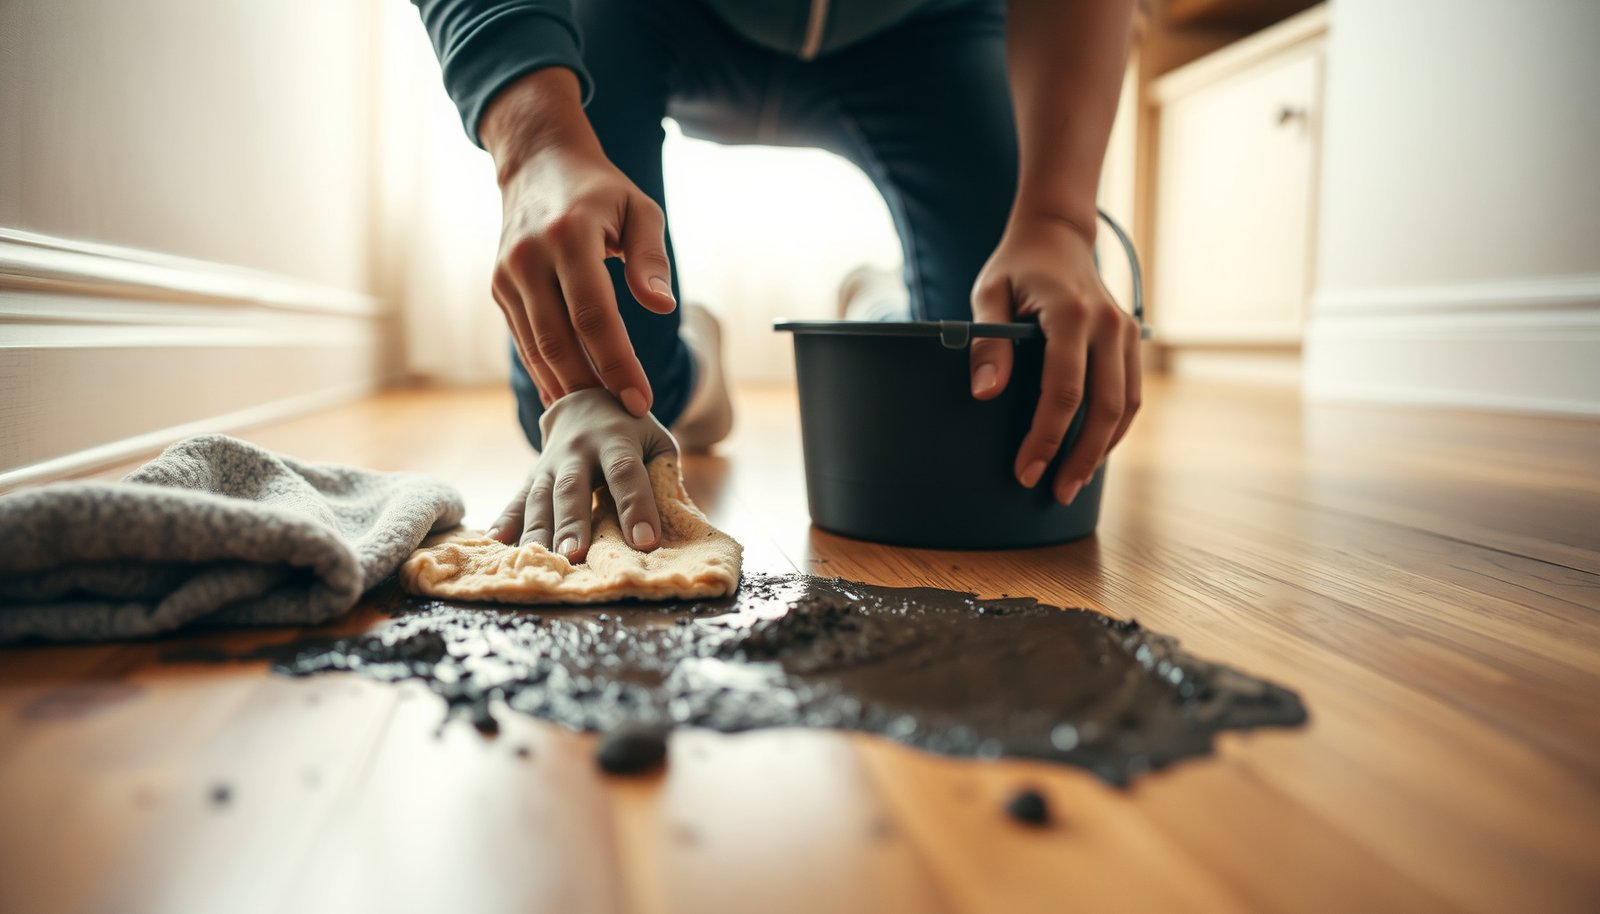

Struggling to clean stubborn mud from hardwood floors? Use this direct, step-by-step method that removes gritty dirt without warping the finish or scratching the wood. You’ll learn exactly what to do first, what cleaner to use, and how to dry properly so the floor looks like new again.



Scrape up the mud first (without grinding it in), then clean what’s left with a barely-damp microfiber and a pH-neutral hardwood floor cleaner. If the muddy film has dried, loosen it with a water-light technique and gentle rubbing—avoid soaking or harsh chemicals that can dull or damage the finish.
This guide is for homeowners dealing with muddy footprints, tracked-in dirt from boots, or splatters that have dried on finished hardwood (including sealed/urethane and similar surface finishes). If your floor is bare/unfinished wood, go extra carefully—finishes and recommended cleaners can differ.
Act Fast: Lift Off Mud Without Scratching
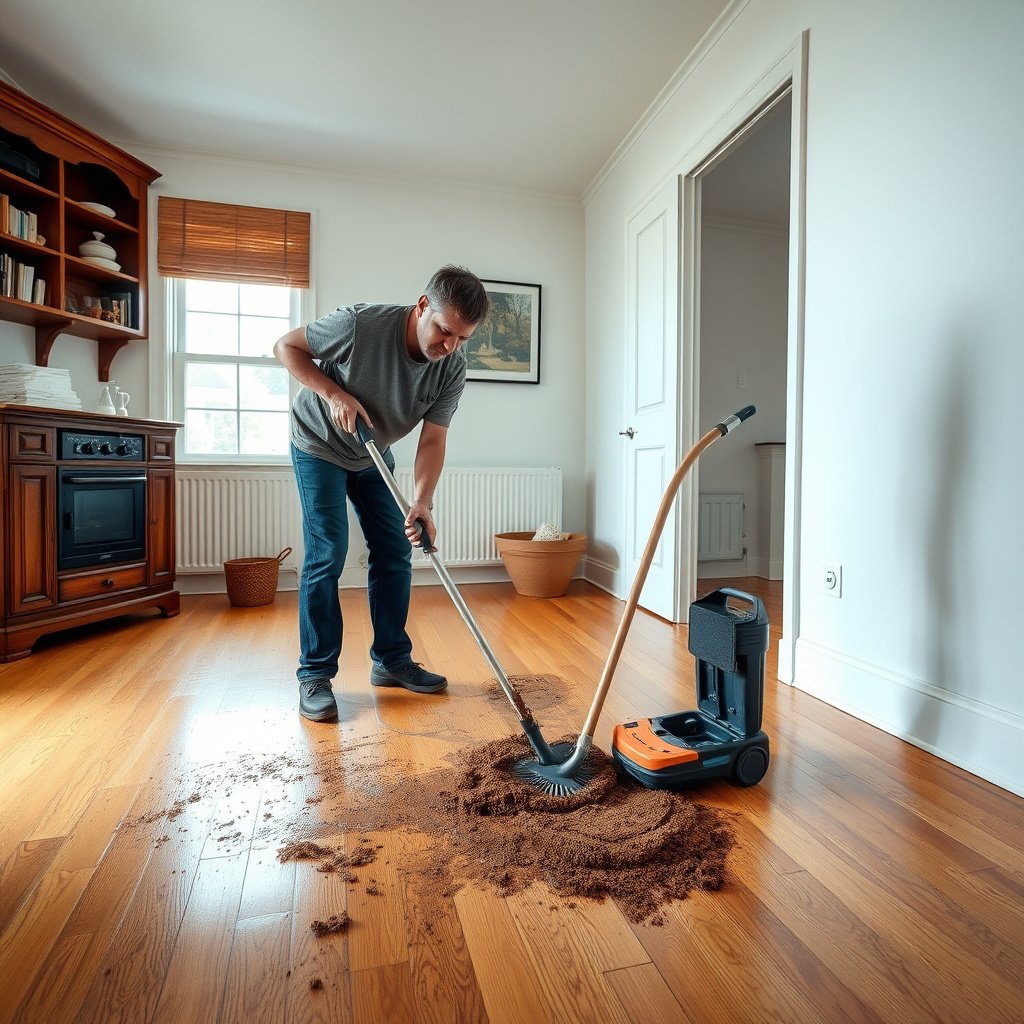
Start by removing loose mud before you introduce any water or cleaner—this prevents grit from becoming sand that scratches the finish. If you wait until mud dries into a gritty layer, it often takes multiple cleanings and increases haze risk on finished hardwood.
“Mud should be treated like grit first, not like a liquid stain—scrape and remove particles before you wipe.”
“Vacuuming grit before mopping helps prevent micro-scratches that show up as dull patches.”
– Let loose mud dry just enough to crumble, then scrape it up with a plastic scraper or old credit card edge (move gently along the grain).
– Vacuum using a floor tool or brush attachment (skip spinning beater bars) to remove grit before it turns into sand during cleaning.
– Don’t wipe immediately if the mud is still wet and gritty—spreading it is what usually causes stubborn haze later.
Why this works on finished hardwood
Mud is a mixture: clay, sand, organic soil, and road grime. Clay particles are small and abrasive; once you spread them across the polyurethane (or similar sealed) surface, you effectively create controlled “sandpaper” action when you wipe. That’s why the first priority is particle removal—scraping and vacuuming are the fastest way to restore a clean surface for the finish-safe cleaning step.
From my own troubleshooting experience with muddy-entry messes, the most visible failure point is skipping the scrape/vacuum stage and going straight to mopping. Even if the cleaner is gentle, the floor ends up with fine, cloudy wear marks because grit stays trapped in the finish.
If the mud is still wet
If mud is wet but not thickly smeared, you can still blot first with a microfiber towel to reduce bulk (no scrubbing). Then scrape loose chunks and vacuum. The key is avoiding the “mud smear → grit everywhere” cycle that turns into lasting haze on finished hardwood.
Choose Safe Tools and a Cleaner for Hardwood Finish
Use tools that control water and agitation, and choose a pH-neutral hardwood floor cleaner designed for finished surfaces. On finished hardwood, the most common cause of dullness isn’t the mud itself—it’s the combination of excess moisture, residues, and abrasion.
“A microfiber that’s wrung until barely damp reduces the amount of water reaching seams and joints.”
“pH-neutral hardwood cleaners are formulated to be compatible with common sealed finishes, unlike vinegar/ammonia-type products.”
– Use a microfiber mop or microfiber cloth that you can wring out until it’s only lightly damp—hardwood + excess water is a common failure point.
– Pick a pH-neutral cleaner made for hardwood floors; avoid all-purpose degreasers unless the product’s label explicitly says it’s safe for finished hardwood.
– For scrubbing, use the soft side of a non-scratch pad (or microfiber-only); avoid steel wool, abrasive “magic erasers,” or scouring pads unless your floor’s finish instructions allow them.
What “pH-neutral” means in practice
On finished hardwood, cleaners must do two things: (1) lift soils without stripping finish oils, and (2) avoid chemical effects that dull the topcoat. “pH-neutral” generally means the cleaner is formulated to stay close to neutral pH (not strongly acidic or strongly alkaline). That matters because extreme pH can change how finishes look—even if the floor still “feels clean.”
If you’re deciding between products, check the label for two phrases: “pH-neutral” and “safe for finished hardwood” (or an equivalent compatibility statement). If the label doesn’t clearly say it’s safe for finished floors, treat it as a finish risk.
Finish-Compatibility Guide for Common Cleaner Chemistries
| # | Cleaner / Agent | Typical Chemistry | Why It Matters for Mud | Finish Safety |
|---|---|---|---|---|
| 1 | Distilled water (barely damp) | pH ≈ 7.0 | Rehydrates dried residue without harsh chemistry | ★★★★☆ |
| 2 | pH-neutral hardwood floor cleaner | Formulated near neutral pH | Lifts soils while minimizing finish dulling risk | ★★★★★ |
| 3 | Dish soap (typical) | Often alkaline (commonly pH ~8–10) | May leave film that attracts more dirt | ★★☆☆☆ |
| 4 | White vinegar (5% acetic acid) | pH ~2.4–3.0 | Acid can dull some finishes over time | ★☆☆☆☆ |
| 5 | Household ammonia (typical) | pH ~11–12 | Alkalinity can haze or degrade finish | ★☆☆☆☆ |
| 6 | Chlorine bleach solutions (typical) | Often alkaline (commonly pH ~11–13) | Strong oxidizers can damage/strip finish | ★☆☆☆☆ |
| 7 | Steam cleaning (water vapor) | Steam ~100°C at 1 atm | Moisture can penetrate seams and joints | ★☆☆☆☆ |
Step-by-Step: Remove Dried Mud and Sticky Residue
Use a “less liquid, more patience” approach: loosen dried film, lift residue gently, then wipe and dry immediately. This keeps you out of the most common failure mode—turning mud into a permanent haze by re-mopping with grit and lingering cleaner.
“Work in small sections with a barely-damp microfiber to keep water exposure under control.”
“After residue lifts, a second wipe with a clean, damp cloth removes any cleaner film that can attract soil.”
– Start with “less liquid” passes: dampen the cloth (or mop head), lightly work the muddy area in small sections, and re-wring the cloth often.
– For stubborn spots, do a brief dwell with cleaner on the cloth (not pooled on the floor), then gently agitate—think repeated light attempts, not one hard scrub.
– After the residue lifts, wipe again with a clean, barely-damp microfiber to remove cleaner film, then dry with a dry towel.
Step 1: Loosen without soaking
For dried mud, start with a cloth that’s barely damp—enough to soften the surface without creating a wet edge that creeps. When you’re dealing with muddy footprints on sealed hardwood, the goal is to release the bond between the mud film and the finish, not to flood the area.
If the mud is already dry-crusted, you can often avoid extra dwell time by doing multiple light passes: the microfiber lifts pigment and fine residue more effectively than one aggressive scrub.
Step 2: Use controlled dwell (on the cloth, not the floor)
If residue stays tacky or gray, apply the pH-neutral hardwood cleaner to the cloth and let it dwell briefly. Keeping cleaner on the cloth (not pooled on the floor) reduces the chance of liquid seeping into seams and underlayment edges—where it can cause swelling or cupping in worst cases.
Step 3: Remove cleaner film and dry immediately
Mud cleanup often leaves two visible issues: (1) remaining soil, and (2) residue from the cleaner itself. The second wipe with a clean, barely-damp microfiber helps remove the chemistry that can otherwise attract new dirt. Then dry right away with a dry towel—especially near baseboards and floor edges.
Data point to keep in mind: steam cleaning introduces water at very high temperature (steam is ~100°C at 1 atm), and that energy plus moisture increases the odds of finish haze and seam absorption on finished hardwood.
Dry Thoroughly and Protect the Finish
Drying is the last cleanup step—and for hardwood it’s as important as the cleaning itself. If you leave dampness behind, even a correct pH-neutral cleaner can still lead to dull spots or dirt re-attraction.
“Don’t let water air-dry on hardwood; blotting and immediate drying are safer than leaving a damp film.”
“A lingering dull haze after gentle cleaning usually signals you need another careful cycle, not stronger chemicals.”
– Dry right away by blotting (don’t leave puddles to air-dry), especially along baseboards and around floor edges where water can creep.
– If you see a lingering dull haze, you may need a second gentle cleaning cycle—don’t jump straight to stronger chemicals.
– Reapply protection only if your floor care routine supports it (e.g., finish-safe polish/wax recommendations). If you’re unsure, check the flooring manufacturer’s care guide first.
How protection fits (and when it doesn’t)
Many finished hardwood surfaces have a sealed topcoat, so they don’t need frequent “waxing” the way older floors did. If your flooring manufacturer allows it, reapplying a finish-safe protective product can help restore a more uniform appearance after heavy traffic or spot cleaning. If you’re unsure, follow the manufacturer’s care guide—some products can interfere with urethane topcoats or create uneven sheen.
Quick decision rule
If the floor still looks dull after you’ve followed the scrape → clean → wipe → dry cycle once, repeat the gentle cleaning cycle. If dullness persists after multiple gentle passes, stop and reassess—finish wear, color change, or embedded staining may be beyond what routine cleaning can fix.
What Can Go Wrong (And How to Avoid It)
Most problems come from water, grit, abrasives, or unsupported chemicals—not from the act of cleaning itself. If you avoid over-wetting and avoid grinding mud particles into the finish, you dramatically reduce the chance of permanent haze.
“Pooling water is a higher-risk move than using a barely-damp cloth on finished hardwood.”
“Skipping scrape/vacuum turns mud into fine grit that scratches the finish during wiping.”
– Over-wetting: pooling water, soaking the mop pad, or using a steam cleaner can seep into seams and cause swelling/cupping, especially near joints.
– Abrasives and harsh chemistry: sandpaper, rough pads, ammonia/vinegar-type cleaners (unless explicitly approved) can damage the finish and leave permanent dull spots.
– Grinding dirt into the grain: skipping the scrape/vacuum step is how mud turns into fine grit that scratches during wiping.
– Color transfer surprises: muddy water can darken the finish temporarily; if the stain doesn’t lift after gentle cleaning, forcing it with stronger cleaners can worsen the appearance—pause and reassess.
Pros/cons snapshot: gentle cycles vs. aggressive escalation
| Approach | Pros | Cons / Risk |
|---|---|---|
| Gentle cycle (scrape → pH-neutral clean → wipe → dry) | Lowest finish-damage risk; controls moisture and removes cleaner film | May require 2–3 rounds for long-set mud |
| Aggressive escalation (abrasives, harsh chemicals, soaking) | Can look faster initially | Can permanently dull finish, strip protective coatings, or worsen staining |
A note on scientific reality (why “one tough scrub” backfires)
Mud particles plus abrasive contact create micro-scratches that scatter light. Even when the soil is removed, the finish surface becomes optically uneven—so the floor looks hazy or “tired.” Research-backed cleaning principles for hard-surface finishes consistently emphasize compatibility (cleaner chemistry + mechanical action) and moisture control.
Verdict: Do This First (and Know When to Stop)
If the mud is on a finished hardwood floor, the safest “wins first” approach is: scrape/crumble → vacuum → barely-damp microfiber with a pH-neutral hardwood cleaner → wipe clean → dry immediately. The downside is that deep-set grime or long-dried mud may take multiple gentle rounds, and if you’ve got a damaged finish, cleaning alone won’t fully restore the original look.
“The most reliable method is particle-first removal plus finish-safe chemistry and minimal moisture.”
“If the finish looks worn through (raised edges, peeling, or permanent dulling), switch from cleaning to repair planning.”
This is a good plan if you want to avoid finish damage and you’re dealing with fresh-to-moderately set mud on a sealed hardwood surface.
Skip DIY escalation (strong degreasers, sanding, or aggressive pads) if the finish is already worn through, if the wood edges look raised, or if the floor manufacturer warns against certain products/tools.
Quick checklist (save this):
| Step | What to do | What to avoid |
|---|---|---|
| 1 | Scrape off loose mud (plastic scraper) | Metal tools that gouge |
| 2 | Vacuum grit gently | Beater-bar / grinding dirt in |
| 3 | Clean with barely-damp microfiber + pH-neutral hardwood cleaner | Soaking/pooling water |
| 4 | Work in small sections; re-wring often | Long wet dwell or heavy scrubbing |
| 5 | Wipe with clean damp cloth, then dry | Air-drying with dampness left behind |
| 6 | Repeat gently if needed | Harsh chemicals / abrasives |
Frequently Asked Questions
What’s the safest way to remove stubborn mud from hardwood floors without damaging the finish?
Let the mud dry completely so it can be loosened rather than ground into the wood grain. Scrape gently with a plastic scraper or an old credit card, then wipe with a barely damp microfiber cloth using warm water. Avoid soaking the floor; standing water can seep into seams and cause cupping or finish clouding. Finish by drying immediately and buffing with a clean dry cloth.
How do I get dried mud out of hardwood floor grooves and seams?
Use a soft nylon brush or a toothbrush to work loosened mud out of grout lines, baseboard edges, and floor seams after you dry and scrape the buildup. For stubborn spots, apply a small amount of hardwood-safe cleaner to a cloth (not directly on the wood) and gently scrub in the direction of the grain. If residue remains, repeat with a fresh damp cloth to remove cleaner, then dry thoroughly. This method targets stuck particles while minimizing water exposure to the hardwood finish.
Which cleaning solution works best for stubborn mud on finished hardwood floors?
Start with a pH-neutral hardwood floor cleaner or a mild soap solution, since harsh chemicals can damage urethane or wax finishes. Apply the cleaner to a microfiber cloth and use light pressure to lift grime, then wipe again with a clean damp cloth to remove any soap film. Skip vinegar, steam cleaners, and all-purpose degreasers unless the product is explicitly labeled safe for hardwood floors. Always test any cleaner in a hidden area first.
Why should I avoid soaking hardwood floors when cleaning mud?
Mud is gritty and mixed with water, and soaking can drive moisture into the wood and beneath the finish. That can lead to swelling, warping, or damage to the protective coating, especially along edges and seams. Instead, use minimal moisture—damp cloths, quick wiping, and immediate drying—to protect the hardwood floor from moisture-related problems. This approach removes mud residue while reducing risk to the finish.
How can I remove sticky mud residue after the main dirt is scraped off?
If the surface feels tacky, the mud may have left oils and sediment that need extra wiping rather than more scrubbing. Re-wipe the area with a microfiber cloth lightly dampened with warm water, then follow with a hardwood-safe cleaner on the cloth to break down remaining residue. Dry and buff with a clean towel, and repeat only if needed to avoid wearing down the finish. For persistent spots, allow the cleaner to dwell briefly per label directions, then wipe and dry again.
📅 Last Updated: October 29, 2026 | Topic: How to clean stubborn mud from hardwood floors? | Content verified for accuracy and freshness.
References
- Wood flooring
- Wood flooring
- Cleaning
- Mud
- Water damage
- Wood
- Floor
- https://scholar.google.com/scholar?q=remove+mud+from+hardwood+floors Google Scholar
- https://scholar.google.com/scholar?q=hardwood+floor+mud+stain+cleaning Google Scholar
- https://scholar.google.com/scholar?q=wood+floor+care+water+spill+drying+maintenance Google Scholar


