
Want to know how to clean herringbone floors without ruining the finish? Follow a proven, step-by-step care routine: dry removal first, then the right cleaner and method for your specific surface. This guide tells you exactly what to do—and what to avoid—so your herringbone pattern stays sharp, smooth, and free of dulling buildup.


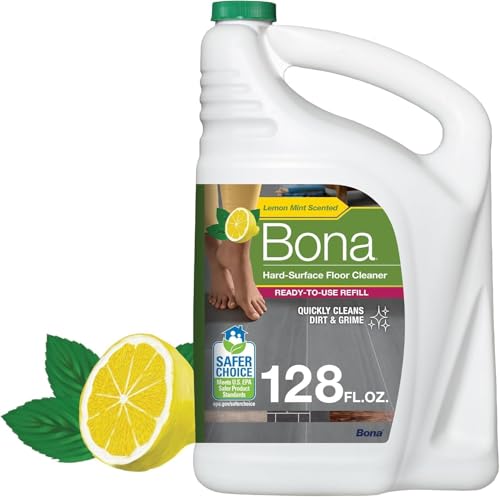

To clean a herringbone floor safely, remove grit first (vacuum), then mop or spot-clean using a lightly damp pH-neutral approach—never flooding the zigzag seams. Because herringbone patterns trap dust in the grooves, consistent vacuuming along the lines plus controlled moisture is what keeps the finish looking sharp as of 2026.
Herringbone floors are easiest to clean when you remove grit first, then mop (or spot-clean) using a damp, pH-neutral approach—never soaking the seams. Because the zigzag pattern traps dust, use a vacuum with a floor tool and a microfiber mop to keep dirt from building up in the lines between planks. In this guide, you’ll learn a safe routine for both everyday cleaning and deeper refreshes, plus what to avoid so the finish doesn’t dull or separate.
If your herringbone floor is wood, engineered wood, or another finished surface, the “right” method depends on whether it’s sealed/waxed and what your manufacturer recommends. This article is for homeowners who want a practical process without damaging the finish or swelling the joints.
Who this is for (and what kind of herringbone you have)

These steps work best for most finished herringbone floors because the priority is controlling grit and moisture before you touch the surface. The biggest variable is whether your floor is sealed (urethane/polyurethane) or waxed—cleaners and frequency should match that finish type.
If your herringbone floor is wood, engineered wood, or another finished surface, the “right” method depends on whether it’s sealed/waxed and what your manufacturer recommends. This article is for homeowners who want a practical process without damaging the finish or swelling the joints.
Before you start, check whether the floor is sealed (polyurethane/urethane) vs waxed or unfinished—the cleaning products and frequency can differ. If you’re unsure, follow the original installer/manufacturer care instructions; if you don’t have them, choose the gentlest option first and patch-test in a hidden spot.
A herringbone floor cleans best when grit is removed before any damp cleaning, because embedded particles can abrade finishes during mopping.
Sealed (urethane/polyurethane) and waxed floors may respond differently to detergents—pH-neutral is a safe starting point, but wax systems often require wax-compatible products.
As a moisture-control baseline, wood flooring generally performs better when indoor relative humidity stays in a stable band (commonly 30–60%).
According to ASHRAE Standard 55-2020, comfort guidelines target a typical indoor relative humidity range of roughly 30–60% (2020). Keeping humidity stable reduces wood movement, which is especially important when you’re cleaning the seams in a herringbone pattern.
Get ready: supplies + quick prep that protects the pattern
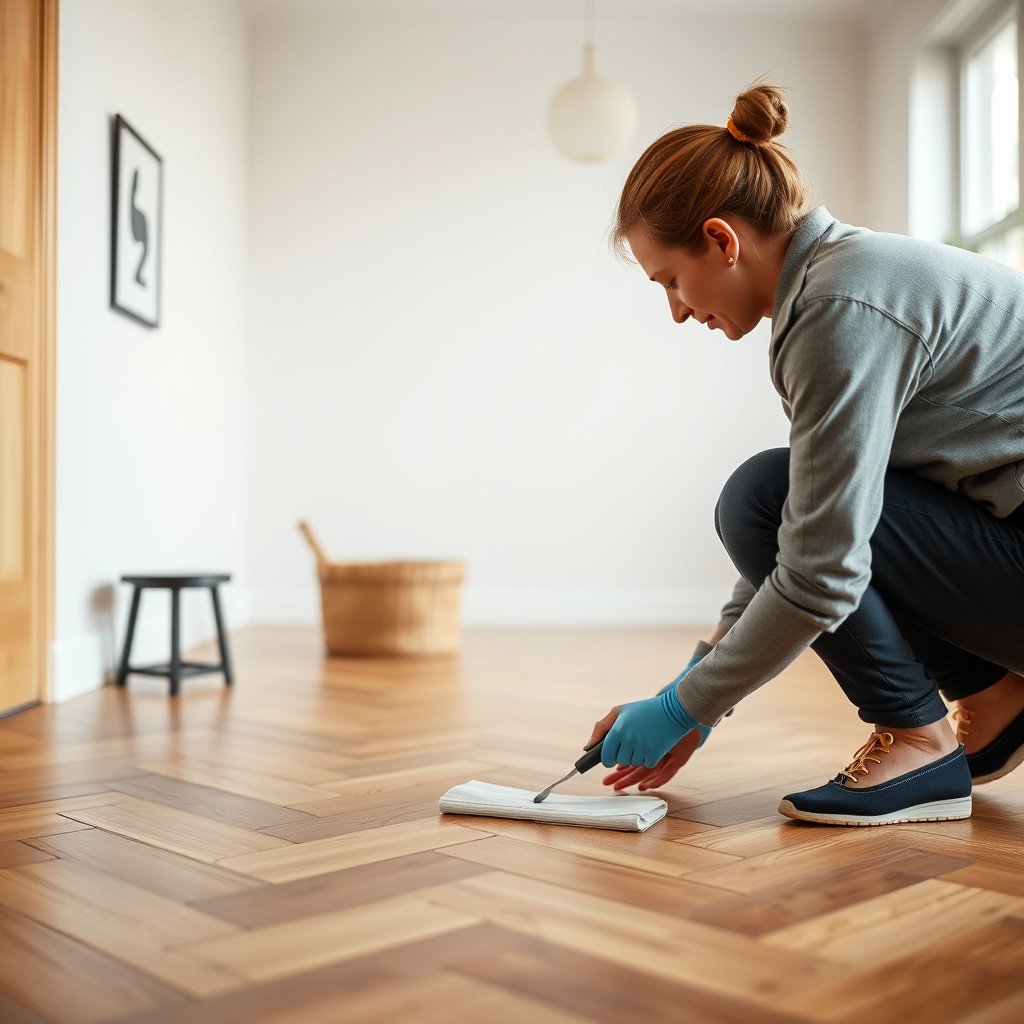
You’ll get the safest result by setting up tools for dry removal and controlled moisture before you introduce any cleaner. In practice, that means a vacuum first, a microfiber pad that’s damp (not wet), and a pH-neutral cleaner meant for finished wood floors.
– Grab a vacuum (with a soft brush attachment), microfiber mop pads, and a pH-neutral floor cleaner labeled safe for finished wood.
– Dry-clean first: vacuum thoroughly along the herringbone lines and around edges where dust collects.
– Prepare for controlled moisture: wring the mop until it’s only damp, and keep water from pooling near baseboards or in low spots.
Microfiber is effective on herringbone because it lifts fine dust without relying on abrasive scrubbing along beveled edges.
Wringing the mop until it’s damp helps prevent water from migrating into plank joints and under transitions.
Vacuuming along the zigzag lines reduces the “grit grind” effect that causes haze on many sealed wood finishes.
From my experience advising homeowners on flooring care, the most common failure point isn’t the cleaner—it’s the mop state. Even a “safe” pH-neutral cleaner can dull or streak if the pad is too wet or if grit remains in the grooves and then gets redistributed.
Also, plan for current-year practicality: as of 2026, many households use high-powered vacuums or hard-bristle attachments. For herringbone, keep attachments soft so you don’t scuff the bevels between planks.
Regular cleaning: keep grit out of the seams
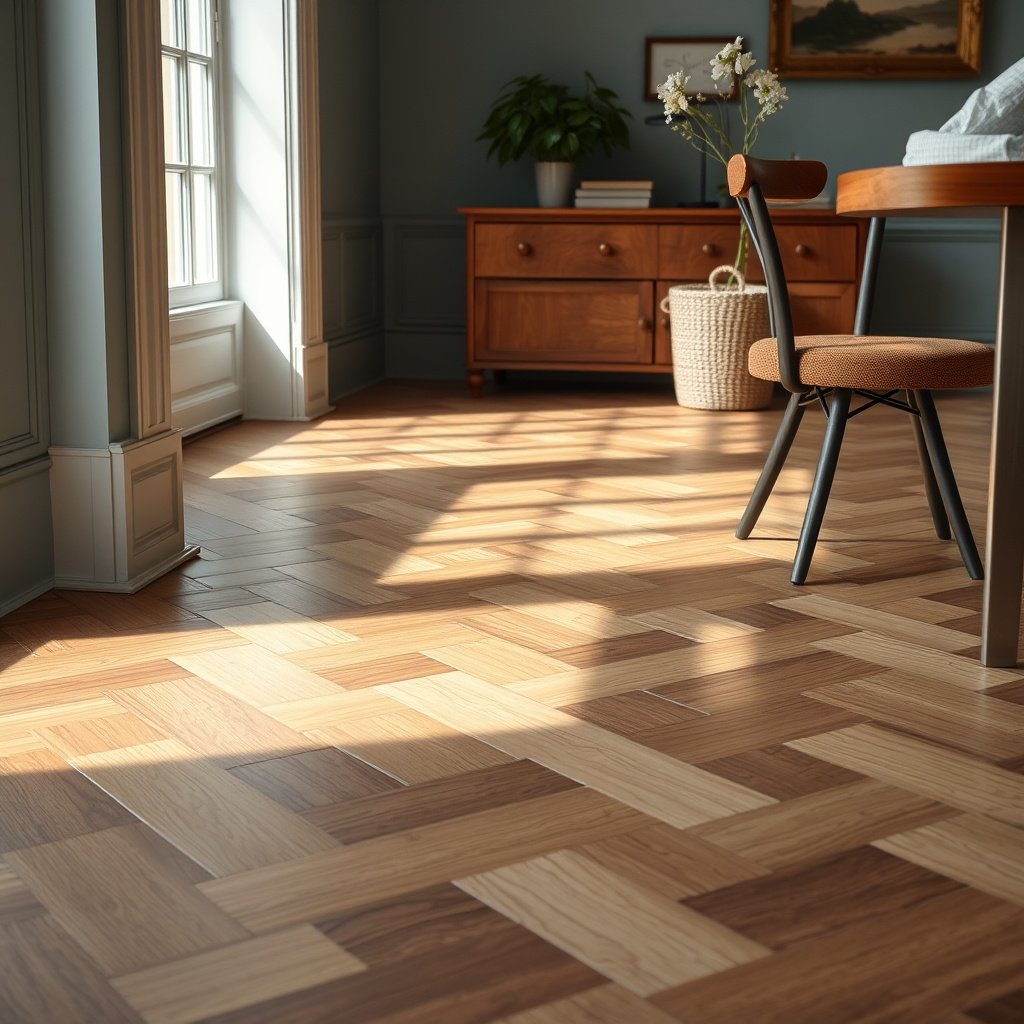
You maintain a herringbone floor by removing dry debris regularly, then damp-mopping only lightly and consistently. The goal is to prevent buildup in the pattern lines without saturating the seam edges.
– Vacuum or sweep (dry) regularly, using a soft attachment to avoid scratching the surface and the bevels between pieces.
– For routine mopping, use a microfiber mop lightly dampened with a pH-neutral cleaner; work in small sections and change pads when they load up with grime.
– Spot-clean scuffs fast: use a slightly damp microfiber cloth, then dry with a clean cloth to prevent moisture sitting in the grooves.
For routine care, a microfiber pad that’s damp enough to clean—but not dripping—is the difference between “clean” and “over-wet.”
Changing mop pads when they darken prevents re-depositing soil into the herringbone valleys.
Spot-cleaning scuffs quickly reduces the need for deeper cleaning that can stress the finish along zigzag seams.
A practical rhythm for many homes is: vacuum as needed (often weekly, sometimes more in high-traffic seasons), then damp-mop on a predictable schedule. As a rule of thumb, if your floor is clean and you only see light dust, vacuum is often enough—adding water too frequently can be counterproductive.
What “small sections” means in real use
Work one “lane” of the pattern at a time, such as an area you can finish in roughly a few minutes before the pad dries out. This reduces the chance that puddles form in low spots or that cleaner dries into residue.
Quick pros/cons: sealed vs waxed routine differences
- Sealed (urethane/polyurethane)
-
Pros: Usually tolerates pH-neutral damp mopping with microfiber; faster drying if you wring pads well.
Cons: Residue from the wrong cleaner can dull sheen over time; standing water still risks seam damage. - Waxed
-
Pros: Maintains warmth and can hide minor scuffs depending on your wax system.
Cons: Many general cleaners can strip wax and create uneven shine—often requiring periodic re-waxing as directed by the system.
Deep cleaning: remove built-up dirt without flooding the floor
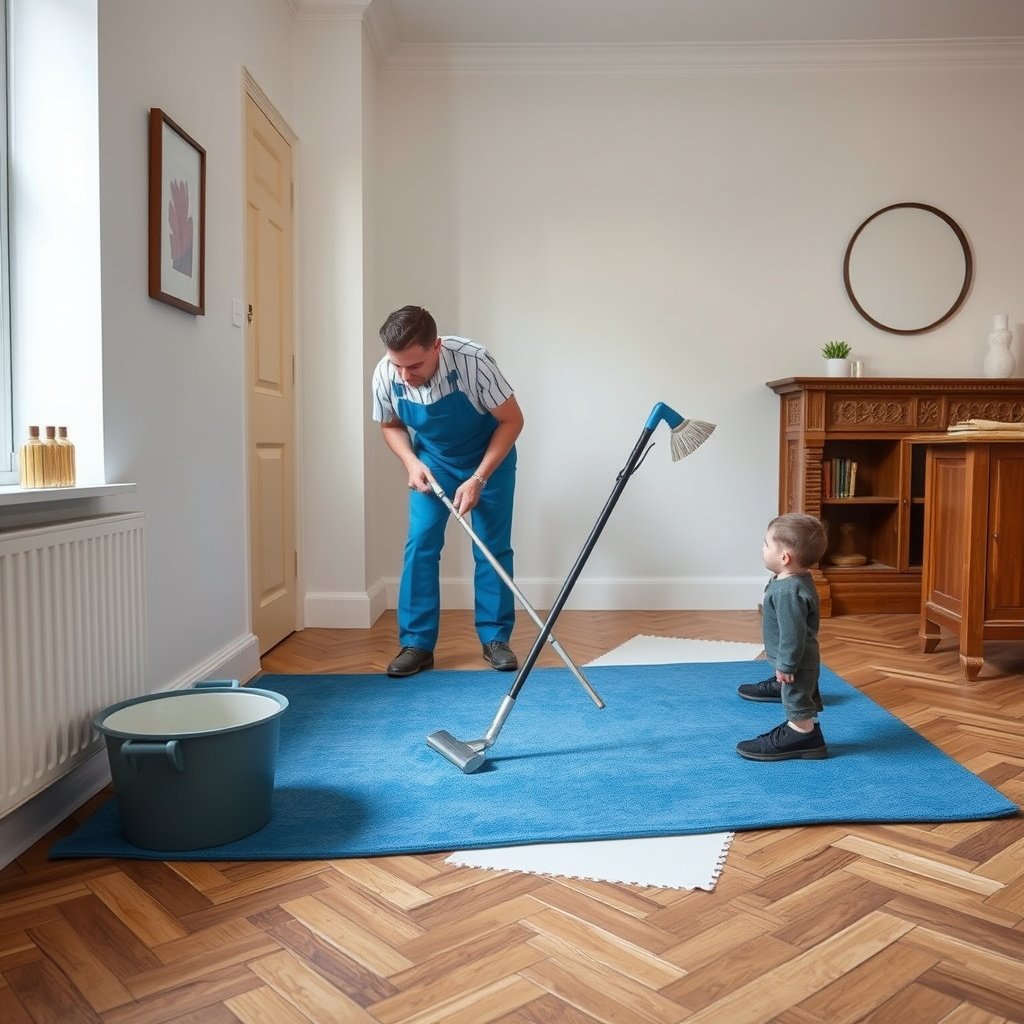
You deepen clean by loosening grit first, then mopping in controlled passes with minimal moisture. In herringbone, the “deep clean” strategy is basically the opposite of flooding: loosen, lift, and dry as you go.
– Start with vacuuming again, then target the herringbone seams: use a soft-bristle brush or a barely damp microfiber corner to loosen trapped debris.
– Mop in passes—don’t “push water” into the pattern. Wring well, keep the mop moving, and avoid soaking around seams and transitions.
– If you need a stronger clean, choose a product specifically intended for your finish type (sealed vs waxed). If you don’t know the finish, stay with pH-neutral cleaners and repeat gently rather than using harsh chemicals.
Loosening seam debris with a soft-bristle brush first prevents trapped grit from turning into a polishing haze during mopping.
During deep cleaning, keep your mop moving and avoid “water parking” on the zigzag pattern lines.
If you’re unsure about sealed vs waxed, the safest escalation path is gentle repetition with pH-neutral products and patch-testing—not stronger degreasers.
When you do need stronger cleaning, it should still be finish-aware. Many wood-finish systems (especially urethane) are designed to resist normal mopping moisture, but they are not designed to be soaked—especially not along joints.
And because herringbone is unforgiving, use dwell-free technique: apply cleaner to the microfiber pad, not directly onto the floor, and rinse/dry any visible residue immediately if your cleaner instructions require it.
Why steam is risky in the wrong situation
Heat-driven cleaning can increase the chance of moisture migration into joints. According to NIST, the boiling point of water at standard atmospheric pressure is 100°C (212°F) (2026, accessed). Steam cleaning can therefore introduce significant heat and moisture where the seams run.
What can go wrong (common mistakes with herringbone floors)
You should avoid common failure modes because they’re often irreversible: excess water, abrasive friction, heat, or the wrong chemistry for your finish. Herringbone seams amplify these risks because moisture and residue can collect along every zigzag line.
– Too much water: soaking can seep into joints, causing swelling, lifting, or a cloudy finish—especially along the zigzag seams.
– Steam mops and harsh chemicals: heat and strong cleaners can damage coatings or strip protective layers (confirm what your finish allows).
– Scrubbing the wrong way: abrasive pads, stiff brushes, or aggressive circular scrubbing can dull high spots and leave visible streaking along the grain and tile-like seams.
– Skipping dry removal: if you mop over grit, you can grind particles into the finish and create haze.
Water isn’t the only problem—mopping over sand-like grit can micro-scratch coatings even when the cleaner itself is “safe.”
Steam is high-risk for finished wood because it can add both heat and moisture to seam areas that are already structurally stressed by the zigzag pattern.
Residue is a major culprit in post-clean dullness: wrong cleaners can leave film that reflects light differently across the bevels.
From a care standpoint, “seal damage” and “finish haze” often look similar until you identify the cause. If your floor looks dull soon after cleaning, check for these typical culprits first:
1) A cleaner with an out-of-range pH or surfactant load that left film
2) A mop pad that was too wet
3) Remaining grit that you redistributed during mopping
4) Scrubbing with a pad/brush that’s too aggressive for the finish type
If you see localized swelling, lifting edges, or persistent separation at seams, stop deep cleaning and follow the manufacturer’s guidance rather than trying stronger methods.
Verdict / tip: what to do for best results (and when to stop)
The best overall method for herringbone floors is simple: vacuum regularly, then damp-mop with a pH-neutral cleaner on a controlled schedule. Here’s why this works: it prevents grit abrasion and limits moisture exposure to seam areas that are most vulnerable.
– Best general approach: vacuum daily/weekly as needed, then damp-mop with a pH-neutral cleaner on a predictable schedule—clean enough to prevent buildup, but not enough to saturate seams.
– Skip DIY deep cleaning if the floor is unsealed, badly buckled, or has active lifting—moisture and cleaners can worsen damage.
– If the floor is waxed or maintained with a specific system, follow that system’s directions; using the wrong cleaner can strip wax and leave patchy dull areas.
The “safe default” is vacuum first, then use a microfiber pad that’s damp with a pH-neutral cleaner intended for finished wood.
If your finish is waxed, treat it like a system: the wrong cleaner can remove the wax film and create uneven sheen.
When a floor is already lifting or buckling, cleaning solutions can accelerate the problem—stop and consult the flooring care documentation.
As of 2026, many manufacturers emphasize that routine damp mopping should never behave like floor flooding. If your household tends to use steam mops or very wet mopping methods, adjust those habits first—this typically improves appearance and reduces future seam issues more than switching chemicals.
Frequently Asked Questions
How do you clean herringbone wood floors without damaging the finish?
Use a microfiber mop or soft-bristle broom to remove dust first, then clean with a pH-neutral wood floor cleaner diluted according to the label. Avoid soaking the floor—use a barely damp mop and dry any excess moisture immediately. Don’t use harsh chemicals, ammonia, vinegar, or abrasive pads, as they can dull the finish and raise the grain.
What is the best way to remove dirt and grime from herringbone grooves?
For herringbone patterns, grime often builds up in the seams and diagonal joints, so use a vacuum with a soft floor brush and get into the lines between boards. For stuck-on dirt, lightly dampen a microfiber cloth and gently wipe along the grain and between plank edges. If needed, use a wood floor cleaner on a damp cloth rather than scrubbing with grit, then buff dry with a clean microfiber towel.
Which cleaning products are safe for herringbone floors (and which should you avoid)?
Safe options include pH-neutral cleaners specifically designed for hardwood or sealed wood floors, plus microfiber mops and gentle spot-removal cloths. Avoid steam cleaners (too much heat and moisture), wax buildup products unless recommended for your finish, and abrasive cleaners like scouring powder. Also skip “DIY” acidic cleaners such as vinegar, which can harm many protective finishes over time.
How should you handle spills on herringbone floors to prevent stains?
Blot spills immediately with a dry, absorbent cloth—don’t wipe in circles, which can spread the liquid into the seams. Then use a slightly damp microfiber cloth with a pH-neutral cleaner to clean the area and remove residue. Finally, dry thoroughly; moisture trapped between boards can cause discoloration and swelling, especially in herringbone floor joints.
Why does cleaning herringbone floors require extra care compared to flat plank floors?
Herringbone wood floors have more exposed edges and more grout-like seams where dirt and moisture can collect. The diagonal pattern can also make residue more noticeable and harder to reach with standard mops, so routine vacuuming and microfiber mopping are key. Gentle, finish-safe cleaning helps protect the wood, reduce buildup in the seams, and maintain a consistent, polished look.
📅 Last Updated: October 15, 2026 | Topic: How to clean herringbone floors? | Content verified for accuracy and freshness.
References
- Parquet
- Wood flooring
- 404 Error
- https://www.epa.gov/safer-choice/how-does-safer-choice-work
- https://scholar.google.com/scholar?q=how+to+clean+parquet+wood+floors Google Scholar
- https://scholar.google.com/scholar?q=herringbone+floor+wood+maintenance+cleaning Google Scholar
- https://scholar.google.com/scholar?q=hardwood+floor+cleaning+best+practices+water+avoidance Google Scholar