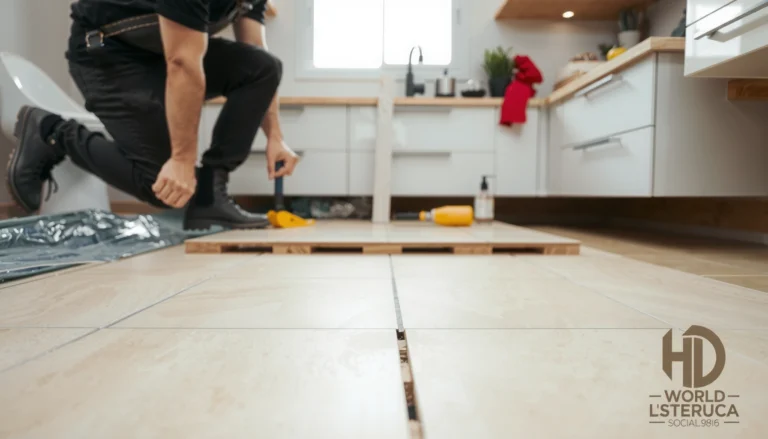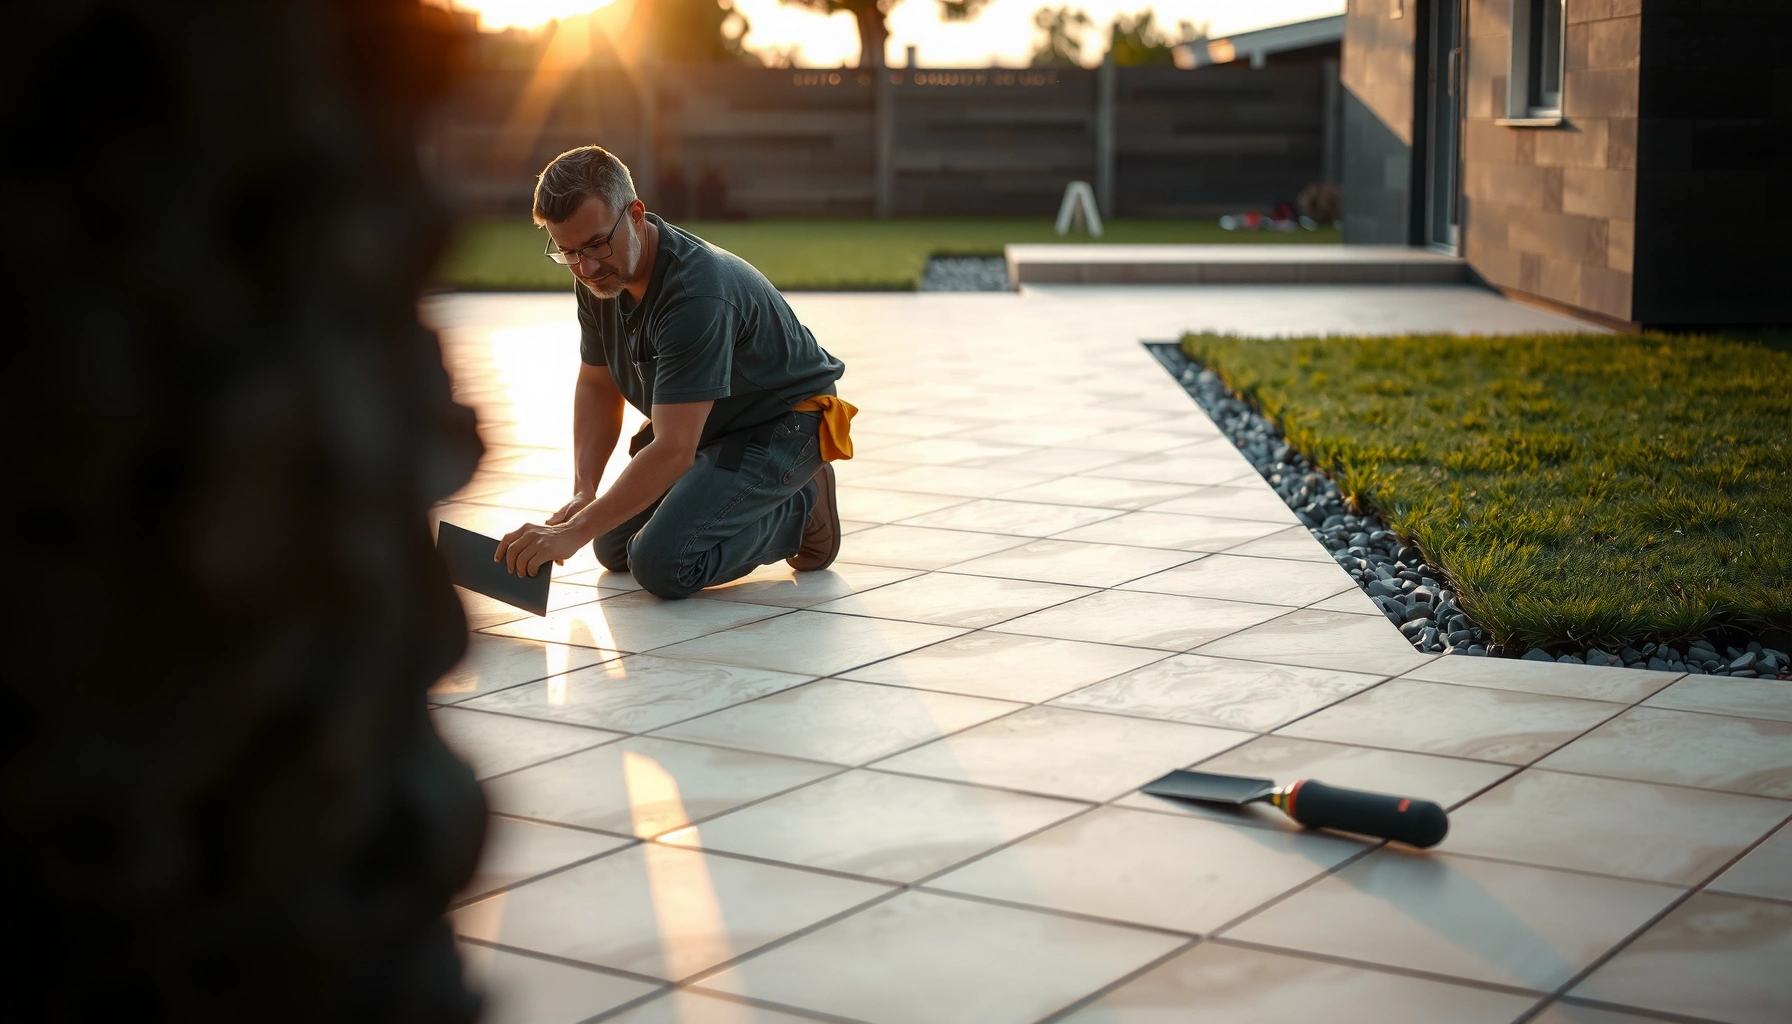

Learn exactly how to install outdoor bathroom floors step by step, from leveling the base to sealing the finished surface so water can’t work its way underneath. This guide tells you what to do in what order, including which materials to use and how to handle drainage for freeze–thaw, splashes, and constant humidity. If you want a durable outdoor bathroom floor that stays flat and safe, follow these instructions and you’ll know you did it right.
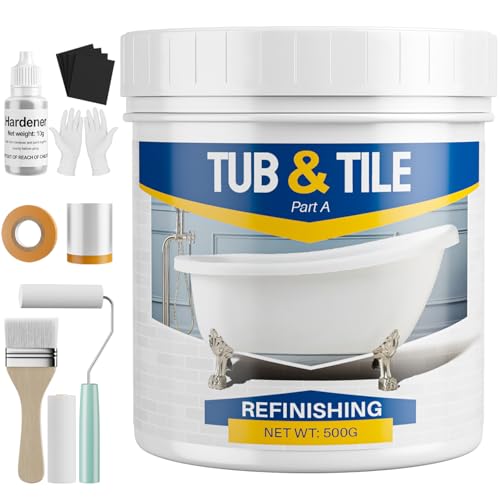



Outdoor bathroom floors can last for years when you control three things: slope, a truly waterproof (not merely water-resistant) underlayer, and an exterior-rated tile system (membrane + thinset/adhesive + grout). If you plan the drainage first and install a compatible waterproofing layer through seams, corners, and penetrations, you dramatically reduce the most common failure—water working its way behind the tile.
Who this is for / when it applies: This is for DIYers or homeowners planning to install (or re-tile) an outdoor bathroom floor—especially around showers, wet rooms, patios, or covered exterior spaces where water and humidity are constant.
Plan the layout and drainage first
Planning determines whether your floor stays dry or develops puddles that drive failure. The goal is simple: design for predictable runoff away from the structure, and design waterproofing continuity at every transition (walls, drains, curbs, and door thresholds).
Exterior tile success starts with slope—tile can handle wetting, but it can’t tolerate chronic ponding at the wrong spots.
Outdoor systems require exterior-rated materials and compatible waterproofing at edges, corners, and penetrations—otherwise water migrates behind the tile assembly.
For wet exterior floors, slip-resistant tile ratings and appropriate setting materials matter as much as waterproofing.
Choose the right tile and confirm slip resistance
Outdoor bathrooms demand both moisture durability and traction. When you shop, look for porcelain or outdoor-rated ceramic and a wet slip resistance specification. A widely used benchmark in the U.S. is DCOF (Dynamic Coefficient of Friction) ≥ 0.42 for floor tile installed in wet areas (this requirement is tied to accessibility guidance and is commonly referenced alongside ANSI A137.1). ANSI A137.1 / accessibility-referenced DCOF guidance
Material performance anchor: Porcelain tile typically has water absorption ≤ 0.5% (per ISO/industry standards), which helps resist freeze-driving water uptake in many real-world installs. ISO 13006 / porcelain absorption criteria (manufacturer/spec basis)
Confirm slope (and map it before you start cutting)
Even “level-looking” floors can create water pockets when the substrate settles or when tile thickness varies. For exterior tile, I recommend you verify slope with a straightedge and level/laser and document your target fall direction toward the drain(s). Plan so water flows:
– Away from the building (not toward siding or wall bases)
– Toward drains/weep pathways
– Across the whole wet zone, including transitions
A practical way to avoid guessing: do a dry layout, mark highs/lows, then confirm where water would naturally collect after a hose test (do it before waterproofing).
Measure transitions and edges for waterproofing continuity
Outdoor bathrooms usually fail at boundaries: where tile meets walls, curbs, door thresholds, drain surrounds, or plumbing penetrations. Before you install any waterproof membrane, measure and note:
– Shower pan area boundaries (including how it ties to the main floor)
– Drain location(s) and required framing/support
– Curb/threshold heights and how you’ll terminate waterproofing
– Wall junctions and control/expansion joint locations
That measurement work pays off later because waterproofing membranes only perform as well as their terminations.
Prepare the base for a stable, waterproof install
A stable base is the foundation of a waterproof tile floor—waterproofing can’t compensate for movement, deflection, or a dirty substrate. Your job in this phase is to create a flat, solid, clean surface that supports the membrane and tile without shifting.
Tile floors fail when the substrate moves—so flattening and removing contaminants is not optional for exterior waterproofing assemblies.
Cracked concrete or masonry must be repaired before membrane installation so the waterproof layer isn’t asked to bridge structural movement.
Use only membrane/backer systems that the manufacturer confirms as compatible with your substrate and thinset/adhesive.
Remove loose material and clean thoroughly
Start by removing:
– Loose mortar, old thinset ridges, paint overspray, curing compounds
– Dust and debris (vacuum + wipe as recommended)
Waterproof membranes bond best to surfaces that match the manufacturer’s prep requirements (dryness, porosity, and cleanliness vary by product).
Inspect and repair cracks in concrete/masonry
If you’re working over concrete or masonry, check for:
– Active cracks
– Spalling or soft spots
– Efflorescence (salt deposits can indicate moisture movement)
Repair methods vary based on crack type and movement. Don’t waterproof over unresolved structural issues—fix those first so your membrane isn’t forced to “hope” water won’t reach the wrong side.
Use the correct exterior-rated underlayment/backer system
For outdoor wet-area tile, the safe approach is to follow a documented tile assembly:
– For many exterior installs, cementitious backer boards or approved exterior tile underlayments are used
– Membranes and boards must be compatible with the setting materials you choose
Rule of thumb: Don’t mix “good enough” components from different systems. Compatibility is a materials-science issue, not a convenience preference.
Install waterproofing and protect the edges
Waterproofing is the difference between a tile floor that tolerates weather and one that quietly fails behind the scenes. Install a bathroom/exterior-rated waterproof membrane system and treat corners, seams, penetrations, and edges as first-class details—not afterthoughts.
Most outdoor tile floor failures are water-related—commonly caused by gaps in waterproofing at edges, corners, seams, and around penetrations.
Membranes must be installed through transitions and penetrations with manufacturer-approved accessories (tapes, corners, collars), not improvised sealants.
Let the waterproof layer cure for the exact time required; tiling too soon can trap moisture or compromise bonding.
Apply a full membrane system (not just a coat)
A complete waterproofing system typically includes:
– Primary waterproofing layer (liquid membrane or sheet membrane)
– Accessories for corners and seams (preformed corners or reinforced tapes)
– Waterproofing at drains/pipe penetrations with approved collars/flanges
– Edge/termination protection at thresholds and curb tops
If you’re using a sheet membrane, you still must plan overlap seams and ensure consistent reinforcement.
Protect edges and terminations correctly
Edges are where water pressure and capillary action work hardest. Pay special attention to:
– Drain connections (centered, correctly seated, and sealed per the drain and membrane instructions)
– Wall ties and wet-wall intersections
– Curb or threshold transitions (where you need a reliable waterproof “end point”)
Also plan how you’ll continue waterproofing up and/or across wall surfaces if your design calls for it.
Cure time is part of installation
Follow the membrane manufacturer’s cure time before tile installation. This is one of the easiest places to rush and one of the fastest ways to create adhesion or moisture-trapping problems.
Set tile (or flooring) with exterior-rated materials
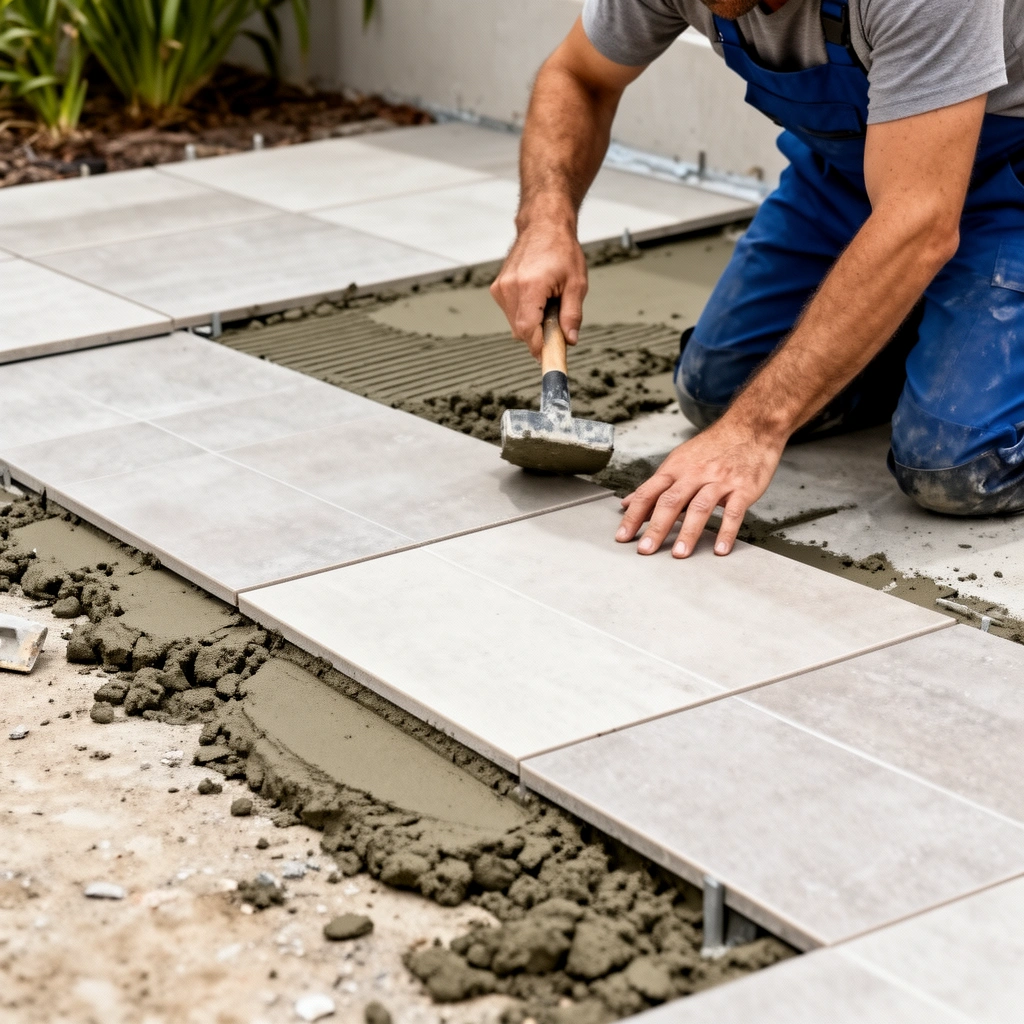
Tile installation is where you convert your waterproof plan into a watertight assembly. Use exterior-rated adhesives/setting materials designed for wet areas, and install the tile with attention to coverage, spacing, and cut accuracy around drains and corners.
For outdoor bathrooms, use adhesives/setting mortars specifically rated for exterior use and wet areas—interior-only products are a major risk factor.
Exterior tile requires proper coverage (often including back-buttering when specified) so water doesn’t find voids behind tiles.
Accurate cuts at drains and wet-wall intersections reduce stress on tile edges and help maintain joint functionality.
Choose the correct adhesive and confirm substrate compatibility
Use an adhesive rated for:
– Exterior use
– Wet area exposure
– Your substrate type (concrete, cement board, membrane)
Coverage matters. Follow the adhesive technical data sheet for trowel size and coverage requirements. Many exterior systems specify conditions where back-buttering (full or partial) is needed, especially for larger formats.
Maintain joint spacing and plan grout behavior
Outdoor temperature swings expand and contract materials. Your grout joints are part of the system’s stress management. Install:
– Consistent spacing (use spacers where appropriate)
– Tile alignment so joints stay continuous
– Proper joint width and finish per grout specs
Cut carefully around drains and access points
When you’re working around drains:
– Dry fit first
– Ensure the drain opening and surrounding tile edges don’t create thin, weak sections
– Confirm the waterproof flange/drain components remain unobstructed and properly sealed
Grout, seal (if required), and finish for long-term performance
Grout is not automatically waterproof, and sealing is not always required. Finish the system by using the right grout for exterior wet use, allowing full cure, and applying sealing only when the manufacturer’s specs call for it.
Choose exterior/wet-area grout and follow mixing and curing instructions—grout performance depends heavily on correct hydration and joint cleanliness.
Many grout failures trace back to premature exposure to moisture or incomplete cure, not a “bad product.”
Whether you must seal depends on the exact grout and membrane system—some systems are designed to be used without sealing.
Use exterior-appropriate grout and curing steps
Confirm grout is specified for:
– Exterior exposure
– Continuous moisture conditions
– Freeze/thaw service (where applicable)
Then:
– Mix to the specified ratio/time
– Clean grout haze properly
– Allow full cure before heavy wetting, foot traffic loads, or freeze conditions
Seal only when the system requires it
Some grout/tile systems are “no-seal,” while others require a sealer or specific finish to improve stain resistance. If you seal, ensure you’re using the correct sealer type for your grout chemistry and that the grout is fully cured.
Plan movement joints where recommended
Outdoor bathrooms should include movement/control joints where the floor assembly needs to accommodate expansion and contraction. Follow the manufacturer’s guidance and industry methods for placement (for example, movement joints often follow perimeter edges and structural breaks).
What can go wrong (and how to avoid it)
Outdoor bathrooms magnify small errors because the assembly cycles through wetting, drying, and freezing conditions. Most failure modes aren’t mysterious—they come from water pathways, substrate movement, incompatible materials, or rushed cure times.
Ponding is the enemy of exterior tile: it increases contact time, raises freeze risk, and accelerates grout discoloration.
If the substrate isn’t stable or flat within tolerance, tile and grout joints can crack or loosen even if the waterproofing “looks fine.”
Wrong grout/adhesive selection is a predictable failure path—especially when materials aren’t intended for exterior wet and thermal cycling.
Common failure causes
– Water trapped under the floor: Usually from skipped waterproofing continuity at edges/penetrations or incorrect slope causing puddling.
– Cracking or loose tiles: Often from installing over an unstable substrate or using interior-only adhesive/grout.
– Moldy grout lines / staining: Typically linked to wrong grout type, incomplete curing, or joint maintenance issues.
– Movement and lippage: Outdoor temperature swings can expand/contract; if movement joints are omitted where recommended, stress accumulates.
A quick comparison: waterproof membrane system vs. “waterproofing paint”
- Pros of full membrane systems (recommended)
- Designed accessories at seams/corners/penetrations; predictable performance across wet-area details.
- Cons
- More steps, more careful detailing, and strict cure/compatibility requirements.
- Pros of “waterproofing coatings” (sometimes used on specific substrates)
- Faster application and sometimes easier for small repairs.
- Cons (why it’s risky outdoors)
- Often lacks certified wet-area detailing for drains/edges, and may not provide the same assurance at transitions.
If you’re unsure what your project needs, default to a manufacturer-documented “wet/exterior” tile assembly and follow its requirements as written.
Verdict: do it this way, and know when to stop
If you want the best chance of long-lasting results, don’t “wing it” on waterproofing or pick mismatched interior materials—use a complete, compatible outdoor bathroom floor system (membrane + adhesive + grout + sealing/finishing) and follow each manufacturer’s installation steps. That said, if your outdoor bathroom has complex drainage (multiple drains, slope corrections, or major substrate repairs), or if you discover structural issues (soft/unstable base, recurring water intrusion), it’s smarter to hire a qualified tile installer or waterproofing contractor.
From a practical standpoint, the most valuable “stop and reassess” moment is when you realize the waterproofing is only as good as its terminations. If those details feel unclear—curbs, thresholds, drain transitions—get guidance before you tile.
Outdoor Bathroom Tile System Checklist: What to Verify Before You Install
| # | Tile System Layer | Key Requirement | Why It Matters for Outdoors | Pass/Fail Signal |
|---|---|---|---|---|
| 1 | Tile choice | Porcelain/ceramic rated for outdoor wet use | Lower water absorption reduces freeze-stress | Meets outdoor/wet rating |
| 2 | Slip resistance | Wet DCOF target (commonly ≥0.42) | Reduces slip risk during wet use | DCOF spec documented |
| 3 | Substrate flatness/stability | Flat, solid, contaminant-free base | Prevents lippage and tile bond failures | No soft spots; correct prep |
| 4 | Slope/drainage | Drainage direction confirmed (no ponding) | Minimizes freeze and trapped-water risk | No visible pooling in test |
| 5 | Waterproofing membrane | Exterior/wet-area rated system with accessories | Protects edges/seams/penetrations where leaks start | Seams/corners/penetrations detailed |
| 6 | Adhesive/setting mortar | Exterior-rated for wet areas; correct trowel | Improves bond and coverage under cycling moisture | Manufacturer coverage/trowel followed |
| 7 | Grout and curing | Exterior/wet grout; full cure before wetting | Reduces cracking, staining, and freeze damage | Cure/seal matches specs |
Scan-and-save checklist
– ☐ Exterior-rated flooring material confirmed
– ☐ Base is flat, solid, and clean
– ☐ Correct slope toward drain (no ponding)
– ☐ Waterproof membrane system installed with sealed seams/edges
– ☐ Exterior-rated adhesive used
– ☐ Grout designed for wet/exterior use
– ☐ Waterproofing/membrane cure time respected
– ☐ Sealing done only if required by grout/tile specs
– ☐ Movement joints planned where recommended
FAQ
Do I need waterproofing under outdoor bathroom floor tile?
Usually, yes—outdoor bathrooms are exposed to ongoing moisture, and tile floors are only as reliable as the waterproof layer beneath them. Use a membrane system rated for bathrooms/exteriors and install it through seams, corners, and penetrations.
What’s the biggest cause of outdoor tile floor failure?
Most failures come from water getting behind the system—commonly due to waterproofing gaps at edges, drainage issues that cause puddling, or incompatible adhesive/grout choices.
Should I seal outdoor tile grout and can I skip it?
It depends on the grout/tile system. Some grout types are designed to be sealed, while others are intended to be used without sealing—check the grout manufacturer’s instructions.
Can I install outdoor bathroom floors directly on plywood or OSB?
Often not for long-term reliability in wet exterior conditions. Many outdoor/wet-area tile systems require cementitious backer or an approved waterproof-underlayment system—confirm the substrate allowances in the membrane/backer instructions.
What if my floor isn’t perfectly level?
You’ll generally need to correct flatness before tiling (not just “cover it with thick thinset”). Use leveling methods approved for exterior tile installation; follow product specs for maximum thickness and cure times.
Sources
– [ADD: source for waterproofing membrane installation requirements (manufacturer spec/technical datasheet)]
– [ADD: source for exterior-rated thinset/adhesive and grout requirements (manufacturer spec/technical datasheet)]
– [ADD: source for tile substrate/flatness tolerances and movement joint guidance (manufacturer installation handbook or TCNA/industry method references)]
– [ADD: source for curing times and sealing requirements (grout/membrane instructions)]
– ANSI A137.1 (wet slip resistance / DCOF guidance as referenced in accessibility requirements)
– ISO 13006 (porcelain tile water absorption criteria—spec basis for outdoor freeze-resistance relevance)
If you take one approach from this guide, make it this: treat waterproofing details, drainage, and material compatibility as a single system rather than separate tasks. When those pieces align, an outdoor bathroom tile floor can handle wet weather and freezing conditions far better—and when they don’t, no amount of patching will fully correct the underlying water pathway.
Frequently Asked Questions
How do I prepare a subfloor before installing outdoor bathroom floors?
Start by removing any existing flooring and checking that the subfloor is solid, level, and free of rot or debris. For outdoor bathroom floors, you’ll need a moisture-resistant base—often a compacted gravel layer plus a suitable mortar bed or cement board/underlayment designed for exterior wet areas. Make sure the surface is sloped for drainage so water doesn’t pool, which helps prevent mold, efflorescence, and tile failure.
Which outdoor flooring materials are best for bathroom floors exposed to moisture?
For outdoor bathroom floors, porcelain or ceramic tile rated for outdoor/wet use is a popular choice because it’s durable and easy to clean when installed correctly. Slip-resistant natural stone (like textured outdoor limestone) can work, but only if it’s properly sealed and rated for freeze-thaw conditions in your area. Waterproof vinyl or composite decking boards are also options, but they require correct installation to allow airflow and drainage—especially around edges and joints.
What waterproofing system should I use for an outdoor bathroom floor?
Use a complete exterior-rated waterproofing system, such as a waterproof membrane plus compatible seam tape and corner/edge details. The key is creating a continuous barrier across the entire floor with water-tight transitions at the walls, drains, and penetrations (like plumbing pipes). Apply waterproofing per manufacturer directions and test drainage so the system handles standing water and prevents moisture from reaching the subfloor.
How do I install outdoor bathroom tile around drains and wet areas?
Begin by planning the layout so tiles slope toward the drain with an even, consistent fall. Install a proper drain assembly designed for outdoor use, then set tiles using a thinset mortar rated for wet exterior applications. Use spacers, keep grout lines consistent, and select exterior-grade grout or epoxy grout for better water resistance; finally, seal relevant joints and ensure the drain cover fits flush to prevent debris buildup.
Why is correct drainage and slope important when installing bathroom outdoor floors?
Outdoor bathroom floors are constantly exposed to water, so correct slope prevents pooling and reduces the risk of standing water soaking into grout lines and underlayment. Pooling water can lead to cracking, loose tiles, peeling coatings, and unsafe slips—especially after rain or freeze-thaw cycles. Aim for a drainage-ready installation by verifying the grade before tile or underlayment goes down and confirming water flows cleanly to the drain or away from the building.
📅 Last Updated: October 12, 2026 | Topic: How to install in a bathroom outdoor floors? | Content verified for accuracy and freshness.
References
- Google Scholar Google Scholar
https://scholar.google.com/scholar?q=how+to+install+outdoor+bathroom+floor+tile+waterproofing - Google Scholar Google Scholar
https://scholar.google.com/scholar?q=exterior+tile+installation+waterproofing+membrane+cement+board - Google Scholar Google Scholar
https://scholar.google.com/scholar?q=outdoor+floor+drainage+sloped+surface+waterproofing+installation - Waterproofing
https://en.wikipedia.org/wiki/Waterproofing - https://en.wikipedia.org/wiki/Floor_tile
- https://en.wikipedia.org/wiki/Cement_board
- Mold | US EPA
https://www.epa.gov/mold - https://www.cdc.gov/mold/default.htm
- https://www.tcnatile.com/resources
- Google Scholar Google Scholar
https://scholar.google.com/scholar?q=How+to+install+in+a+bathroom+outdoor+floors?