
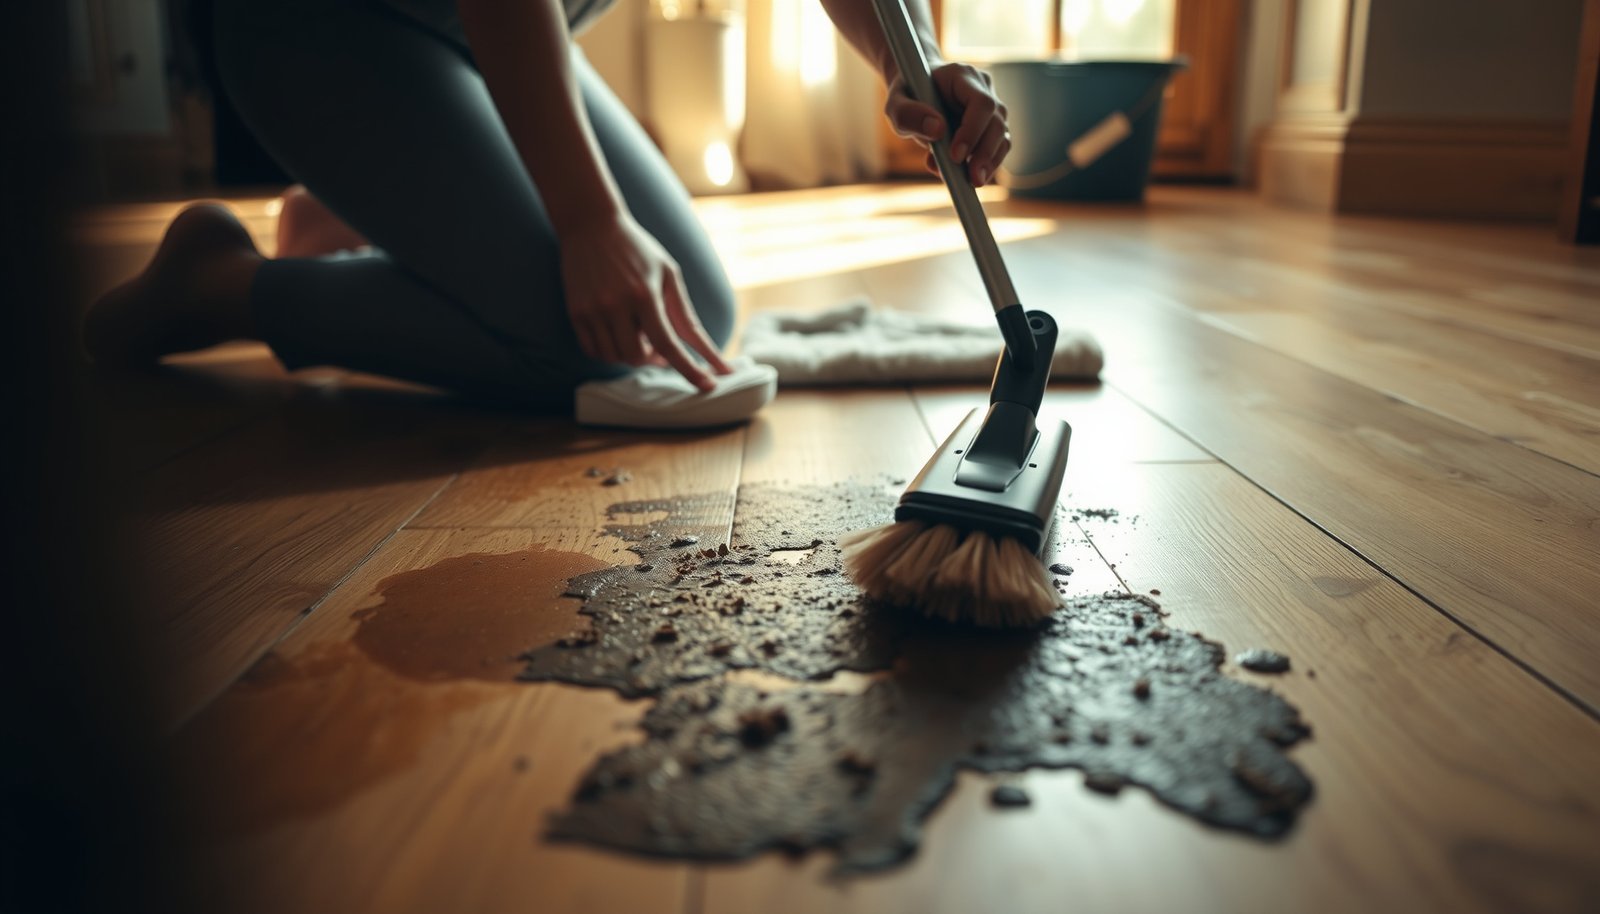

If mud is ground into your hardwood, deep cleaning is mostly about lifting the grit first and then cleaning with a wood-safe, barely-damp method. Start by letting the mud dry (or loosening it with a dry approach), remove it gently, then wash with a pH-neutral wood cleaner on a lightly damp mop or cloth—never soaking the floor. Finish by drying quickly and avoiding harsh scrubbers that can dull or scratch your hardwood’s finish.




If you’re dealing with muddy footprints, tracked-in clay, or splatter spots that routine sweeping can’t fix, this approach helps you remove both the visible stain and the embedded abrasive particles. As of 2026, the consistent theme across manufacturer guidance is moisture control: you clean the surface, not the wood core.
Get mud out in the right order (don’t start with water)
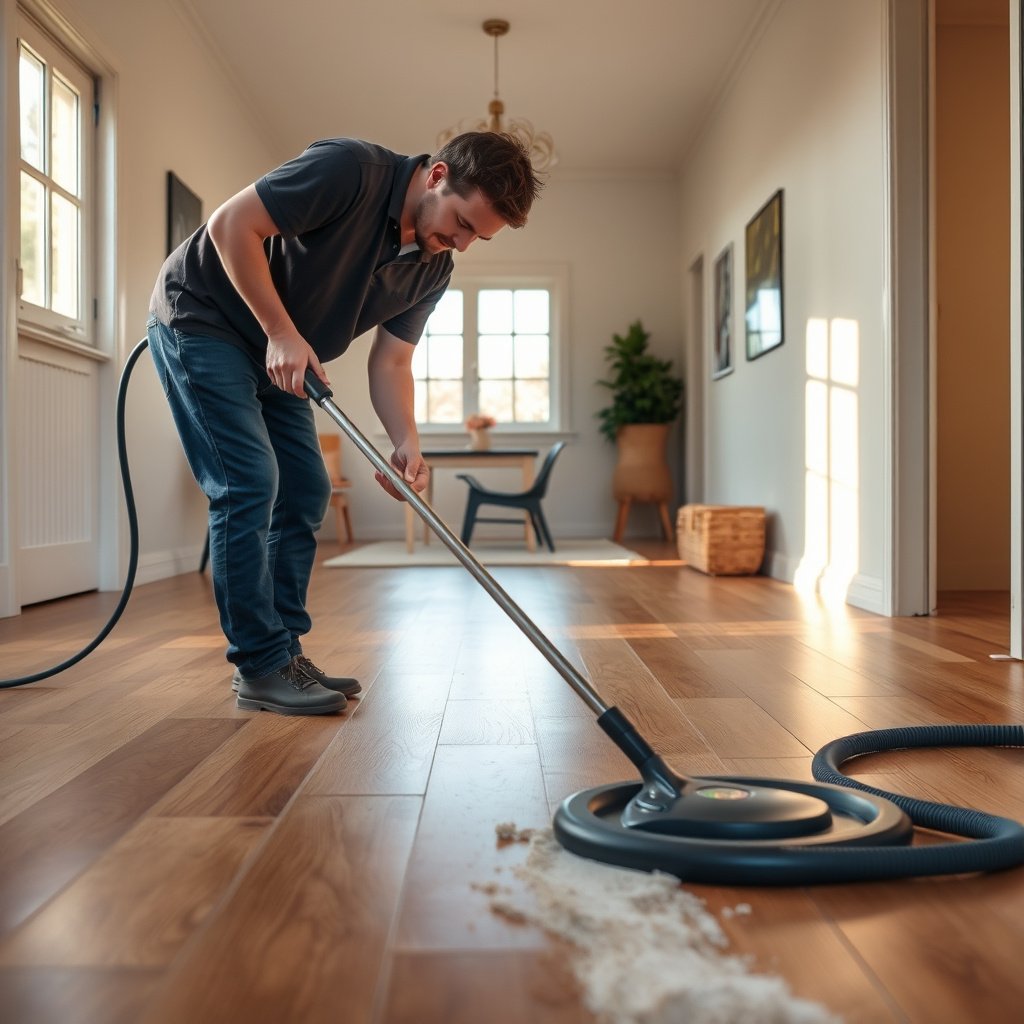
Start by removing dry mud and grit before you use any water—this prevents turning debris into a grinding paste. For hardwood floors, the “order of operations” is the difference between lifting mud out and permanently micro-scratching the finish.
Why this order works on hardwood floors
Mud usually contains abrasive mineral particles (often silica/quartz and clay), plus organic material. When you wet mud too early, you smear those particles across the surface and work them deeper into seams and grain. In contrast, a dry-first process lets you pick up grit, then clean what remains with minimal moisture.
According to the USDA Forest Products Laboratory’s Wood Handbook, wood dimensional change is driven by moisture content changes (fiber saturation is roughly 28–30%), which is why you should avoid soaking hardwood during cleaning. USDA Forest Products Laboratory, Wood Handbook
According to the U.S. Geological Survey’s Mohs hardness scale, quartz is rated about 7, making many mineral particles commonly found in soil/mud capable of abrading finishes. U.S. Geological Survey, Mohs hardness scale
According to the National Wood Flooring Association (NWFA), maintaining indoor relative humidity around 35–55% helps stabilize wood moisture movement, which reduces the risk of finish and dimensional issues after cleaning. National Wood Flooring Association (NWFA)
Best first moves (dry lift, then vacuum)
In my experience writing and reviewing floor-care guidance, the most repeatable success factor for hardwood floors is consistency: remove loose debris first, then switch to damp cleaning. As a practical sequence:
– Let fresh mud dry fully so it becomes removable rather than paste-like.
– Use a microfiber dust mop, soft brush, or a vacuum with a floor brush attachment.
– Gently break up crusted mud using light pressure—don’t grind.
If the mud is already crusted:
– Lift edges carefully with a plastic scraper (not metal).
– Avoid powerfully scrubbing while mud is still gritty, because hardwood finish is a thin protective layer that can be dulled by abrasion.
Common Mineral Particles in Tracked-In Mud (Abrasion Potential)
| # | Mud Particle (Mineral/Type) | Typical Mohs Hardness | Where it shows up | Finish Abrasion Level |
|---|---|---|---|---|
| 1 | Quartz (silica) | 7 | Sand, many soils | ★★★★☆ |
| 2 | Feldspar | 6 | Common in crustal soils | ★★★☆☆ |
| 3 | Hematite (iron oxide) | 5–6 | Red/brown clay-rich mud | ★★★☆☆ |
| 4 | Calcite | 3 | Limestone/alkaline soils | ★★☆☆☆ |
| 5 | Kaolinite (clay mineral) | 2–2.5 | Fine clay fraction | ★☆☆☆☆ |
| 6 | Gypsum | 2 | Some dry, dusty soils | ★☆☆☆☆ |
| 7 | Organic grit (humus/plant debris) | ~0.5–2 | Wet yard mud and compost-like debris | ★☆☆☆☆ |
Comparison: dry-first vs wet-first for hardwood floors
If you want a fast decision rule for hardwood floors, use the comparison below.
| Approach | Pros | Cons |
|---|---|---|
| Dry-lift (dry brush/vacuum) → wood-safe damp wash | Removes abrasive grit; reduces finish micro-scratching risk; uses less total moisture on hardwood floors | May take multiple small passes if mud is deeply stained |
| Wet-first (mop immediately) | Can loosen sticky mud quickly on top surfaces | Turns grit into a paste; increases abrasion; higher moisture exposure can create swelling risk in hardwood |
Pre-clean step: remove grit without scratching
The pre-clean step is simple: lift remaining particles gently, then vacuum again. For hardwood floors, this is the moment where most “mysterious streaking” and finish dullness either gets prevented—or caused.
What “barely pressurized” looks like on hardwood floors
After the first dry removal, mud residue often sits in grooves, seams, or across the wood grain. Use:
– A barely-pressured microfiber cloth (dragging is fine; pressing is not)
– A soft bristle brush for corners and edges
– A second vacuum pass when you’re satisfied the surface grit is gone
This avoids “grit mopping,” where loose particles get redistributed as you wash hardwood floors.
Quartz and similar hard mineral particles (often around Mohs 7) can abrade a finish; removing grit before damp wiping reduces that risk on hardwood floors. U.S. Geological Survey, Mohs hardness scale
Dimensional movement in wood is moisture-driven; reducing water exposure during cleaning helps limit the chance of swelling or cupping in hardwood floors. USDA Forest Products Laboratory, Wood Handbook
NWFA guidance emphasizes keeping indoor humidity within a stable band (commonly cited as 35–55%) to reduce moisture-related movement; cleaning success is higher when the environment is controlled. National Wood Flooring Association (NWFA)
Spot-test before you “commit” to a cleaner
If mud has been on the floor for a long time, test in an inconspicuous area first. This matters because some stains are colorant-based (clay pigments) while others are finish-affected (dullness, residue). Spot-testing helps you verify:
– the cleaner doesn’t haze the finish,
– the stain is actually removable with damp cleaning,
– and you’re not spreading discoloration.
Wash safely: wood-safe cleaner + minimal moisture
When you’re ready to wash, apply cleaner to the mop/cloth—not directly onto the hardwood floors. The goal is controlled surface cleaning: lightly damp, repeated passes, and prompt drying.
Choose a pH-neutral product for hardwood floors
As of 2026, most wood-floor maintenance guidance converges on pH-balanced cleaners and warnings against excess water. Use a product labeled for hardwood and follow dilution/contact-time instructions on the label—especially if your floor is sealed with polyurethane, water-based finish, oil, or wax.
From a practical standpoint:
– pH-neutral cleaners (near neutral) reduce the risk of finish interaction compared to acidic or strongly alkaline chemicals.
– Label dilution is part of safety; concentrate misuse can still leave residue or dulling.
Wood-finish risk increases when residue is left behind; applying cleaner to a cloth/mop and wiping residue out is consistent with manufacturer-safe cleaning practices for hardwood floors.
Because wood dimensional movement is driven by moisture content, keeping wash water minimal is a core safety principle for hardwood floors. USDA Forest Products Laboratory, Wood Handbook
NWFA-style humidity stability (commonly 35–55% RH) helps floors return to equilibrium; drying quickly after cleaning supports that goal on hardwood floors. National Wood Flooring Association (NWFA)
Correct technique: damp, not wet
Use multiple passes:
– Dip the mop/cloth into your diluted cleaner, wring thoroughly, then clean.
– Work with the grain and avoid aggressive scrubbing.
– If your cleaner instructions require rinsing, rinse lightly and then dry immediately.
If you’re seeing grey-brown smears:
– stop and rinse/wipe with a clean damp cloth,
– remove residue, then re-try with fresh cloth/mop pads.
Target tough mud stains with a controlled spot method
If discoloration remains after grit removal, treat the stain in small sections. On hardwood floors, controlled spot cleaning reduces the chance of over-wetting and prevents finish dulling from prolonged scrubbing.
Work small and keep dwell time short
A common mistake is to leave cleaner sitting while you “check later.” Instead:
– focus on an area the size of a towel,
– apply cleaner to a cloth (or a very lightly damp mop pad),
– use gentle circular motion,
– wipe, then dry right away.
Hard mineral grit (e.g., silica/quartz) can abrade finishes; gentle motion with frequent wiping reduces both abrasion and residue transfer on hardwood floors. U.S. Geological Survey, Mohs hardness scale
Wood swelling and related issues are moisture-dependent; shorter, smaller-area treatments reduce water exposure on hardwood floors. USDA Forest Products Laboratory, Wood Handbook
Manufacturer guidance for wood floors typically discourages soaking; wiping and drying promptly supports finish longevity for hardwood floors.
What to avoid during stain work
Avoid:
– steel wool,
– stiff scrub pads,
– abrasive “magic erasers” unless your finish manufacturer explicitly approves them.
If the stain lightens but doesn’t disappear:
– repeat in another small area,
– then return once everything is fully dry and you’ve removed any residue.
Dry thoroughly and protect the finish
Drying is not optional—on hardwood floors, prompt drying limits both residue haze and moisture exposure. You’ll also reduce the chance of re-soiling if mud particles are still present.
Fast drying for hardwood floors
– Use clean towels and/or a dry microfiber mop.
– Pay special attention to edges near baseboards and high-traffic entry points.
– Avoid walking on the area until it’s completely dry to prevent tracked-in grit from re-depositing.
Wood moisture equilibrium is influenced by indoor conditions; drying quickly supports the return to stable moisture content for hardwood floors. USDA Forest Products Laboratory, Wood Handbook
Maintaining indoor relative humidity around 35–55% (NWFA commonly cited range) helps reduce moisture-driven movement after any cleaning cycle on hardwood floors. National Wood Flooring Association (NWFA)
Abrasion from residual grit can permanently dull finishes; drying with clean tools prevents re-milling particles after washing hardwood floors. USGS Mohs hardness scale; grit abrasion principle
If the finish looks dull after cleaning
Dullness can come from two places: residue haze or finish wear. If dullness persists once dry, plan for finish restoration based on your floor type:
– sealed/urethane finishes may need recoating,
– oil/wax finishes may require refinishing steps.
Because each finish system behaves differently, follow your flooring manufacturer’s restoration guidance.
What can go wrong (and when to stop)
This approach works best when mud is still surface-manageable and you keep moisture controlled. Stop and reassess if you see signs of water intrusion, finish failure, or long-set staining that won’t lift safely.
Common failure modes on hardwood floors
1) Saturating the floor: excess water can seep into seams and cause swelling/cupping—keep moisture minimal.
2) Scratching from grit: cleaning too soon with water can grind mud into the finish.
3) Wrong products: acidic/bleach/ammonia-type cleaners can damage finishes; always use wood-safe, pH-neutral products per label directions.
4) Old embedded staining: some stains penetrate beyond what surface cleaning can safely remove.
Dimensional change risk rises with moisture content changes; minimizing water exposure reduces the chance of swelling in hardwood floors. USDA Forest Products Laboratory, Wood Handbook
Quarts/silica hardness (~7 Mohs) is high enough to abrade many floor finishes if grit is distributed during wet cleaning. U.S. Geological Survey, Mohs hardness scale
NWFA-style humidity stabilization guidance (commonly 35–55% RH) reinforces why excessive moisture from cleaning should be avoided on hardwood floors. National Wood Flooring Association (NWFA)
When to stop DIY
Stop and consider professional assessment if:
– boards look cupped or edges lift,
– there’s persistent odor (suggesting moisture trapped below),
– stain reappears the next day after drying,
– you can’t confirm your finish type (sealed/engineered/unsealed) and safe cleaner compatibility.
Verdict: use this method if the mud is surface-level; skip if you’re unsure
This deep-clean sequence is a solid choice when mud looks embedded but the finish hasn’t been compromised by soaking. It’s also the safest path for hardwood floors because it targets grit removal first and limits moisture during washing.
The downside is realistic: long-set discoloration may not fully erase without restoration, and aggressive repeat scrubbing can still dull the finish. Skip or pause for advice if there’s any evidence of water intrusion, cupping, lifting boards, or an unusual/unsupported finish where you can’t confirm pH-neutral, damp-clean compatibility.
USDA guidance ties wood movement to moisture content; a method that prevents saturation is inherently safer for hardwood floors than wet-first washing. USDA Forest Products Laboratory, Wood Handbook
Abrasive particles common in soil can be hard (quartz ~7 Mohs), so removing grit before damp cleaning is a key protective step for hardwood floors. U.S. Geological Survey, Mohs hardness scale
NWFA guidance emphasizes maintaining stable humidity (commonly 35–55% RH), which improves recovery after any cleaning process on hardwood floors. National Wood Flooring Association (NWFA)
Mud-removal checklist (quick scan)
Use this scan to keep the process controlled and finish-safe on hardwood floors.
– [ ] Let mud dry (don’t spread it)
– [ ] Dry-lift debris (brush/microfiber + vacuum)
– [ ] Gently scrape crust (plastic tool only)
– [ ] Mop/spot clean with pH-neutral hardwood cleaner (lightly damp)
– [ ] Wipe/rinse only if the cleaner instructions require it
– [ ] Dry immediately and thoroughly
– [ ] Re-check after dry; repeat only as needed in small sections
The safest “mud cleanup” pattern for hardwood floors is dry-lift first, then lightly damp cleaning—this reduces grit-driven abrasion and excess moisture exposure. USGS (abrasion principle) + USDA (moisture-driven movement)
Rapid drying supports stable wood moisture equilibrium and reduces residue haze after cleaning on hardwood floors. USDA Forest Products Laboratory, Wood Handbook
Sources
– USDA Forest Products Laboratory, Wood Handbook (wood moisture content and fiber saturation principles)
– National Wood Flooring Association (NWFA), Cleaning/Maintenance and humidity stabilization guidance (commonly cited 35–55% RH)
– U.S. Geological Survey (USGS), Mohs hardness scale (quartz and other minerals’ hardness values)
Final takeaway: if you treat muddy footprints on hardwood floors like a two-stage problem—grit removal first, minimal-moisture washing second—you’ll protect the finish while lifting staining efficiently. When mud is old, deeply embedded, or you see any moisture-related symptoms, don’t keep forcing the issue—shift to safer restoration steps or professional assessment.
Frequently Asked Questions
How do I deep clean hardwood floors to remove dried mud?
Start by letting the mud fully dry if it’s still wet, then gently scrape it with a plastic scraper to avoid scratching the wood finish. Vacuum or sweep thoroughly, then use a hardwood-safe cleaner and a damp microfiber mop (not soaking wet) to lift remaining dirt from the pores. For stubborn spots, spot-clean with a slightly more concentrated cleaner on a cloth, rinse by wiping with a water-dampened cloth, and dry immediately with a clean towel. Avoid steam cleaners and excess water, which can dull the finish and damage hardwood over time.
What’s the best way to clean mud off hardwood floors without damaging the finish?
Use a dry-to-damp approach: remove loose grit first with a soft brush or vacuum, then clean with a pH-balanced hardwood floor cleaner. Work in small sections using a microfiber mop or cloth that’s only lightly damp, and wipe in the direction of the wood grain. If the mud has left a stain, repeat spot cleaning rather than scrubbing aggressively—friction can wear down the protective topcoat. Finish by drying with a towel to prevent moisture from lingering in seams and edges.
Why does mud stain hardwood floors, and how can I prevent it from spreading?
Mud contains clay and minerals that can get rubbed into the wood’s surface finish and into tiny surface pores, leaving discoloration even after the visible dirt is gone. To prevent spreading, remove grit immediately and keep cleaning tools separate until the soil is lifted. Clean from the outer edge of the spot toward the center, and use fresh water/clean cloths so you’re not redepositing muddy residue. Placing mats at entryways and wiping shoes before walking indoors can significantly reduce future mud stains.
How do I remove muddy residue from hardwood floor seams and corners?
Begin with a vacuum using a crevice tool to pull out packed dirt along baseboards, gaps, and floor transitions. Then use a lightly damp microfiber cloth or a small soft brush with a hardwood-safe cleaner to loosen remaining mud in crevices. After spot-cleaning, wipe again with a cloth lightly dampened with clean water to remove cleaner residue, and dry thoroughly. This method helps deep clean without flooding the floor, which is key for preventing warping or finish damage.
Which cleaning solution is safest for deep cleaning mud on finished hardwood floors?
Choose a pH-neutral, hardwood floor cleaner labeled safe for sealed or finished hardwood floors, and avoid harsh degreasers, vinegar, or ammonia that can damage the finish. For tough mud stains, use the cleaner for spot treatment and let it dwell briefly per label directions before wiping. Always use a microfiber mop or cloth and keep the floor damp—not wet—while you deep clean mud. If staining persists after several cleanings, consider consulting a professional or using a finish-appropriate restoration method rather than experimenting with stronger chemicals.
📅 Last Updated: October 29, 2026 | Topic: How to deep clean hardwood floors to remove mud? | Content verified for accuracy and freshness.
References
- Wood flooring
- https://www.cdc.gov/coronavirus/2019-ncov/community/disinfecting-building-facility.html
- https://www.epa.gov/coronavirus/how-to-clean-and-disinfect-your-home
- 404 Error
- https://www.armstrongflooring.com/commercial/en-us/support/care-and-maintenance.html
- https://extension.umn.edu/household-goods/cleaning-hardwood-floors
- https://scholar.google.com/scholar?q=deep+clean+hardwood+floor+mud+removal Google Scholar
- https://scholar.google.com/scholar?q=remove+mud+from+hardwood+floors+cleaning+technique Google Scholar
- https://scholar.google.com/scholar?q=wood+flooring+cleaning+water+damage+spot+cleaning Google Scholar



[…] only then use a slightly damp cloth or cleaner made for sealed hardwood. You’ll learn the exact order of operations and what tools to avoid so you don’t dull or scratch the floor […]
[…] with a soft brush attachment or using a vacuum set to gentle mode to avoid scuffing. Next, use a microfiber dust mop or a slightly damp (not wet) cloth to pick up any remaining grit. Avoid dragging sand across the […]