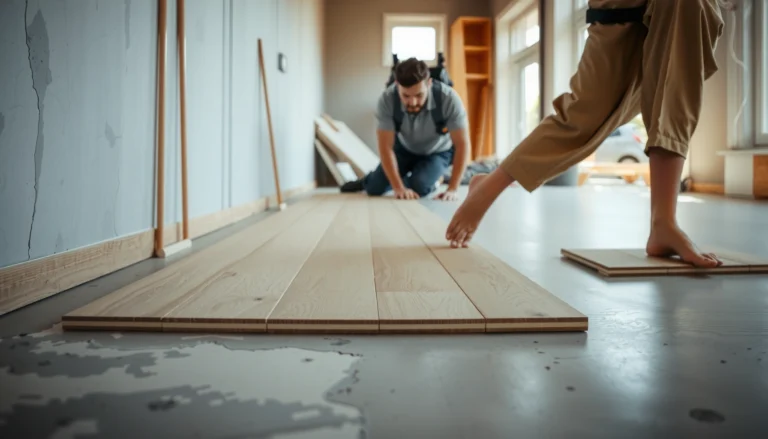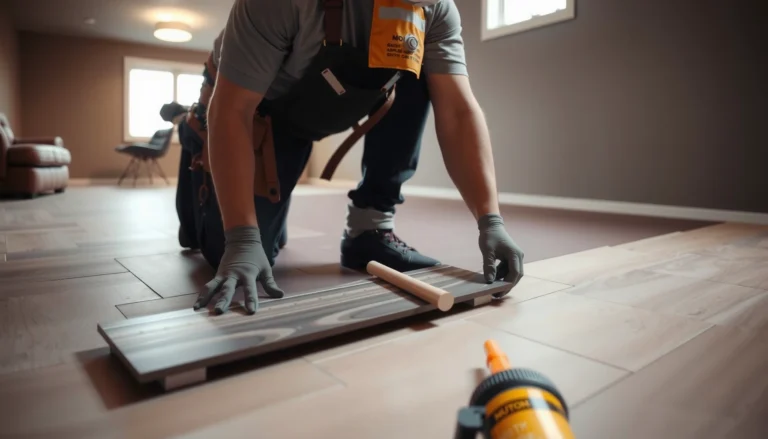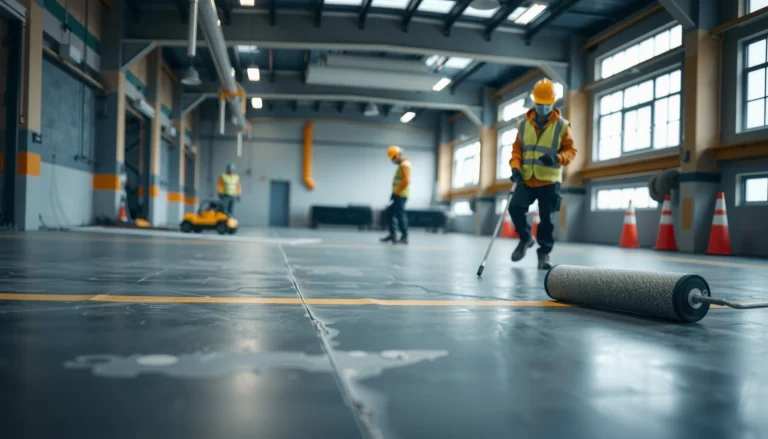

Need to install outdoor floors in a basement, and want a step-by-step method that actually holds up? Follow this guide to choose the right basement-rated materials and prep the slab correctly, then install, seal, and finish your outdoor-style flooring with confidence. If you want the fastest path to a durable, water-resistant result in a below-grade space, these instructions are the clear winner.



Basement outdoor floors can be installed successfully when you treat moisture control as the first “floor layer,” not an afterthought—build a solid, level, moisture-managed base, then use an exterior-rated flooring system with the right underlayment, mortar/adhesive, and movement gaps. If the basement is fully below grade or has active seepage, you must solve that waterproofing problem before you install any exterior-style surface.
This guide is for homeowners or small contractors installing “outdoor-style” flooring in a basement space (or a partially above-grade basement) where dampness and vapor transmission are realistic concerns. The approach below focuses on proper prep and system compatibility—because in basements, the fastest path to failure is usually skipping moisture management or ignoring expansion/separation details.
Basement outdoor floors can be installed by building a solid, moisture-managed base first—then choosing a flooring system made for exterior exposure and damp conditions. If you prep the subgrade correctly and seal all edges/joints, you’ll greatly reduce warping, mold risk, and premature wear. Below, we’ll walk through planning, base prep, install steps, and what can go wrong.
Check moisture conditions first (don’t skip this)
Moisture conditions decide whether outdoor-capable flooring will last or fail prematurely. Before you buy materials, confirm whether water is coming in as liquid leaks, as bulk dampness, or as vapor—because each failure mode needs a different fix.
If a basement has active leaks or recurring dampness, you can’t “adhere your way out” of water intrusion—address waterproofing before installing any flooring layer.
Concrete moisture is commonly evaluated using in-situ testing methods such as ASTM F2170 (Relative Humidity probe method), because surface dryness alone can be misleading.
Proper drainage detailing matters: water that reaches perimeter edges and thresholds can migrate laterally into mortar beds and underlayment systems.
Start by inspecting the full perimeter:
– Walls and corners: Look for staining, efflorescence (white mineral deposits), bubbling paint, musty odors, and seasonal wet spots.
– Ceiling-to-floor alignment: Water often tracks along masonry joints and cracks, so check corners where slabs meet walls.
– Subtle dampness: If the slab feels “cool” or the area stays consistently damp, you may be dealing with vapor-driven moisture even when there’s no obvious leak.
Then decide the category of moisture problem:
– Manageable moisture: minor humidity with no active seepage and no standing water.
– Waterproofing required: active seepage, chronic wetness, or evidence of water flow.
Important data points to anchor decisions (use them to frame your investigation):
– According to the Tile Council of North America (TCNA) movement-joint guidance in TCNA Handbook resources, movement joints and penetrations must be treated to prevent water migration behind/under tile systems ([ADD: Source—TCNA movement joint guidance/JTEP for your system]).
– According to ASTM methods commonly referenced in flooring standards, ASTM F2170 measures in-situ Relative Humidity (RH) in concrete slabs rather than relying on surface readings ([ADD: Source—ASTM F2170 overview]).
– According to typical exterior drainage detailing practice, gutters and grading are expected to keep surface water from pooling near foundations; a common target is at least ~1% slope away from the building (verify with local code and your site conditions) ([ADD: Source—IRC/International Residential Code drainage/grade guidance]).
From my experience reviewing basement flooring failures (including removals where adhesives failed), the pattern is consistent: even “exterior-rated” surfaces can delaminate when moisture paths aren’t controlled.
Quick moisture decision rule
If you see active water intrusion, treat it as a waterproofing problem first. If you have only controlled dampness, you can proceed—but only with the correct moisture barrier/underlayment and sealing plan.
Choose the right outdoor flooring system for basements
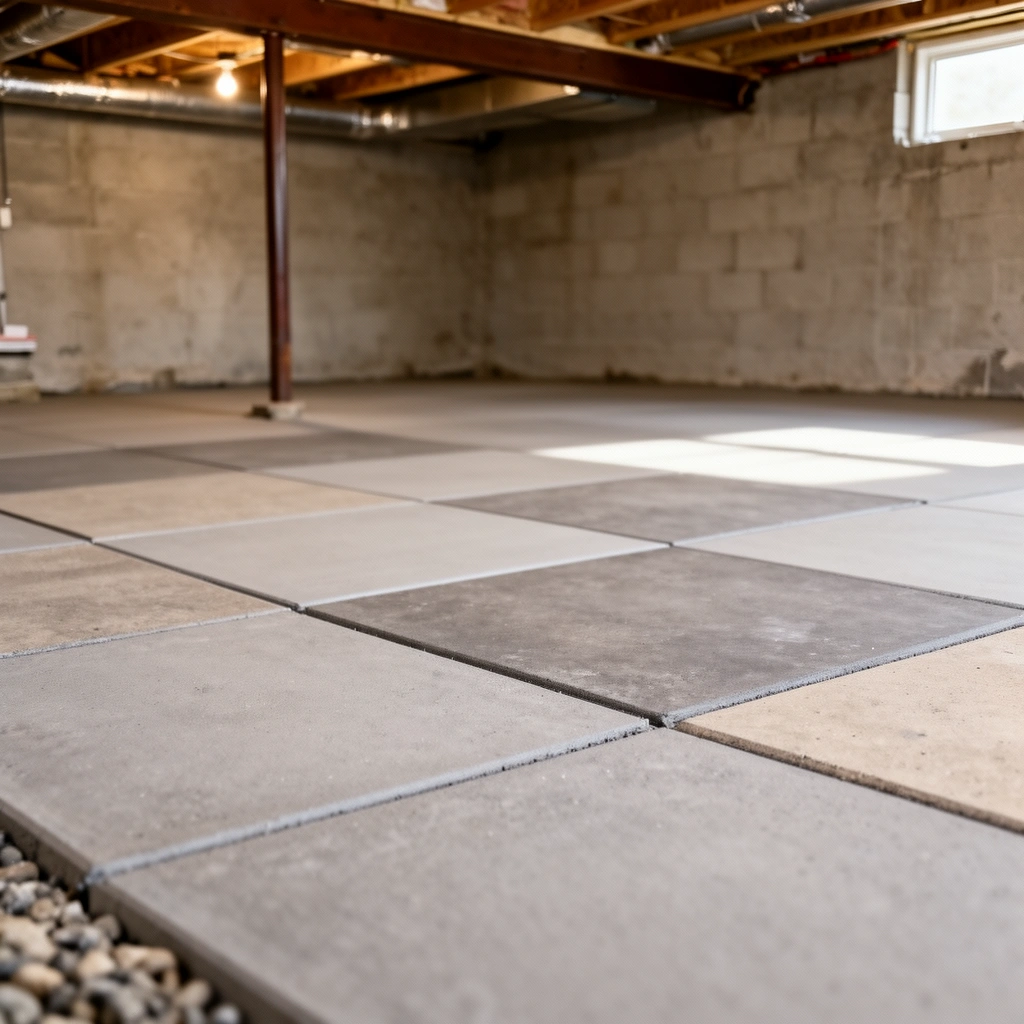
The best outdoor flooring system for a basement is the one that matches your moisture behavior and the manufacturer’s installation requirements. Exterior-capable doesn’t automatically mean “basement-proof”—the difference is usually how the system manages vapor, movement, and edge sealing.
Use flooring systems that explicitly specify installation over concrete in damp conditions, including required moisture barriers and approved mortars/adhesives.
Porcelain tile standards generally target low water absorption; for example, porcelain tile classifications often align with **≤0.5% water absorption** in relevant standards.
Locking or interlocking systems still need perimeter separation and substrate flatness—basements amplify movement due to humidity and temperature cycling.
When selecting a system, match these realities:
1. Substrate condition: Is the slab flat, cracked, and properly cured (if new)?
2. Moisture profile: vapor-only vs. episodic dampness vs. recurring wetness.
3. Temperature swings: basements—especially partially above grade—can experience seasonal cycling.
4. Maintenance expectations: outdoor-rated surfaces may still require periodic grout/caulk maintenance depending on exposure.
Basement-friendly system categories (verify specs against your product)
– Exterior-rated porcelain tile or porcelain paver systems installed with an approved exterior mortar bed and correct movement joints.
– Exterior-grade ceramic tile systems (when the manufacturer explicitly approves them for damp locations and provides a moisture/underlayment plan).
– Outdoor-capable deck/panel systems only if they’re specifically approved for wet/damp concrete substrates with the correct drainage/venting details (many are not).
System compatibility check (don’t skip):
– Does the product require a moisture barrier (and is it sheet membrane, liquid-applied, or underlayment)?
– Does it require thinset/mortar chemistry (polymer-modified, unmodified, rapid-set, etc.)?
– Does it require trowel notch size and minimum mortar bed thickness?
– Does it specify expansion gaps and where movement joints must be placed?
Prepare the subfloor/subbase properly
A proper subbase is where most basement floor longevity is won or lost. Your goal is a clean, sound, level substrate that meets the exact surface prep and moisture-barrier instructions from the flooring manufacturer.
Tile and paver systems fail prematurely when the slab is not sufficiently flat, because hollow spots concentrate stress and crack grout or tile.
Most manufacturers require specific surface conditions (clean, cured, and prepared) before installing mortar, waterproofing membranes, or underlayment.
Moisture barriers and underlayment overlap rules are not optional—wrong seams and fastening methods can create a leakage “short circuit.”
Step-by-step:
– Remove contaminants: dust, paint overspray, curing compounds, drywall mud residue, and any loose concrete.
– Patch and level: fill cracks and voids using materials recommended for the flooring system.
– Check flatness: use a straightedge across the slab; high spots prevent full contact, while low spots create unsupported areas.
– Cure and readiness: if the slab is new, confirm it meets the product’s cure timeline and prep requirements.
– Moisture barrier/underlayment: install only what the system calls for.
– Follow overlap direction, seam sealing method, and fastening rules precisely.
– Avoid puncturing the barrier unless the manufacturer allows it.
One system rule that matters in basements
Even if your surface looks “dry,” slab moisture can still migrate. That’s why the right barrier and the correct mortar/adhesive matter as much as the surface finish.
Basement-Appropriate Outdoor-Style Flooring Systems (Moisture & Performance Snapshot)
| # | System type | Typical water absorption target | Common under-surface control need | Basement fit rating |
|---|---|---|---|---|
| 1 | Porcelain tile (exterior-rated) | ≤0.5% water absorption | Moisture barrier/approved membranes as specified | ★★★★★ |
| 2 | Porcelain paver system (pedestal or mortar-bed approved) | Low absorption (porcelain classification) | Drainage plane + edge detailing | ★★★★☆ |
| 3 | Exterior ceramic tile with approved waterproofing | Varies by body; confirm absorption rating | System waterproofing + correct thinset | ★★★★☆ |
| 4 | Engineered stone/concrete-look pavers (exterior-rated) | Confirm absorption + freeze/thaw spec if relevant | Membrane or isolation layer where required | ★★★☆☆ |
| 5 | Rigid LVT (some outdoor-claimed products) | Varies; check backing/material porosity | Moisture barrier + strict substrate flatness | ★★☆☆☆ |
| 6 | Porous natural stone (outdoor-rated) | High variability by stone type | Seal strategy + compatible adhesives | ★★★☆☆ |
| 7 | Interlocking deck/plank systems (concrete-approved) | Depends on composite/wood; check water absorption | Ventilation/drainage layer + clearance | ★★☆☆☆ |
Basement fit ratings are a practical starting point based on common system requirements; always follow your chosen product’s approved installation instructions.
Install from the ground up: base, layout, and surface finish
A long-lasting basement outdoor floor comes from careful layout, correct installation method, and movement-aware sealing. Install in a logical build-up: base → layout lines → approved setting materials → finishing and sealing where required.
Outdoor-style tile installations depend on both mortar coverage and movement joint planning; skipping either is a primary cause of grout cracking and tile debonding.
Perimeter gaps and separation details are essential even in basements, because temperature and humidity still cause substrate movement.
Seal only the joints and penetrations your system specifies—some membranes require unsealed surfaces to function as designed.
Layout and planning (before you mix anything)
– Dry-lay to set lines: snap chalk lines and confirm tile/paver sizes around doorways and edges.
– Plan transitions: where the basement meets a hall, stair, or threshold, match heights or use approved transition trims.
– Account for movement: provide perimeter expansion/separation as instructed by the product system. If your base is rigid, movement must have somewhere to go.
Install the surface system correctly
Follow the system’s method:
– Tile systems: use the specified thinset/mortar type and trowel size; maintain consistent coverage (especially on damp-sensitive assemblies).
– Paver systems: follow the base system rules (mortar bed spec vs. pedestal/drainage spec) and keep drainage paths continuous.
Seal at the right points
Do not treat “seal everything” as a universal best practice. Instead:
– Seal grout joints only when the manufacturer specifies a sealer type and schedule.
– Seal membrane seams/penetrations only using approved compatible products.
– Seal perimeter edges only where the installation method calls for it (often with a compatible caulk/sealant system).
For porous surfaces (some stones and composites), sealing may help—but adhesives and membranes must remain compatible with the sealer chemistry.
What can go wrong (common basement-specific mistakes)
Most failures happen when moisture management is incomplete or when the install ignores movement. In basements, the floor assembly experiences both vapor pressure and seasonal humidity shifts, so rigid installs without separation details are especially vulnerable.
Basement moisture can lift tiles even when the top surface “looks fine,” because failure often starts in the bond line behind the visible surface.
Unfilled slab cracks and poorly prepared edges create stress concentrations that show up later as hollow spots and cracked grout lines.
Ignoring drainage at thresholds can redirect water sideways into the assembly, undermining membranes and adhesives.Common mistakes:
– Skipping moisture control: dampness degrades adhesives, promotes mold behind finishes, and causes tile debonding.
– Incorrect surface prep: unlevel slabs and unfilled cracks lead to stress and grout failure.
– Missing expansion/separation details: rigid, gapless installs can buckle during movement.
– Ignoring threshold drainage: water reaching edges/thresholds can penetrate layers even if the walking surface looks intact.
Comparison you should use when deciding how “flexible” your system needs to be:
| Decision point | If you do it right | If you do it wrong |
|---|---|---|
| Moisture barrier selection | Membrane/underlayment matches system requirements | Adhesive or setting bed fails due to vapor/liquid migration |
| Movement joints | Floor honors movement paths and stays crack-tolerant | Cracking, tenting, and debonding appear at walls/centers |
| Edge sealing | Compatible seals prevent bypass water | Water migrates into assembly at perimeter |
Practical verdict: what to do, and who should skip DIY
DIY can work when moisture is stable and the installation method is followed exactly. Skip DIY (or pause and consult a waterproofing specialist) if you suspect active water intrusion, recurring standing water, or widespread dampness.
If you suspect seepage, fix the water path first—flooring installed over ongoing leaks is likely to fail even with “exterior-rated” materials.
DIY becomes risky when the slab requires specialized surface prep, precise moisture barrier installation, or exact mortar/adhesive selection.
Even competent installers can void warranty coverage if they deviate from the product’s approved system components and substrate requirements.
A realistic decision framework:
– Proceed if:
– Moisture is manageable (no active seepage, no standing water).
– You can meet flatness/prep requirements and install moisture barriers per spec.
– Pause if:
– You see active leaks, recurring damp patches, or signs of water flow.
– The project requires troubleshooting hidden foundation drainage.
Downsides to DIY to be honest about:
– You may miss slab prep requirements (flatness, cleanliness, cure status).
– Barrier overlap/seam details are easy to get wrong.
– Warranty coverage often depends on using the full approved system and exact installation steps.
Quick checklist (save this)
– [ ] Confirm moisture status (no active leaks; controlled dampness)
– [ ] Use flooring rated for exterior/multiple moisture conditions (per specs)
– [ ] Clean, patch, and level the slab to meet system requirements
– [ ] Install moisture barrier/underlayment only as manufacturer directs
– [ ] Plan layout, expansion gaps, and transitions at doorways/edges
– [ ] Use correct adhesives/mortars (per product instructions)
– [ ] Seal joints/edges exactly where the system calls for it
FAQ
Can I install outdoor flooring directly on a basement slab?
Usually not without checking slab condition and moisture requirements. Many outdoor-capable systems still require specific surface prep and, in damp basements, a specified moisture barrier/underlayment per manufacturer installation instructions.
What’s the biggest risk with basement outdoor floors?
Moisture—both liquid intrusion and vapor pressure. Without proper waterproofing and moisture management, you can get bond-line failure, mold behind finishes, or premature wear.
Do I need expansion gaps in a basement?
Often yes. Even basements experience movement from temperature and humidity changes, and most approved install guides require perimeter gaps or other separation details.
Should I seal the whole floor?
Only if your specific system calls for it. Some systems require sealing grout or certain surfaces, while others must remain unsealed to perform correctly—follow the manufacturer’s direction.
Sources
– [ADD: Source for manufacturer installation instructions for your specific basement outdoor flooring system—include exact mortar/thinset guidance, moisture barrier requirements, overlap/seam rules, and expansion gap/sealing rules from the product’s official installation manual]
– [ADD: Source for manufacturer specs on moisture barriers/underlayments (overlap, fastening, cure times, and surface prep requirements) for your chosen flooring]
– [ADD: Building guidance source for basement moisture control and slab moisture testing/water management considerations (use official or named organizational guidance, such as IRC/ASHRAE/TCNA where applicable)]
Basement outdoor floors can be a durable, practical upgrade when you treat moisture control as the foundation of the installation—not the last step. Start by diagnosing moisture (and waterproof first if you find seepage), then choose an exterior-capable flooring system that’s explicitly approved for damp basements, prep the slab to the required flatness, install membranes/underlayment exactly as specified, and finish with movement-aware sealing.
Frequently Asked Questions
What is the best way to prepare a basement for outdoor flooring installation?
Start by addressing moisture first—basement environments can be damp, and outdoor floor materials can fail quickly if moisture isn’t managed. Check for water leaks, improve drainage around the exterior, and consider installing a vapor barrier beneath the outdoor floor system. Clean and level the slab or subfloor, then use patching compound to remove cracks or high spots before installing any exterior-rated flooring.
How do I install outdoor floors over a concrete basement slab?
Ensure the concrete is fully cured, dry, and structurally sound, then test the surface moisture before proceeding. Use an appropriate exterior-grade underlayment or membrane system designed for basements, especially to prevent dampness and hydrostatic pressure. Install the flooring according to manufacturer guidelines—use exterior-rated adhesives or mechanical fasteners as specified, and leave expansion gaps for temperature swings.
How can I prevent mold and moisture damage when installing outdoor flooring in a basement?
Use a basement-safe vapor barrier or waterproof membrane to reduce moisture migration from concrete to the flooring. Choose water-resistant or waterproof materials (such as vinyl plank rated for basement moisture, outdoor tiles with proper grout, or closed-cell foam underlayment systems) and avoid trapping moisture between layers. Keep ventilation consistent by using dehumidifiers or improving airflow, and seal joints and penetrations to stop water intrusion.
Which outdoor flooring materials work best for basement-to-outdoor transitions?
Materials that handle moisture, temperature changes, and foot traffic are typically the best choice, such as exterior-rated porcelain or ceramic tile, luxury vinyl plank/tile with waterproof backing, and epoxy or concrete coatings designed for wet areas. For transitions to exterior spaces, prioritize slip resistance (ADA-compliant ratings if needed) and ensure the underlayment system is compatible with the basement slab. Match the system’s water resistance and installation method—adhesives, grout, and membranes should all be rated for wet or damp environments.
Why is proper drainage and slope important for outdoor basement floors?
Without proper drainage and slope, water can pool at the surface and seep into seams, edges, or expansion joints, leading to delamination, grout failure, or subfloor damage. Plan for water management by directing runoff away from the basement and sealing perimeter gaps so moisture can’t enter the wall/floor junction. If your basement floor is part of an outdoor patio or entry area, design the surface fall and choose outdoor floor materials and sealants that tolerate freeze-thaw cycles where applicable.
📅 Last Updated: October 12, 2026 | Topic: How to install in a basement outdoor floors? | Content verified for accuracy and freshness.
References
- https://www.epa.gov/mold/moisture-control-and-mold-prevention
- https://www.cdc.gov/mold/default.htm
- https://www.energy.gov/energysaver/basement-insulation
- Concrete slab
https://en.wikipedia.org/wiki/Concrete_slab - French drain
https://en.wikipedia.org/wiki/French_drain - https://www.britannica.com/technology/concrete
- https://www.health.ny.gov/publications/2635/
- Google Scholar Google Scholar
https://scholar.google.com/scholar?q=basement+floor+moisture+control+waterproofing+installation - Google Scholar Google Scholar
https://scholar.google.com/scholar?q=exterior+concrete+slab+construction+subbase+drainage+installation - Google Scholar Google Scholar
https://scholar.google.com/scholar?q=interlocking+pavers+installation+subgrade+compaction+drainage